 Fender Project complete!
It’s been nearly two months’ worth of weekend work, but the whole ordeal with replacing the repro fender with the repaired original GPW fender is complete, including having to deal with a total realignment of the body tub! This update includes a recent update on the Jeep restoration as a whole, and getting an original push/pull switch tag!
It’s been a whirlwind week of Jeep work getting this original passenger fender repaired and put back on the Jeep but I’m happy to report it’s all finished after a lot of work! So let’s dive in to the final part of this ordeal!

Let’s jump back and do a quick recap. This is how the passenger fender started after being sandblasted. The driver’s side fender was in better shape, so it was repaired during the main restoration in 2019. But the passenger fender has a lot of issues including cancerous rust that needed to be removed and repaired.

After the fender was repaired and painted in January, I set about replacing the MD Juan repro fender with the original. This was covered in last week’s update. A huge problem arose during what should have been a quick project: the fender would not go back on. After several days/weeks of work I discovered the repro body tub was shifted to the left by about an inch causing the fender to be impossible to align.
So I spent an entire day removing all the bolts and attachment points for the body tub and lifting the back end up so I could get the original fender to install. It was a lot of work, but I got the passenger fender and the original driver fender (which was already installed but I had to unbolt it to get the body tub to move) to fit. It was a lot of elbow grease and slow bending of metal.

I then painted all the bolts and repaired any scratches to the paint job on the frame.
I then went to work reinstalling the voltage regulator and battery. So the Jeep was back together, but the body tub was still detached from the frame and now that the fenders were installed and locked down, that presented another major issue…

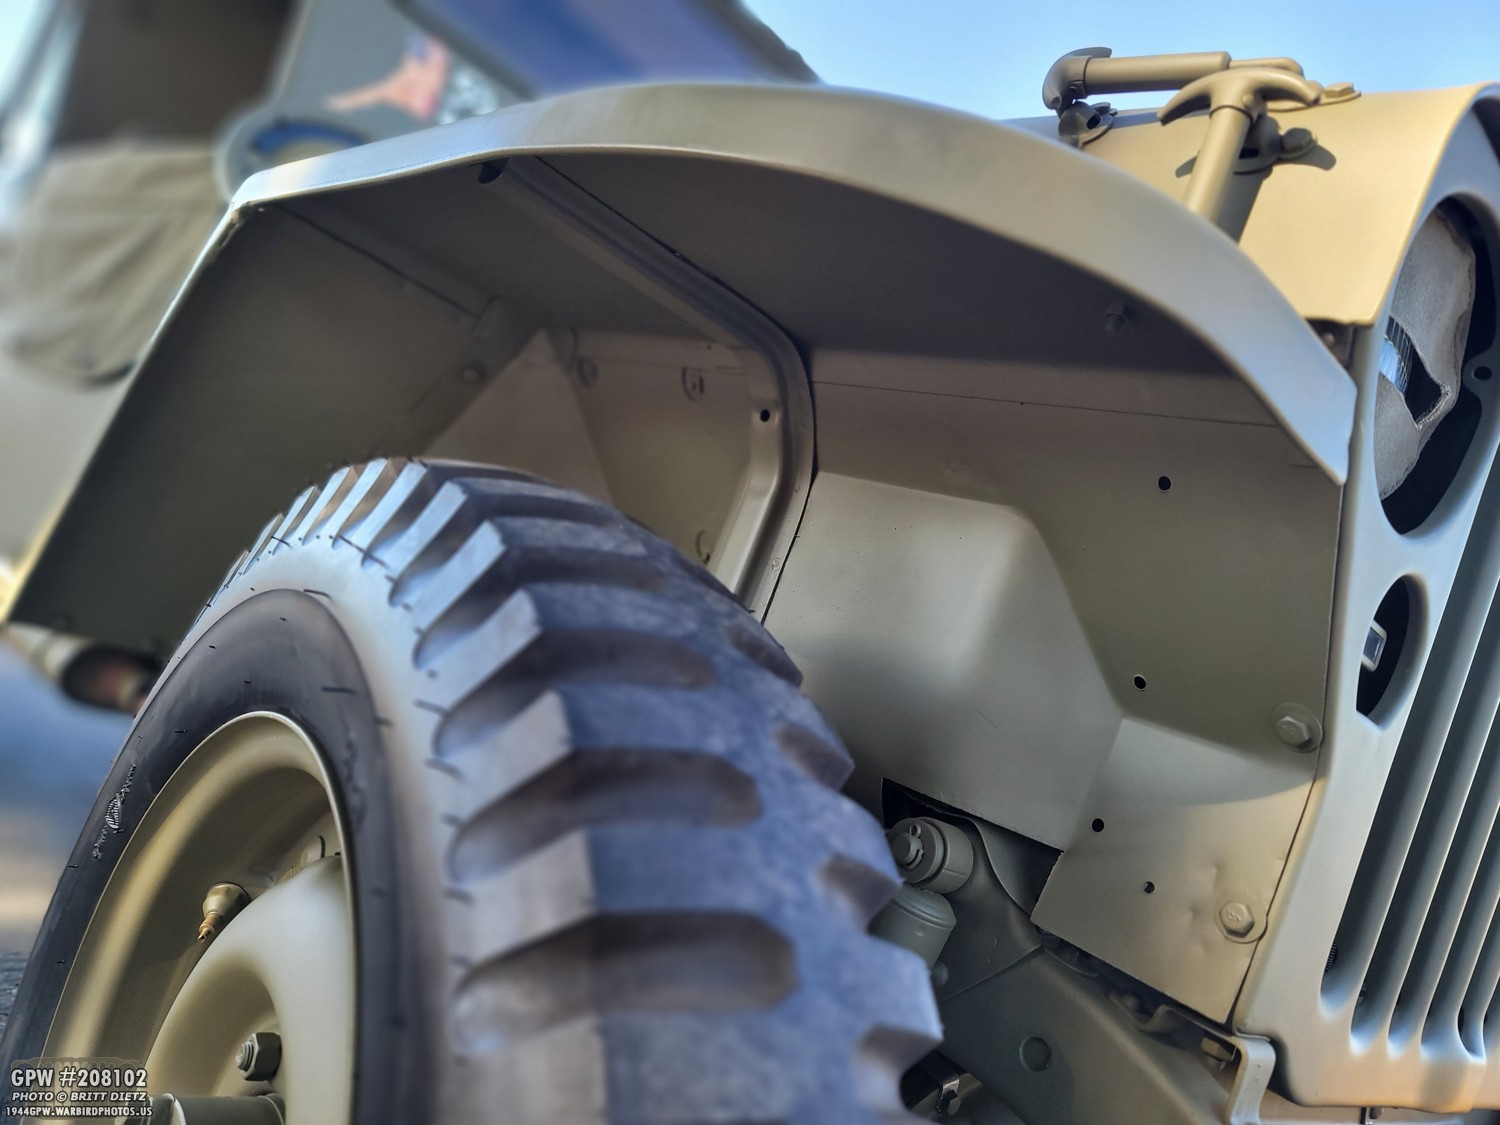
All the alignment holes were now anywhere from half an inch to a full inch off! Here you can see the tub floor and below the mount hole in the original frame. UGH. This meant I would need to redrill new holes in the tub as I did not want to modify/elongate the original holes in the frame. Eventually, once I repair my original body tub (in bad shape and will take a year or two) I will be swapping the tubs out, so I didn’t want to mess with the frame holes.

So, I rolled up my sleeve and got to work slowly elongating the body tub holes to I could get the bolts through. It wasn’t an easy process and took an entire day to do. These rear holes under the rear seat were especially tedious as these holes go through the rear hat channel, so I’m having to elongate the holes through two layers of metal and a block of wood in the channel. Thankfully, the amount of elongating I had to do wasn’t enough to make the holes visible once I put the bolt through with the washers.

Thankfully, one set of bolts I didn’t have to change was the rear lower spare tire mount bracket. But, because the tub was a little higher now from the new position, I had to move the bracket upward a bit.
The easiest holes to move were these two forward mounting holes in front of the two seats. I was able to use a drill and a Dremel to get the holes to align. The hole under the passenger seat was a bit more of a challenge… let’s go under the Jeep and check that out.
Looking under the body tub, one of the easiest holes to move were the four rear holes on the rear bumper going to the back of the tub. Since it was easy to get a drill up in there, I could just drill through the frame hole which perfectly elongated the body tub holes.
Then things started to get a little tricky. Like this mount point that goes through a hat channel. Even with the Dremel, I couldn’t do it from inside the body tub. And I didn’t want to risk hitting the frame. Thankfully for this spot, I could still get a drill to go through this frame mounting bracket and into the body tub. I did this with an extension drill bit.

But then I was faced with this situation. I couldn’t get a drill in there to make a new hole… so how could I do this? I went online to try to see if there were any sort of tight space attachments for drills or something that would work to get in there.
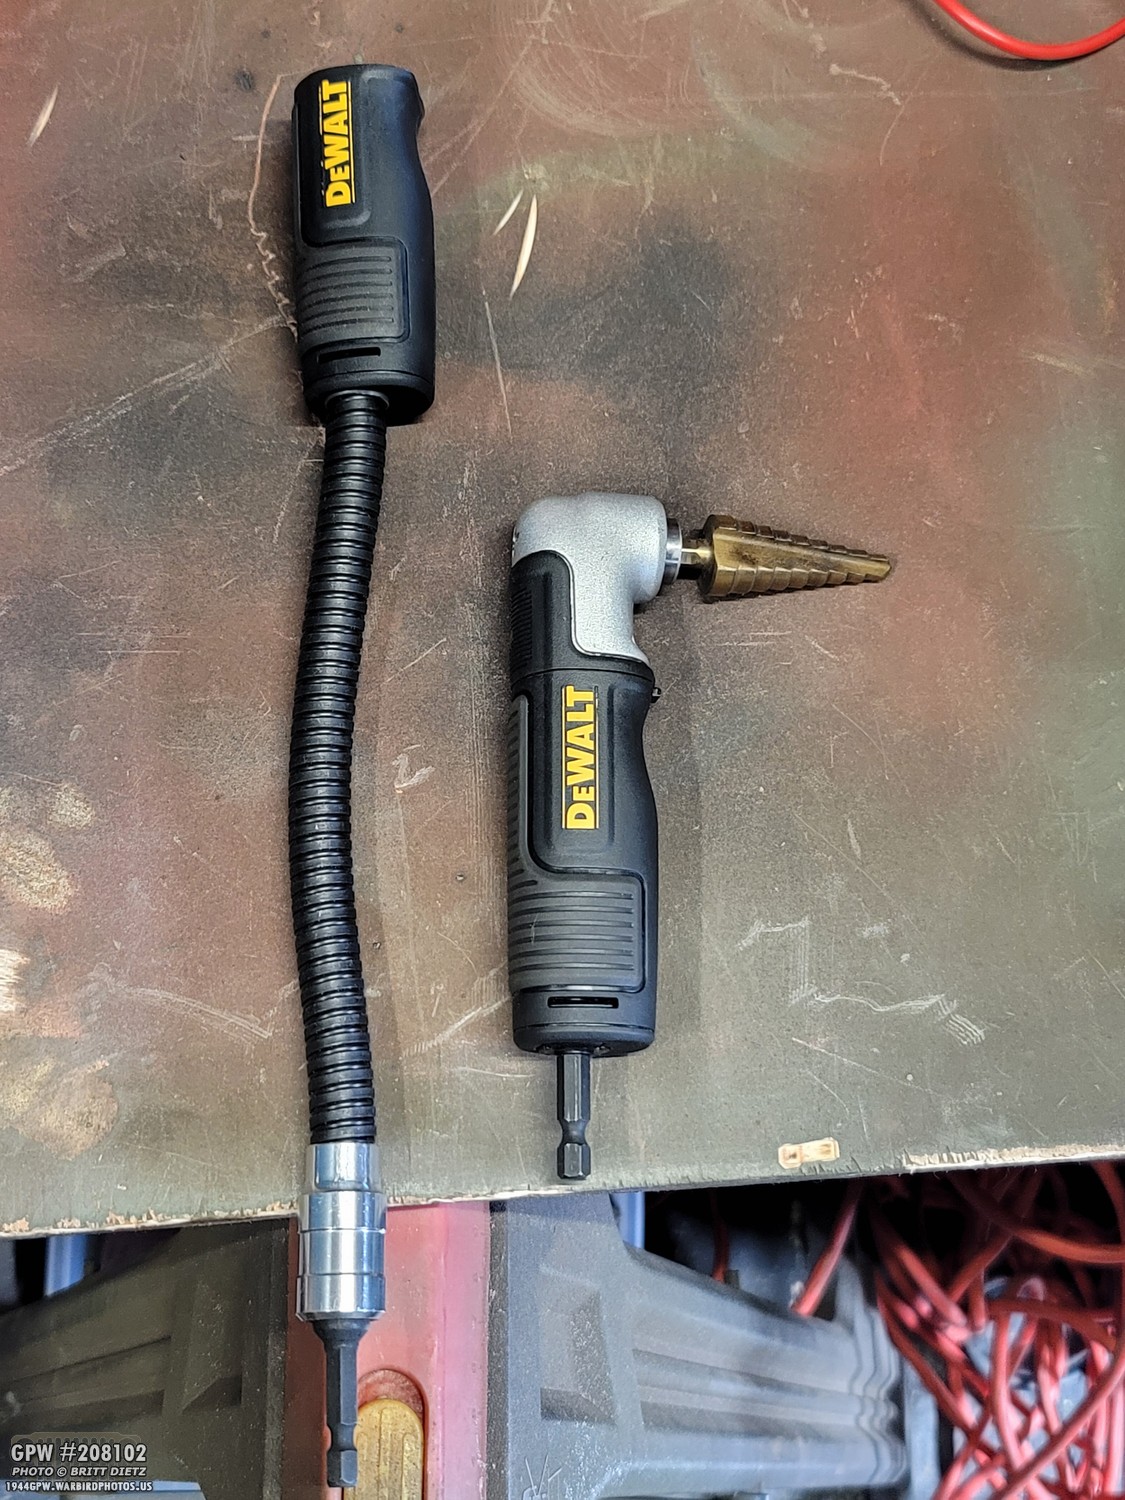
That’s when I found this lovely little drill attachment tool. It was about $37 on Amazon and came with three things: A flexible long-neck extension, an L-shaped right angle drill bit adapter (the silver part with the step drill bit), and then a short extension hand grip (which is connected to the right angle adapter). You can do several combinations of things with this fun little kit. Well worth the price to get into those very tight spots!
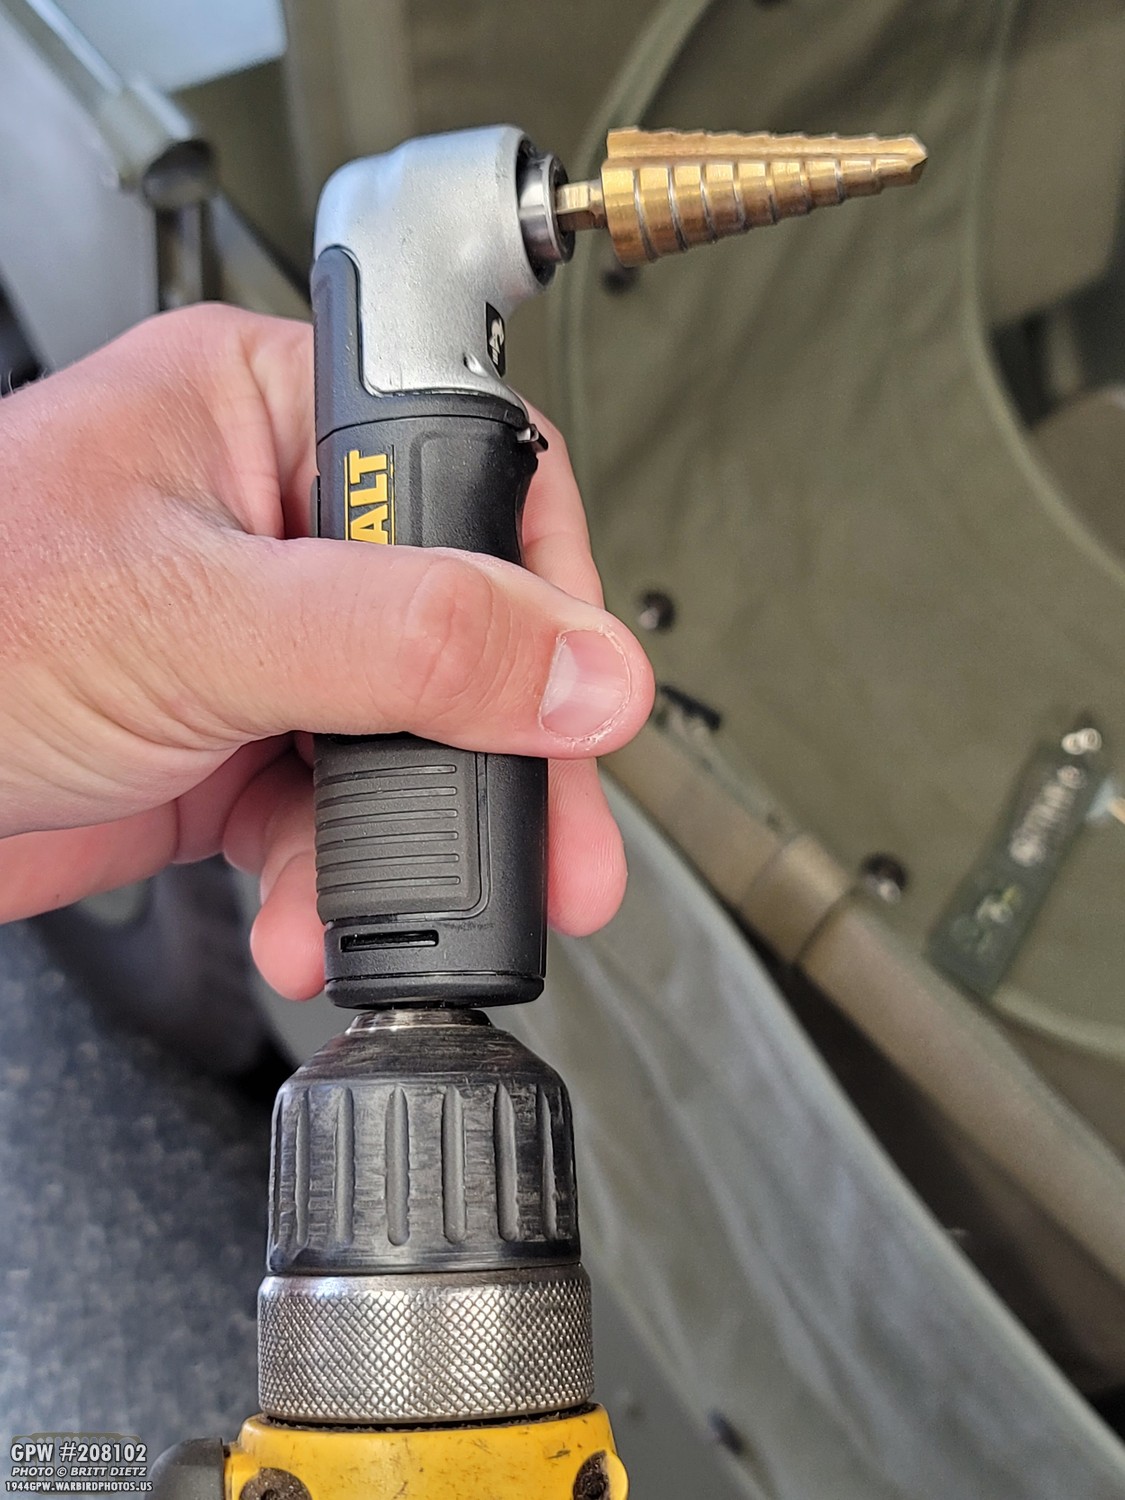
Here’s how it works. It attaches to the end of your drill/impact drill. I just have a regular drill, so I put it in. Then you grab ahold of the extension handle so the whole attachment won’t spin, and drill away. It worked REALLY well and with the step drill bit I was able to make quick work elongating the holes.

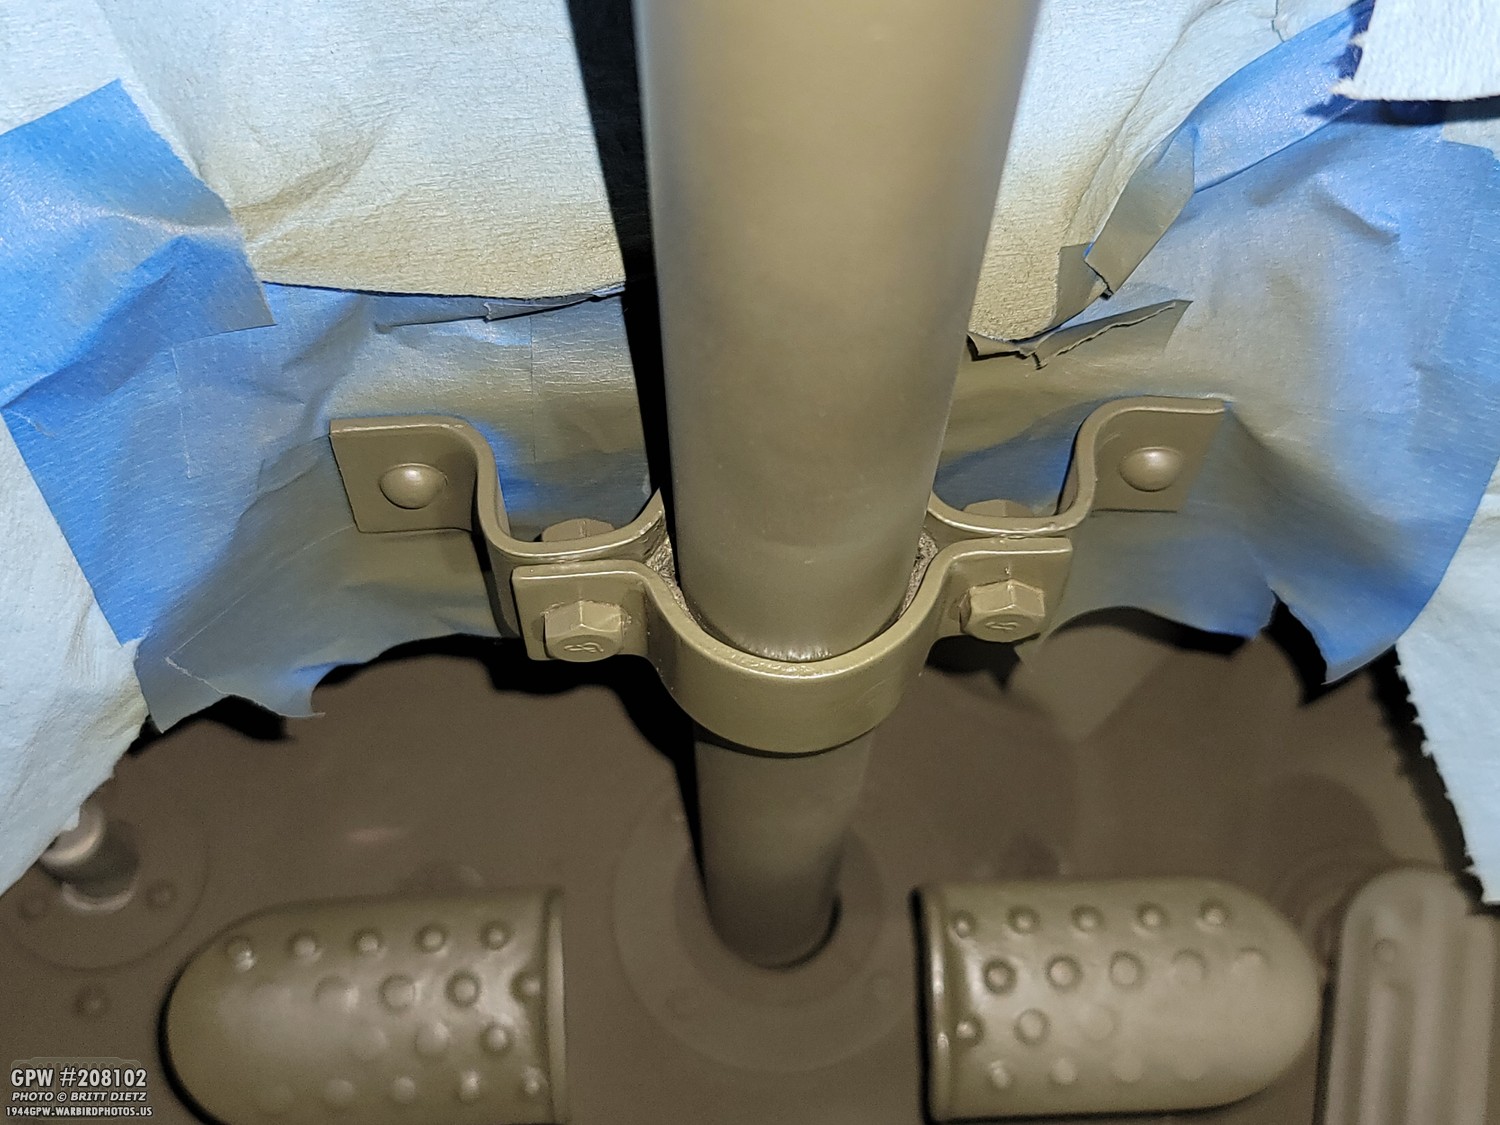
I went through getting all the bolts aligned that I didn’t take too many photos of the process. I was in that ‘I just want to get this done already!’ state of mind I think many of you can probably relate to! The final alignment task that (thankfully) required no drilling was the toe board forward frame attachments (top right with the canvas pad). Since that can swivel I was able to get it to align on both sides once the body tub was torqued down tight. Note, eventually, I want to replace all these non-F stamped bolts with F stamped ones. Those two bolts holding the brake master cylinder are the only two modern bolts I haven’t replaced at this point. A project for another day!
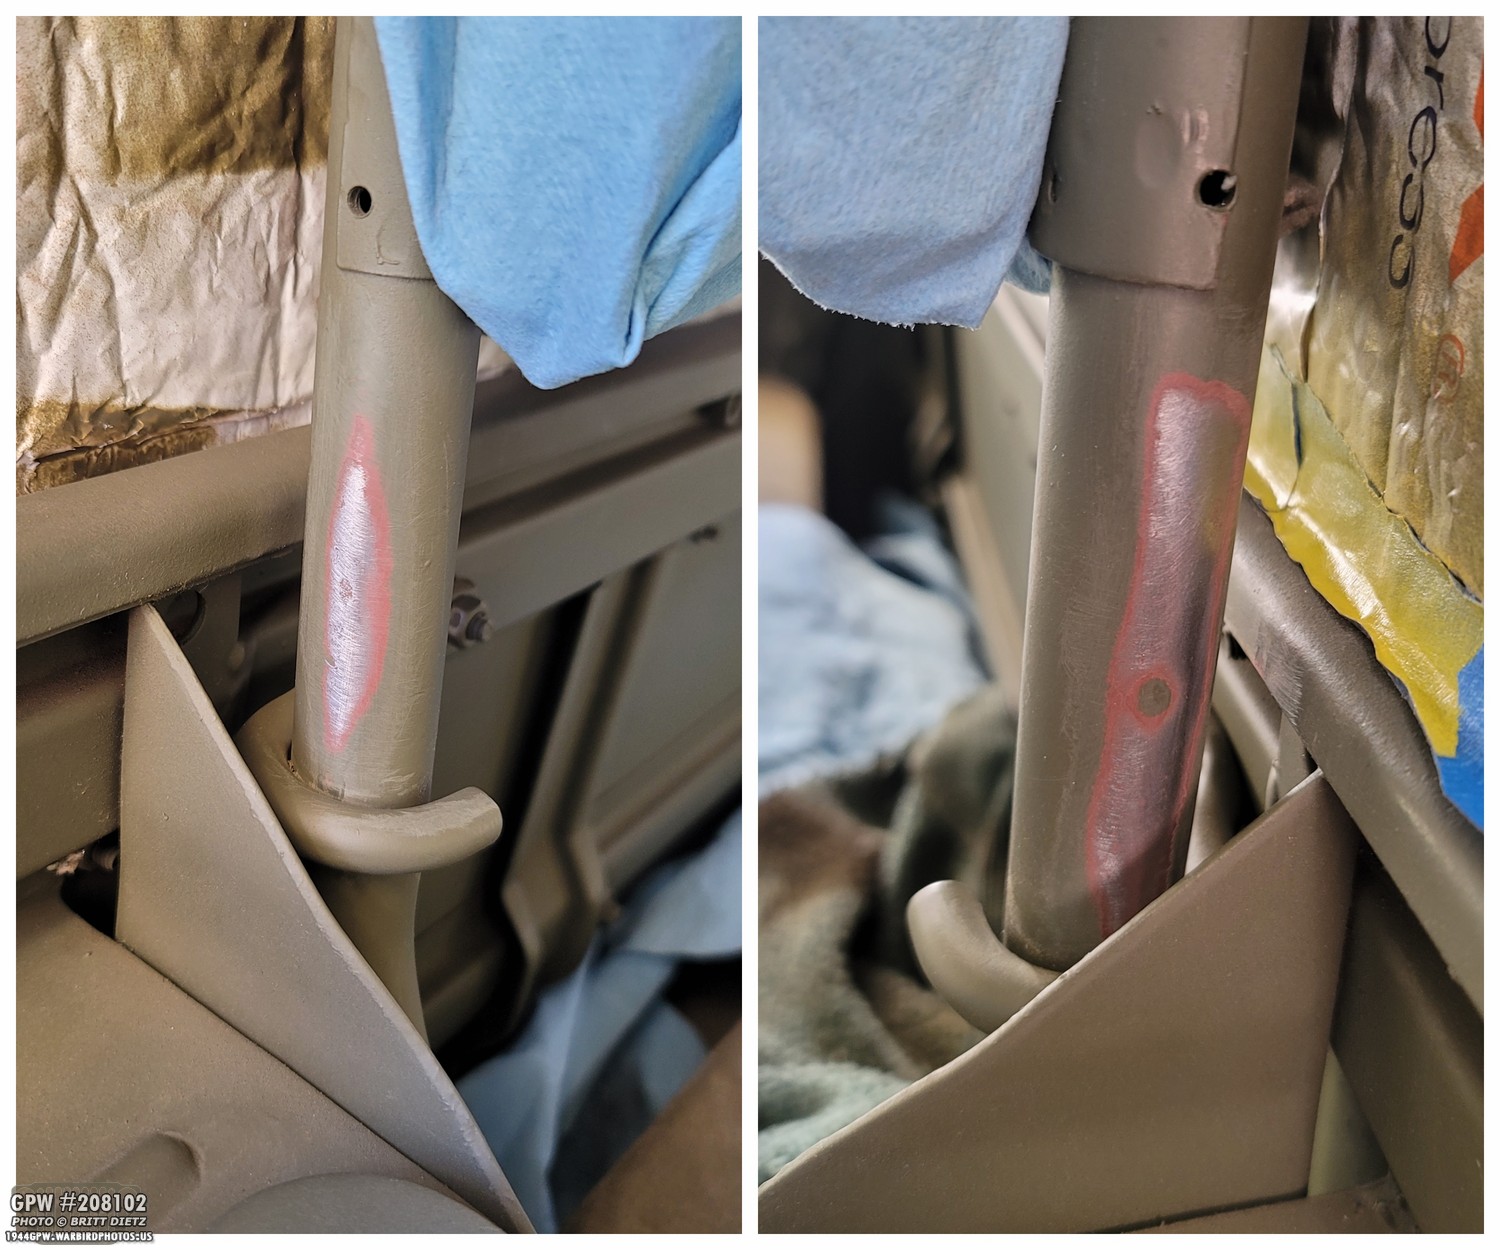
With the tub aligned, it was time to repair the mess I’d made of the paint job in various spots! The rear seat was scaped up pretty good from being the seat being folded up to access the tub mounting holes under the seat (the J hooks are very tight). After some sanding (shown here), I primed and repainted this area.

Last week I mentioned how one thing I did want to change where the two bolts holding the steering column clamp. Since I had to take off this clamp bracket as this would prevent the body tub from moving, so I took the time to clean up the paint a bit on the clamp bracket and also take a wire brush to reduce the layers of paint on the F stamp on the clamp. That way I could repaint it so it is better visible since it’s a very light stamp. Here’s after I reinstalled the clamp with F bolts. It’s nearly impossible to not mess up the paint when installing these bolts.
After some sanding around the bolts and masking of the dash, I hit it with some fresh 33070 OD Green.

And here’s the result! I didn’t mean for the bolts to be aligned nearly the same way, honestly just put them on and tightened them up. But at least now it has F bolts and the original F stamp on the clamp bracket is much easier to see! The lines around the bolt on the right are actually scratches in the metal so the paint (which isn’t very thick) picked those up. I could smooth those out a bit more, but I didn’t feel it was worth it.
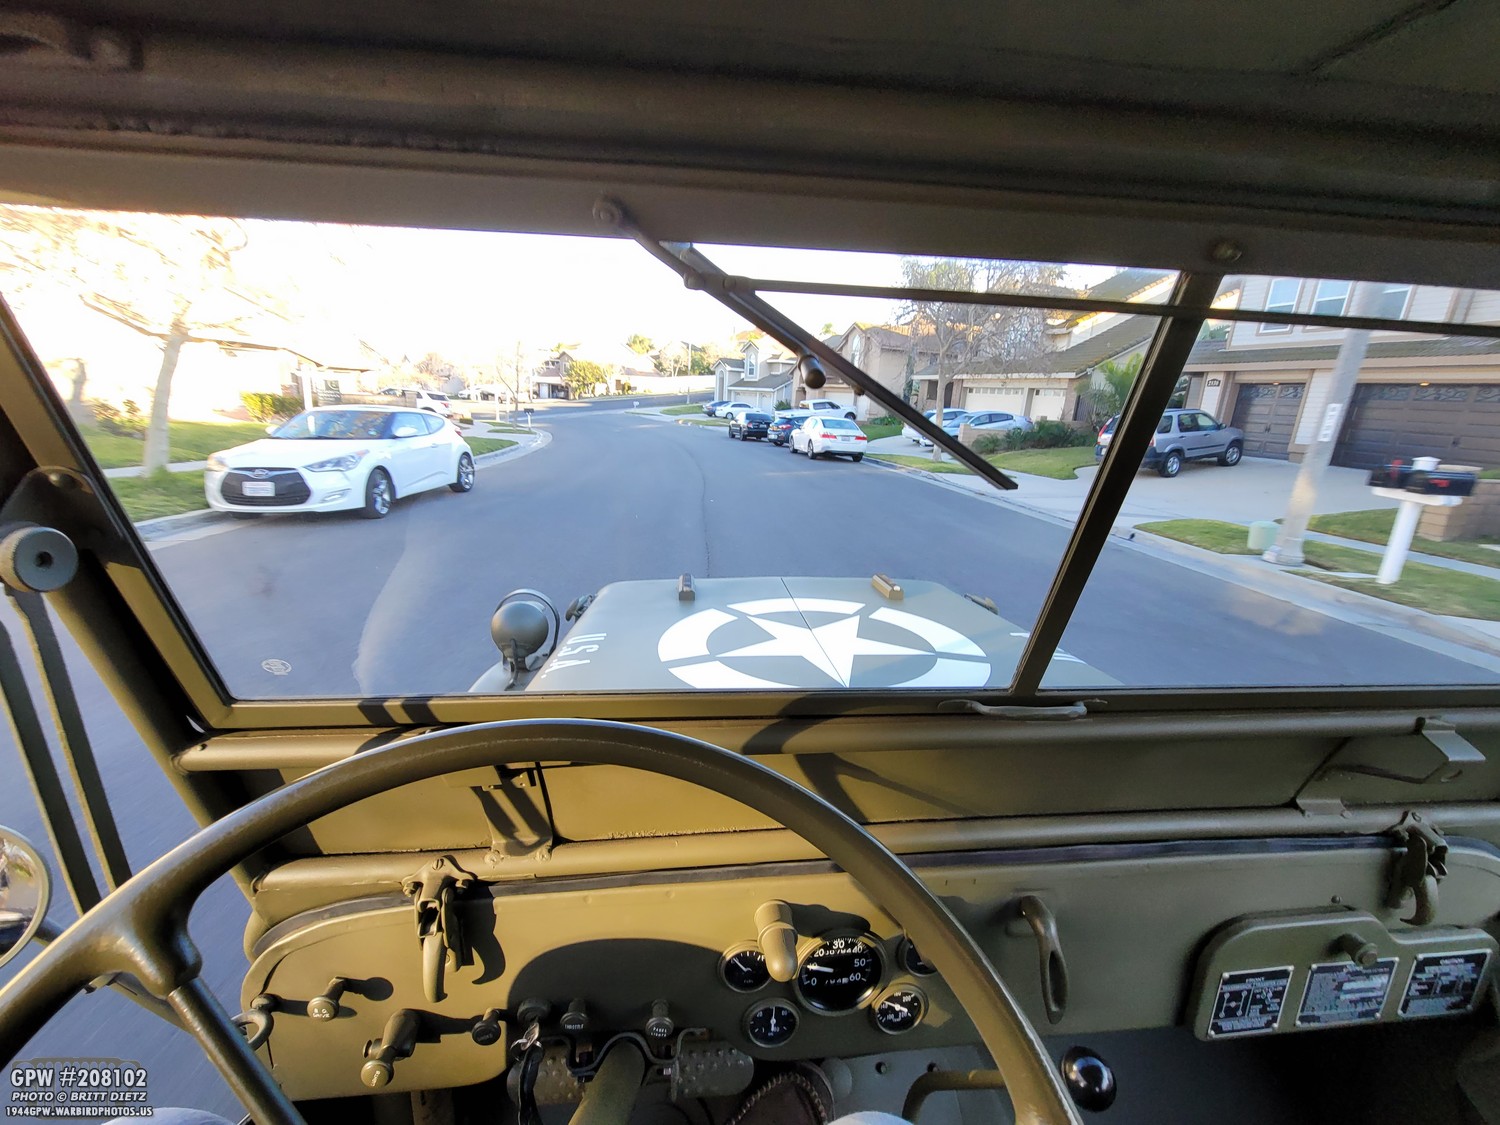
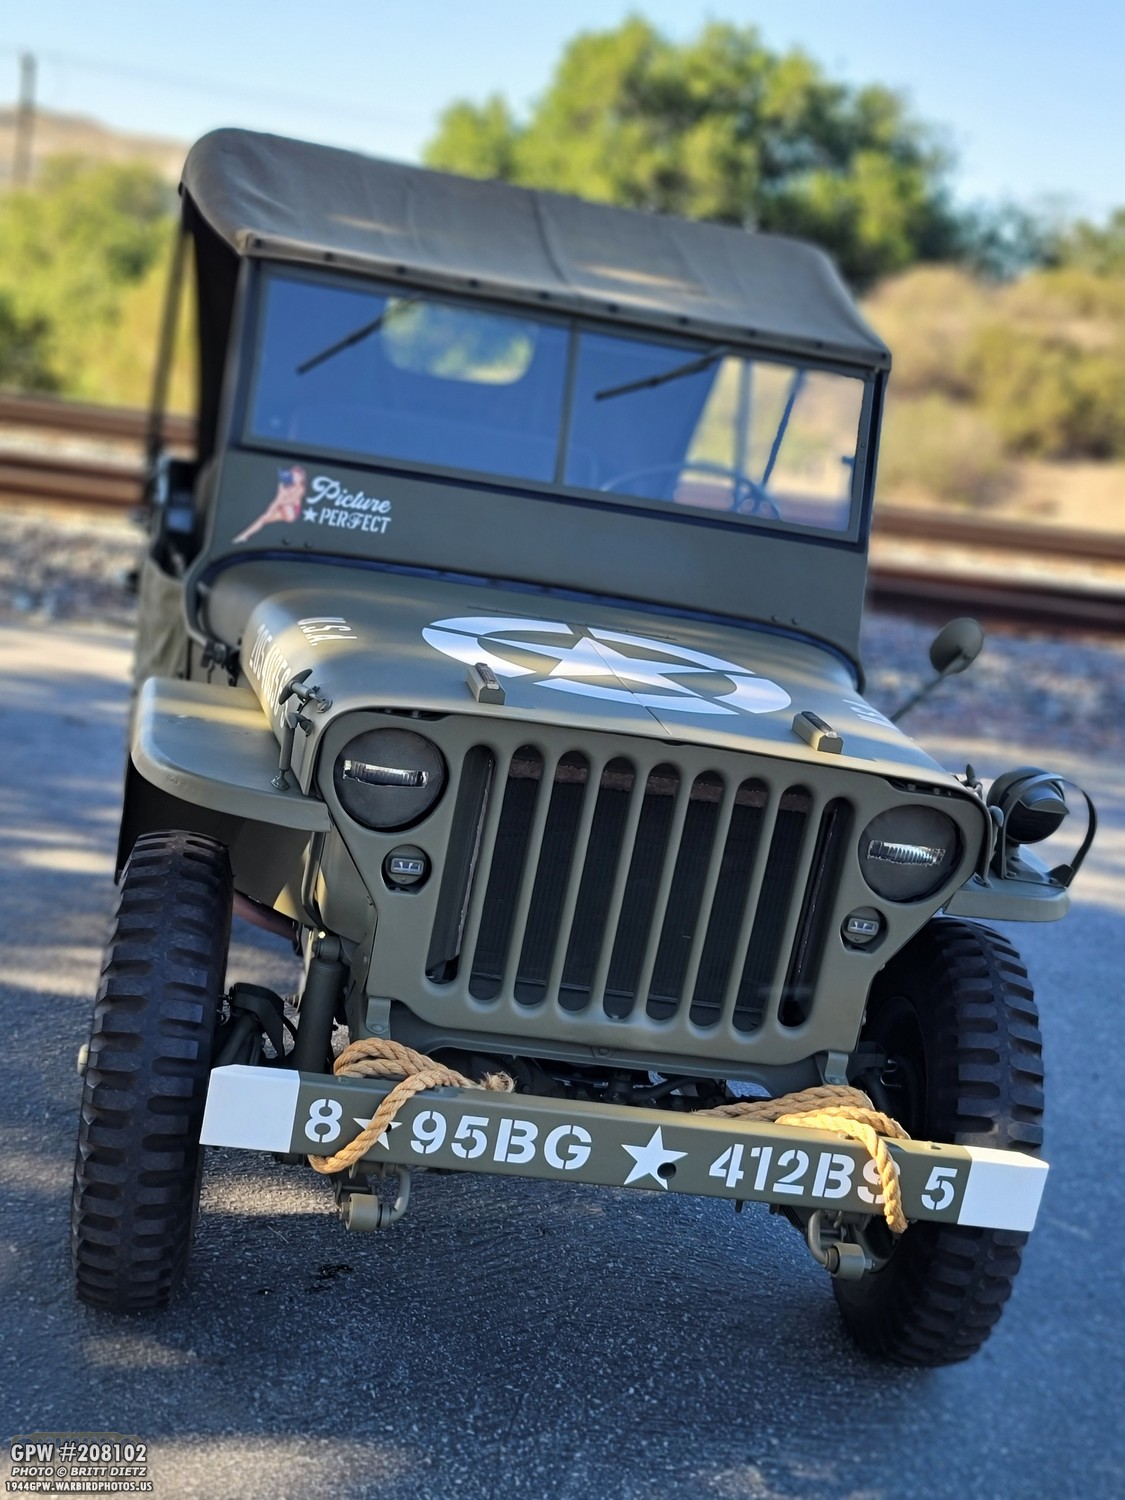
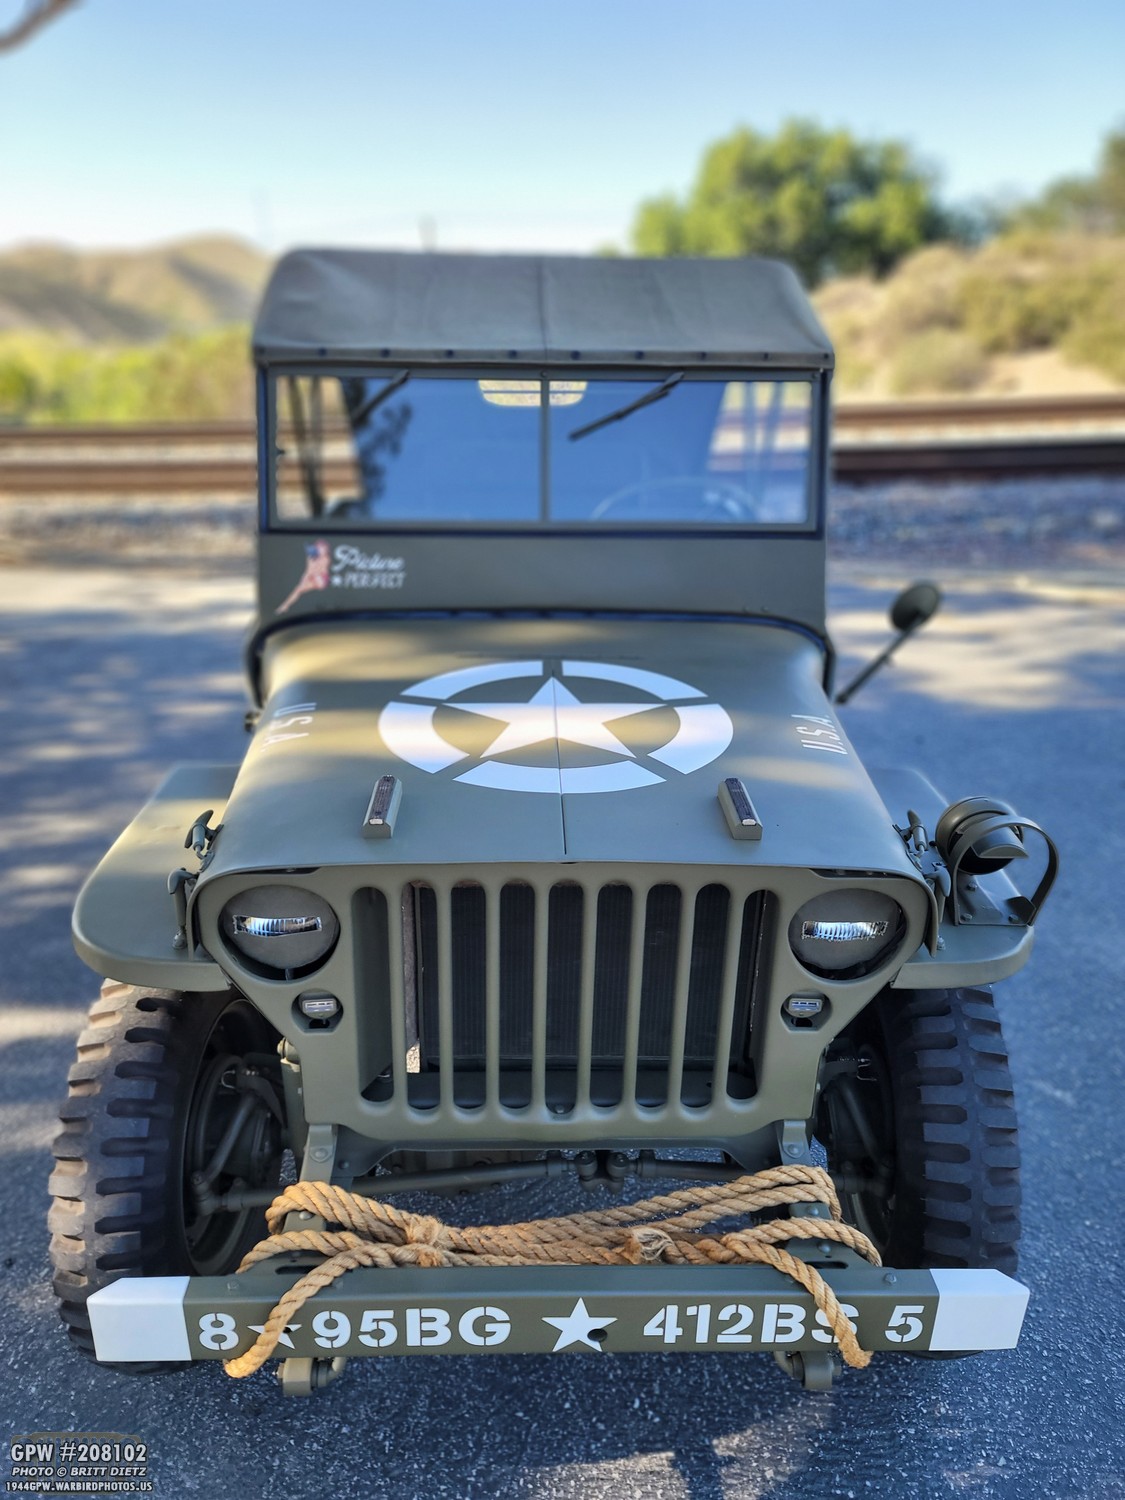
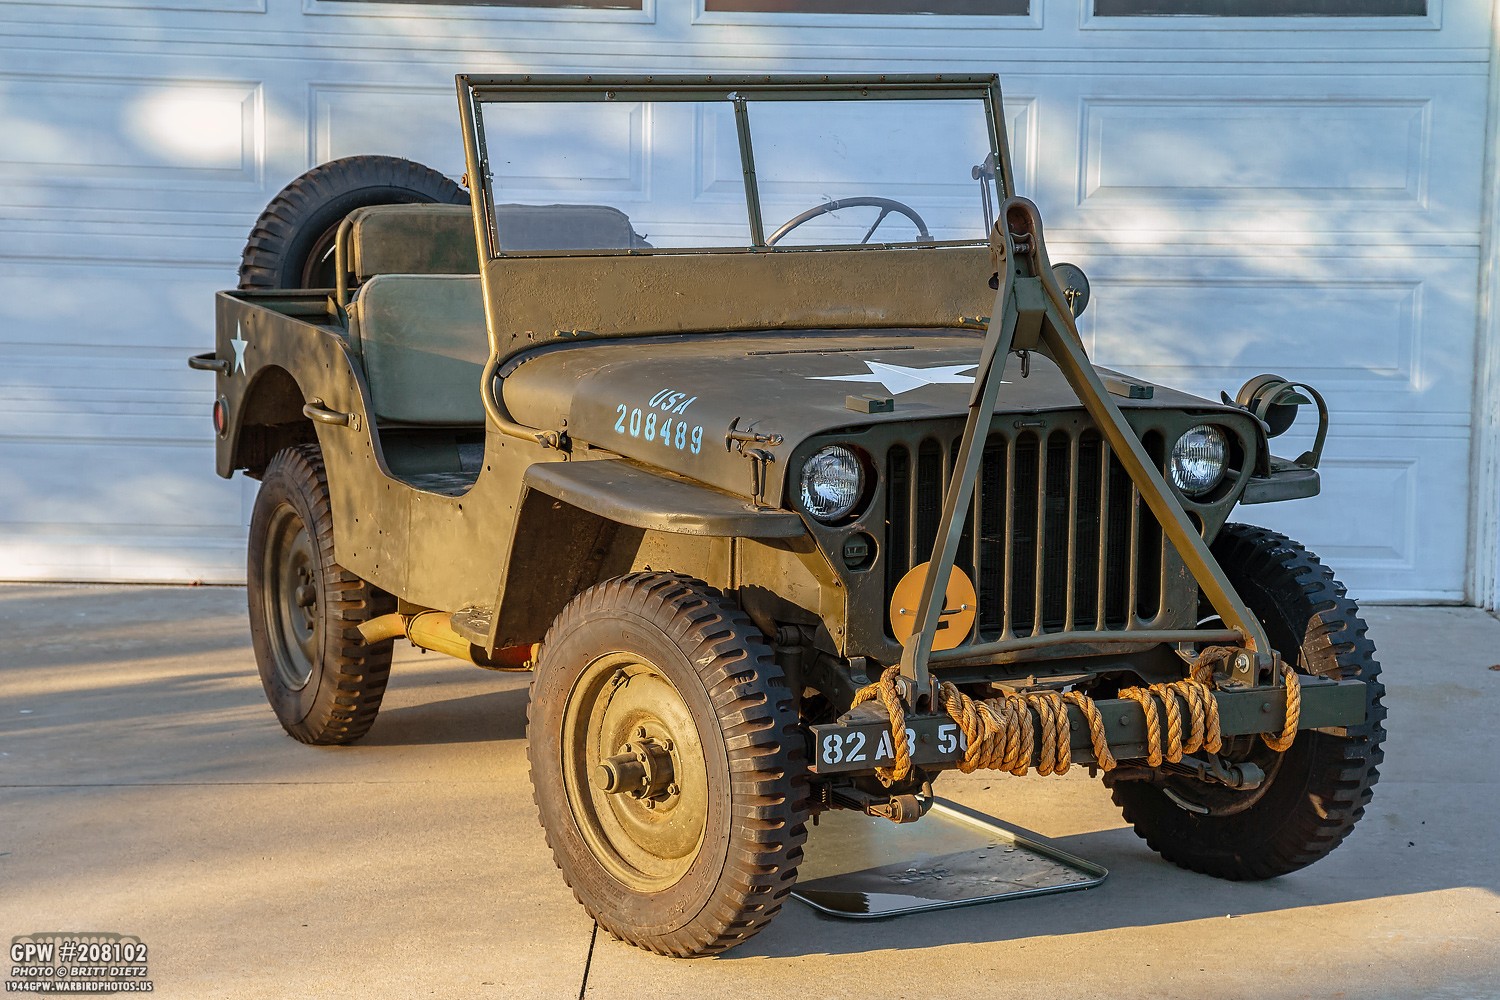
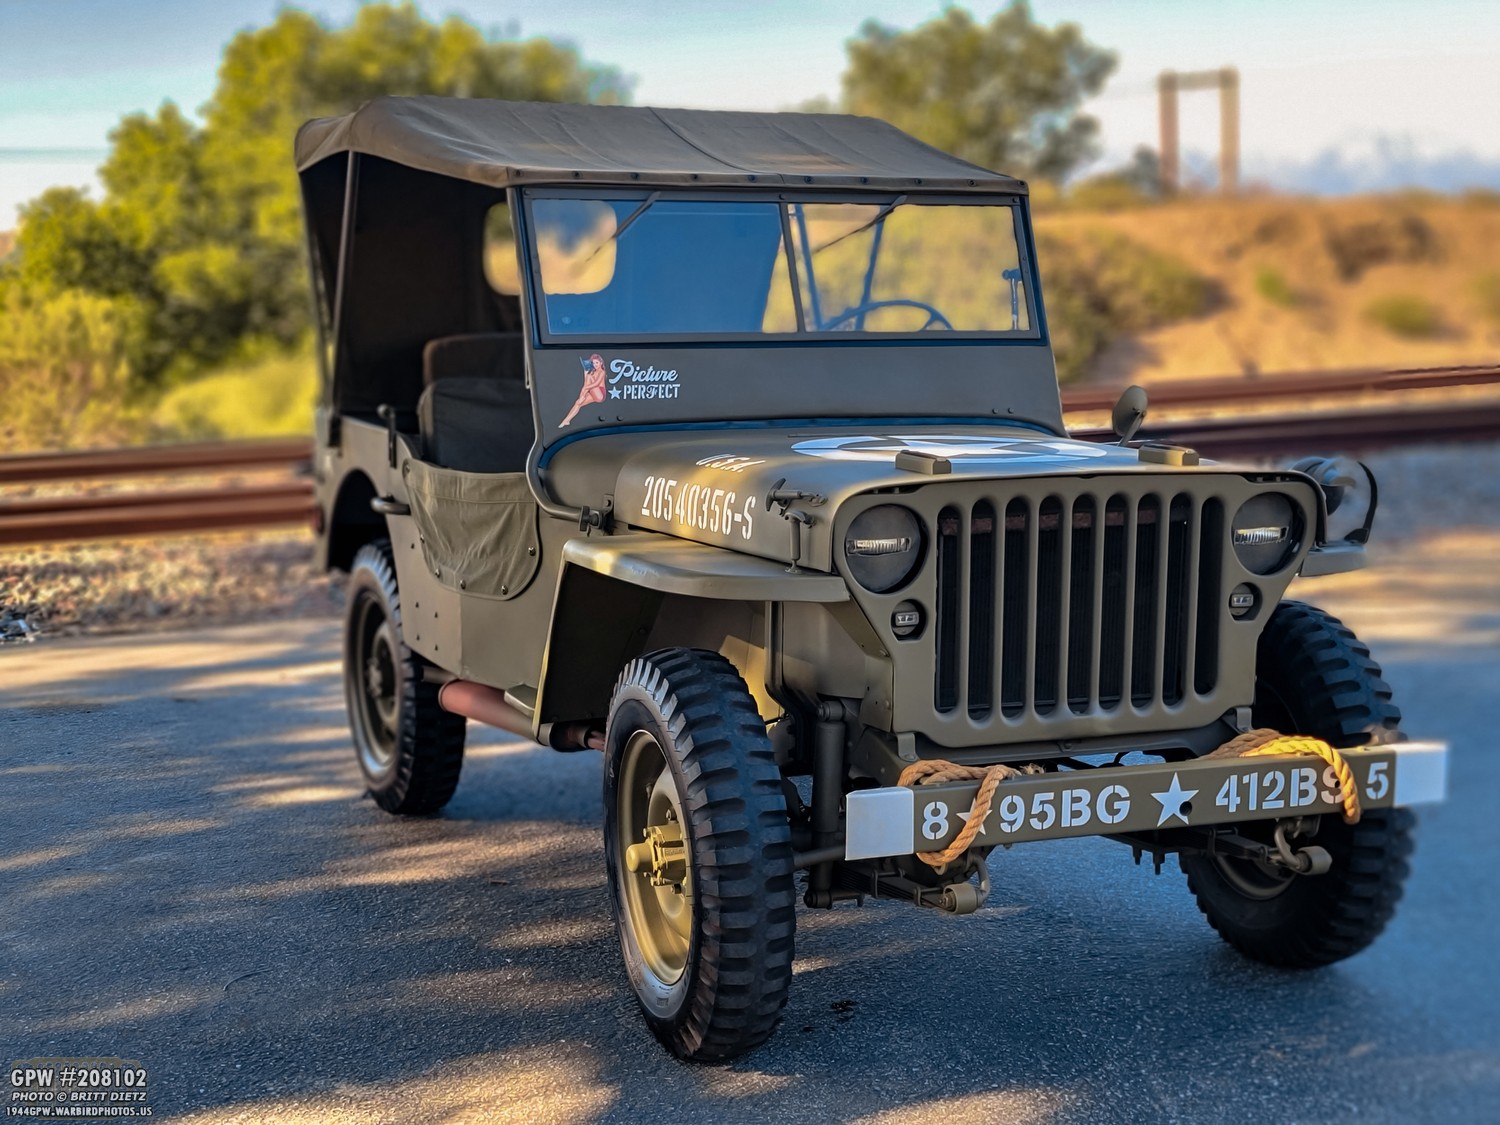
Now that the tub was fully locked down and all the bolts repainted, the steering tub locked in place and it repainted, and finally the fenders all finished with their bolts painted it was time to take the Jeep out for a ride for the first time in just over a month. She fired right up and was happy to hit the road! I tell you, I was getting anxious to take her out for a spin while this whole project was going on.
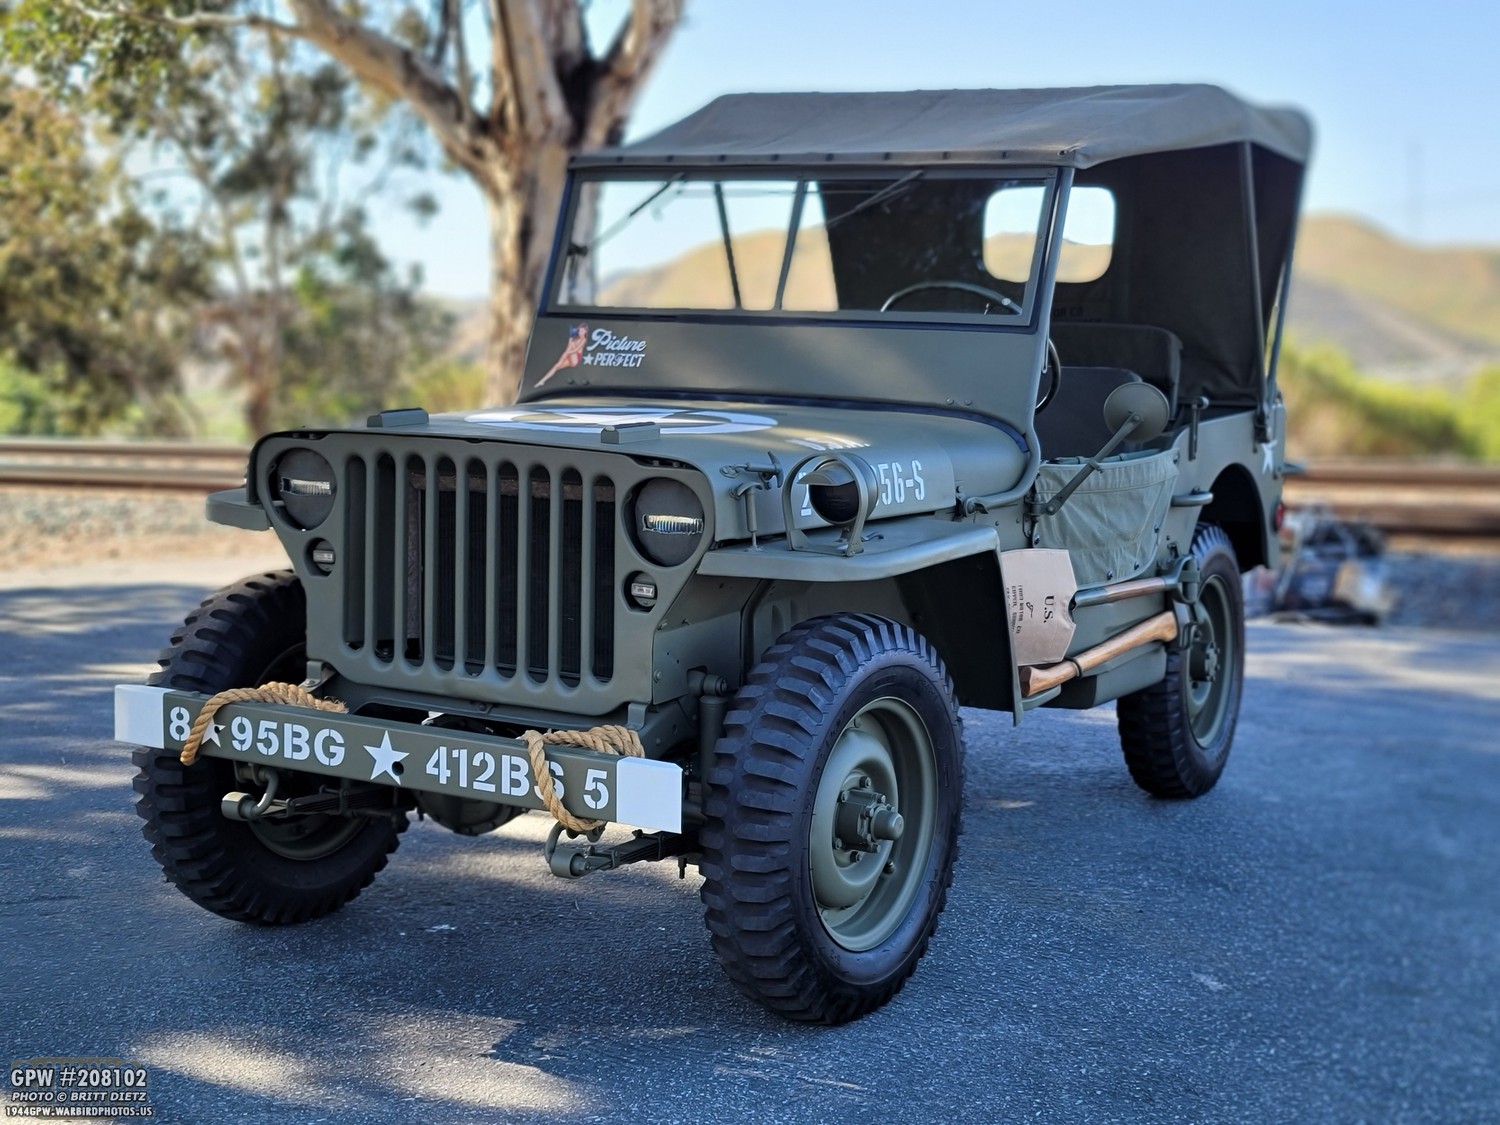
Since it’s been a few months since I last did some nice photos, I took the Jeep over to one of my little photo spots near train tracks (seriously, living in an urban jungle makes it pretty hard to find places not full of buildings or houses) and thought I’d document the Jeep as she looks right now having the original passenger fender now back on. Slowly replacing the major repro items with the repaired originals, which was always the plan.

It’s great to reunite the fender back on the Jeep. It’s a nice feeling being able to take off something repro and put an original item back on. Especially when it’s original to the Jeep itself.

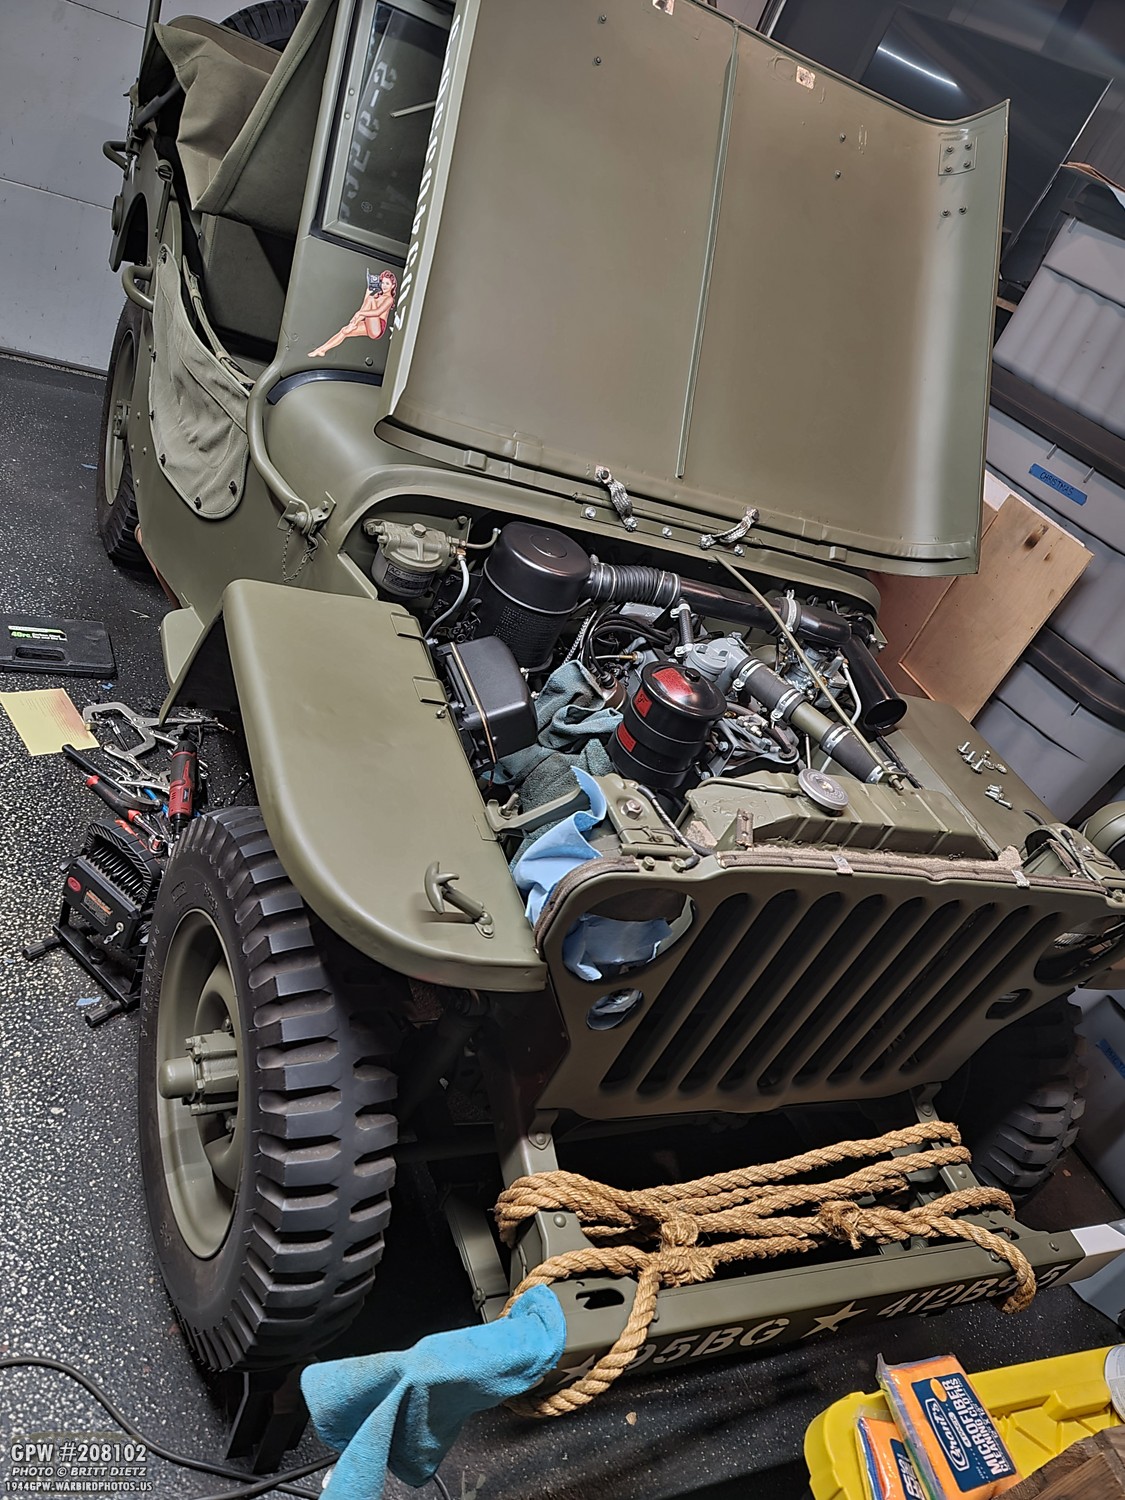
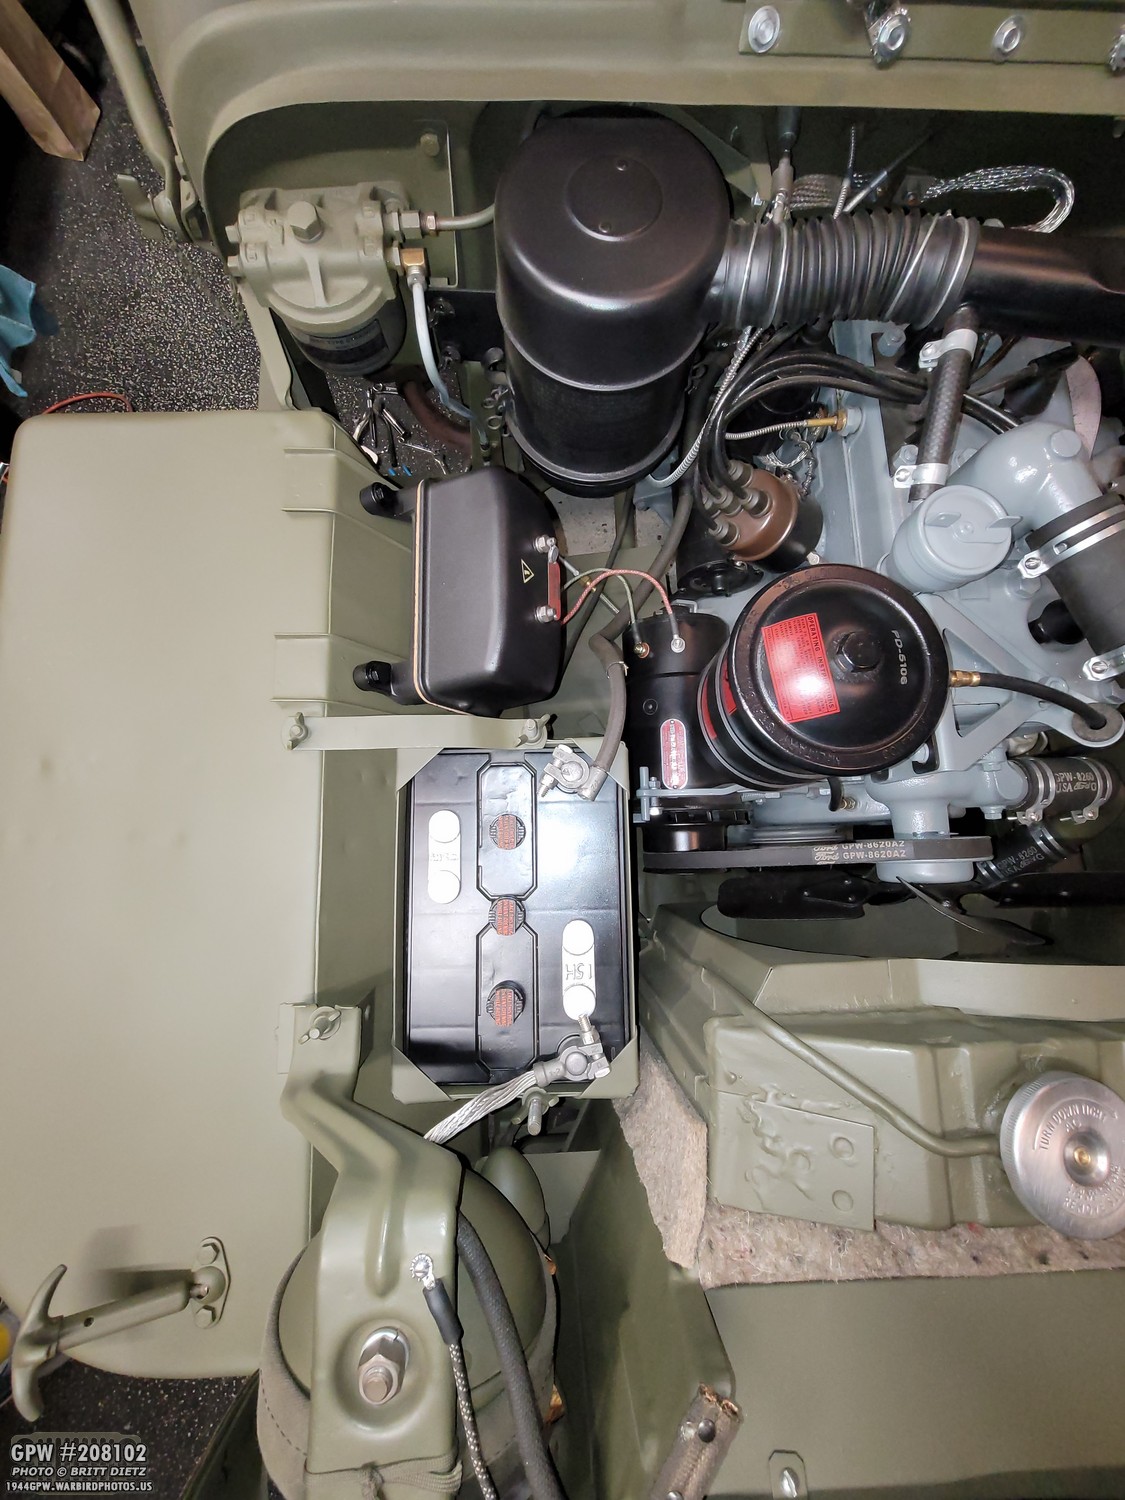
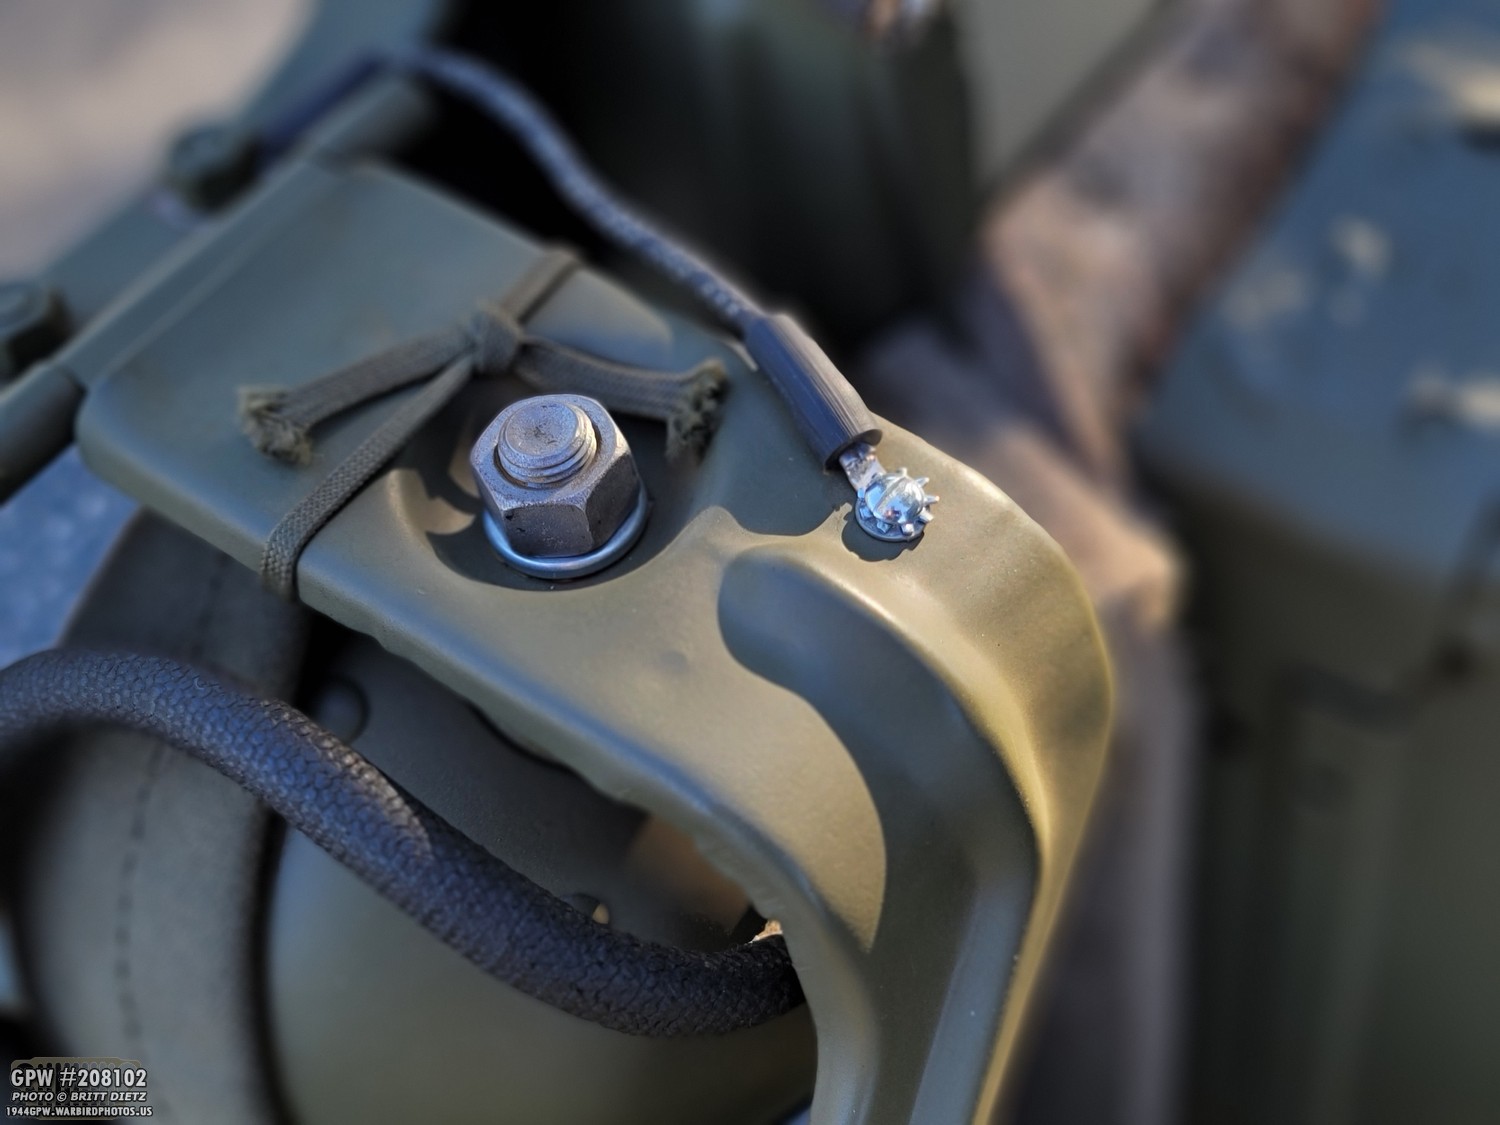
It’s nice to have the voltage regulator on the original fender as well. As I mentioned in the last update, it occurs to me that this is the first time this Jeep has had an original voltage regulator (this is an original one I bought on eBay and restored) probably since not long after WW2. I imagine the Jeep was converted to 12v sometime after the farmer bought it from the US Navy. The beefy wartime regulator was not needed and probably tossed in favor of the Delco alternator and a small post-war 12v regulator. While I’m still running a 12v setup, I have the regulator hooked up with my Powermaster PowerGen alternator that looks like a generator with the custom bypass internals I made for the regulator. You can read all about that here: https://www.1944gpw.warbirdphotos.us/blog/alternator-that-looks-like-a-generator/
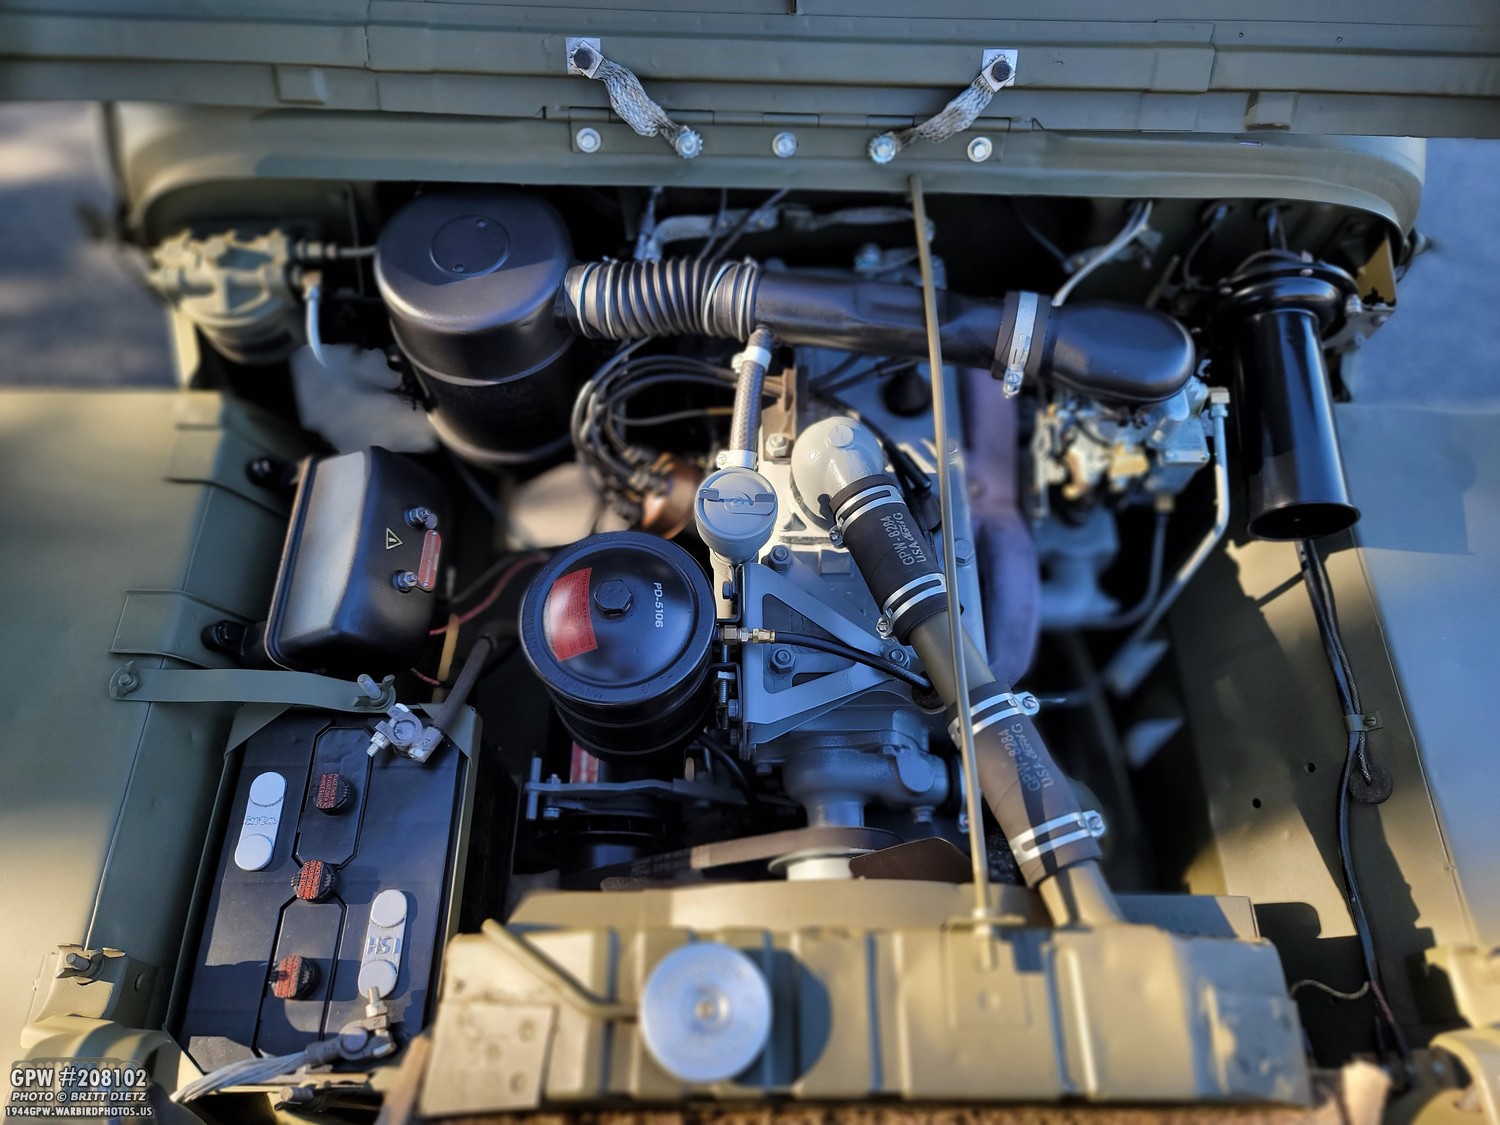
The engine is pretty complete where I want it. There are some minor fixes I’d like to do, like repairing a slight crack in the original oil filter bracket (common) and eventually getting some sort of 12v battery that looks like a Willard 6v, which is in the works currently by a company. But I’m pretty happy with how it looks.
During this whole project, I changed some smaller details on the Jeep. Mainly things that might have incorrect hardware. It never occurred to me that I used Phillips head little screws for the headlight grounding wire. So I went to the bolt bin and got some slotted pan head screws to replace them. Much better!

As I deduced when I was reinstalling the voltage regulator, had I used the Ord9 1 1/4 inch long 5/16-24 NF bolts they would be sticking out of in the wheel well way too far. The 1 inch sized bolts look much better to me.
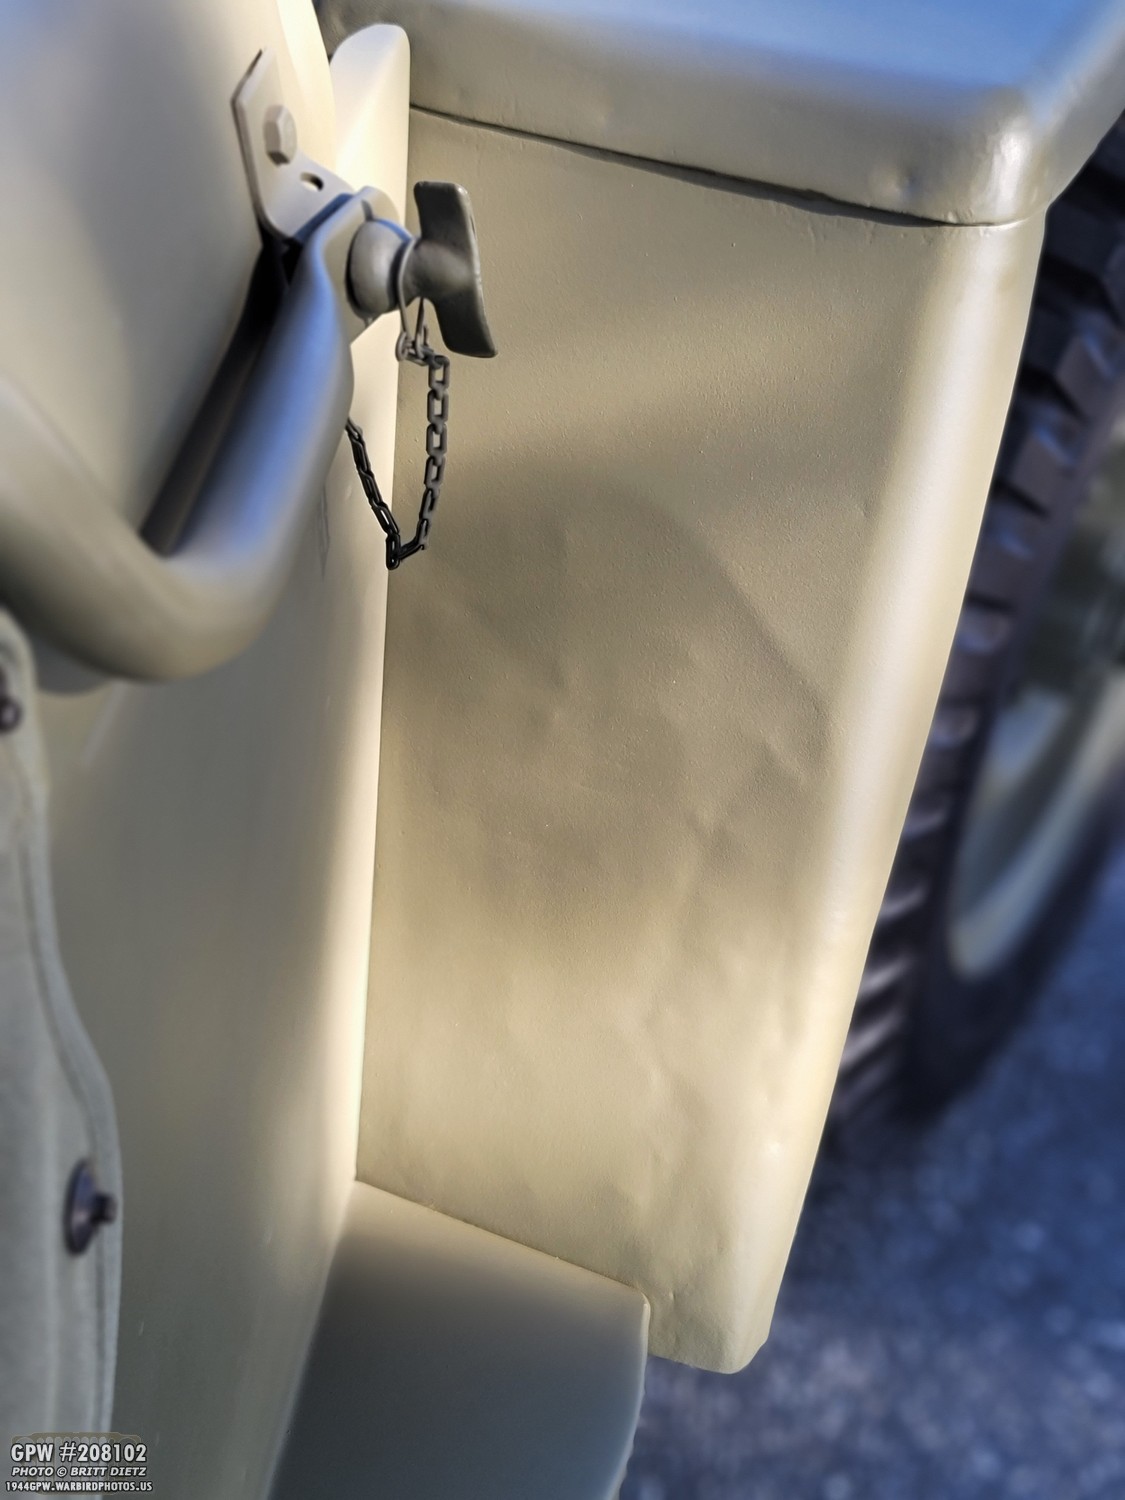
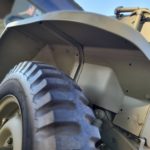
The not-so-smooth back of the passenger fender does still bother me a bit. I know it shows character, but I do wish it was a little more straight. I tried to use heat to straighten it when I was repairing the fender, but I could only get it this far. Perhaps one day I’ll try and smooth it out with some bondo a bit, but for now, it’s as good as it’s going to be.

One nice bonus to the original fender going back on is that the forward lip of the voltage regulator support brackets contacted the lip of the hood. So both the corner edge of the lip and the lip of the hood would always have metal showing. That’s not an issue now with the original fender and hood! Yay!

As with the steering column clamp, I took the original battery tray hold down bracket and used a wire brush to thin out the paint on the F stamp. I then repainted it with a thin coat of 33070 OD Green. The F stamp stands out much more clear now!

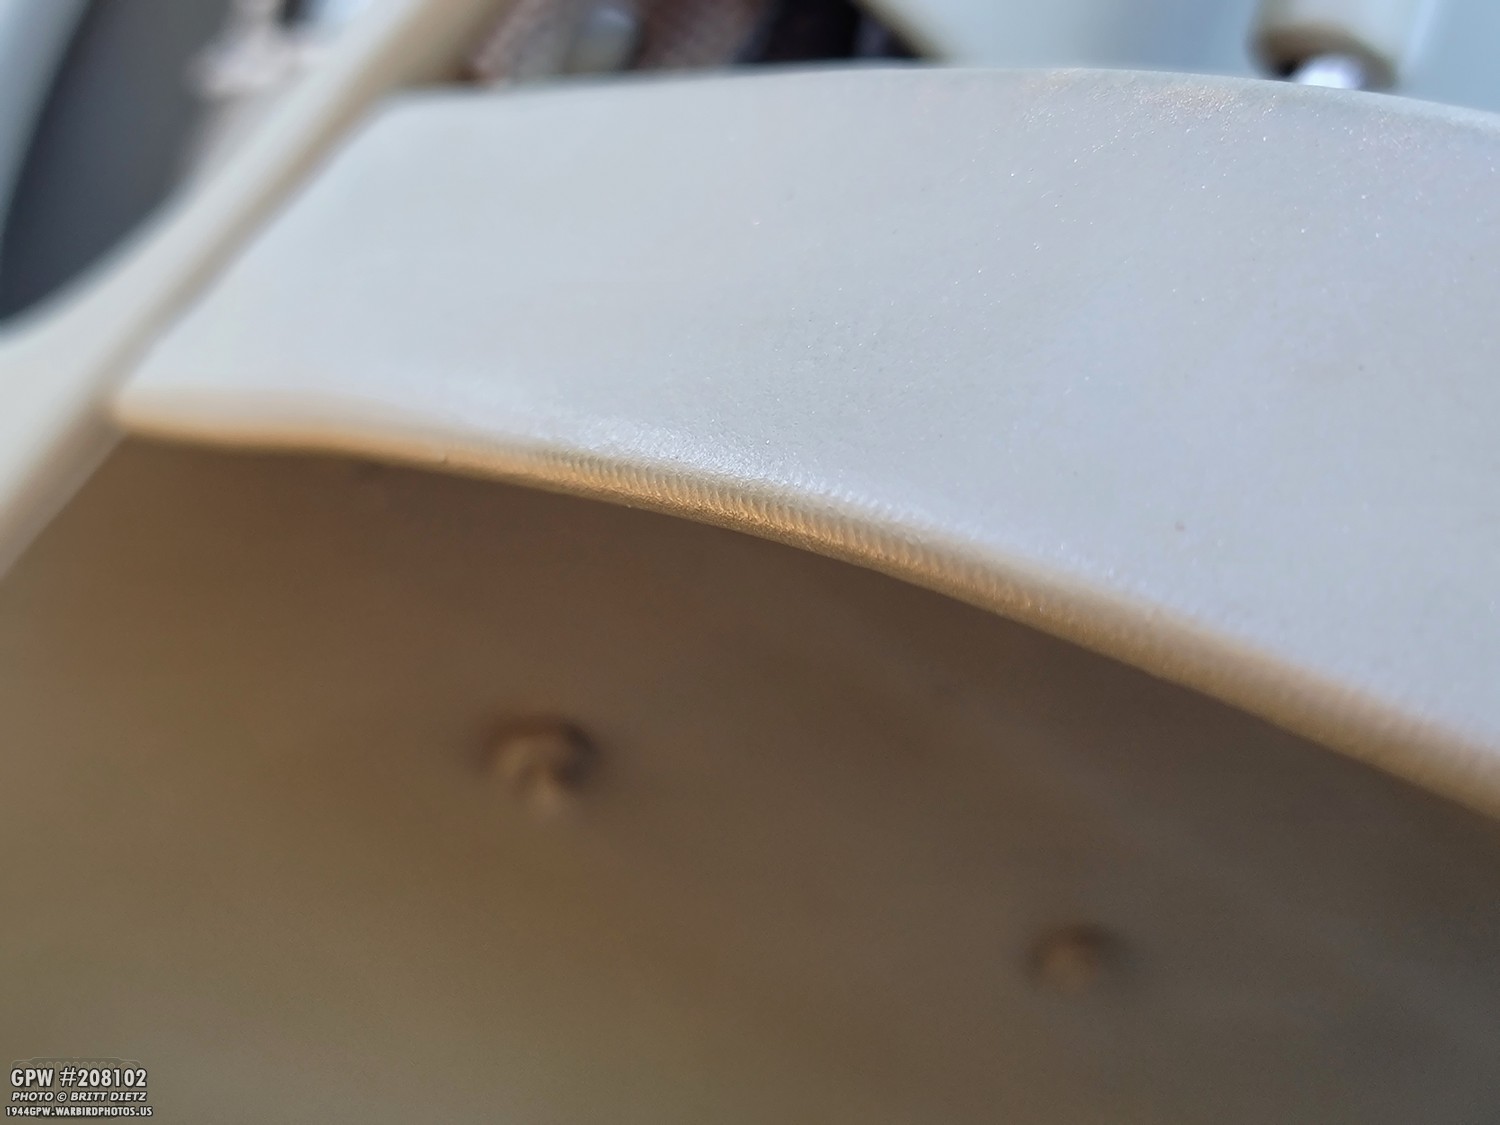
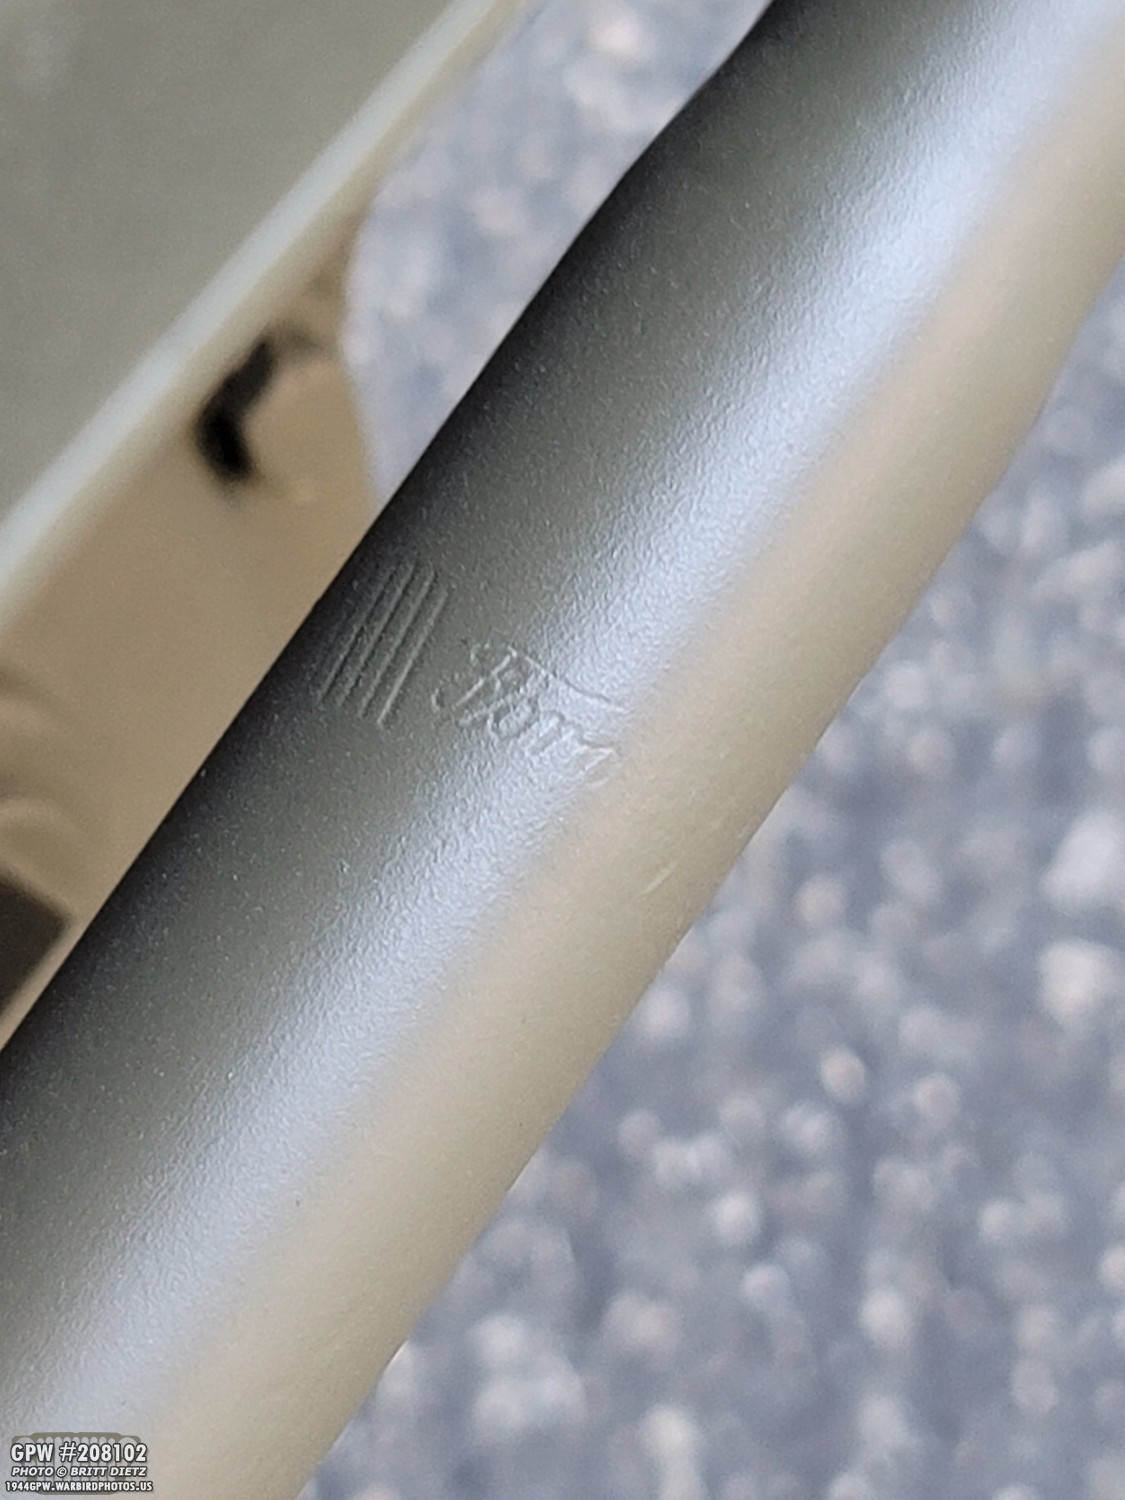
One tell-tale sign of a GPW is the ribbed rolled edges of the hood and fenders. I’ve heard some reports that this ended in later production GPWs, but it’s often a quick sign if you have at least a mid-war GPW hood and fenders if you can’t find F stamps. MD Juan does not reproduce this distinct feature, so that was another reason I wanted to make sure I eventually have both original fenders back on the Jeep. Here’s the original hood with that ribbing.
Here’s the driver’s side fender with the ribbing.

And although it’s a bit harder to see, you can still make out that ribbing on the passenger fender.
So, what’s left to do on the Jeep at this point? That’s a good question. There are still many things I’d like to eventually do, acquire, and replace. She’s at the point where I don’t need to rush out and do things as she drives well and is how I want her to look. So it’s more finer details and replacing repro with original (if I can find them for good prices!)

So, let’s walk around the Jeep and see what I think I could do next. Of course, the big ticket item is repairing the extensive rust damage on the original body tub that’s sitting in my garage. That will be a project I start sometime this year once I get it sandblasted. I predict that will take over a year or more to repair to where I want it to be. Smaller items I want to change or add are things like getting a new shovel cover as the one I have now has rapidly faded in the sun to a near khaki color. I’ve thought about dying it, but not sure how that’ll turn out. I also want to get a windshield cover. I’m in no hurry, though, as it’s going to just sit folded under the passenger seat since I never take the top down on the Jeep.

Not much to change here other than the body tub. I don’t have any desire to replace the repro combat rims with originals. Aside from the fact that good usable combat rims are getting tough to find and are crazy expensive when you do run across them, I like feeling safe in the knowledge these repros are reliable.

The rear is looking pretty good as well. Eventually, I’d like to change out all the NOS bulbs in the lights to be LED as I did with my main brake light on the left. But, like that brake light, I’ll only be doing that when they burn out. I would like to replace the two eye rings for the pintle hook with either original or repro GPW ones. Right now they are post-war ones that came with the Jeep. Repros are expensive (typically $30 each for the F marked ones) and originals are very rare.

I’d still like to try to get the ax wood handle finish to match the shovel a little more, but that’s just a minor thing. As mentioned, I’d like to get a better ax shovel cover. The shovel covers are fantasy items, but they protect the paint on the Jeep and I like how they look. I also like the markings, which again is a fantasy item, but still a nice addition.

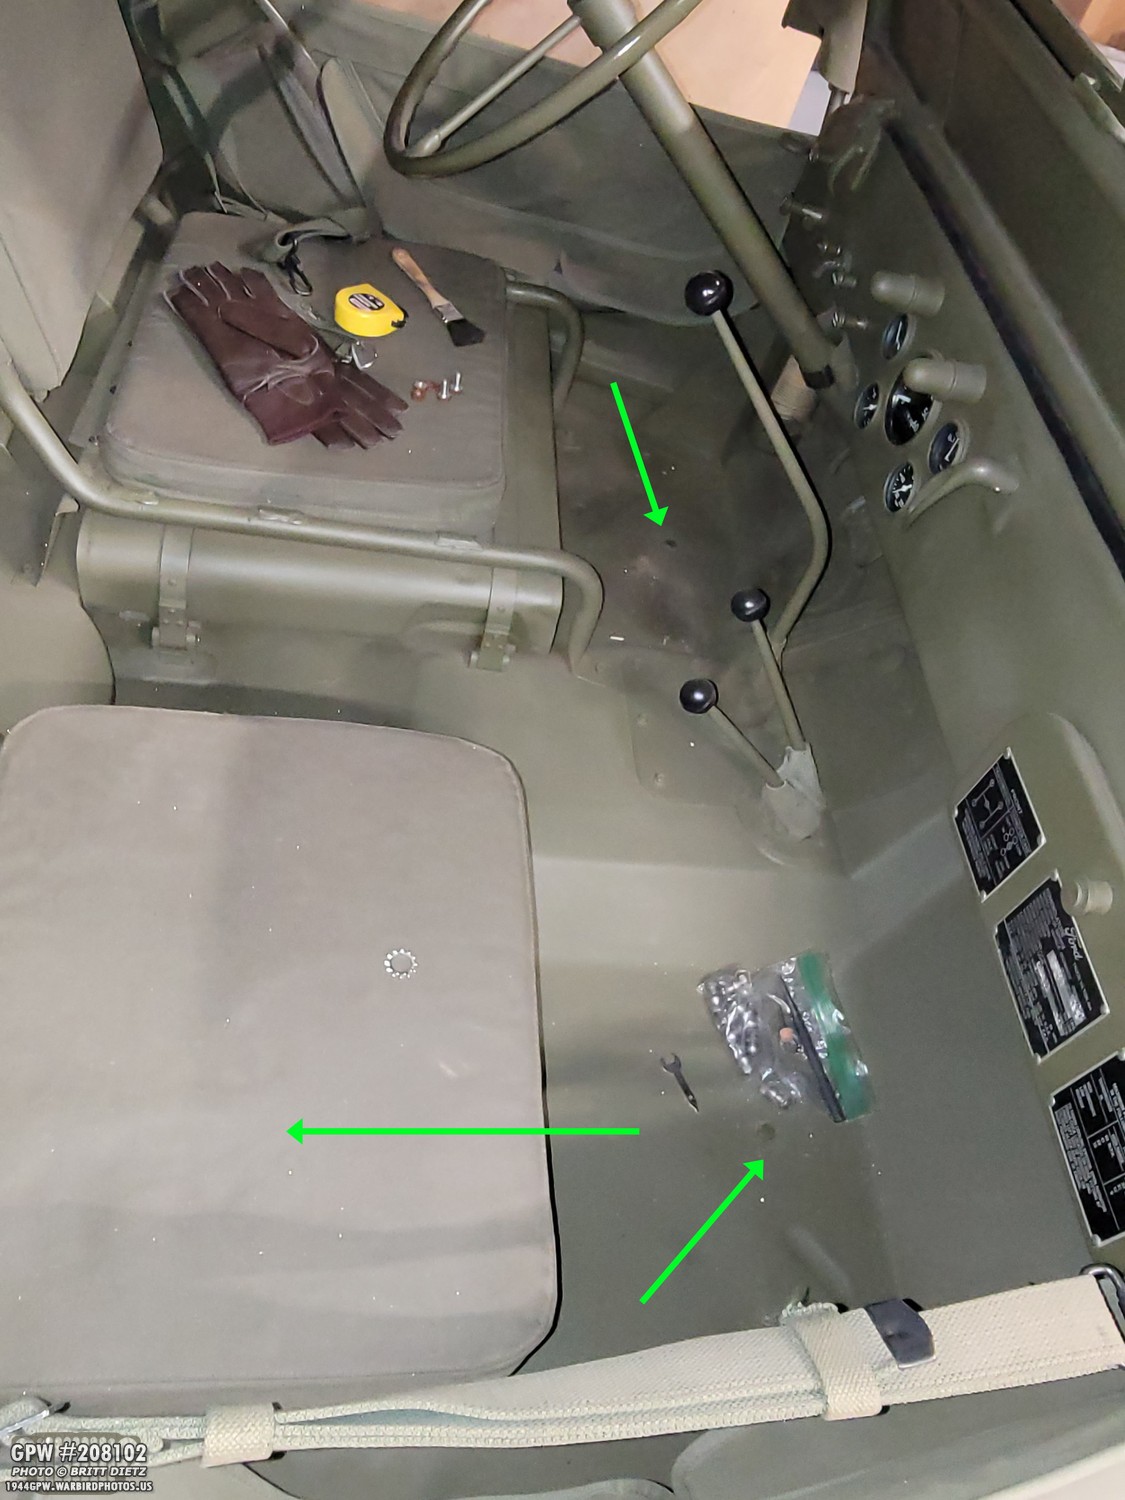
Looking inside the Jeep, I still need to do some more adjusting of the fuel gauge and sender. It will work for a week then it dies. I’m not sure if it’s a short somewhere with it causing the circuit breaker to go, a bad circuit breaker, or an issue with the float in the gas tank. But otherwise, I’m happy with how it looks.

From the other side, I still need to do some slight repairs to the back of the passenger seat which has some rust damage (you can’t see it from this angle, and need to rotate the seat forward to even see it). That’ll be a future project.

One thing I would like to swap out is the repro F stamped top bow brackets with originals. But those are hard to find and very expensive, so I’m in no hurry.

I’ve been slowly replacing out the modern made screw-type valve caps with originals. I still need two more to complete all the tires. I’d also like to replace the valve stem protectors with ones that have Schrader written on them.

But otherwise, the Jeep is where I want it to be. Once I get the original tub repaired to where I like and I swap it out, I think that will be the final end of the restoration!
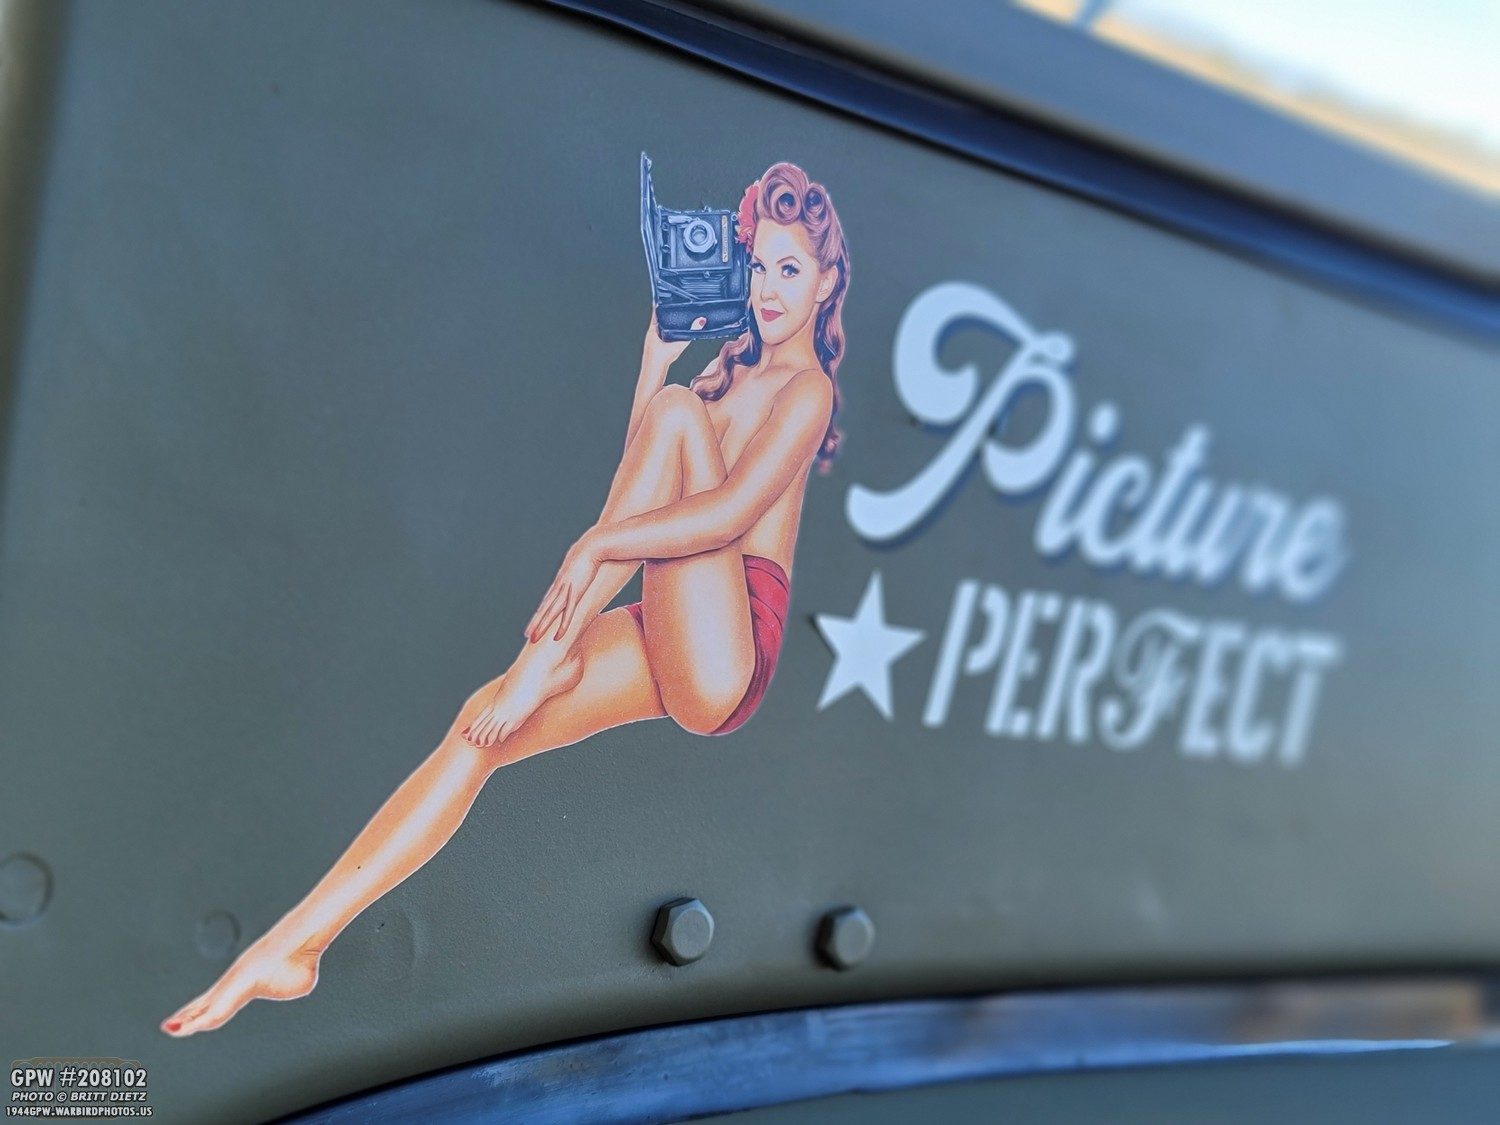
One popular thing about my Jeep that always gets photos taken (I wonder why) is the ‘nose art’. I covered this a few updates ago, but this is a pinup I made from a studio photo I took with a good friend/model to replicate a pinup from early 1944 (the correct time period for my Jeep).

A look at one of the F stamps in the backs of my original seats. One of the nicest deepest F stamps on the Jeep.
One often overlooked F stamp is on the front steering tie rods. They are often very lightly stamped but have the full Ford logo.
The ignition switch knob project I did a few updates ago is working well. Looks like how it would have been in wartime, but you can’t start the Jeep by turning it. More on that half way through here: https://www.1944gpw.warbirdphotos.us/blog/december-7th-event-ammo-crate-radio-upgrades-ignition-switch/
The Jeep has certainly come a long way since I first got it in October 2018, shown here. I’m lucky that it was in better shape than some Jeeps I see people find in fields. But it’s been a long journey with a LOT of work (and money!)
And now flash forward to a few days ago and how she looks now. I’m happy with how much she’s changed and how good she looks!

Moving on to some other projects! As those of you who read my updates know, I set out last year to make incredibly accurate push-pull light switch tags. I spent several weeks looking at photos online of them and ended up making very accurate replicas. I’ve since sold many of these to other Jeep owners. I’ve only ever seen a real one once in person, and only for a few seconds. I never got to study it.

Well, that changed last month when I won an original push-pull tag with replacement tag and main switch body on eBay!

A close-up of the original tag shows the texture. It’s not quite a paper, but almost a cloth-like material.

Compared to my repro (top), it’s very close. I have a similar texture I found, but the grid texture is larger on mine than the original. The grommet is a bit thicker than I’d like, but that’s all I can find (smallest they make in stores!). So it’s close enough. The redrope protector donut is virtually the same, but just a slightly different shade (which varies between the original tags I’ve seen photos of online, so technically mine is also right).

A closer look at the textures. I’ve since found something that looks even closer to the original texture that I hope to try out in the next month for a version 2.0. No matter what, I think the repro I did came out as close as you could get with only seeing online photos! And it’s miles (literally) better than the repros that are completely wrong out there for sale right now.

The other larger tag I was originally looking to reproduce as well to have them as a set, but it turns out that this tag is actually either late-war or post-war from what research I’ve been able to find. It’s meant to tell how to replace a push-pull switch to the late-war style rotary switch that was adopted. I could see this tag being used well after the war as many WW2 vehicles were used well into Korea and beyond that had the push-pull switch. The tag ‘appears’ to be dated December 19, 1950, but I’m unsure if that’s an actual date or a document number at this point.
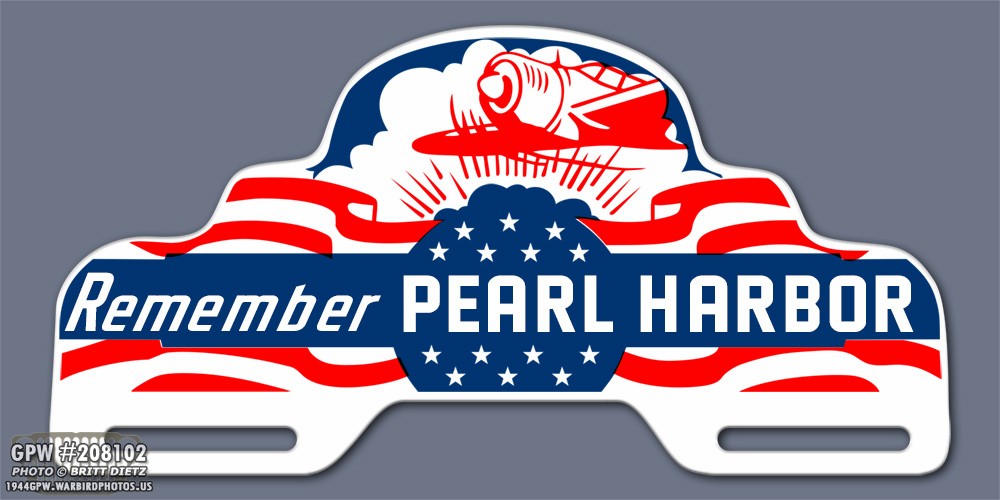
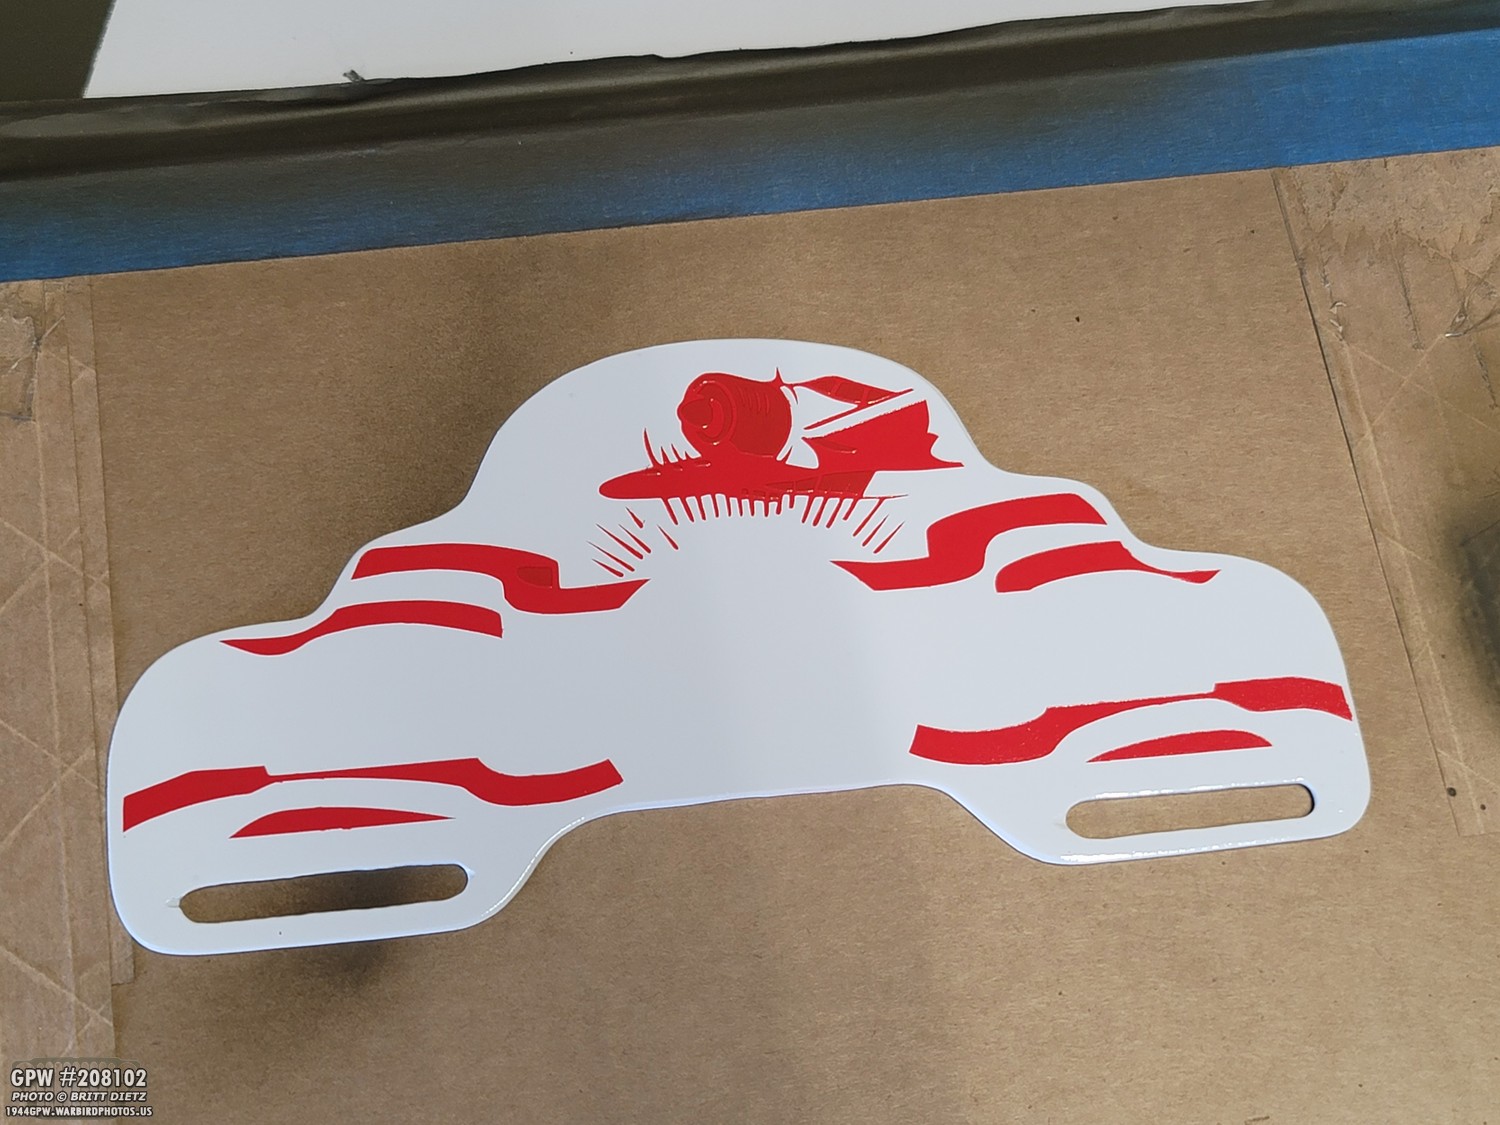
A few updates ago, I started another side project where I was going to replicate a WW2 Pearl Harbor license plate topper that I thought was neat and would pay tribute to the fact that I’m pretty confident that my Jeep served on Oahu during the later part of the war. I used photos I could find of an original and made this exact copy in photoshop.

Using my Circut, I made stencils for the red and blue colors. I also made a stencil to cut the metal base.
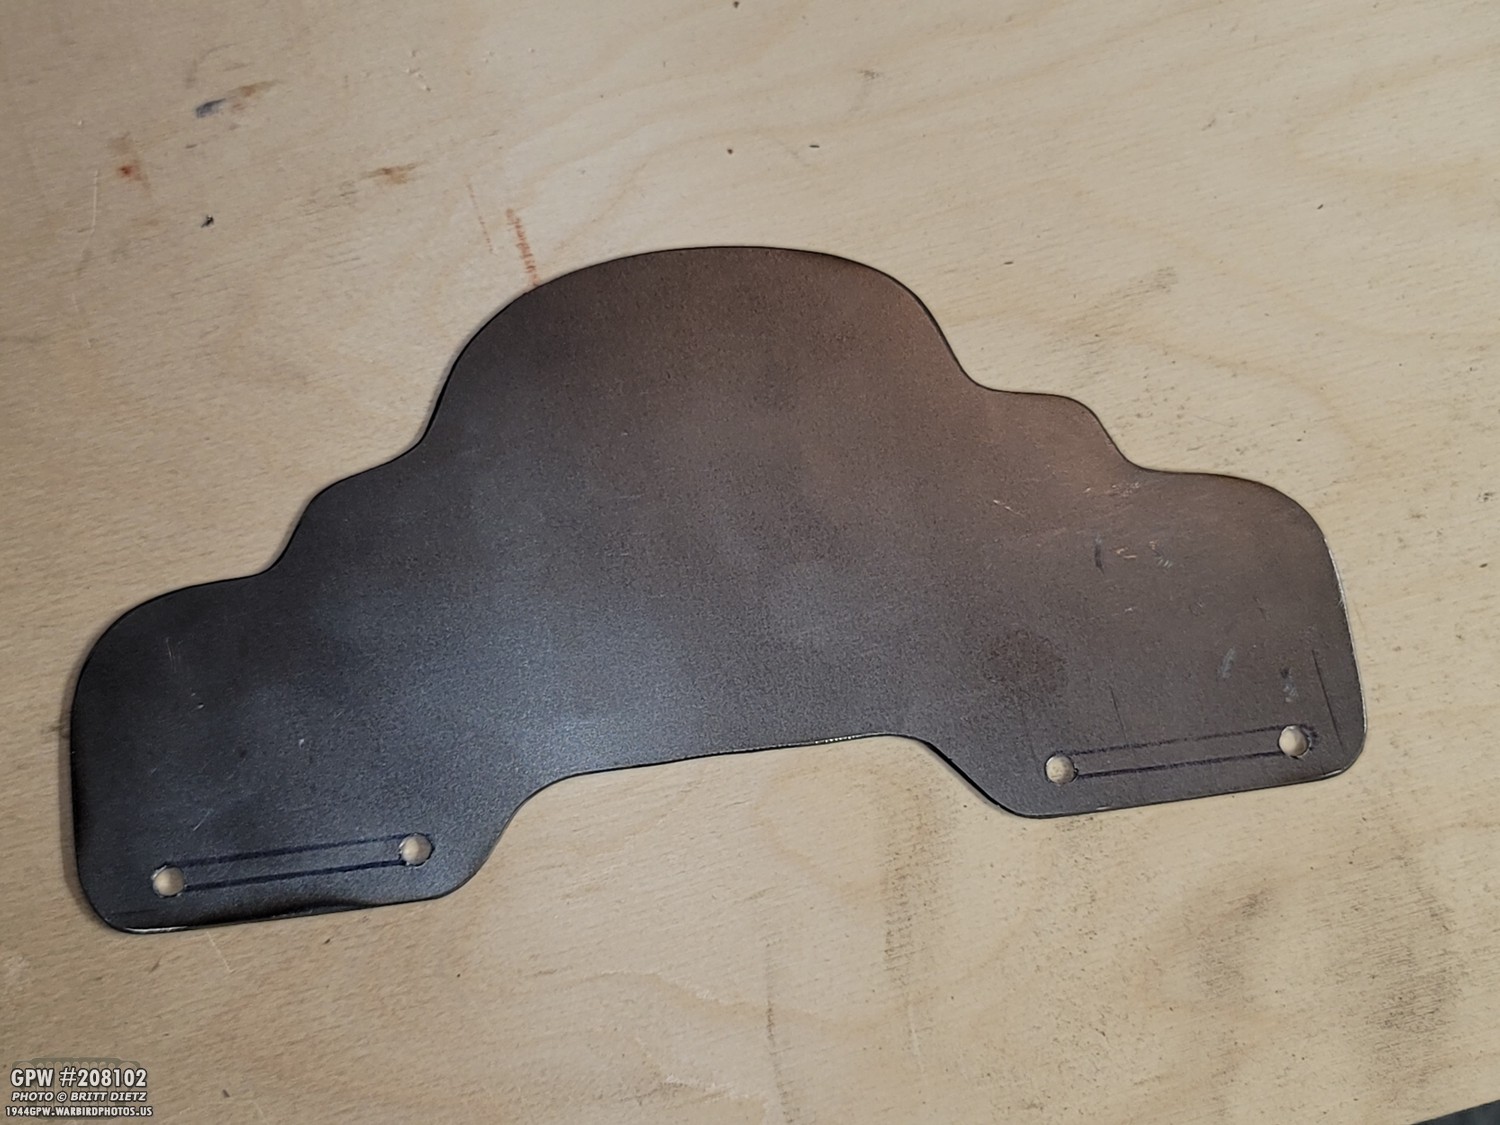
Using my angle grinder with a cutoff wheel and flap wheel, I shaped the base. I drilled two holes for either side of the slotted screw mounts.
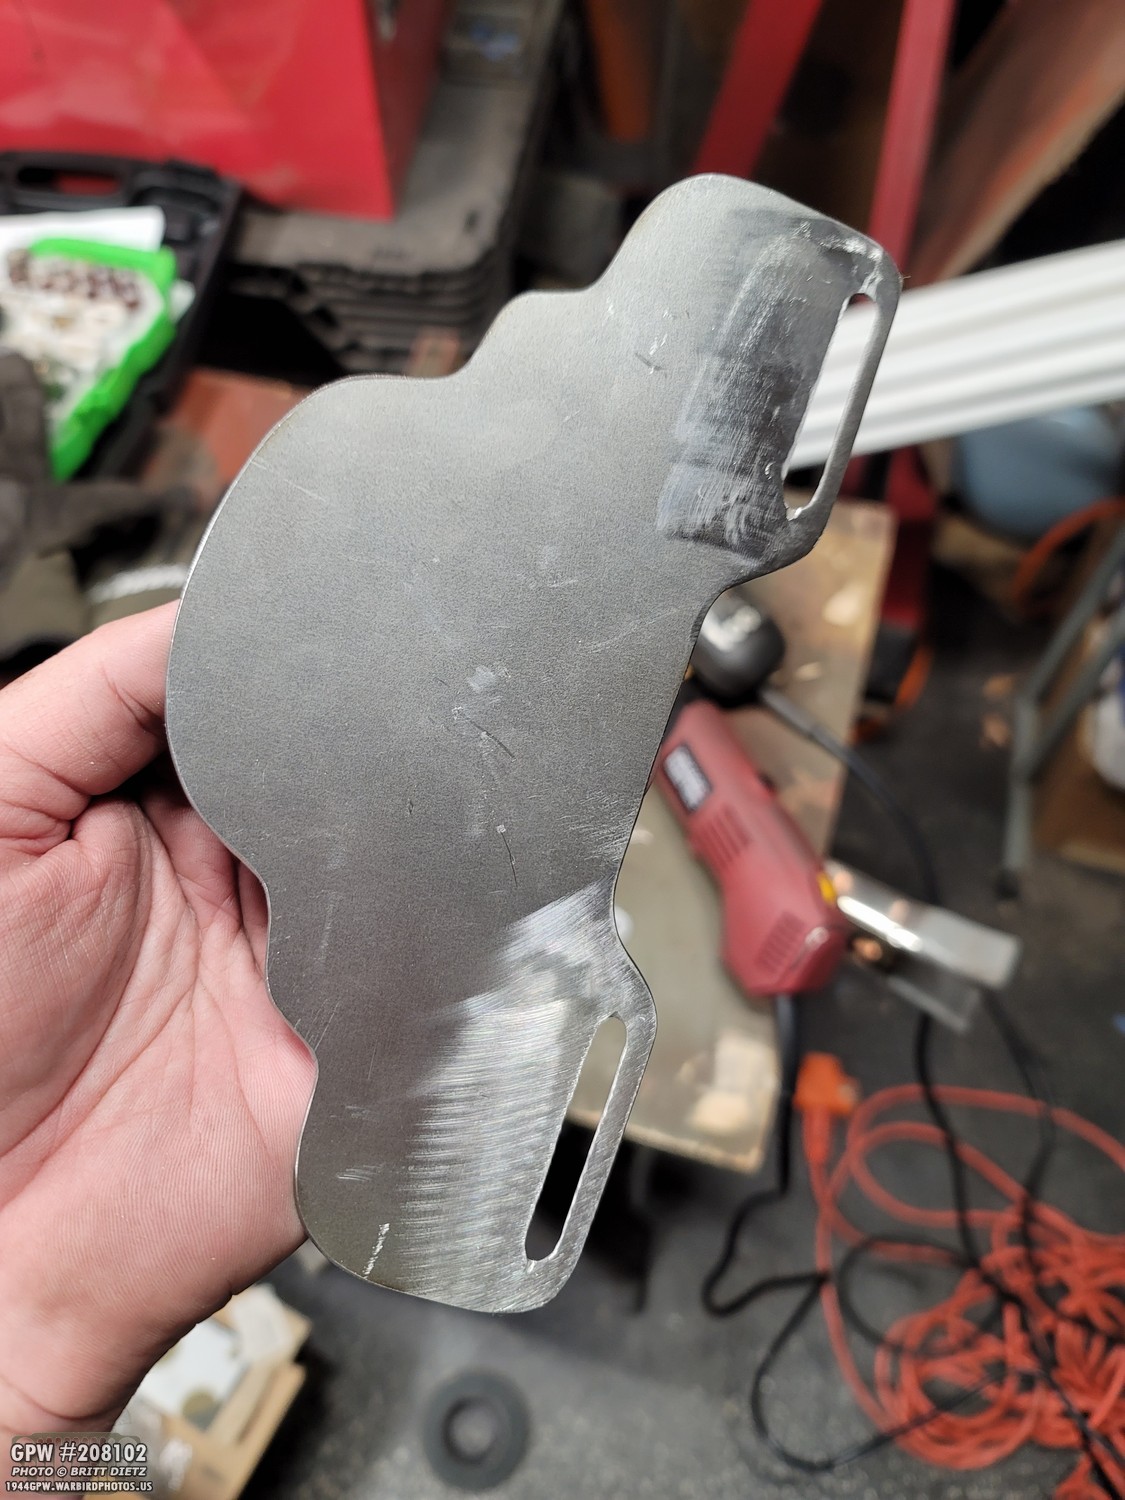
Took a bit of work, but using a Dremel and the cut-off wheel I made the slotted holes. Not perfect, but it works.
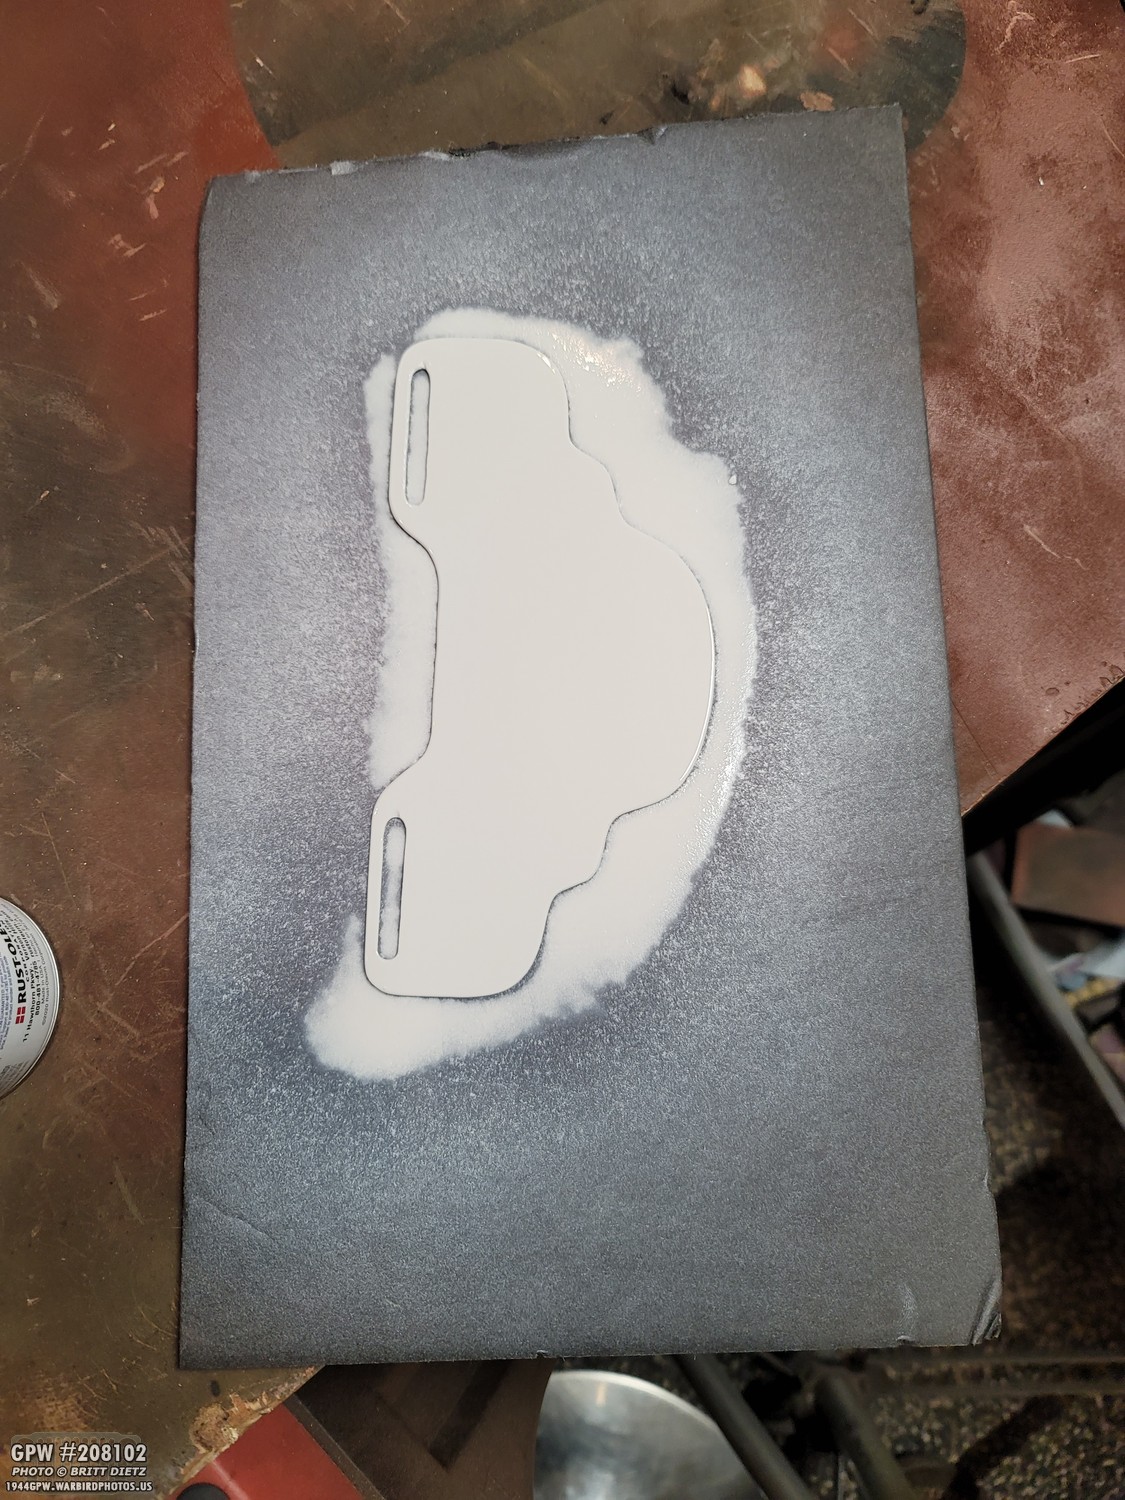
I then painted the base with glossy white (Rustoleum with paint and primer).

In prepping for the first red layer, I took the vinyl stencils and removed the ‘insides’. I then used transfer tape to keep the stencil together since it had some ‘island’ parts.

With the nice painted base all dry (I did two coats), it was time for stencils.

Stencil is applied to the base.
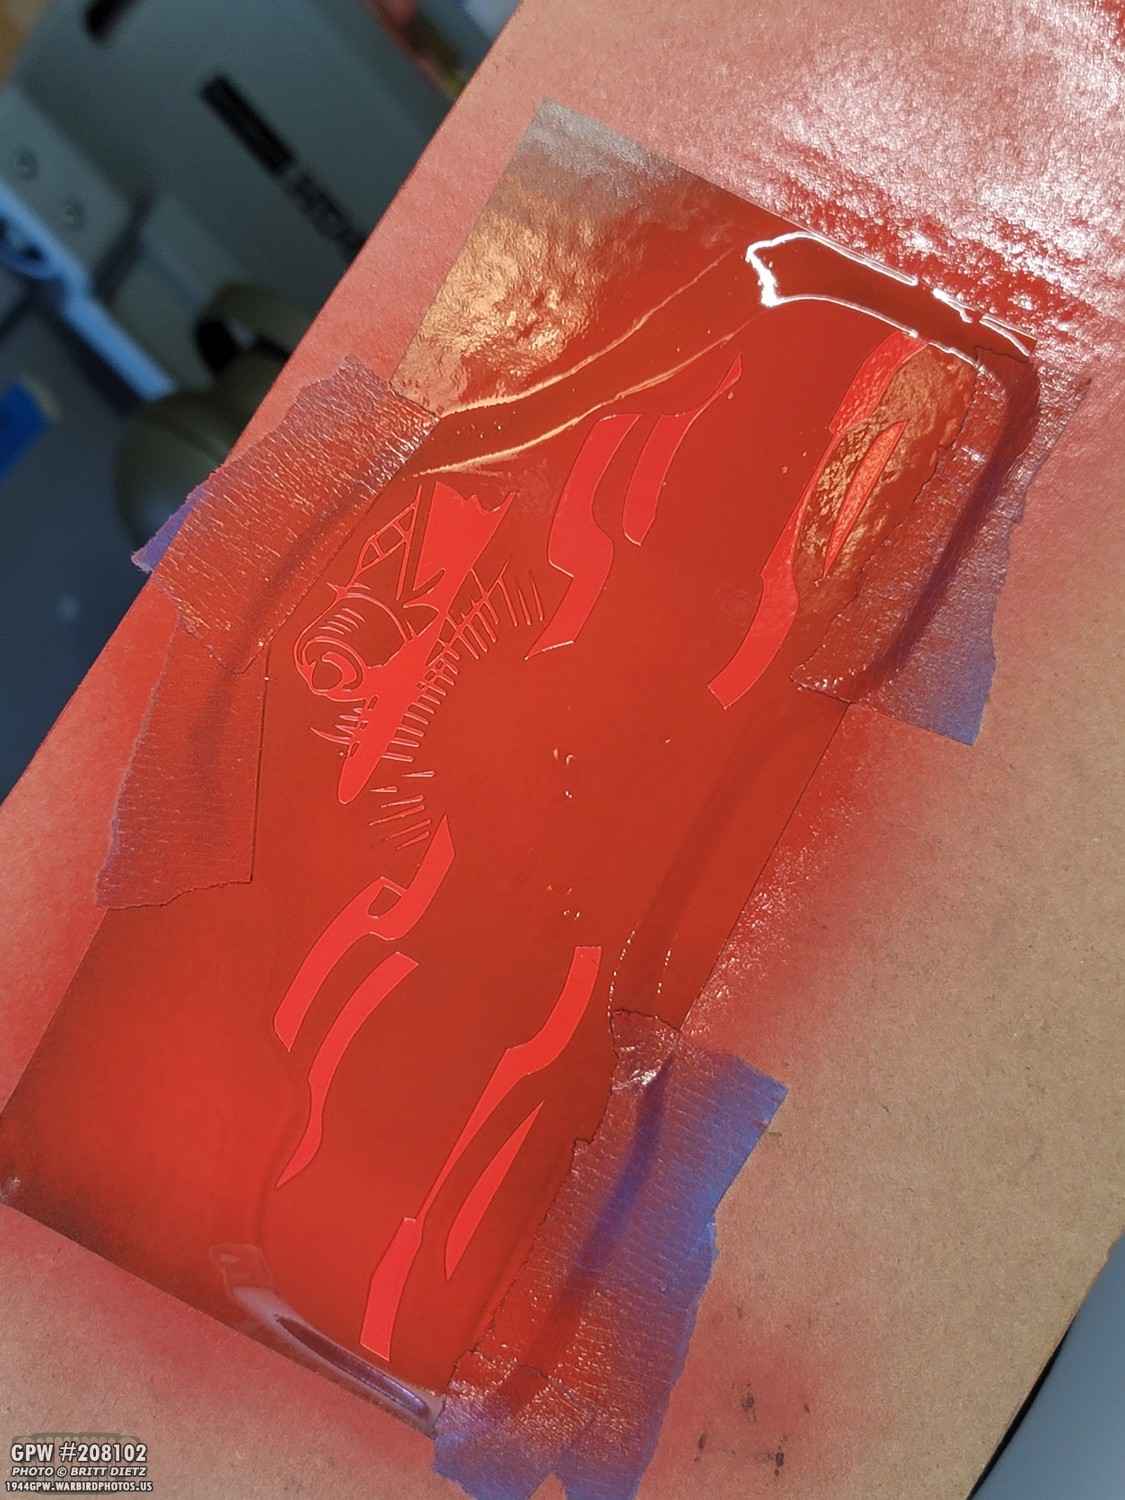
Painted red!
After peeling off the stencil, it was looking pretty good. Some rough spots, but overall pretty good. I still need to remove some of the aircraft interior stencil pieces.

After that was dry, I put the stencil on for the blue paint. You might see some red overlap, but that’s how the real thing is! I wanted to match that detail of the ink overlap.

I used some glossy blue paint, and I then sprayed a top layer of reflective clear paint (that perfectly resembles the originals that have the blue which reflects headlights). Originally the reflective material was crushed glass added to the plaint when it was wet. I could have gone that route, but the reflective clear spray works just the same.

But then, DISASTER! For whatever reason, this blue paint did not adhere to the white well at all. The stencil pulled up most of the blue as I took it off. UGH! So close. I was very upset.
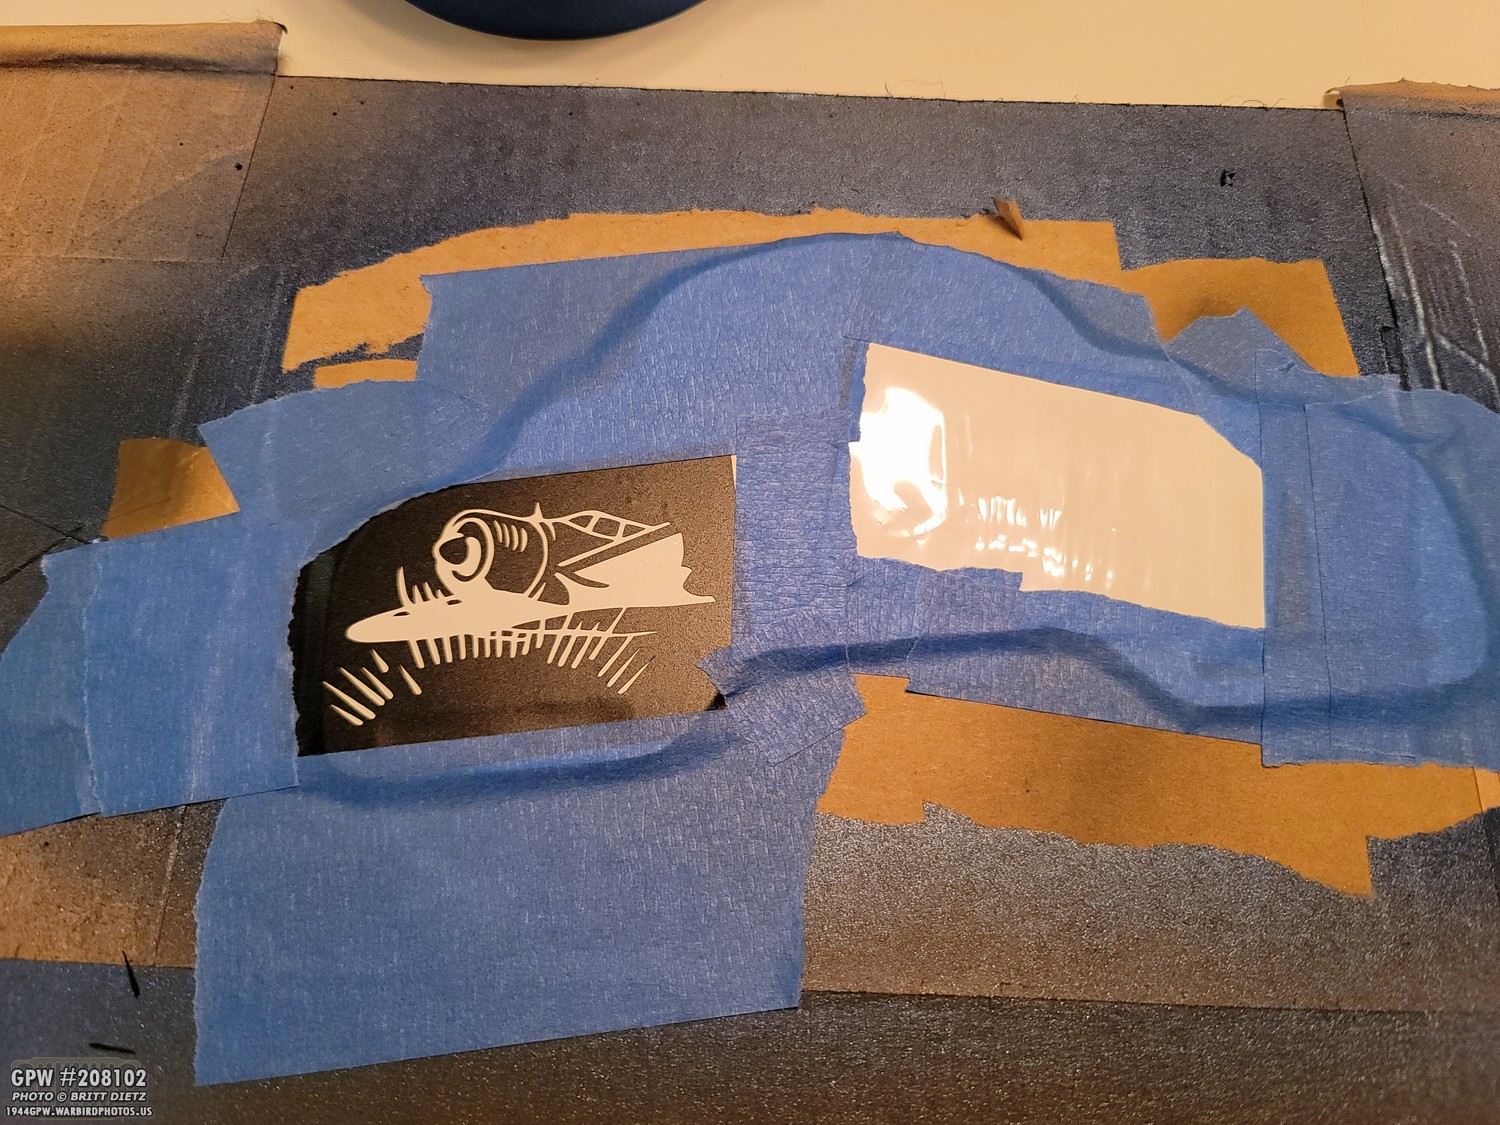
I decided I would start over with all the painting. But before I did, I made two more stencils of the aircraft really quickly and I bought some other blue paint to try out on the backside of the base.

I first tried some acrylic paint with a brush and a foam stamp. That didn’t work at all and looked terrible.

I then tried the same type of Rustoleum paint that I used for the red, even though it was darker than the original color. I also top coated it with the reflective paint just to make sure that it wasn’t the reflective paint causing the issue. That worked, and the lines are nice and crisp.

So, I wire wheeled all the paint off the base and hit it with white again. In the coming weeks, I’ll try again with the next paint and hopefully have a finished license plate topper soon!

So that’s the end of this update! It’s been another big journey from the beginning of this fender project in mid-January to now… but another box checked in the final stages of the restoration!
Until the next update…