 Fender vs Body Tub
Last month I started the process of repairing my original GPW passenger fender to replace the temporary reproduction fender. With the welding and overall repairing done, it was time to swap the fenders… but things didn’t go as planned making what should have been a small project into a two-month project requiring a complete realignment of the body tub!
The saying goes ‘Every Twenty Minute Job Is One Broken Bolt Away From Becoming A Three Day Ordeal.’ In my case, every quick fender replacement is one misalignment away from being a two month ordeal! But there’s light at the end of the tunnel! So let’s jump into it.
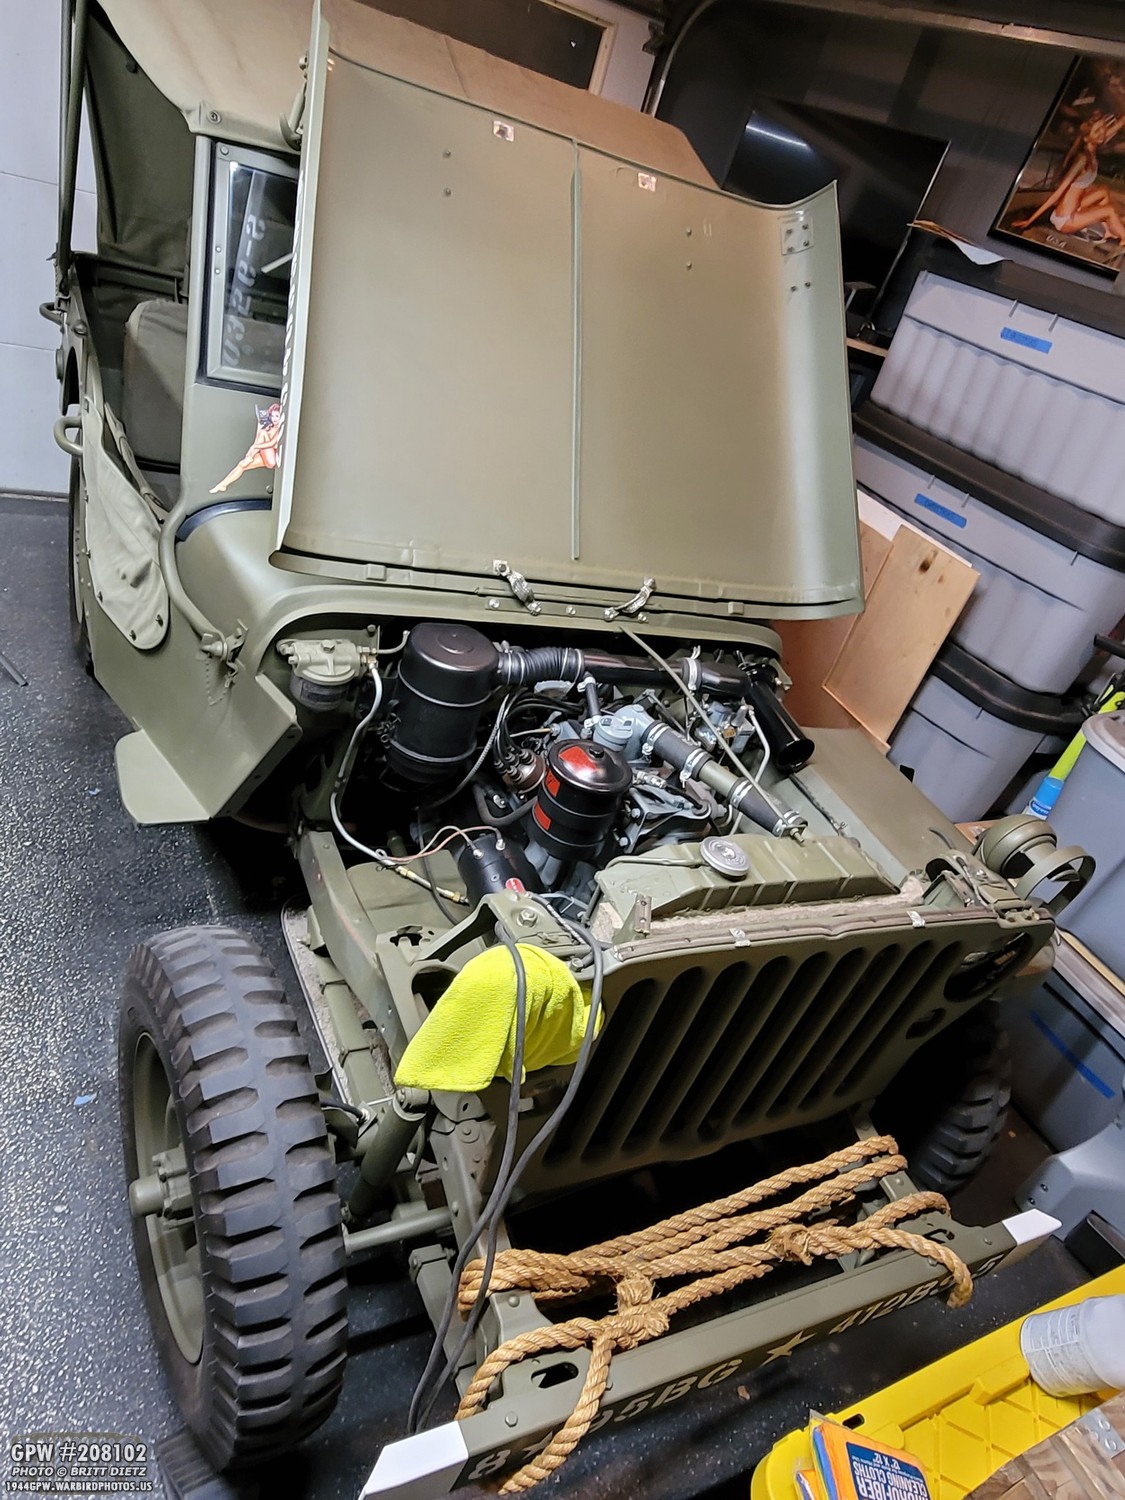
As always, a quick recap of the last update since it’s been a few weeks! My passenger fender was sandblasted a few years ago during the main restoration, but it had severe cancerous rust in several spots. At the time, I wasn’t able to get it repaired, so I put it aside and used a MD Juan reproduction passenger fender in the meantime.
Jump to January 2022, after getting used to my welder (and purchasing one in early 2021), I felt ready to tackle the passenger fender so I could repair it then swap the repro with the original. I cut out the cancerous rust and welded back new metal as accurately as I could. By the end of last month, I had finished all the repairs on the fender and it was ready for paint!

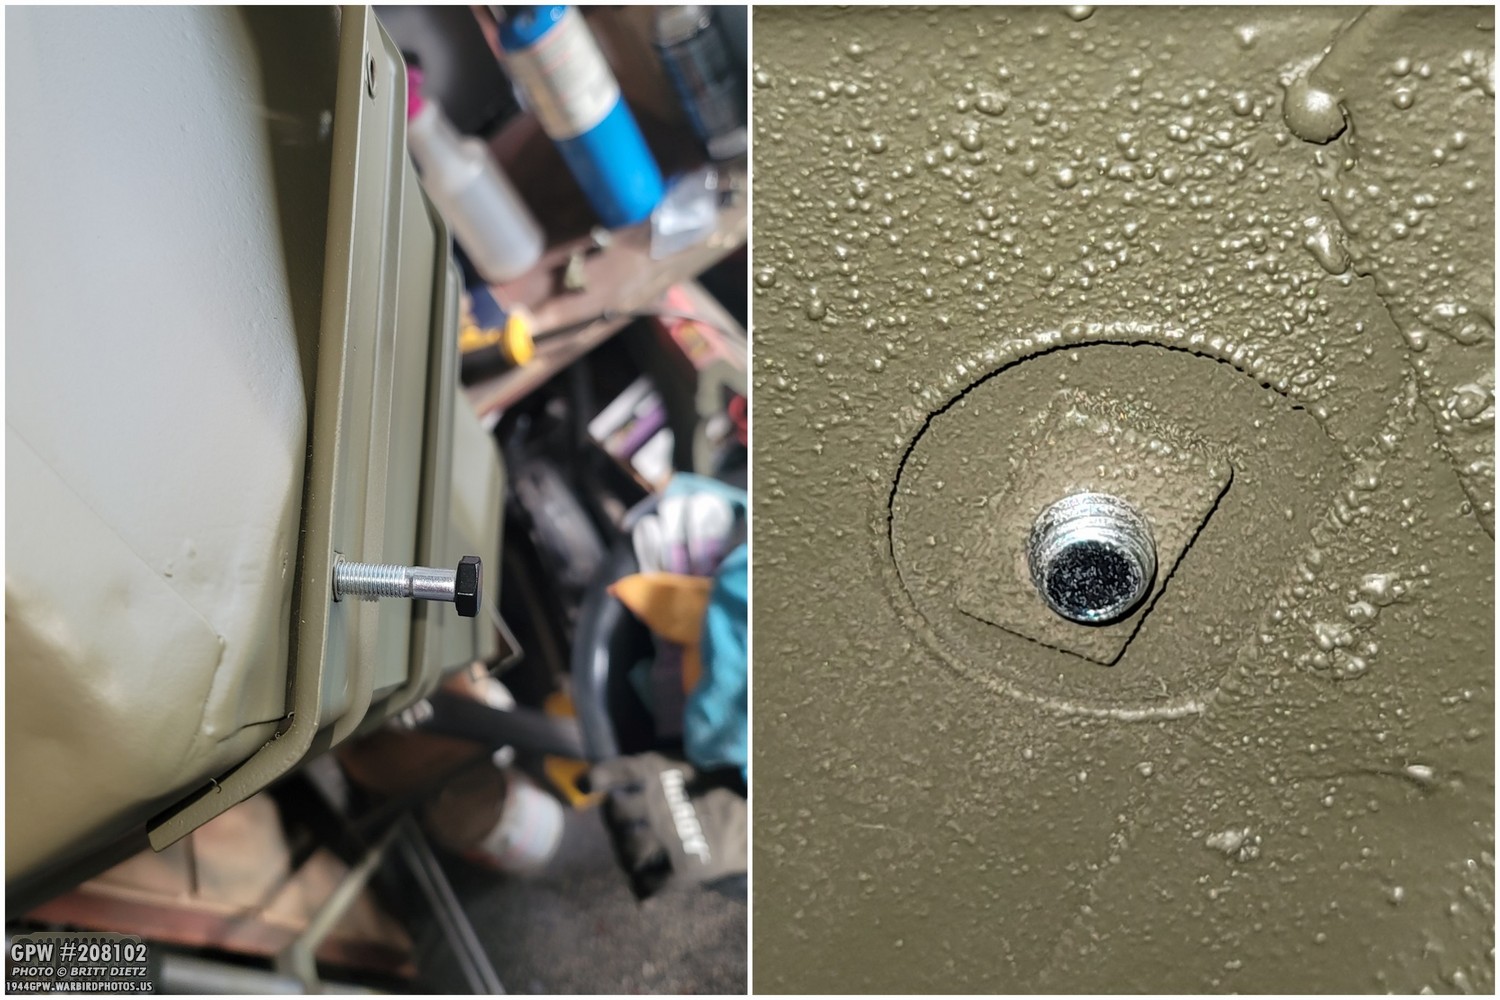
One last bit I needed to fix is the bolt that should be welded into the fender for the battery hold down bracket. It should be a 5/16 course bolt, just about 3/4 long.

It’s a pretty simple welding job, and I didn’t try to make it look nice as most of the ones I’ve seen are messy like this. To make sure the bolt was straight as I welded it, I put a nut on the top side to keep it tight and aligned. Once welded, it’s not going anywhere!
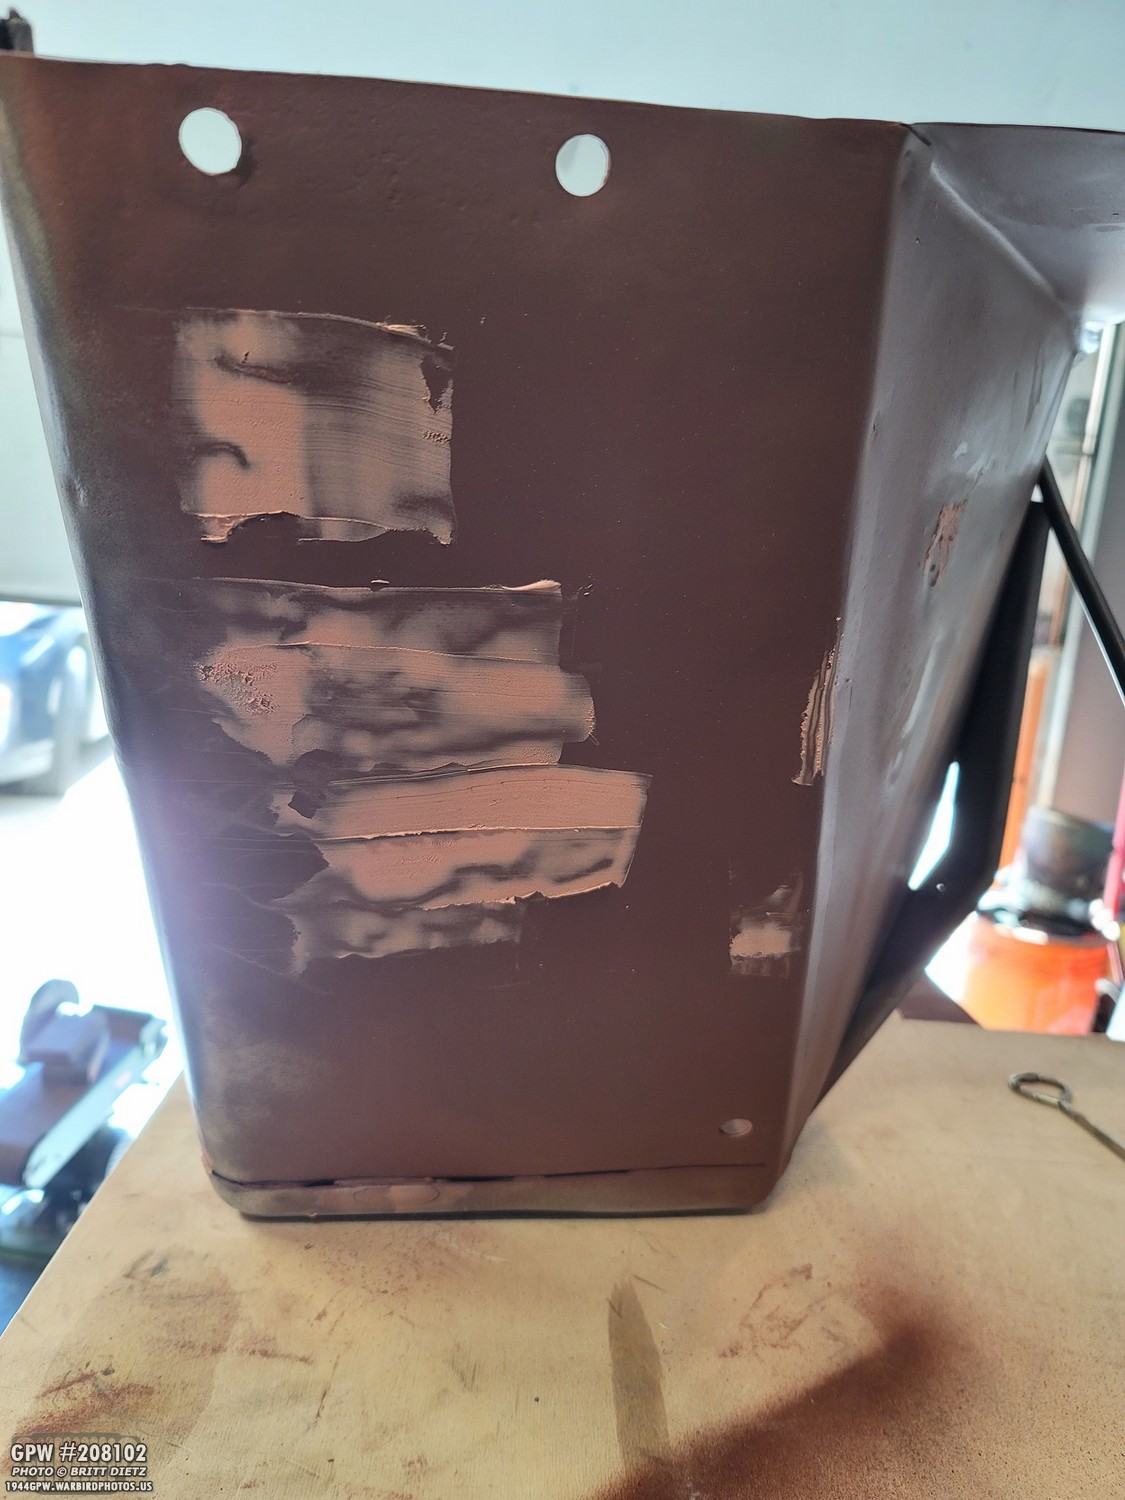
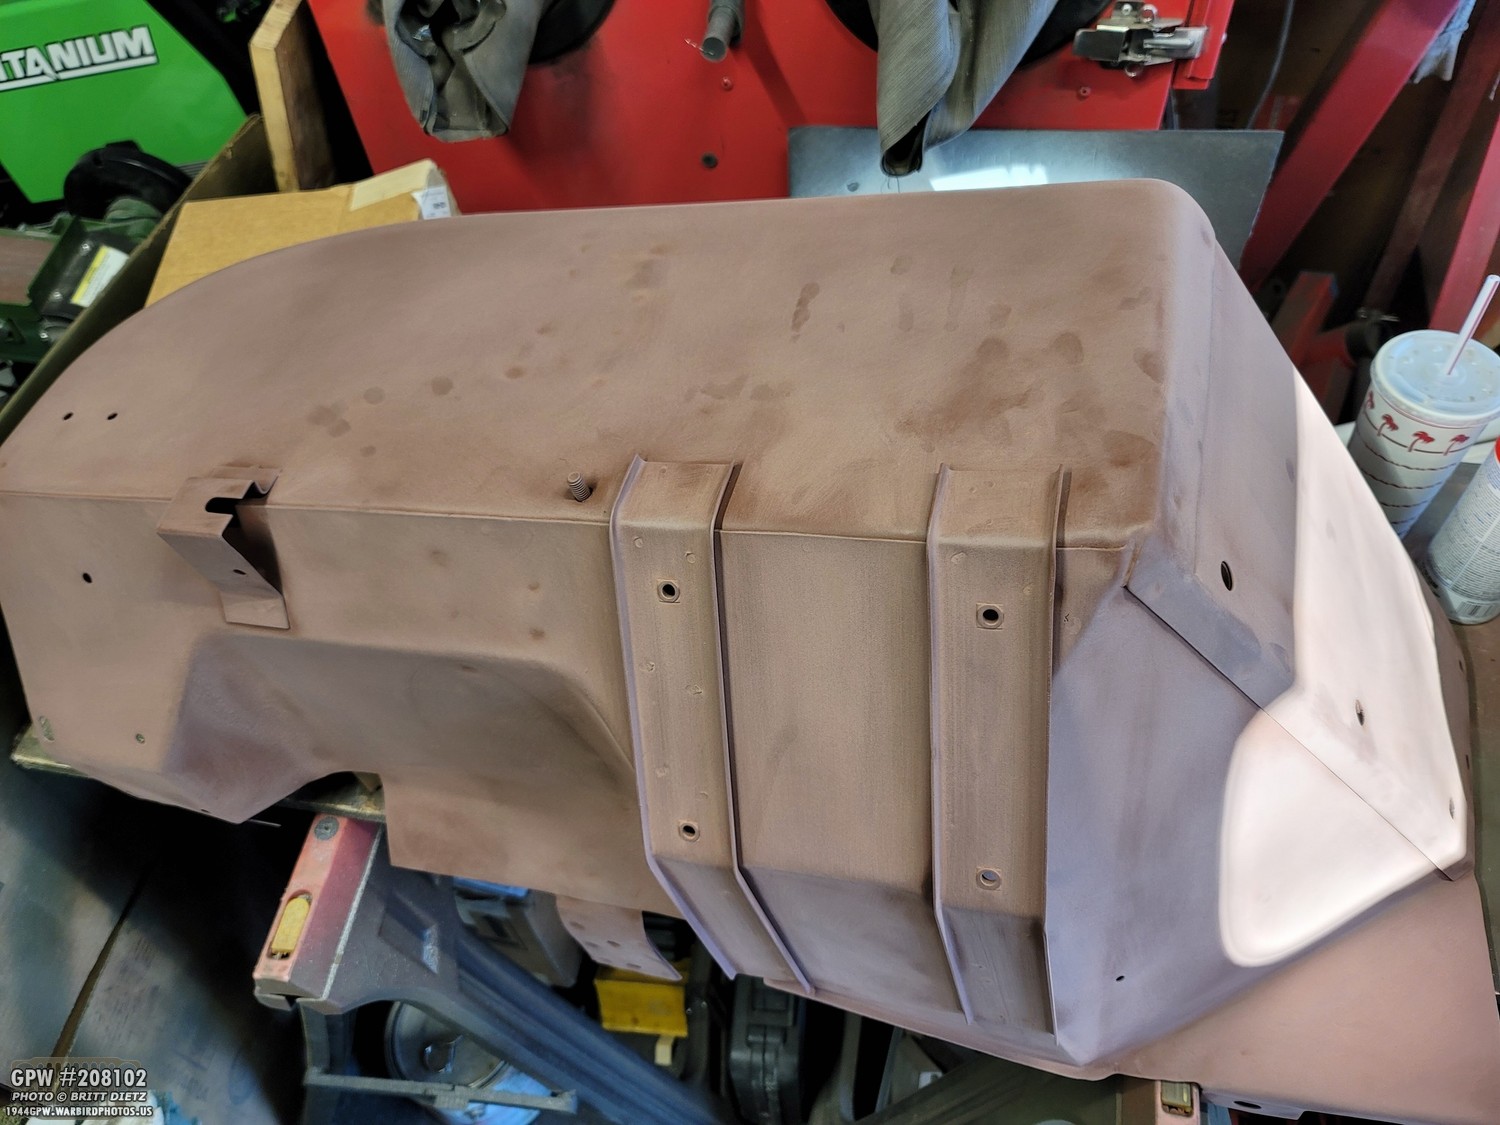
To fill some pin-holes and some light pitting, I used some bondo to help smooth things out. The fender has some wrinkles in it from almost 77 years, but this will help.

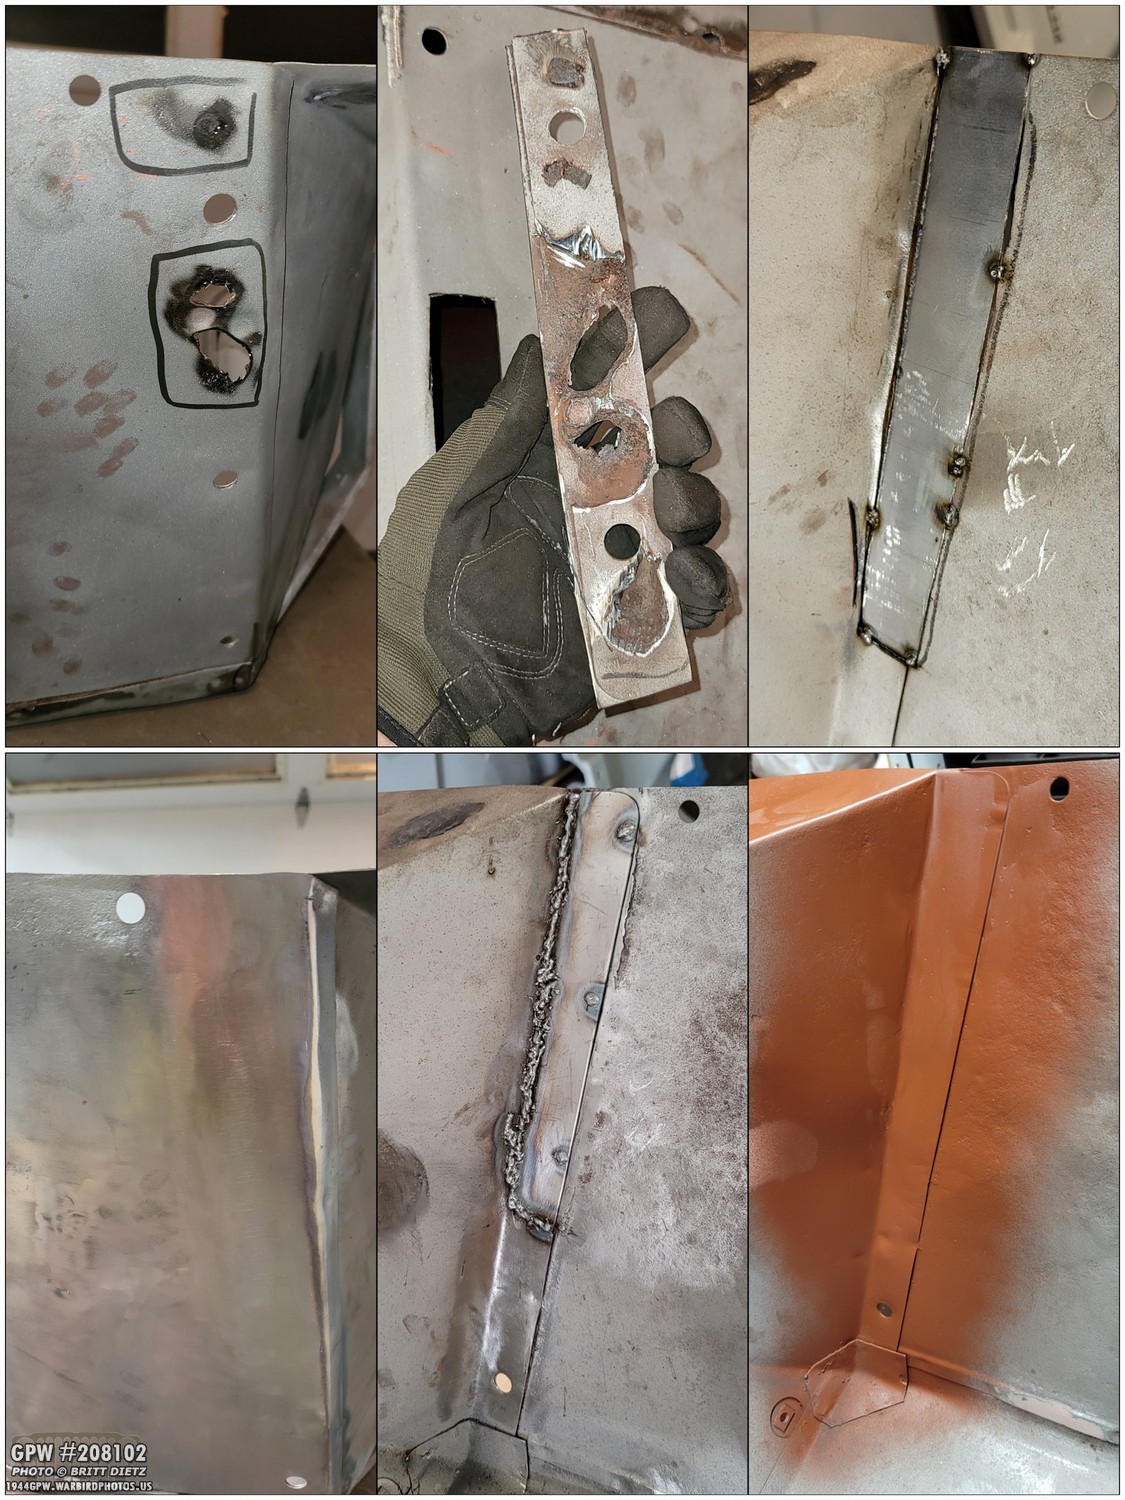
As mentioned in the last update, there’s a large section on the outer corner of the fender that 1) had rusted away and made two large holes, and 2) someone before me used some sort of Bondo that resists sandblasting, wire wheeling, and even grinding! But whatever that filler was, it was not perfect and still recessed in the holes. So I used some JB Weld Steel to fill the rest. Then I sanded that smooth and used some bondo to get it even leveler. Finally, a nice sand and then the first layer of primer. It looks a ton better. Once I added more primer layers, it smoothed out good as new.

The rear after sanding the bondo. Looking nice now! Ready for primer.

Some final fixes included pounding out dents and bends in the fender (which I labeled first). It won’t be perfect, but many would say that’s how it should be showing character.

Getting this lip straight was a pain. After lots of dolly work on it, I got it as straight (and curved) as I could.
Before primer, as I did on the original driver’s side fender, I used a rust converting spray for areas that are prone to rust and might still have some rust in the hard to reach areas. This is just an added protection for the future.

The last step was to re-drill the lower two fender to body tub cowl mounting holes. I used the butcher paper that I used to mark the three holes before I cut up the fender to draw the new holes.

After drawing the holes, I used a punch to get a center mark and a thin drill bit to start a hole. It isn’t easy, it’s going through two pieces of overlapped 18 gauge steel!

That’s where this step drill comes in handy. This thing eats metal no problems, and is very easy to use. I’ve started to really enjoy using this for metal hole drilling projects!

In the left photo, I have the first hole drilled (the middle one, remember the top one is original). The right photo shows all three holes drilled.

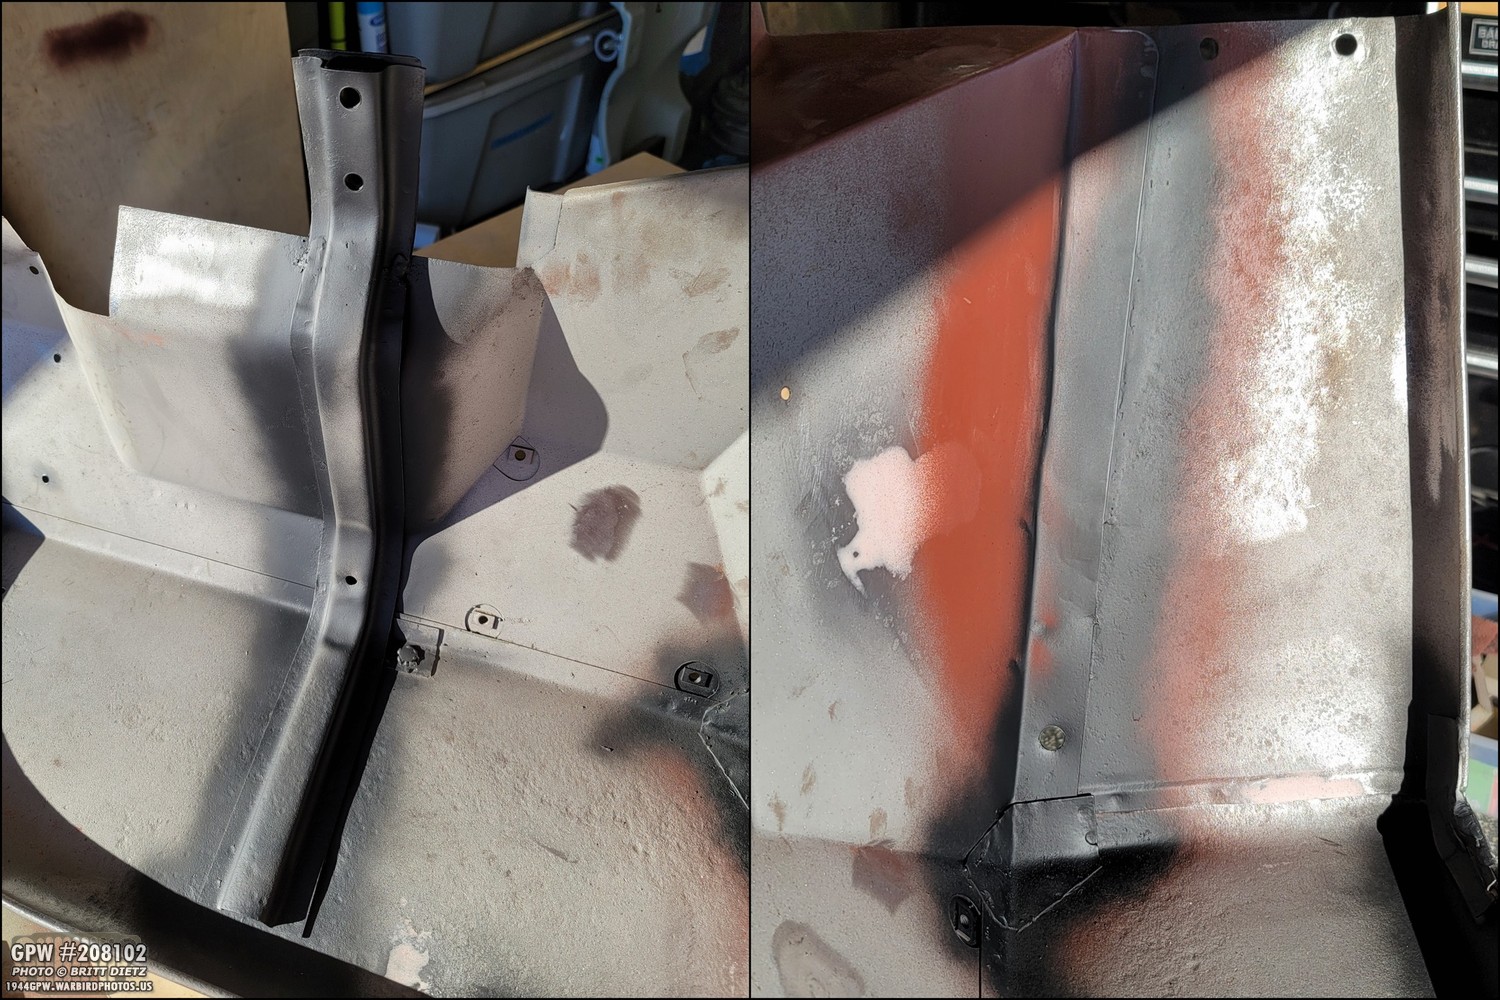
Then I hit it with some primer to see how it looks. Still has some wrinkles, but the metal looks like it was never replaced!
The next day was nice and warm, so I used Ron Fitzpatrick Jeep Parts Red Barrier III Red Oxide Primer gallon paint with my spray gun to give the fender a full coat of primer. Because of the warm weather and the amazing drying power of the Xylene thinner, I was able to do 3 primer coats.
A few days later, once it was dry, I took a scotch pad and roughed up the primer all over the fender. This is before I cleaned the sanding up.
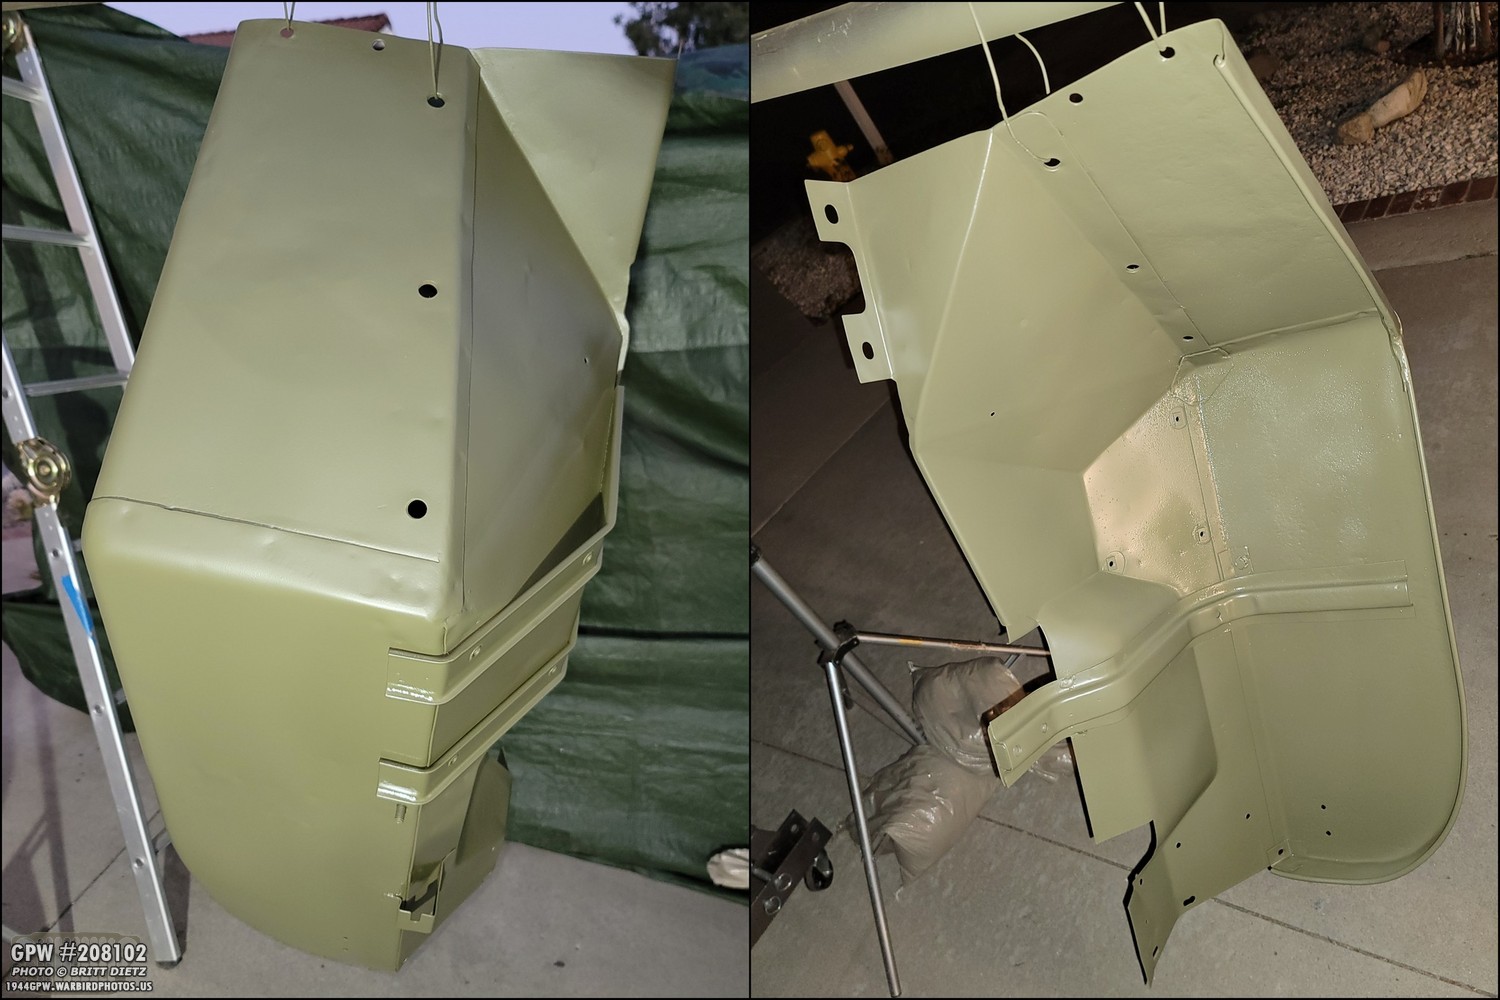
Another warm day meant I could make it OD Green! Ron Fitzpatrick Jeep Parts 33070 OD Green in gallon form with the spray gun and three good coats, it’s all painted and ready to go!
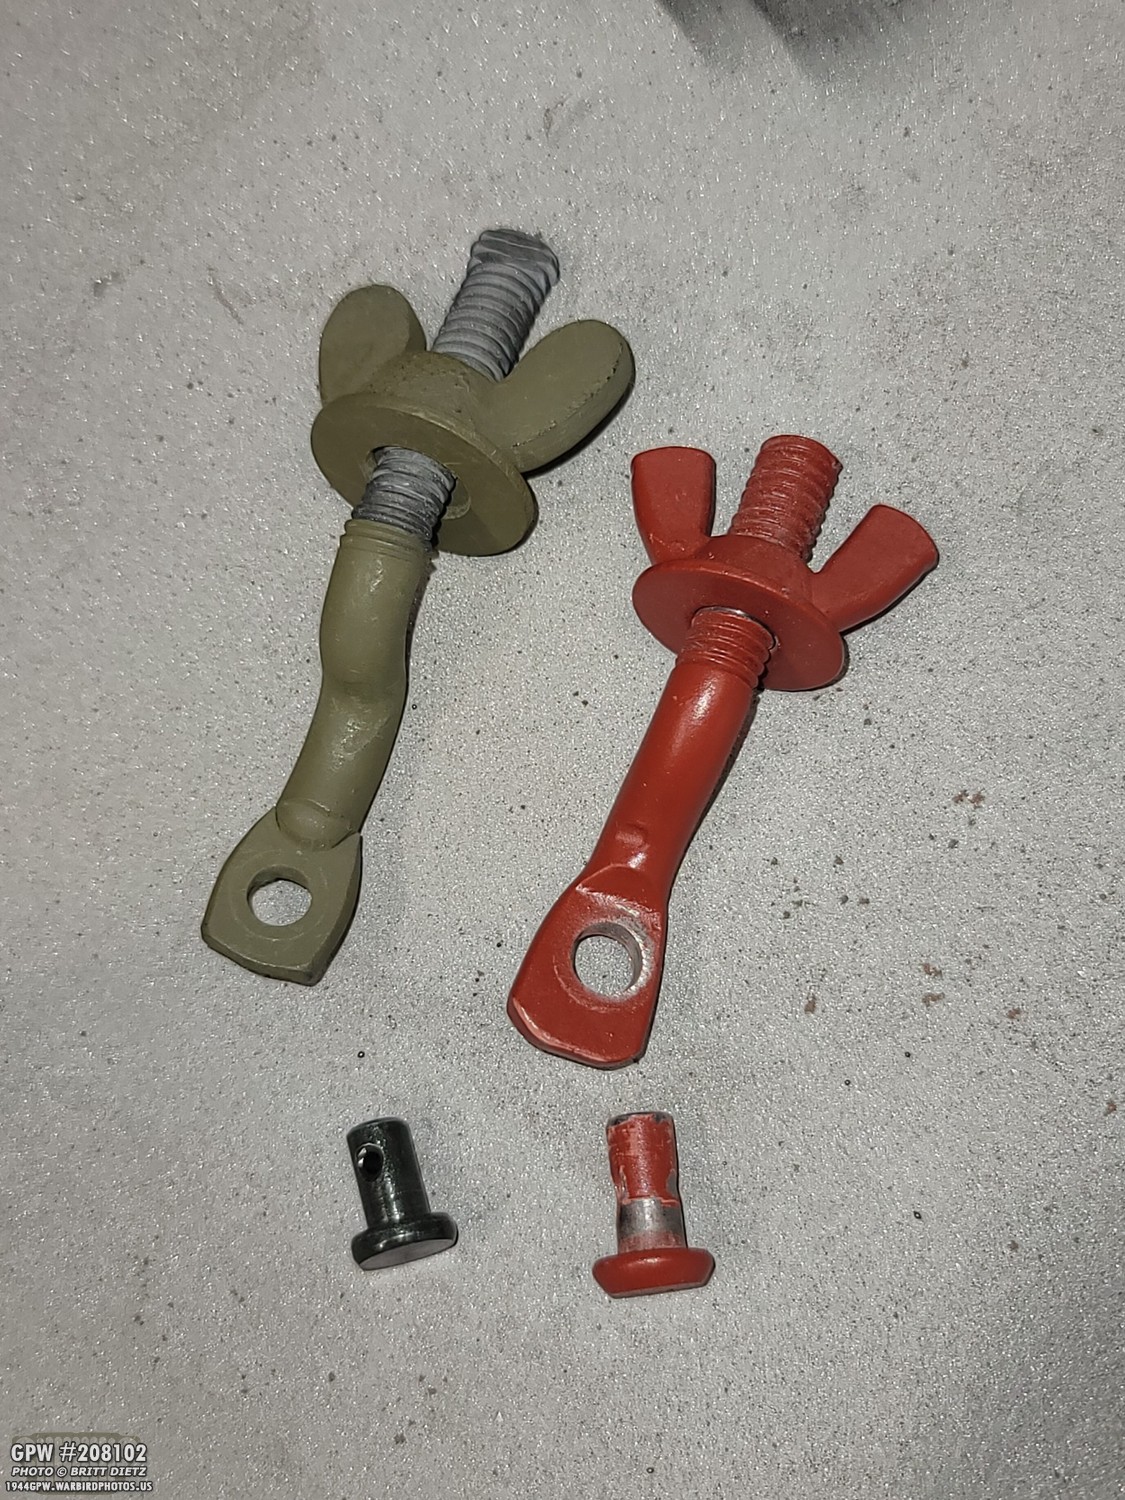
In the last update, I found that the first headlight hold-down pivot bolt I got from Walck’s 4WD (red on the right) was the early style which won’t work with my later GPW fenders. So I got one off ebay that should have matched the one I got two years ago off ebay for the driver’s side and the repro fender. It arrived (Green on the left) and I realized it too was wrong. UGH!

So I ended up having to use the one I had bought for the repro fender so the driver’s side one matched. Here’s what should have been the ‘correct’ one (left) I got off ebay with the one that I was using on my repro fender. Look at the huge difference! Just goes to show, not all manufacturers are the same. I stripped the paint and cleaned up the one that was on the repro fender.

A test fit on the original fender showed a perfect fit… except that the threads didn’t go down far enough for some reason (as shown). UGH. But that was a relatively easy fix with my tap and die set. I was able to add more threads making it perfectly work.
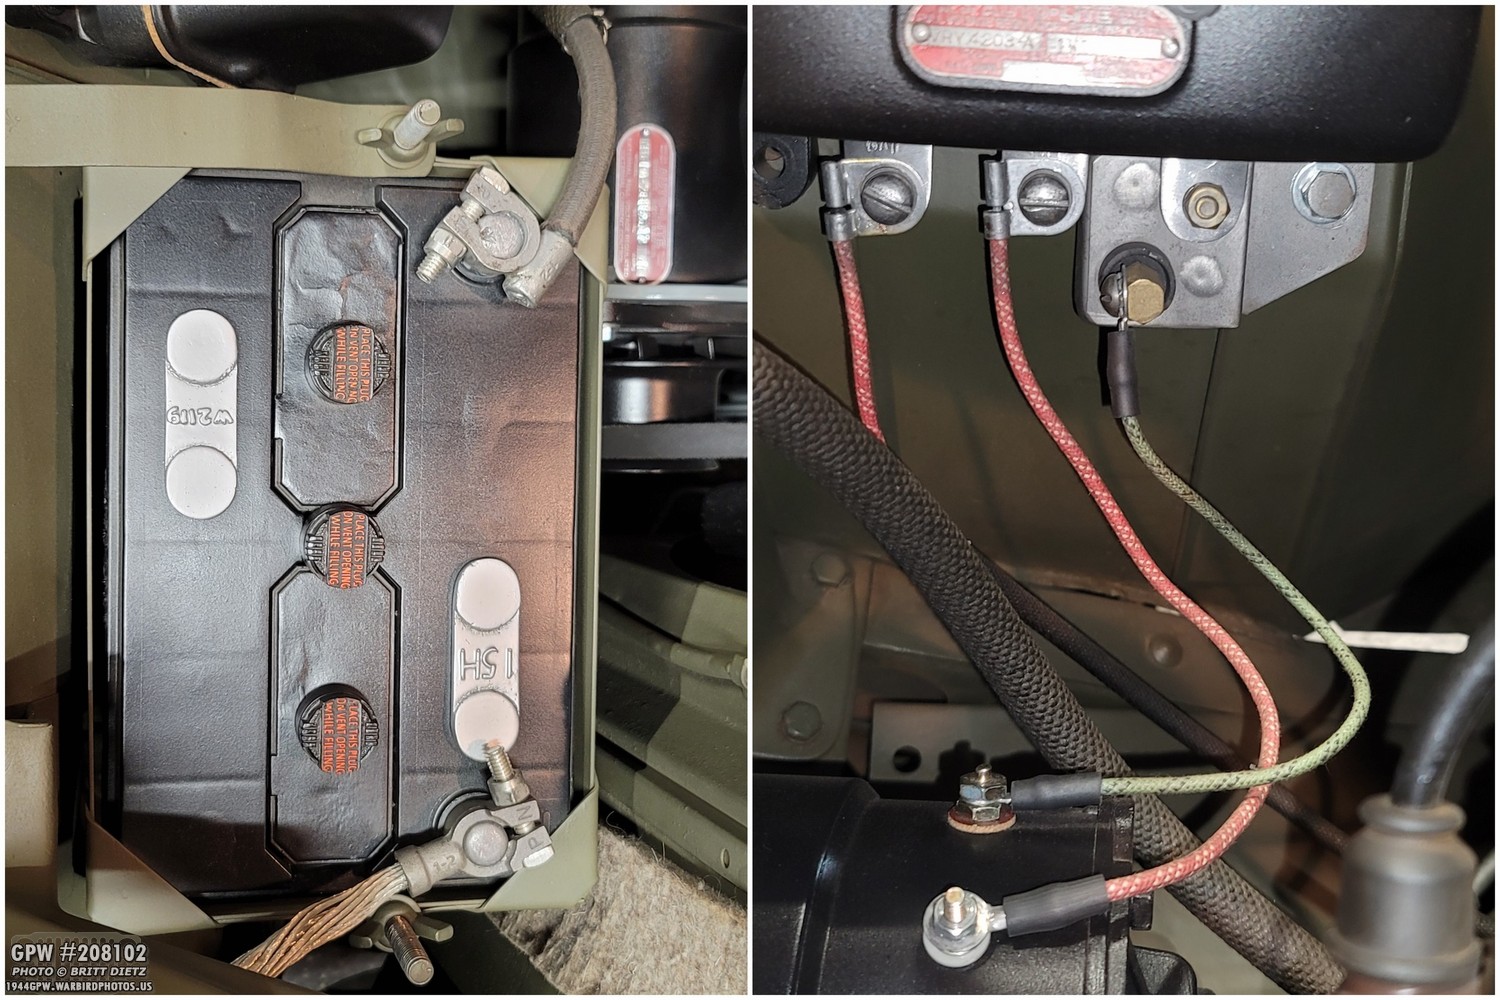
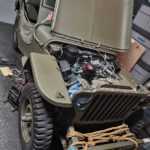
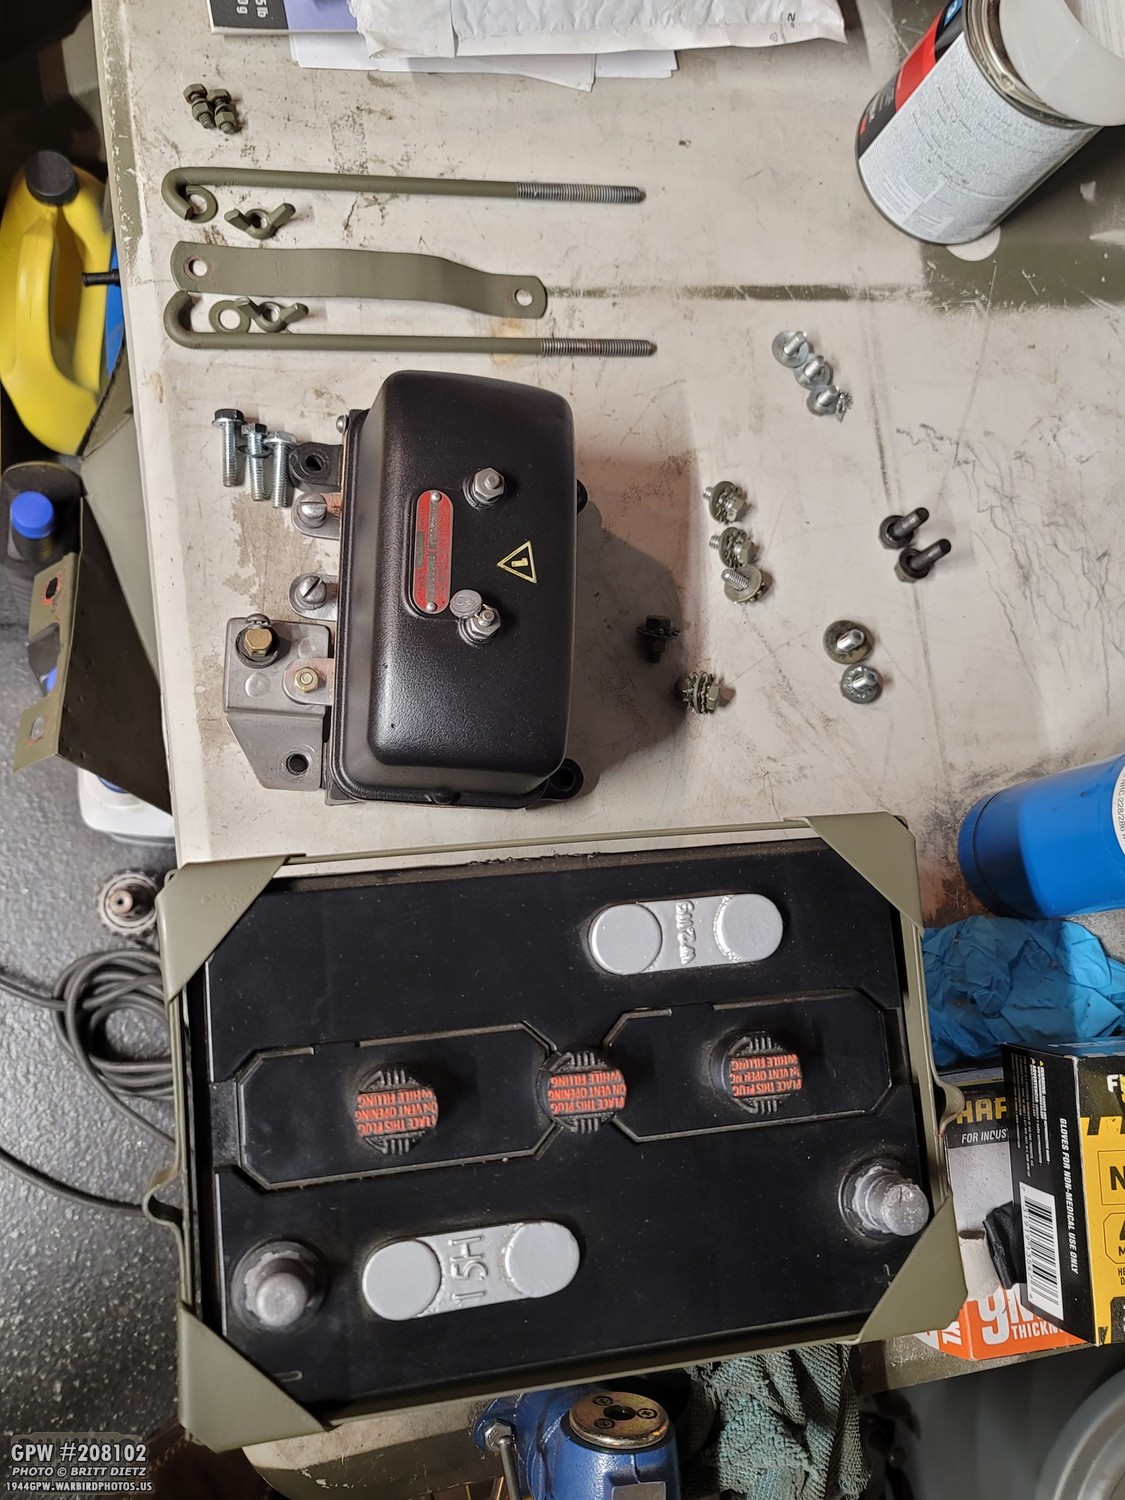
The fender was done. Now it’s time to swap the repro for the original! First, I made sure to take shots of the engine bay as I’d have to take the battery out (make things easier) and remove the voltage regulator and disconnect the wires from the fender.

That also included taking off the original GPW battery hold down bracket. While I didn’t get photos of it, I sanded the bracket and repainted it after I took it off.

I also needed to remove the hood hold-down clamp on the repro fender. Yes, I have F stamped bolts for the clamp. While the overall consensus was there weren’t F bolts there, a few people have found 1/4 F bolts. Most likely those were added by the motorpool when grabbing whatever bolt they could find, but I like the look and when talking to the public about the Jeep, it allows me to quickly demonstrate the F marked bolt story.
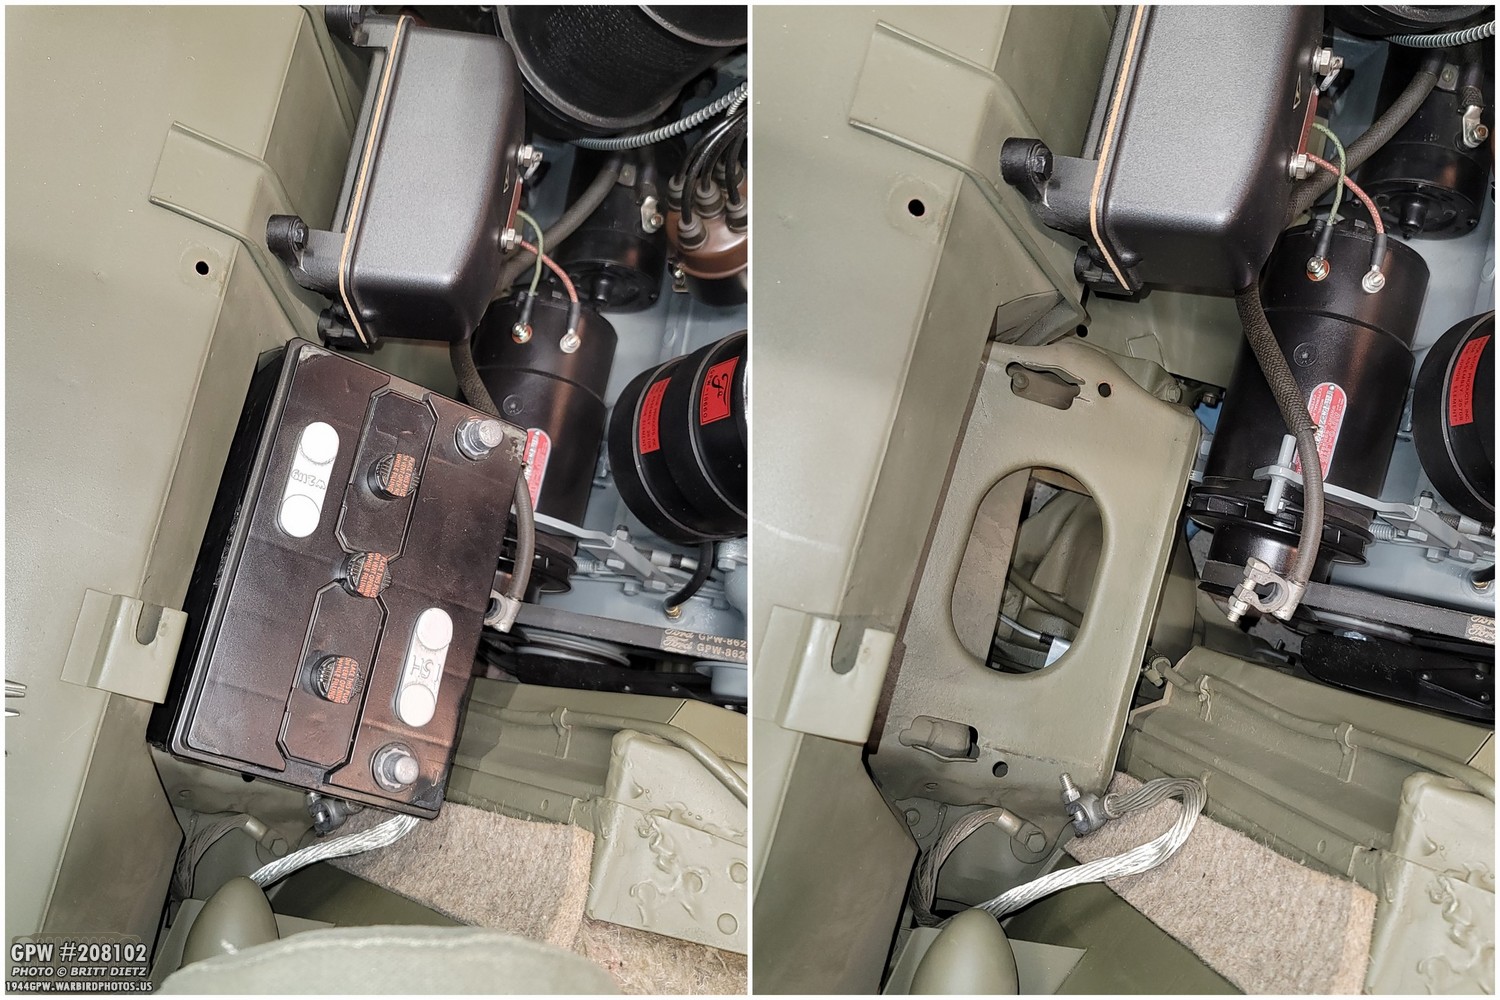
Battery removed! You can see, I already pillaged the headlight brack hold-down pivot bolt.
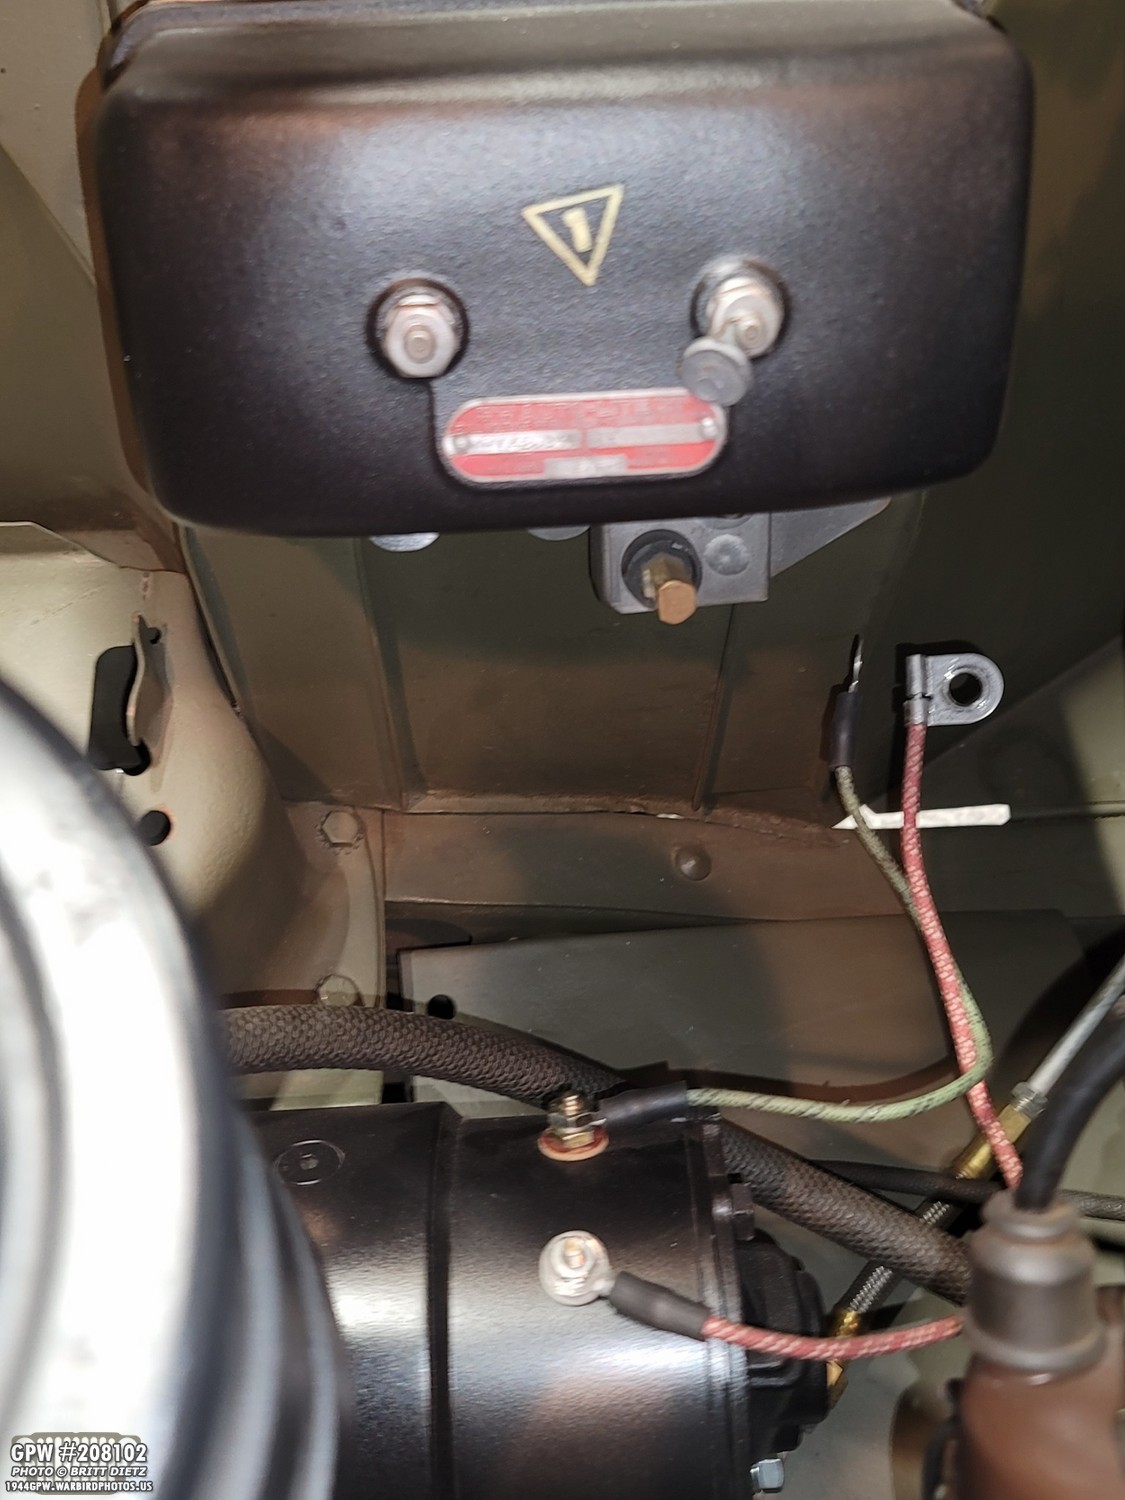
Next up, I disconnected the voltage regulator wires in prep for removing the regulator itself.
Regulator removed, everything is off the fender and it’s ready to come off!

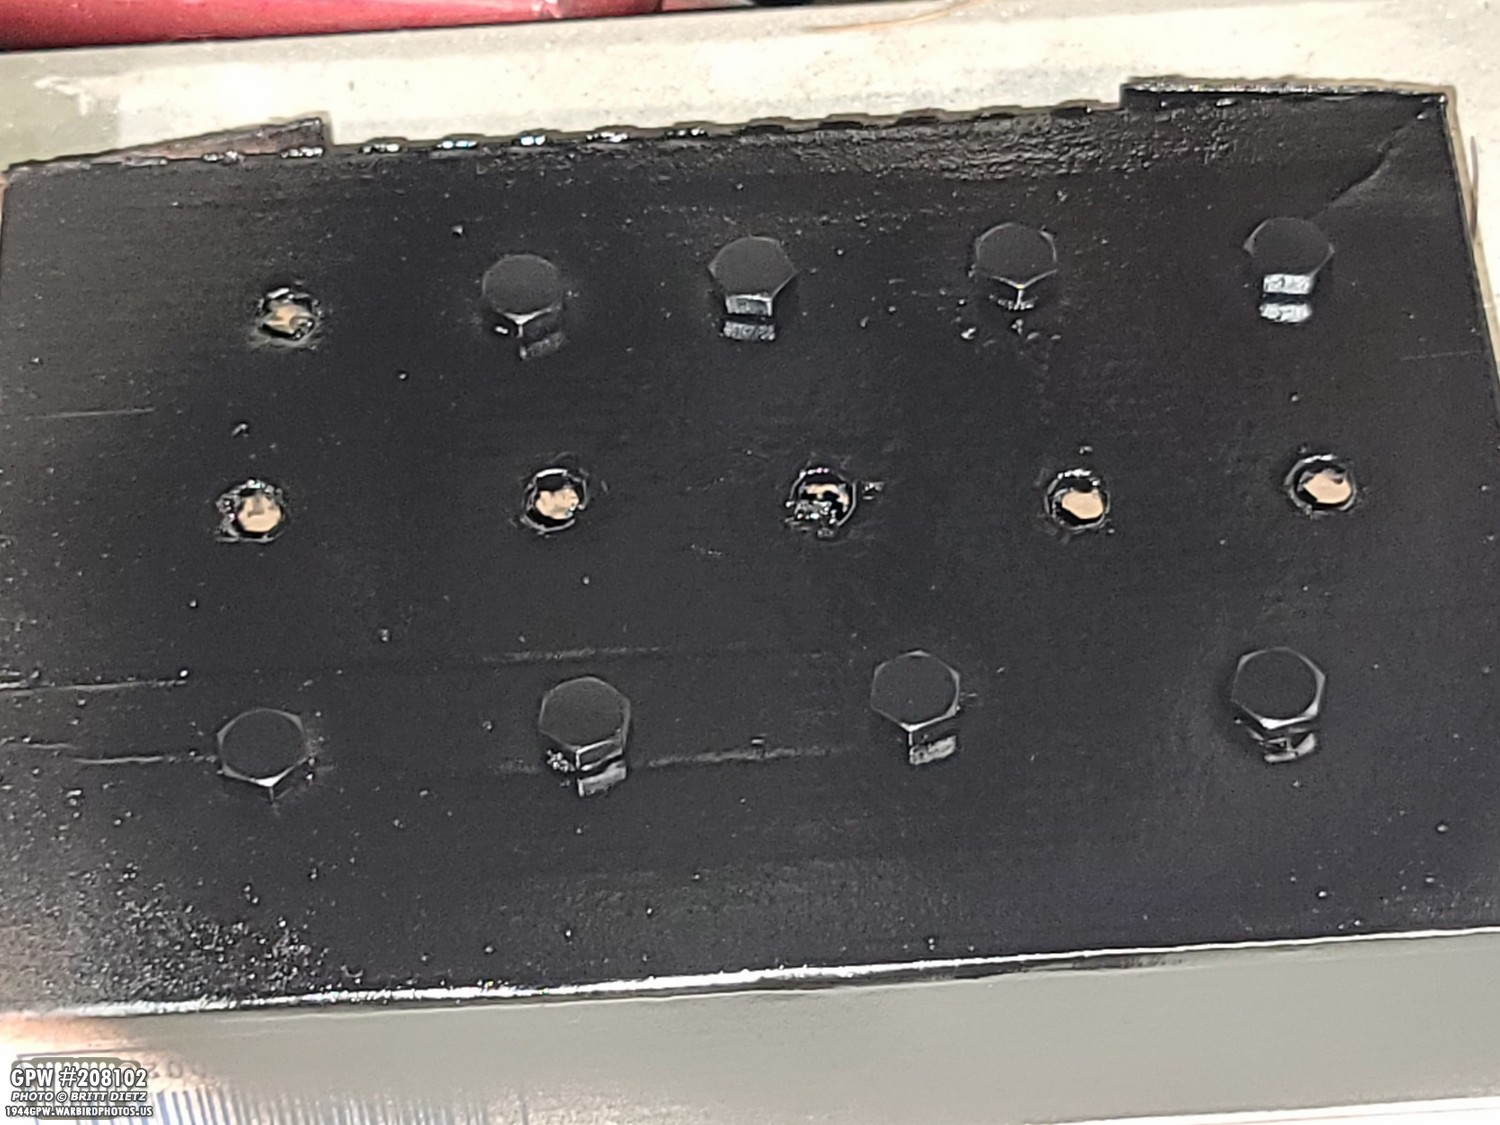
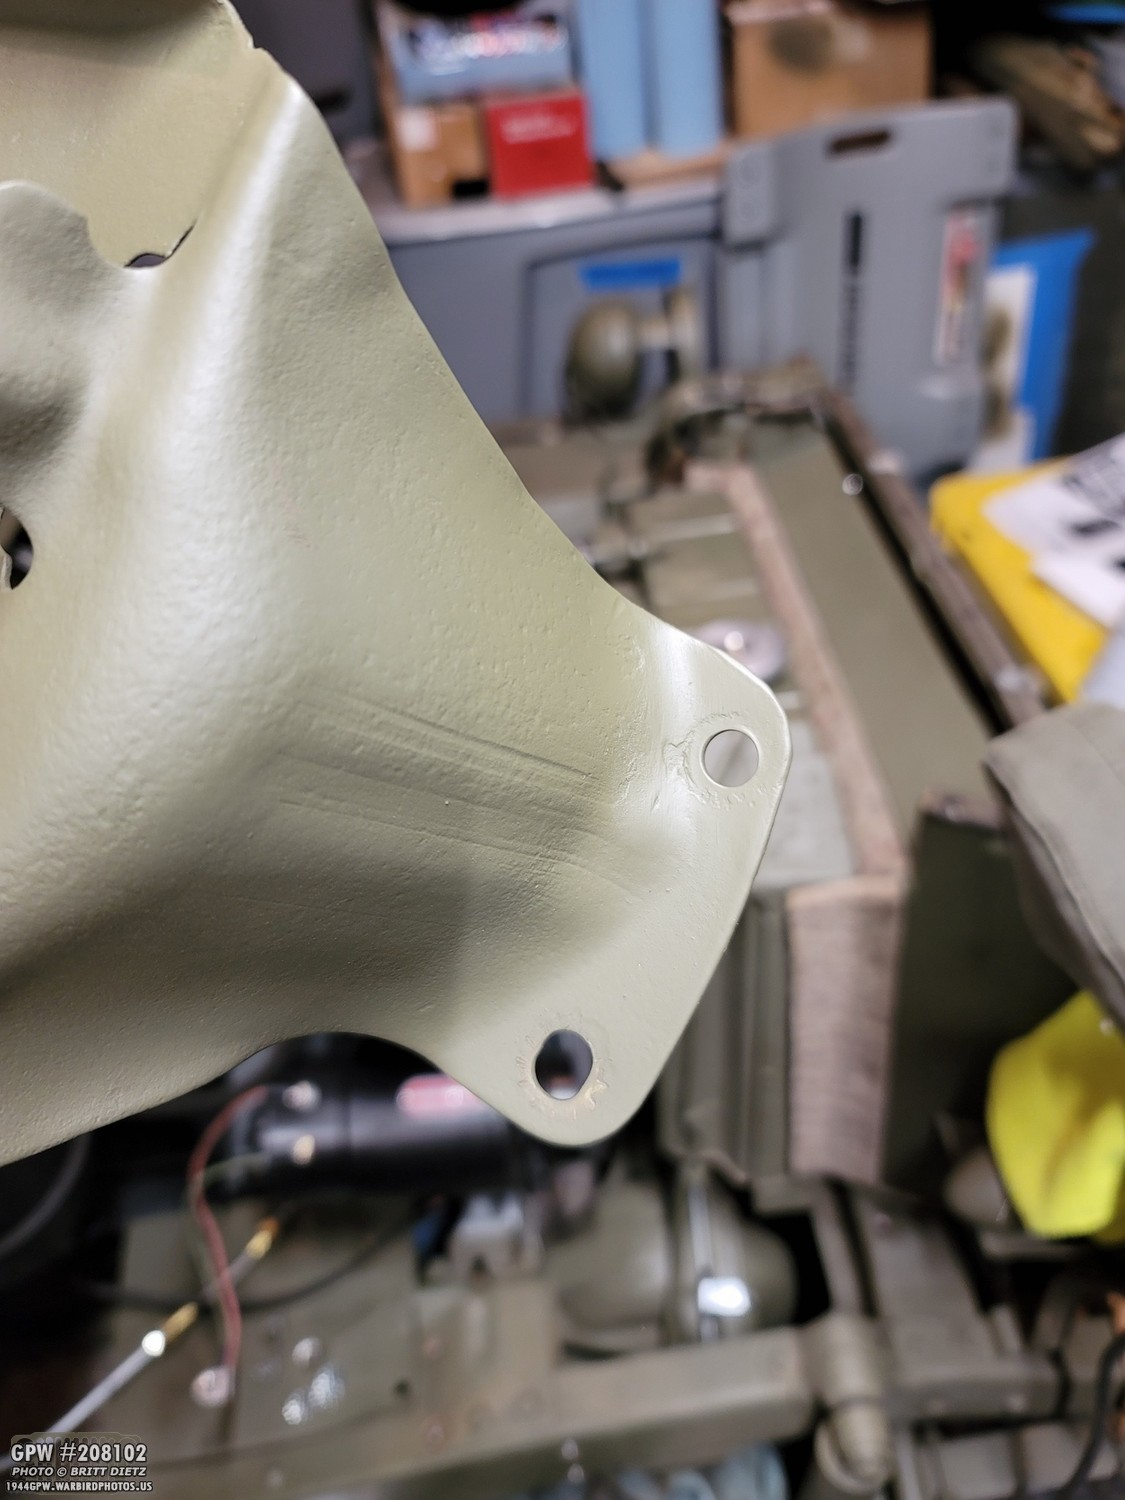
To remove the fender, it’s as simple as removing 12 bolts! First up, these two bolts on the fender tabs.
Then the three vertical fender to body tub cowl bolts and the two step bolts. GPWs have two bolts for the step while MBs have one.

Next up are two long bolts on the fender brace.

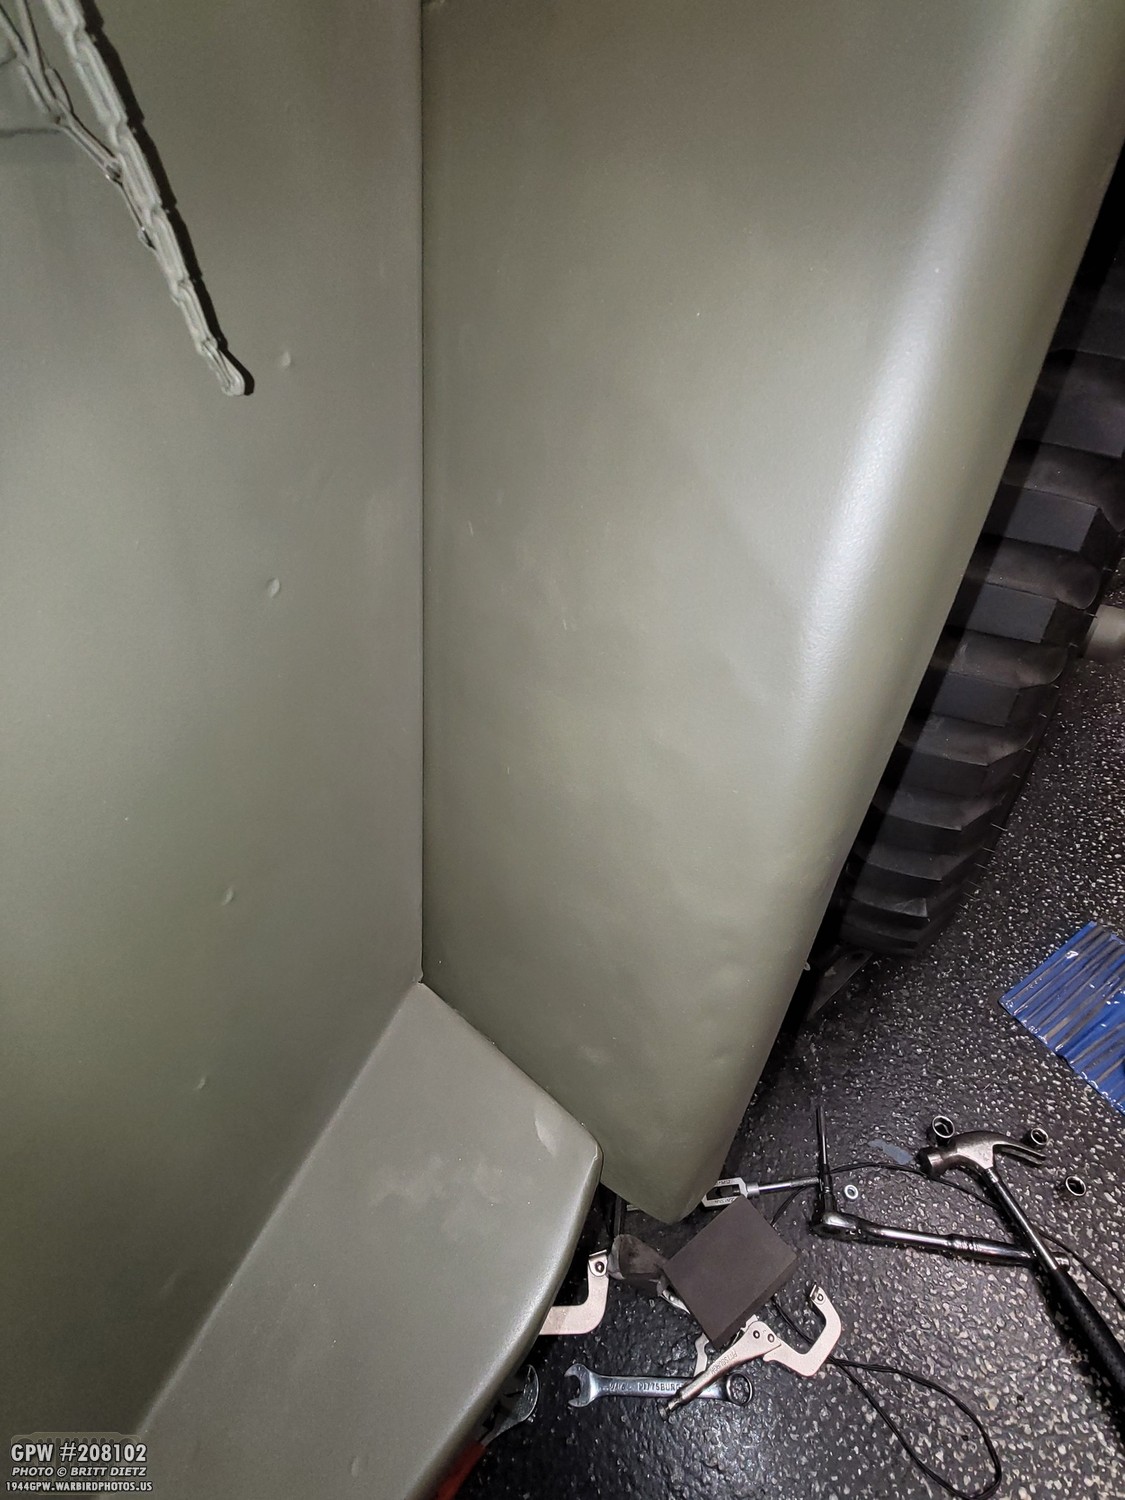
Right away as I started to remove the bolts, I noticed the fender pretty significantly moving away from the tub. That should have been my first clue at what was to come.

Finally, the three bolts holding the fender to the grill.

With my girlfriend’s help, the repro fender is gone! I’ll need to fix some paint on the frame where the repro fender contacted.
Here’s everything removed. Things are going so far, so good.
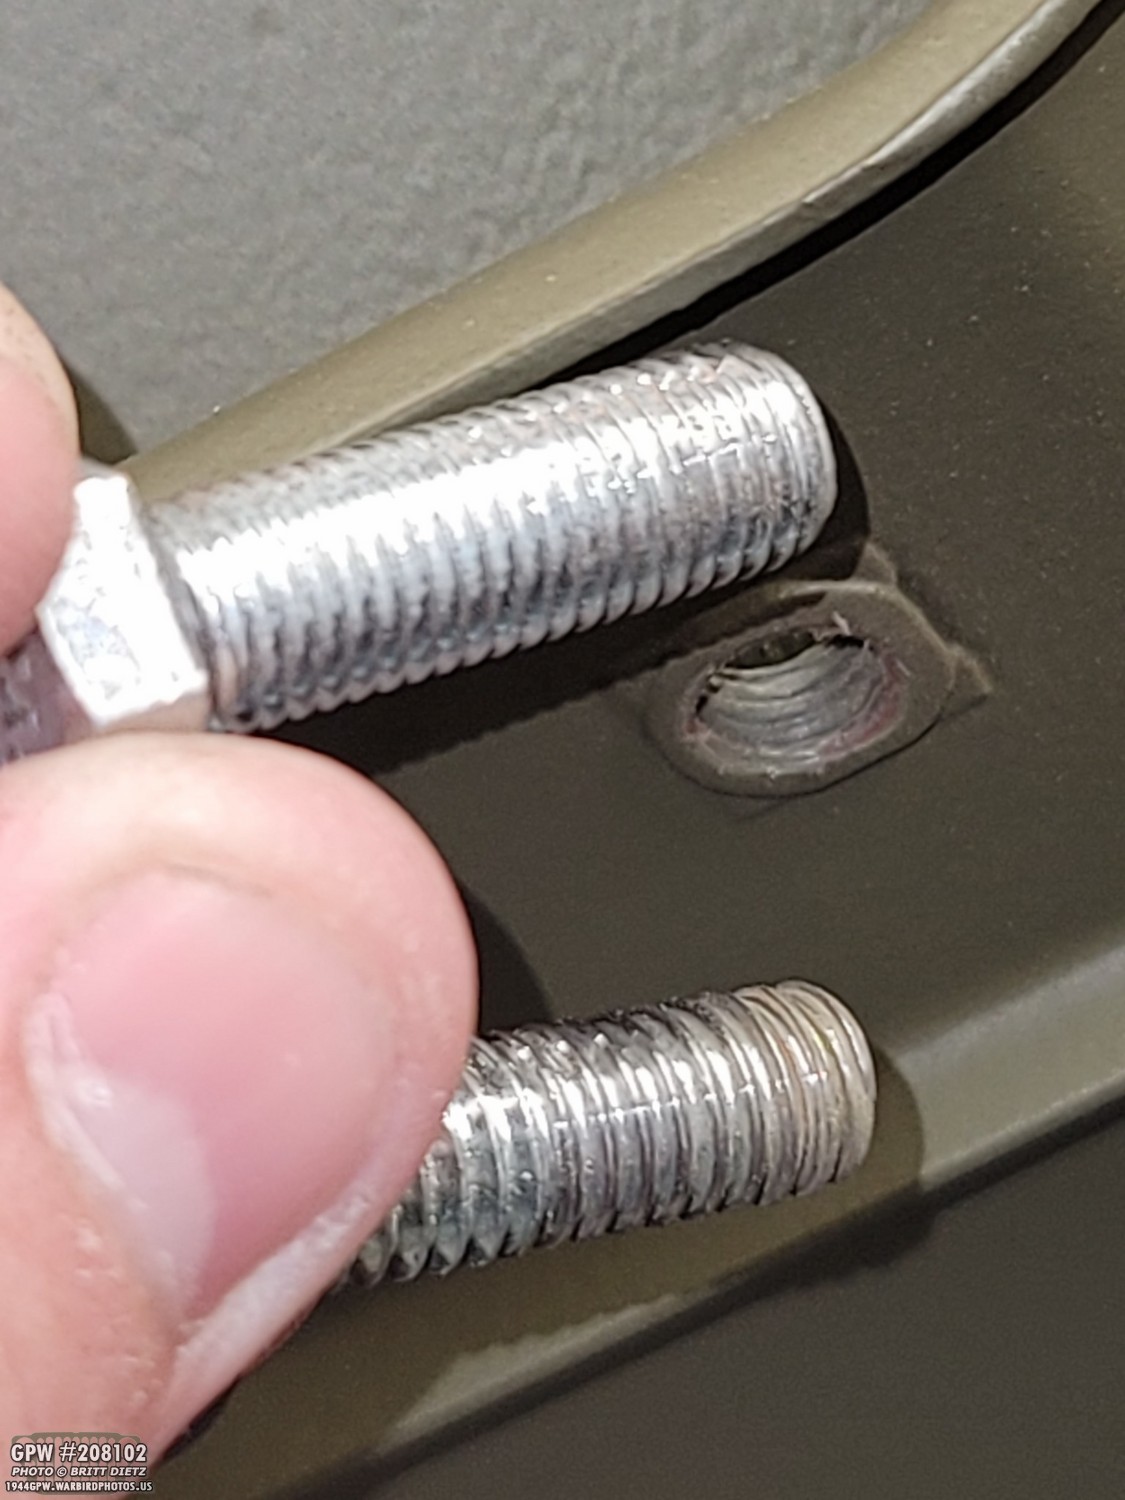
With the regulator off, I wanted to test fit the Voltage Regulator onto the original fender, as the one I have has never been on there I instantly noticed a problem… the threads were different from the MD Juan are 5/16-18 course thread… the original tub has 5/16-24 fine thread!!

I went to my original 1945 ORD9 parts manual. Sure enough, it should be 5/16-24 fine thread. So MD Juan has that completely wrong.

I went to the hardware store and got some 5/16-24 bolts at the printed 1.25 size…. but I soon found that they were way too long. Even with the star washer, washer, and lock washer, they stuck out a ton into the wheel well. That didn’t seem right.
So I also got 1 inch long ones. Just to be safe, I painted the heads of both the 1 inch and 1.25 inch bolts.
I also used my tap and die set to clean up the threads for each of the four mount points.
After putting the regulator on for a test, I found that the 1-inch bolts worked perfectly. On the bottom side, you can see that the 1 inch protruded this far, so the .25 inch would come through another .25 inch! So I’m going to keep with the 1 inch bolts.

The regulator fit perfectly on the original tub. No surprise really as it originally had a real one. But, it occurred to me that this is the first time it’s hard a regulator on it probably in 40-50 years. After this photo I unscrewed everything and took the regulator back off.

I then went to work sanding and priming the frame where the repro fender had dug in. The original one will do the same, but I wanted to start from all painted. I used rags and old flexible shipping envelopes to protect the engine bay.

Then I painted it with 33070 OD Green and, once dry, removed all the protector rags (but those on the springs). Ready to get started installing the original fender back on! I felt, at this point, that I was on a roll and this project would be done in no time!

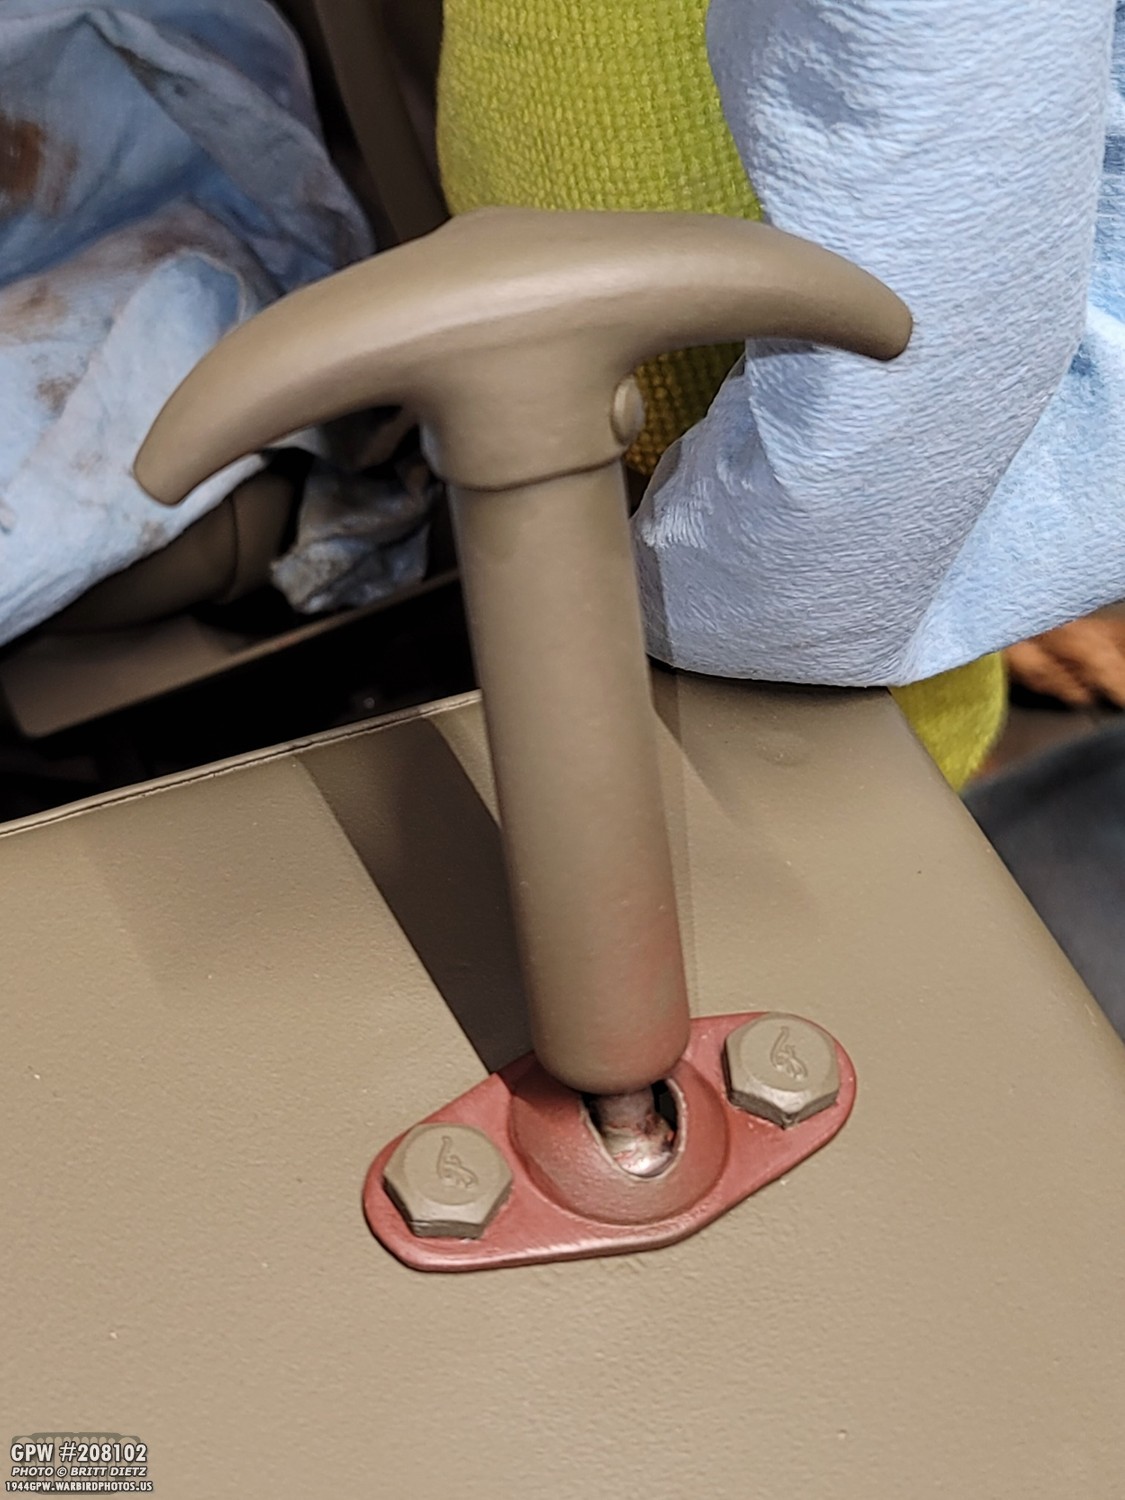
Last year, I spent a update taking some of the fender bolts out one at a time and making custom F stamped bolts to put back on so everything had F stamps. This time, I thought I’d splurge and got a set of 5/16 bolts from Ron Fitzpatrick Jeep Parts to use this time.
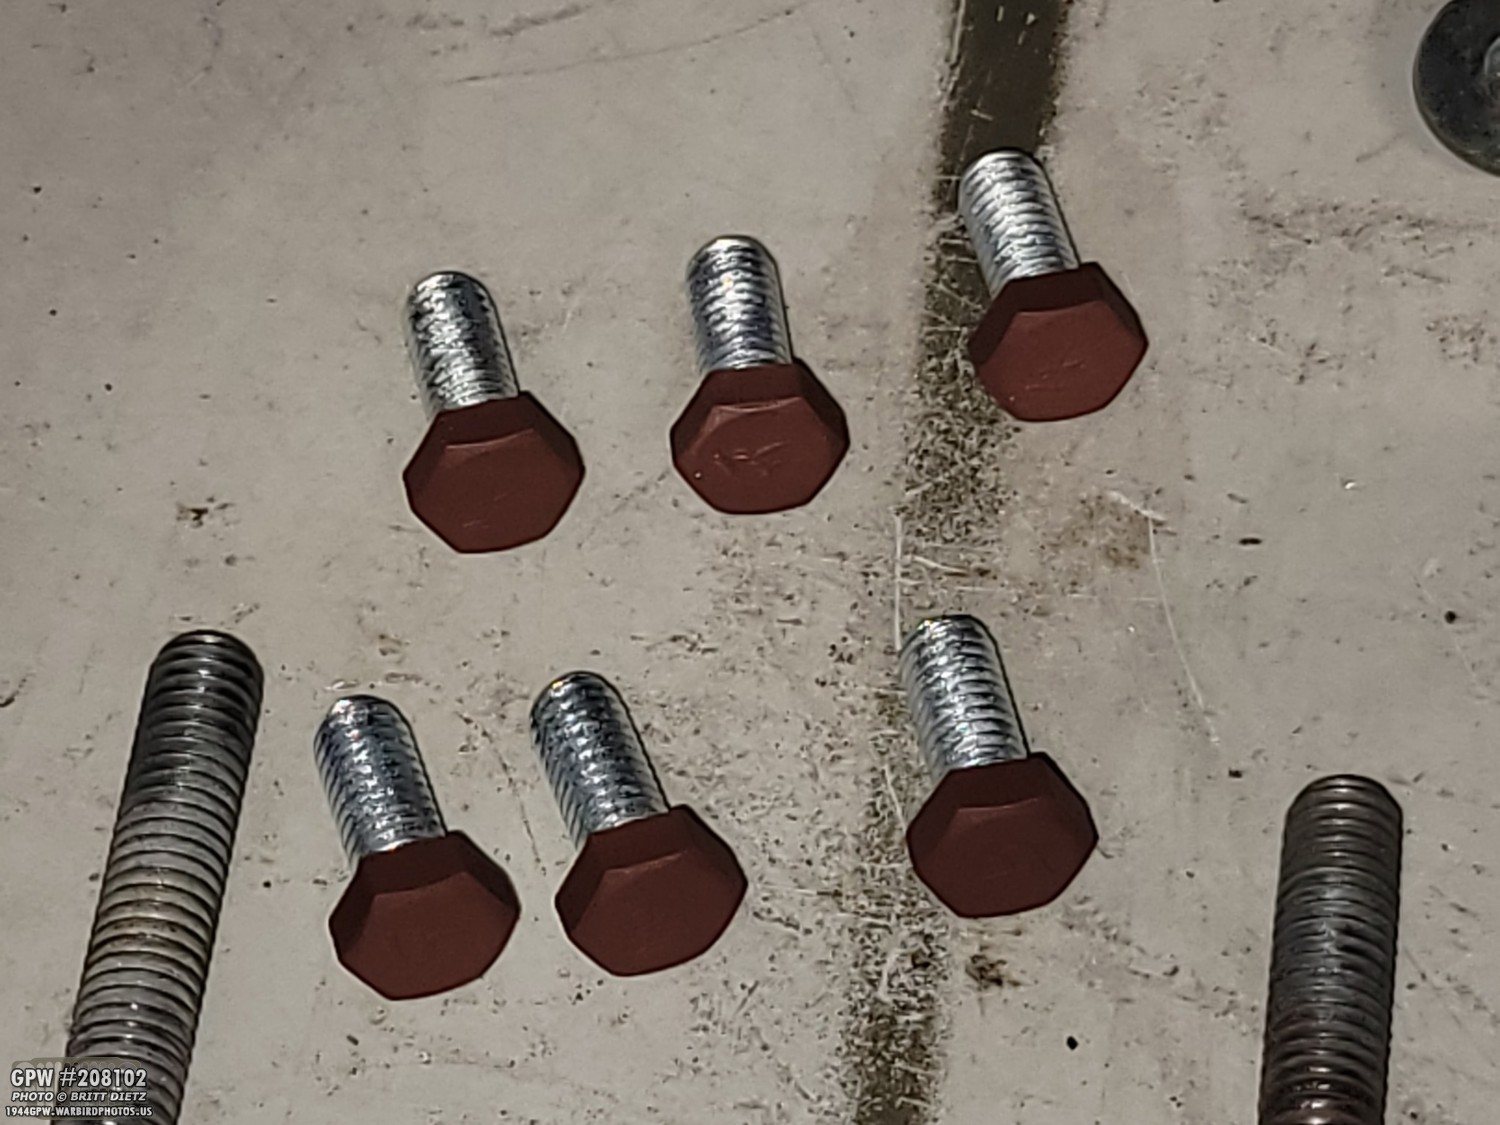
I painted the heads of all the bolts with primer in prep for install.

I ended up getting more bolts from Joe’s Motor Pool USA on eBay as I decided to also replace the bolts for the steps. Plus, it’s nice to have spares of these bolts!

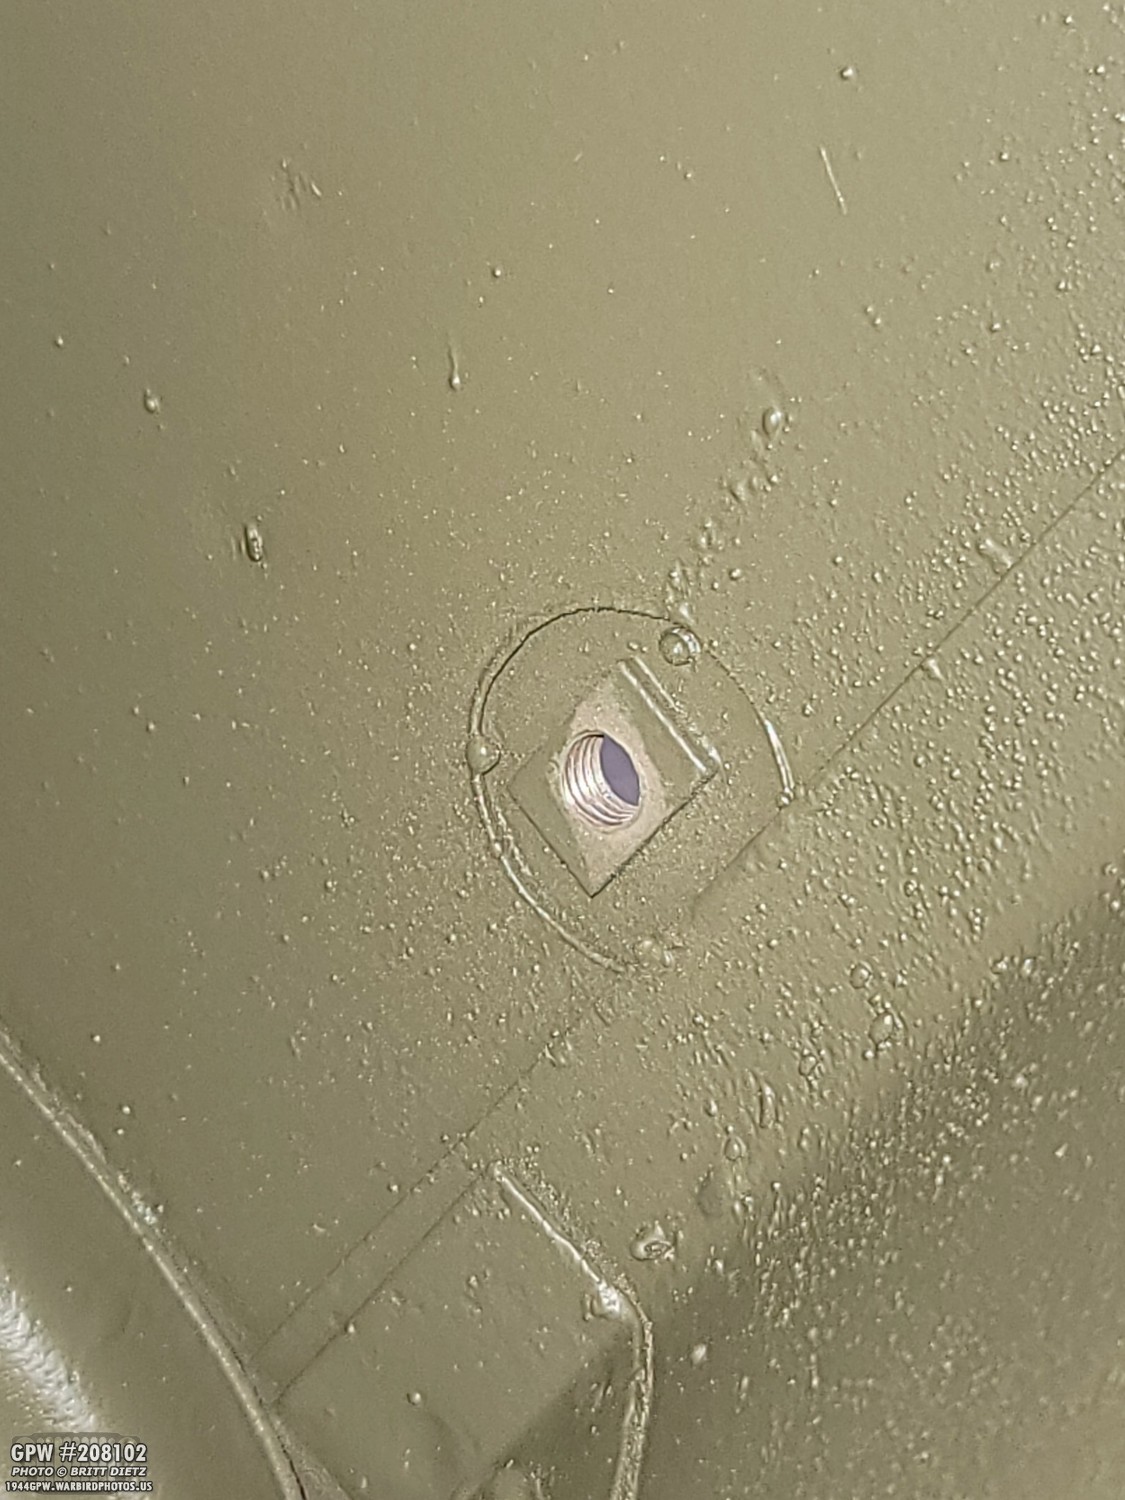
I also found two fine thread original F stamp bolts that I will use for the two fender tabs.

Before installing the fender, I used the tap and die set again to clean up all the threads from the frame to the body tub. This is a huge help when installing a fender.

So with my girlfriend’s help, we went to put on the original fender. I started with the two long brace bracket bolts that go to the frame. I got those bolts started, but not full screwed in so I could still move the fender. Right away, I could see a problem. The holes for the step and vertical body tub cowl mounts did not line up at all. No matter how we shifted the fender, it was not even coming close. Way too far for me to try and force the fender to conform. ??

I tried doing different combinations of things… just the front grill bolts first. They would line up, and so would the middle brace, but the rear bolts would be off. Then I tried just the rear bolts, I could only get one bolt on and the middle bolts and grill bolts would not line up. UGH! Frustrating!

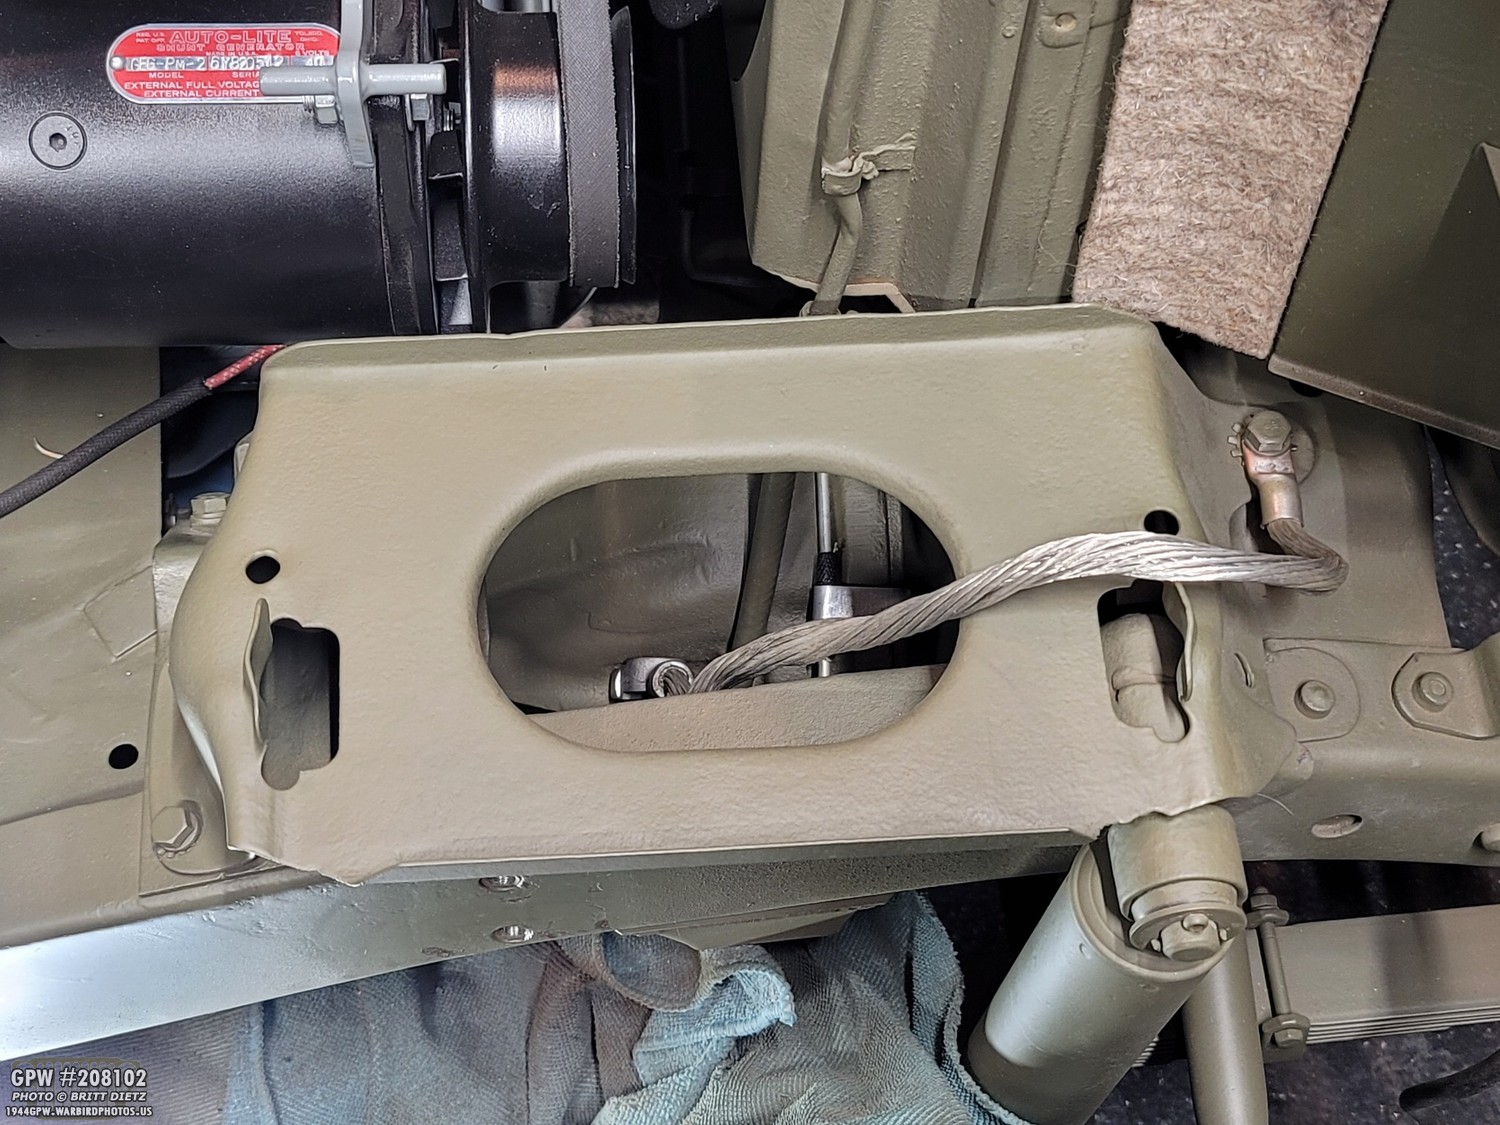
I took off the fender to access what was causing the hold up. One thing I saw was that the fender was hitting the battery tray (the indent). It appears that battery tray (original) has been contacting the fender for many years now.
I took it off, and I used a flap wheel to smooth out that area so the fender wouldn’t contact it.

Even though some people might disagree with this, I also removed some of the voltage regulator reenforcement bracket lip where it was contacting the battery tray. You can’t see this area anyway with the regulator and the battery on the Jeep, so I figured if it helps me get the fender on, it’s worth it.

While the battery tray was off, I decided to replace the modern bolts holding it down, clean up the threads for the bolts, and repaint some more of the frame.
Here’s the battery tray back on, after a new coat of paint and bolts with removed modern head markings. If you know your Jeeps, you’ll notice that my ground/negative cable for the battery is not in the correct spot. It should be lower on the side of the battery tray where there’s a hole that would then allow the bolt for the cable to go into a capture nut inside the shock mount bracket. That capture nut was broken well before I got the Jeep, and it would be a crazy pain to try and fix. So I have the negative cable on one of the mount points. Again, it’s almost impossible to see with everything in there and does the job just as well.

One bit of fun, I found this bolt with strange markings on my Jeep in another location during the main restoration two years ago. I put it aside in my bolt bin and spotted it as I was searching for an F bolt to put there. I thought about just removing the head of this bolt ?? but instead, thought it would be funny to put the bolt there. For those not familiar, a C TR bolt is from an MB Jeep!

With the battery tray back on, I again tried to put the fender on. I started with the two tab bolts first this time.

I was able to get one of the vertical bolts on (the top), but the other three were NOT lined up. The middle bolt was about .5 inch off, and the bottom bolt was about 1.25 inches off! YIKES!

You can see here just how misaligned things are. I was just totally confused, why was it SO far off? I can’t imagine MD Juan got this much wrong on the repro fender that it worked.

So, I took off the fender for a second time. Doing all this really messed up the paint on the frame again, so I had to sand things and prime/paint it again.

So now I had a decision… spend more time trying to figure this out, or just use the repro fender again until I get my original tub repaired over the next few years… then try again with the original tub. I didn’t want to do that.

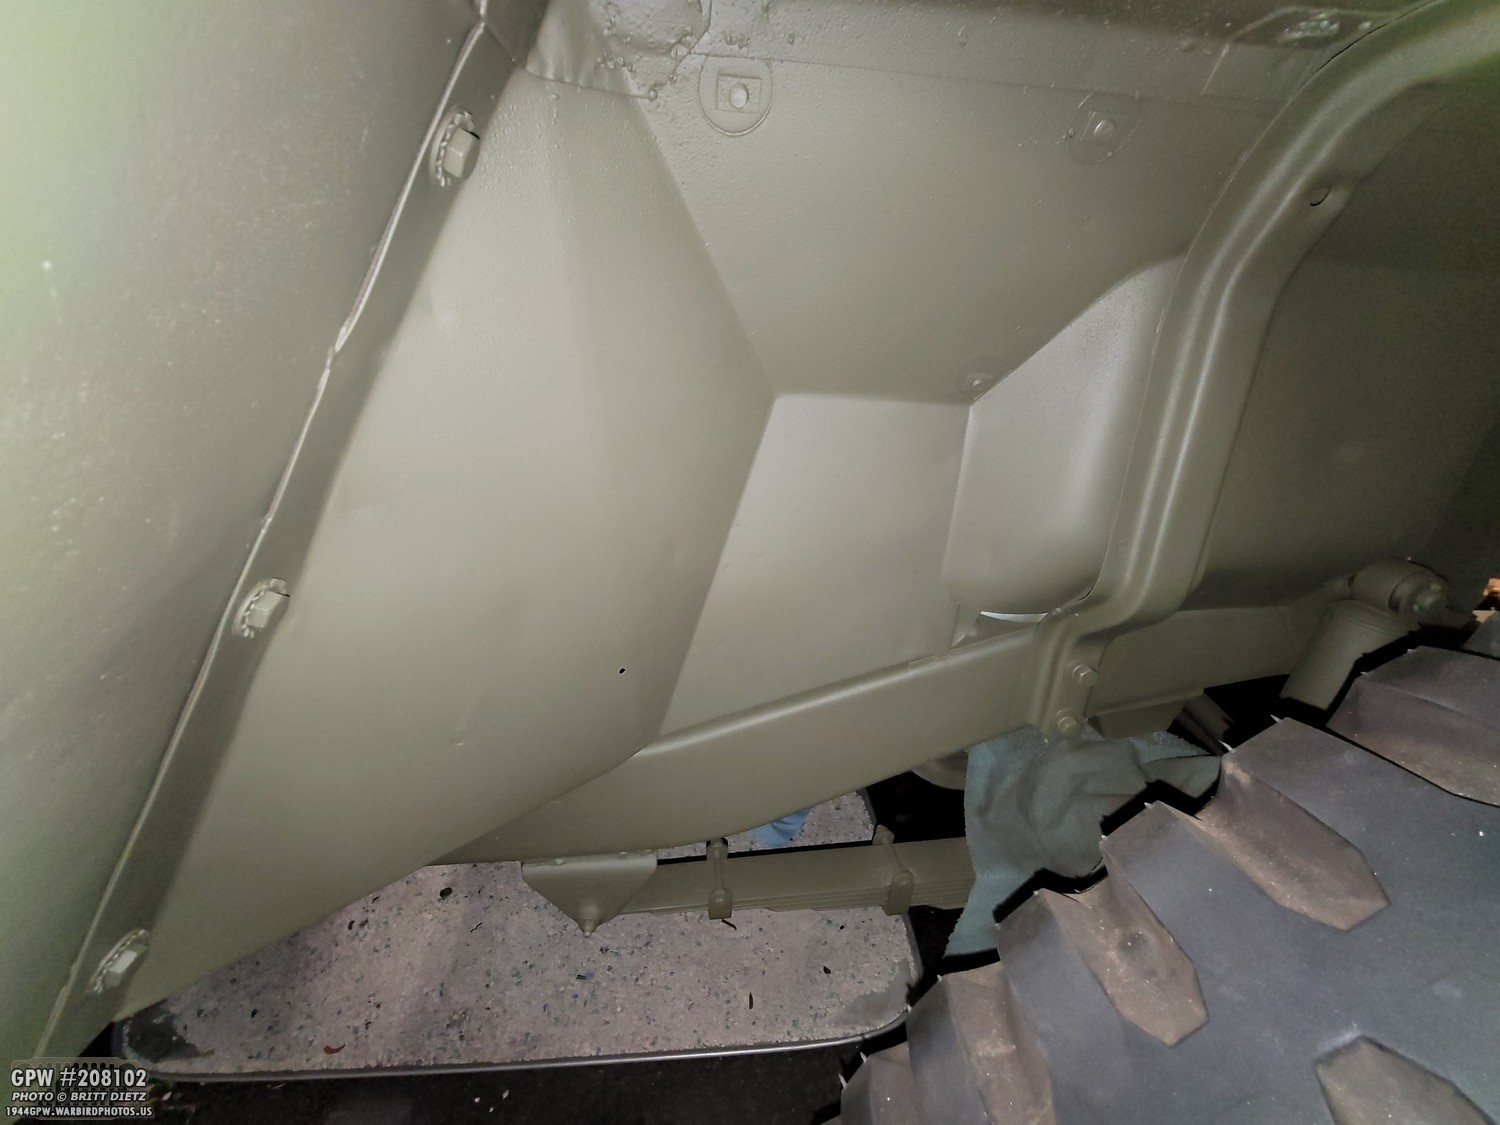
After consulting with my friend and Jeep expert Roger Smith racking our brains trying to figure out what could be wrong… we finally started to realize that it wasn’t the original fender, it was the tub that might be wrong. So, the entire repro tub pivots on one bolt that came preinstalled on the tub next to the fuel sump (orange circle). So, I loosened all the frame to body tub bolts, and tried to see if the tub may have shifted over time. It started to appear that the tub had rotated on that pivot point towards the driver’s side, which meant that the passenger fender would indeed be unable to install.

I suddenly realized that this is going to be a much larger project than I thought. So I got to work. Along with all the body tub to frame mounting bolts, I loosened the body tub toe gusset to frame brackets and took the steering column clamp off so the steering wheel was loose.
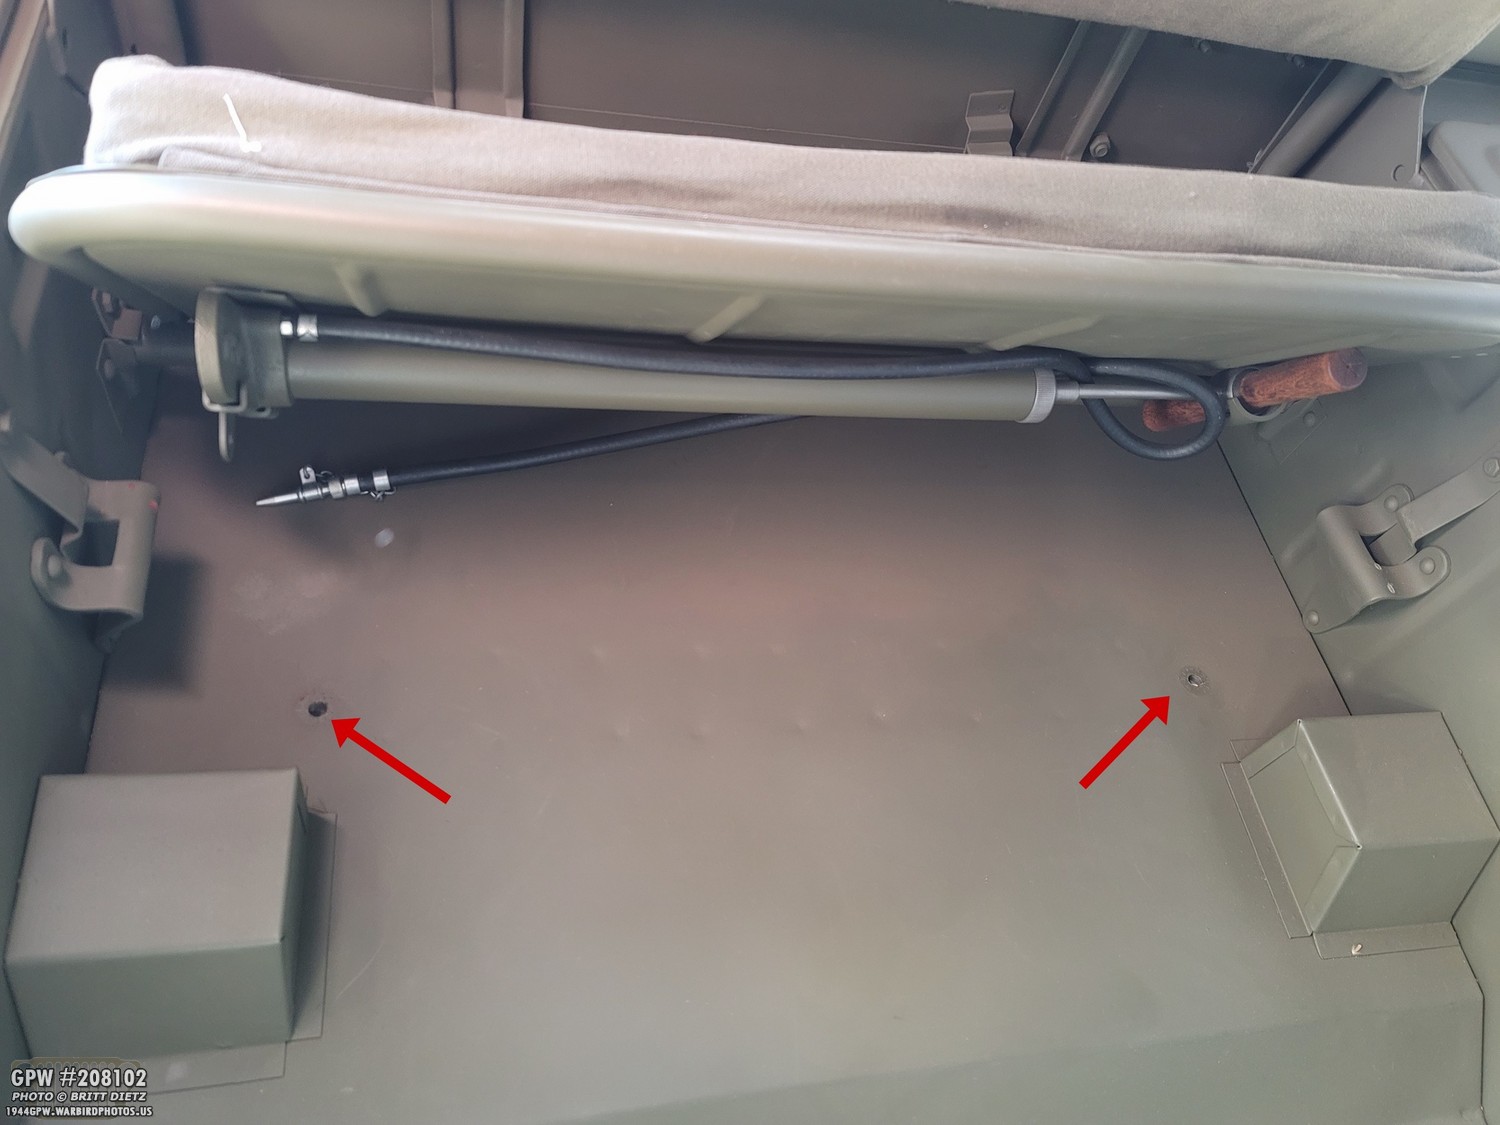
I had to go even further and remove the two rear body tub mount bolts under the rear seat.

I also removed the bolts in the front driver and passenger floors.
But the tub would NOT move. No matter how much force I tried to do, it would not rotate even though all the other mounting bolts were loose to the point I could rotate them 45 degrees left and right (plenty of wiggle room for the tub to move).
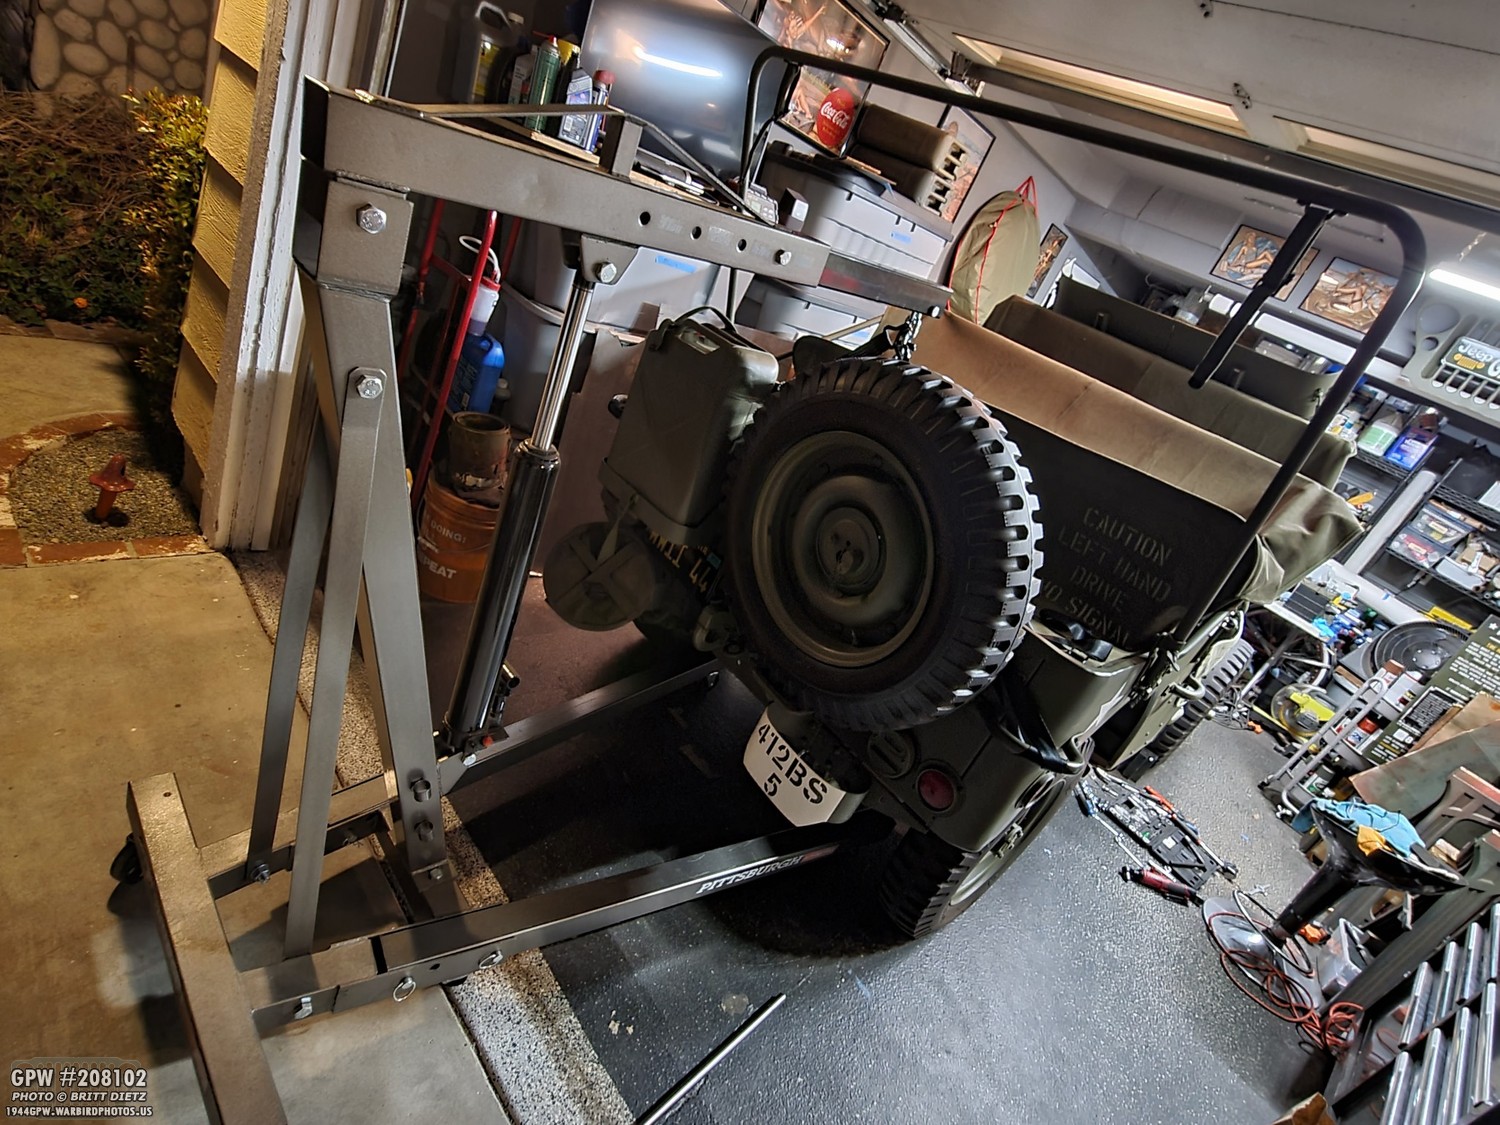
So, the thought was that maybe the tub had gotten stuck on the frame. So I used my engine hoist to try and lift the rear of the body tub from the frame. I also loosened the bolts mounting the driver’s fender to the body tub. Literally nothing else was holding the tub to the frame tightly.

So, using the rear handles I tried to lift the rear of the tub. It shouldn’t take much, and I should start to see it rise… but it didn’t. Much to Roger and I’s surprise. It even lifted the rear wheels into the air. WHAT?! There’s literally nothing else holding the body to the fender tightly. Or so we thought…

Yup, we did overlook something that was super easy to overlook. The spare tire brace bracket actually connects the body and the frame together. DOH! We both totally forgot about this.

After removing the bolt from the body tub on that spare tire bracket, the tub lifted right up. First step to getting this figure out!

I ended up taking out all the bolts for the body mounting BUT the one next to the fuel sump as that’s a capture nut in the hat channel and can’t be moved. Using that as the tub pivot point, I got my girlfriend’s help to try the fender again. MUCH closer this time! Only about .25-.5 off. So we kept trying to shift the body tub to try and get things to get closer, but this is about as close as we could get it.
For the last two weeks, this was my garage floor with all sorts of tools everywhere as I tried to get things to align.
It took two days and 4 hours straight of work, but I finally got the fender to align! It was NOT easy.

I can’t tell you how exciting it was when the final bottom bolt lined up and I was able to get the bolt in. It was a lot of using punches jammed in holes to move the sheet metal over and over little bits at a time before it finally got to that point where I could bolts it all up. After getting the bolts in, I sanded the areas that got a little beat up from all this work, and primed the area again.
I then hit things with the 33070 OD Green as things dried the next day.

Here’s a look at the three grill bolts all installed and painted. I double-checked the continuity of the grill to rear fender bolts to make sure I had good ground for the headlights.

I then went over and shifted gears to the driver’s side fender, which I was afraid had become misaligned as I had removed some of the bolts going to the body tub to help move the tub. I was right. Thankfully, it wasn’t as bad as the passenger fender, and after about an hour of tweaking, I got it to align as well. Lots of time on my back on the floor under the fender!
I then added the hood catch on the passenger fender. I honestly did not mean to align the bolts, they just did that on their own. The blue towels are to keep the welding and headlight protected as I touch up the catch with 33070 OD Green after this.

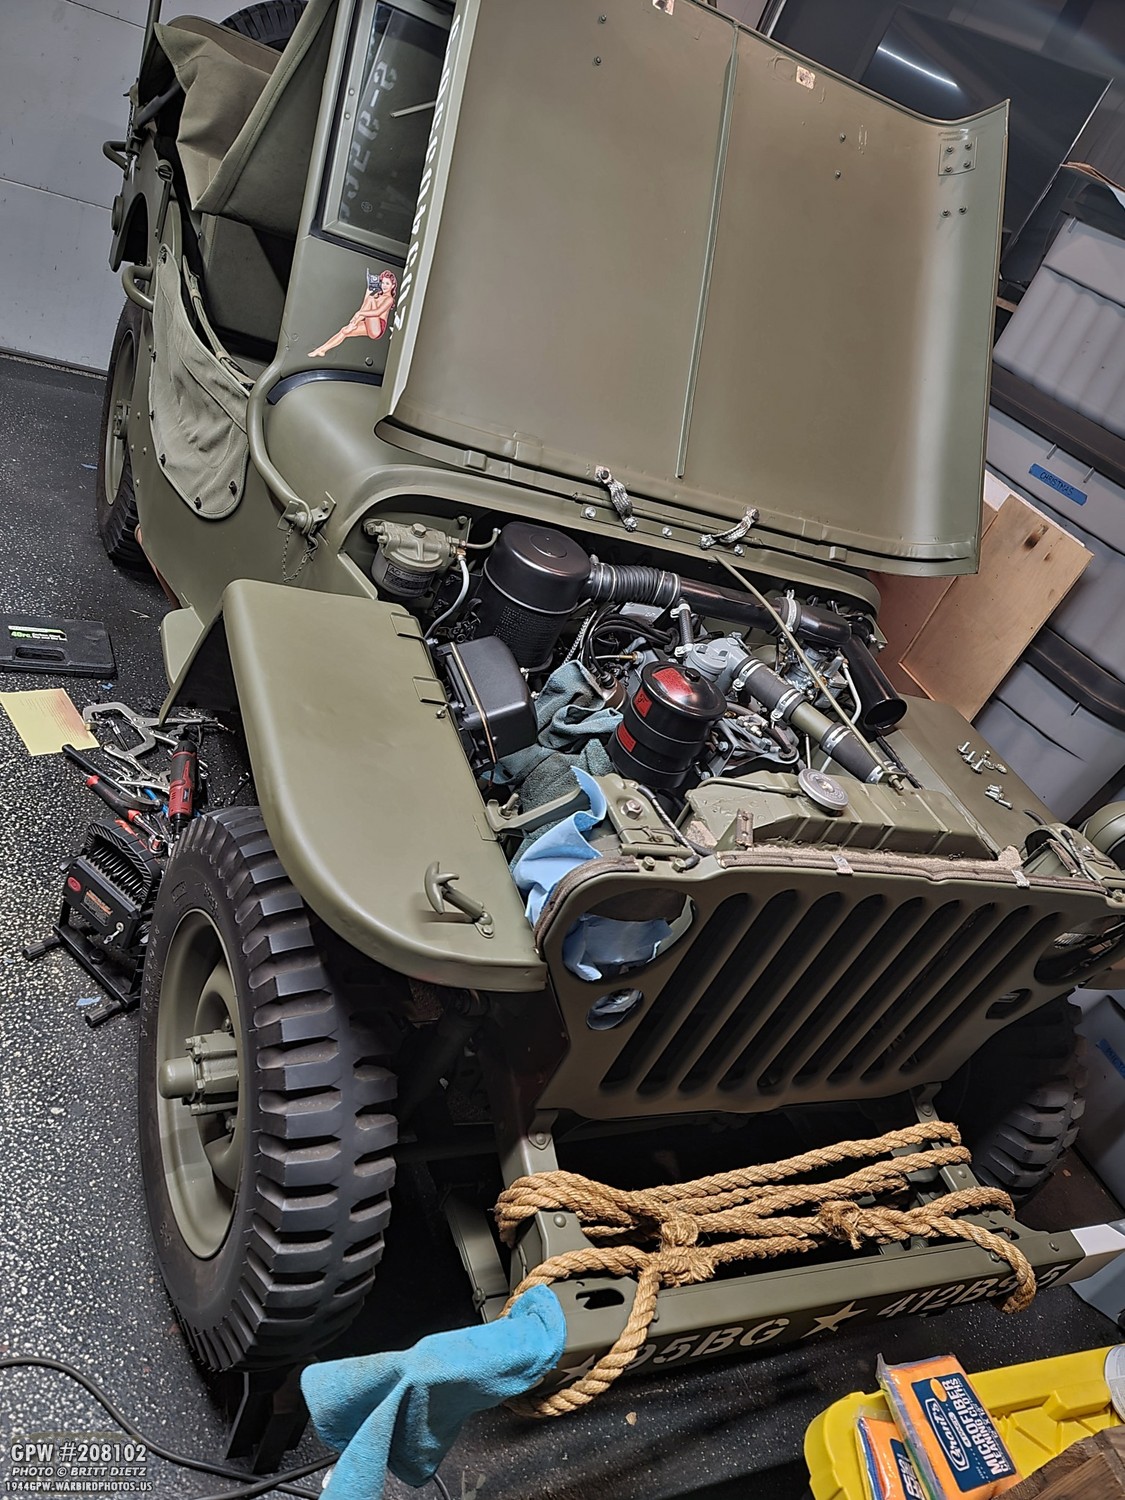
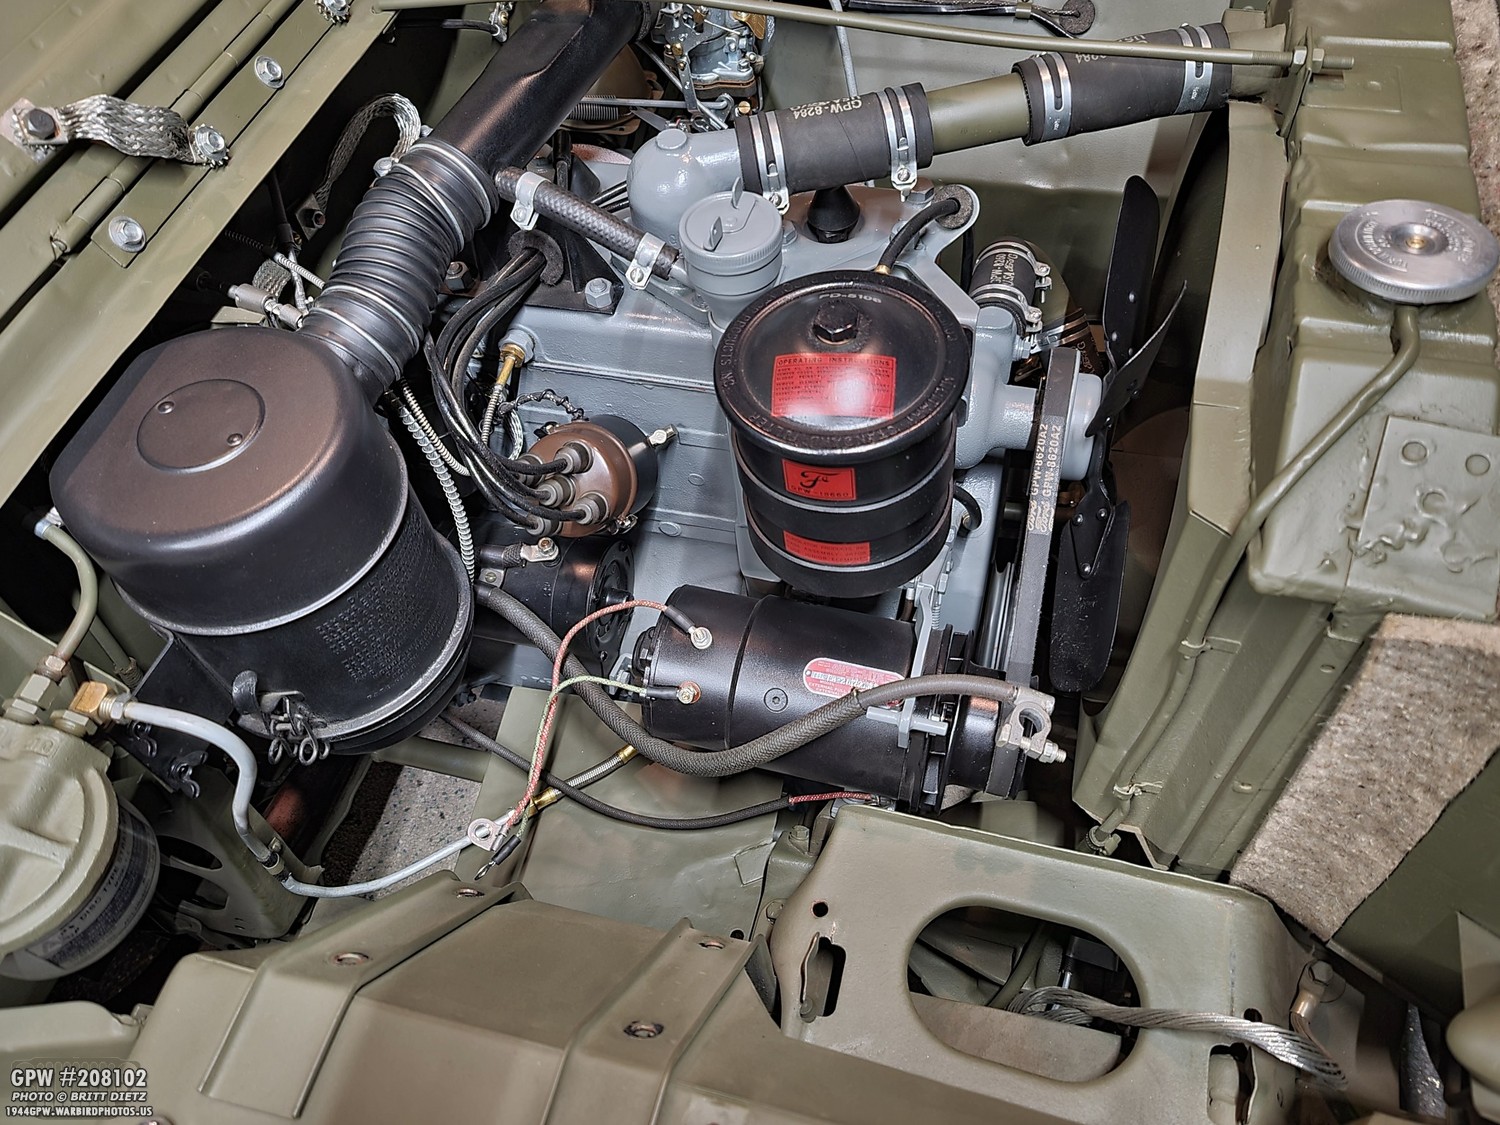
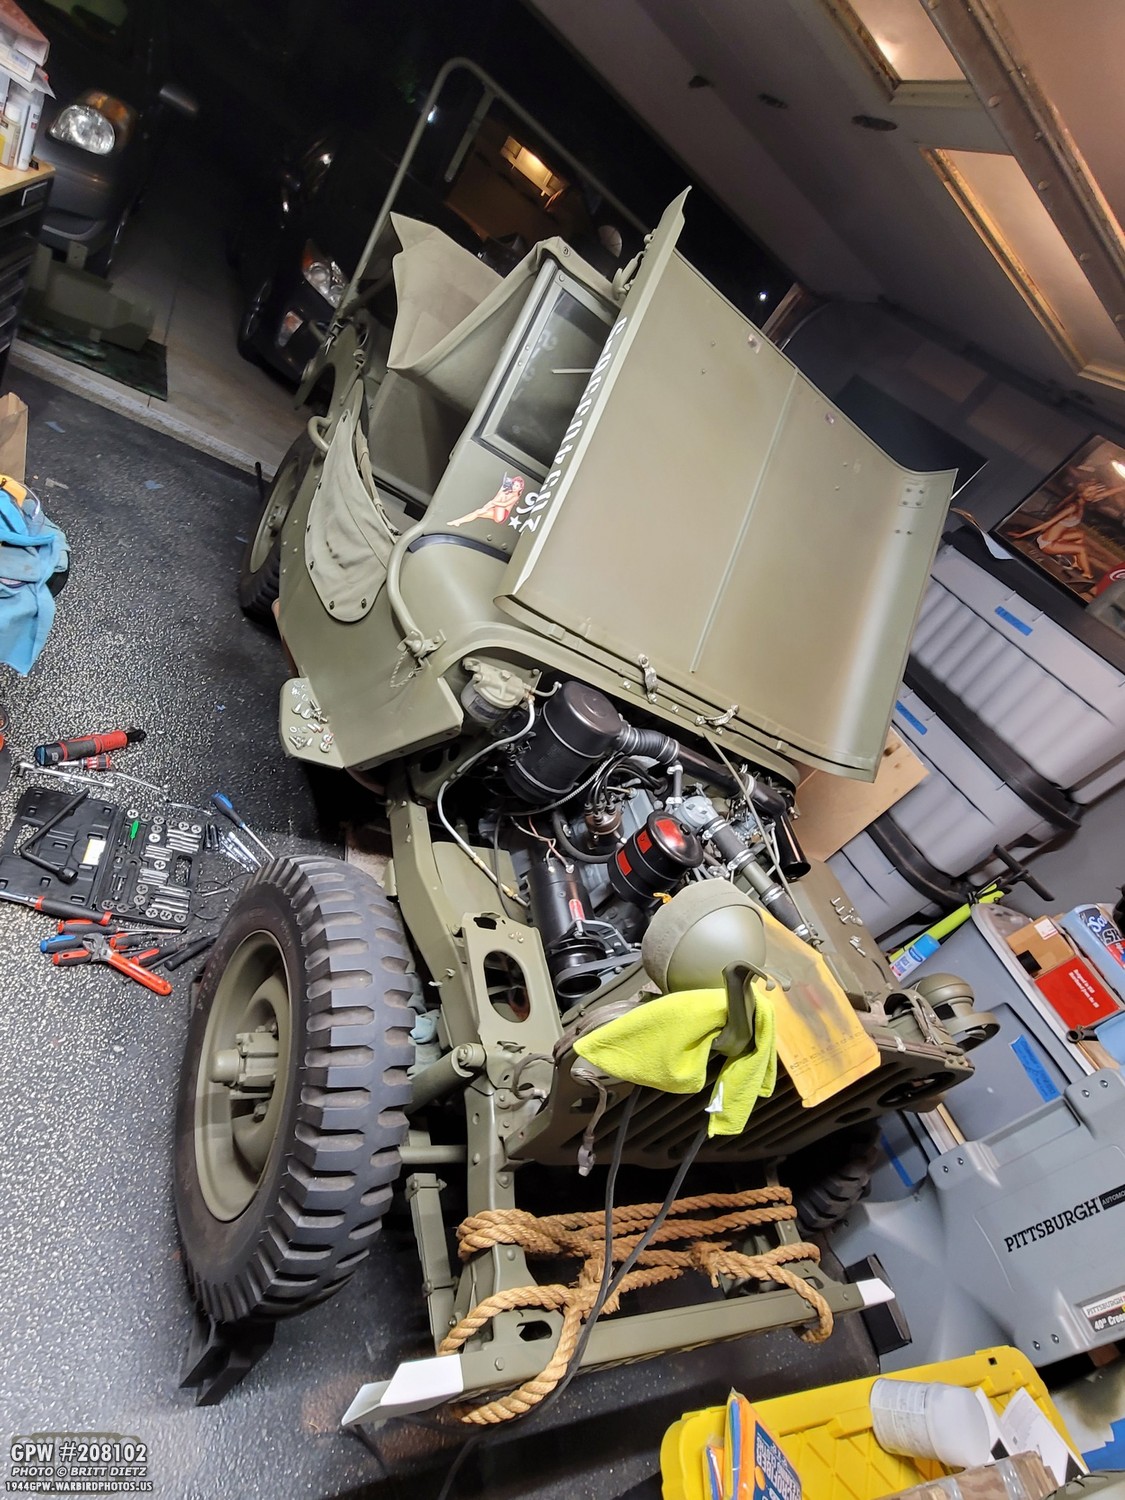
When the fender installed and the paint touched up everywhere on it, I went ahead and reinstalled the voltage regulator, battery, battery bracket, hold down bracket, and screwed down the headlight bracket. Starting to look like a complete Jeep again!

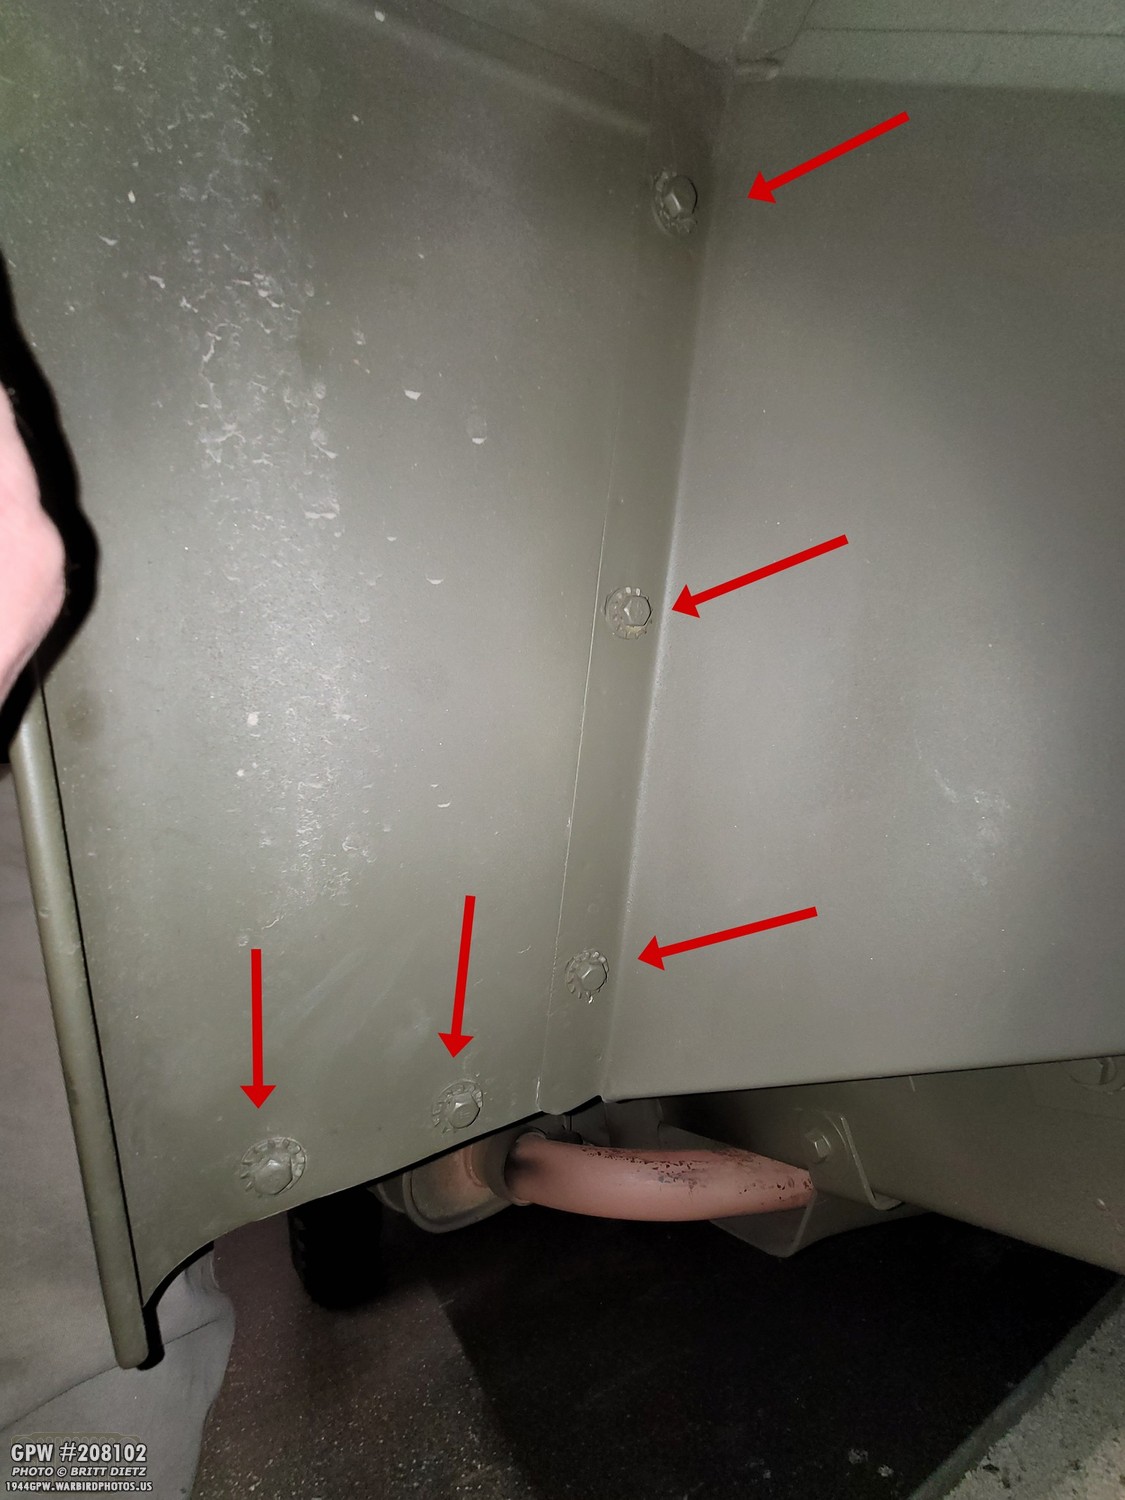
BUT, while the victory of bolting up the passenger and driver fenders are awesome, I have found that there’s a new issue… the body tub mount holes now don’t line up with the frame anymore. Sigh. So that will be my project this weekend, drilling larger holes in the tub. Thankfully, they are only off about .25 to .5 inch. Still, this has been a massive project when I figured it would be a quick swap. But I’m happy to finally have BOTH the original GPW fenders back on the Jeep! Hopefully, I can get the tub mounted back with the frame, and then be able to take the Jeep for a spin again as it’s been over a month since I last drove her! Let’s hope things go smoother with the tub than the fender!
Till next the update…