 Engine is back on the frame!
It’s been a busy week of Jeep work, mainly mating the engine back on the frame for the first time since February! Took a bit of work, but it came back together! Since then, it’s been a fast pace of putting things back on the engine and getting it ready to test hopefully in the next week or two to see how well it runs! Work also continues on drilling holes in the MD Juan tub….
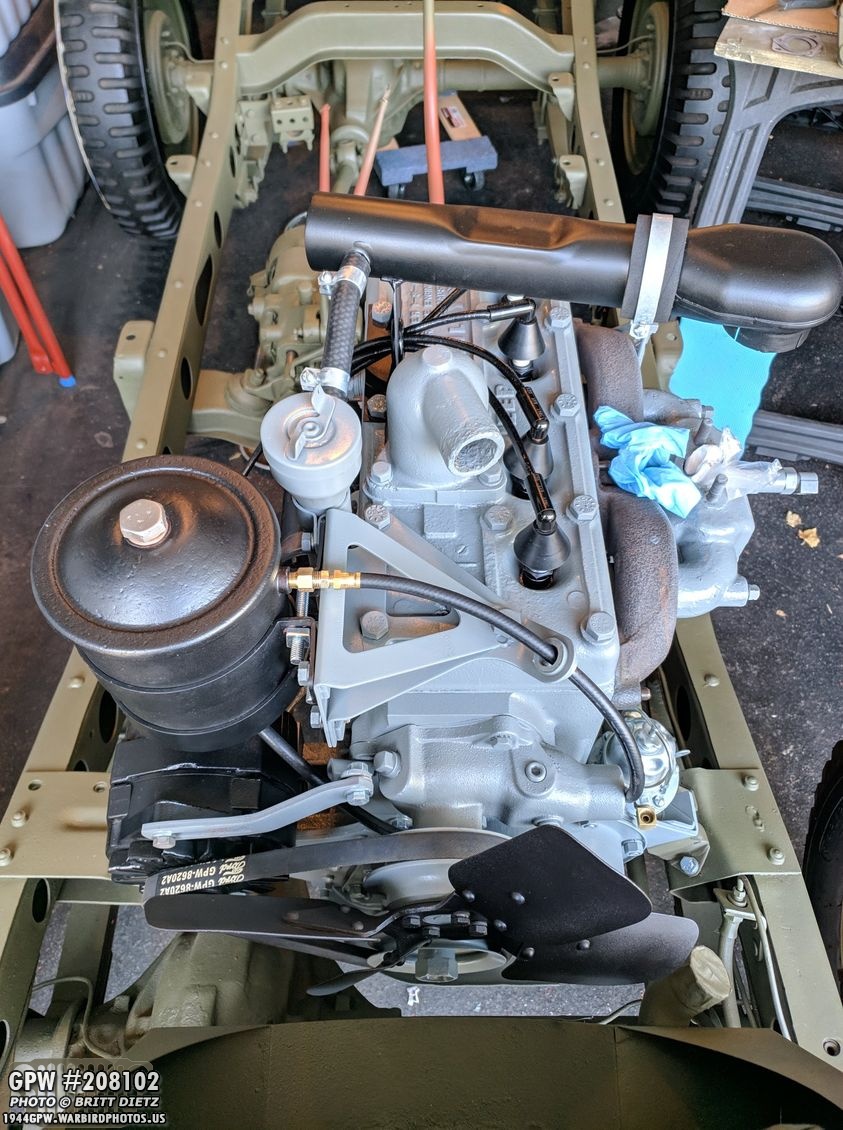
The engine back on the Jeep! More on his in a bit…
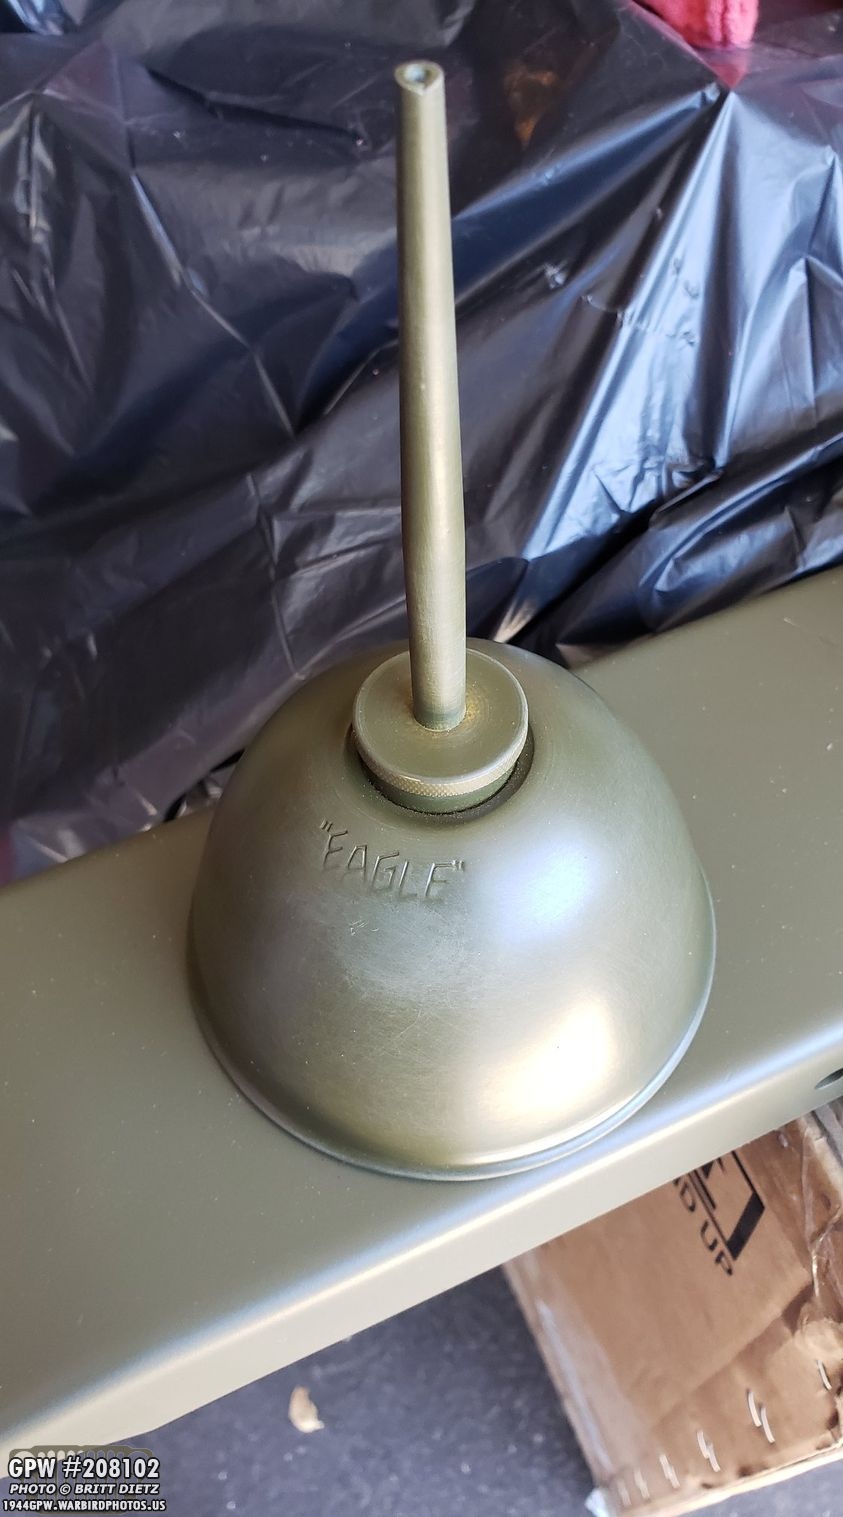
One of the things I picked up in France was this reproduction Eagle oil can! It was a different color OD Green than my jeep, so I decided to repaint it. It looks like it matches here, but only because I have taken sandpaper to the glossy surface in prep for panting it.
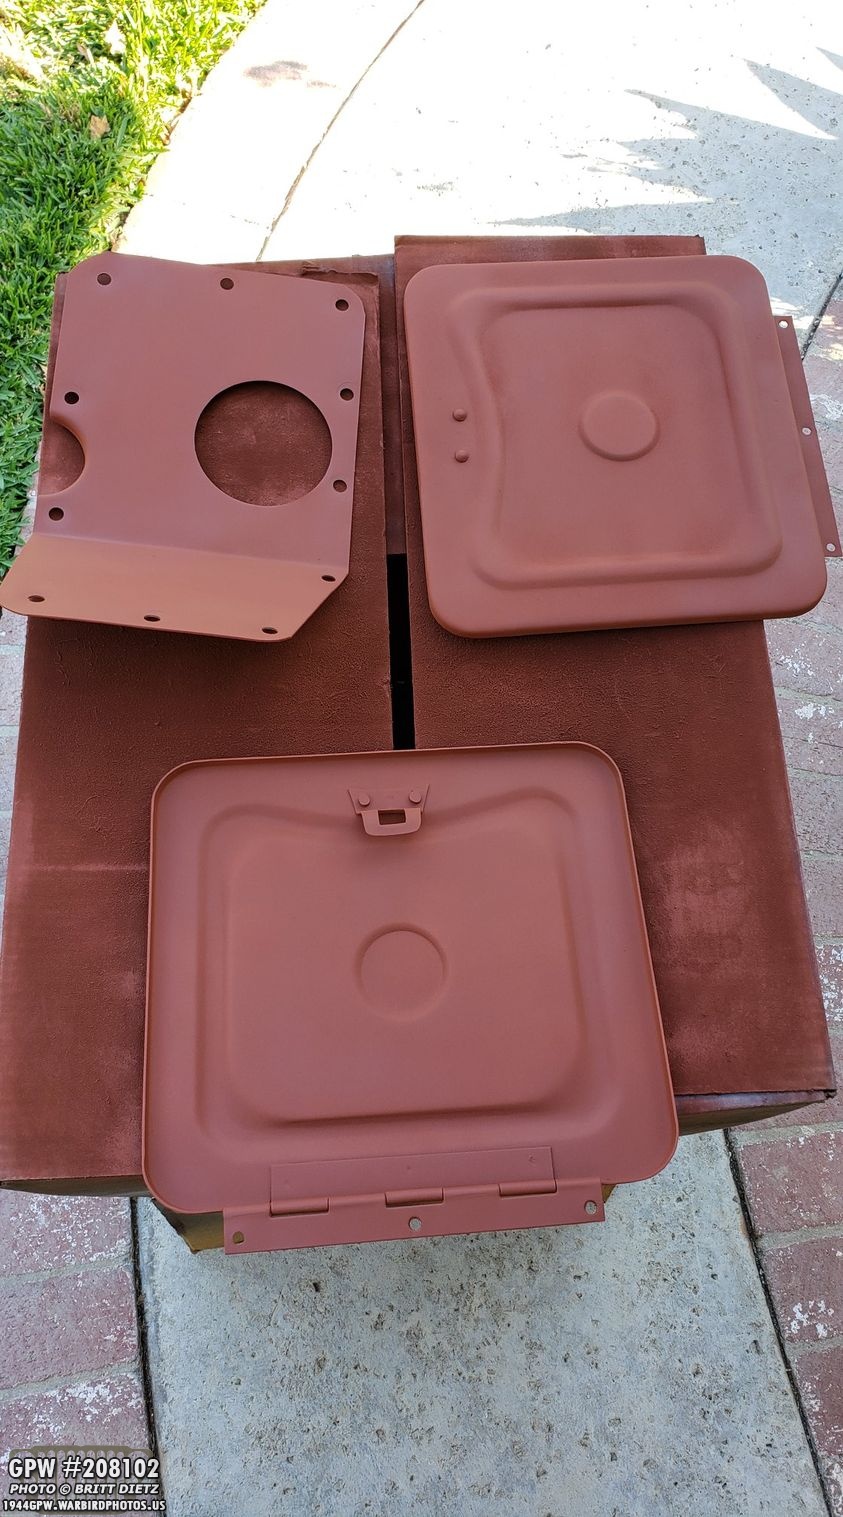
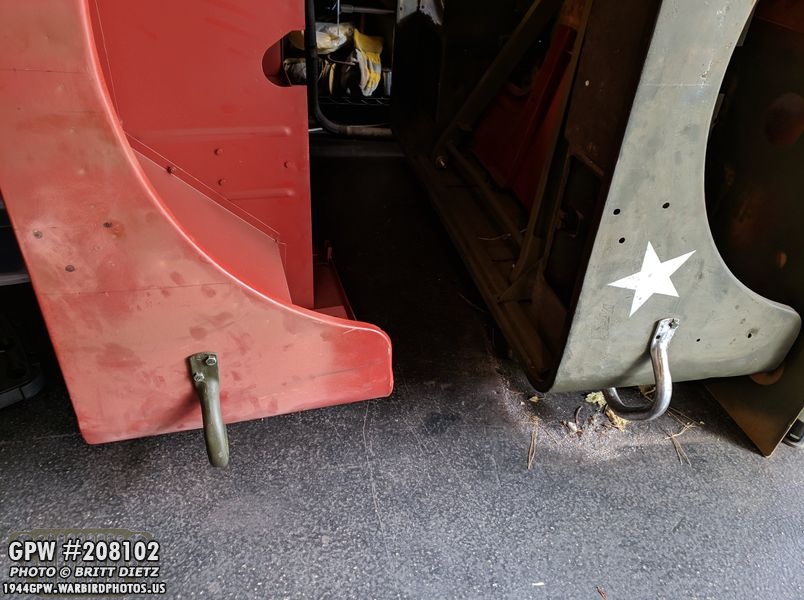
Touching up the rear tool box doors with red oxide primer, and also touching up the transmission cover that came with the MD Juan kit.
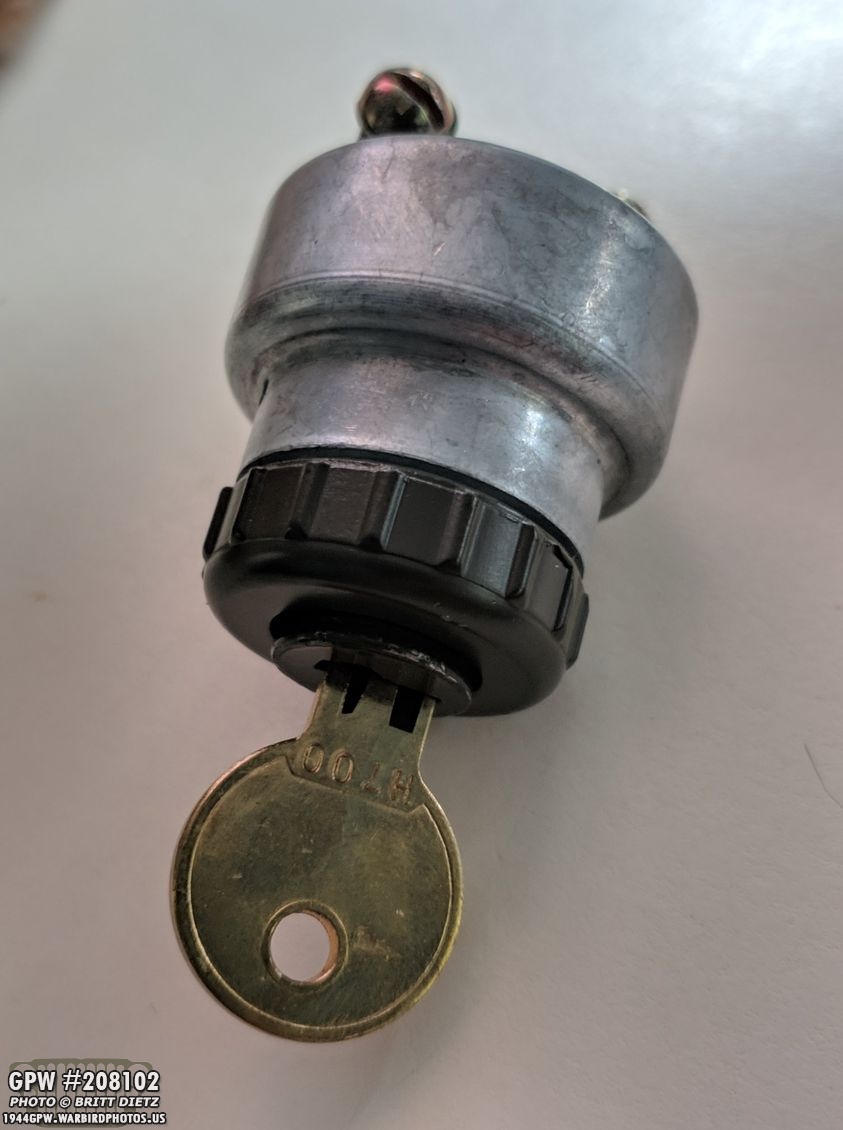
Another thing that arrived (after being back ordered for a few months) was my GPW ignition switch with correct H700 key! Been looking forward to getting this for a while now! Thanks, M.V. Spares for your awesome work!
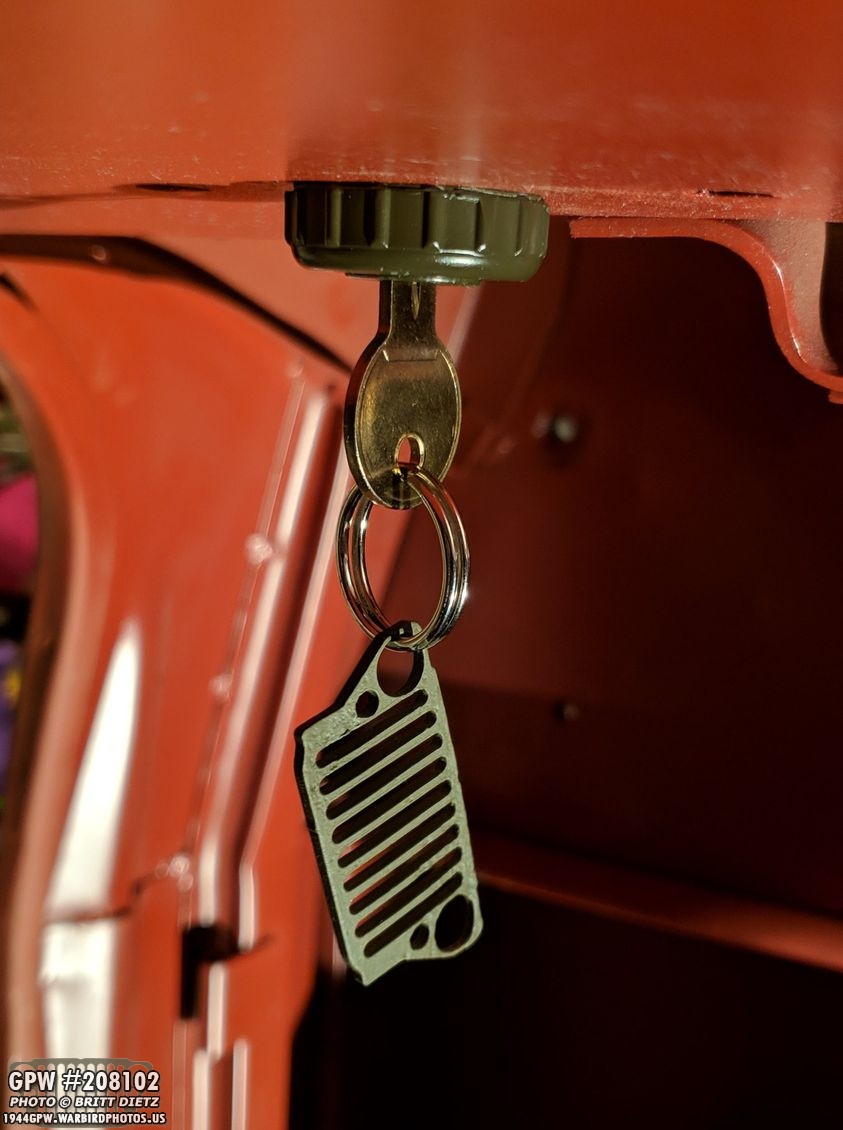
I decided to test fit the ignition switch in the MD Juan body tub, and it fits perfectly snug! I also added my Jeep Grill keychain that I got from a gentleman in Australia. It’s laser cut from a Jeep frame that was too far gone to repair. He sold them a few years ago, and (thankfully) had only one left when I contacted him!
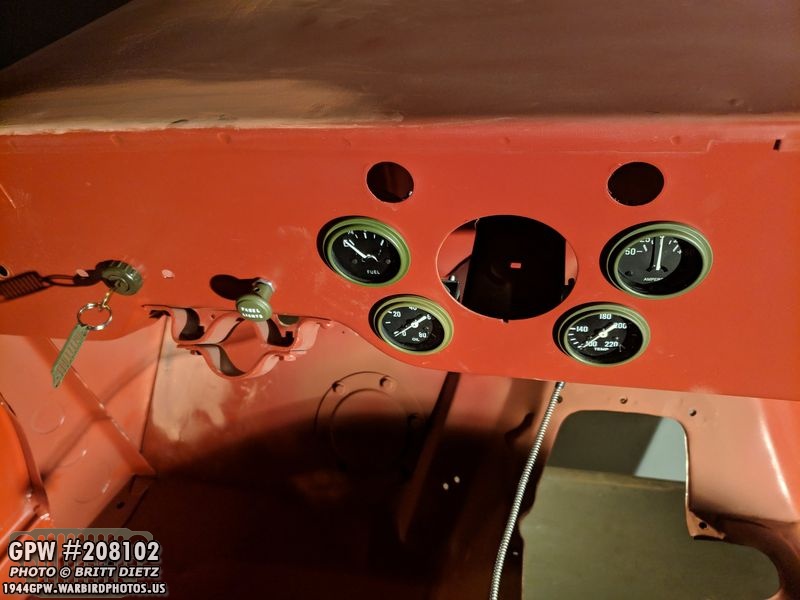
I also decided to test fit all the new gauges in the MD Juan tub to make sure they fit… all of them fit perfect except the speedometer! I’ll have to take the Dremel and open up that hole a little more for it to fit. It ALMOST fits.
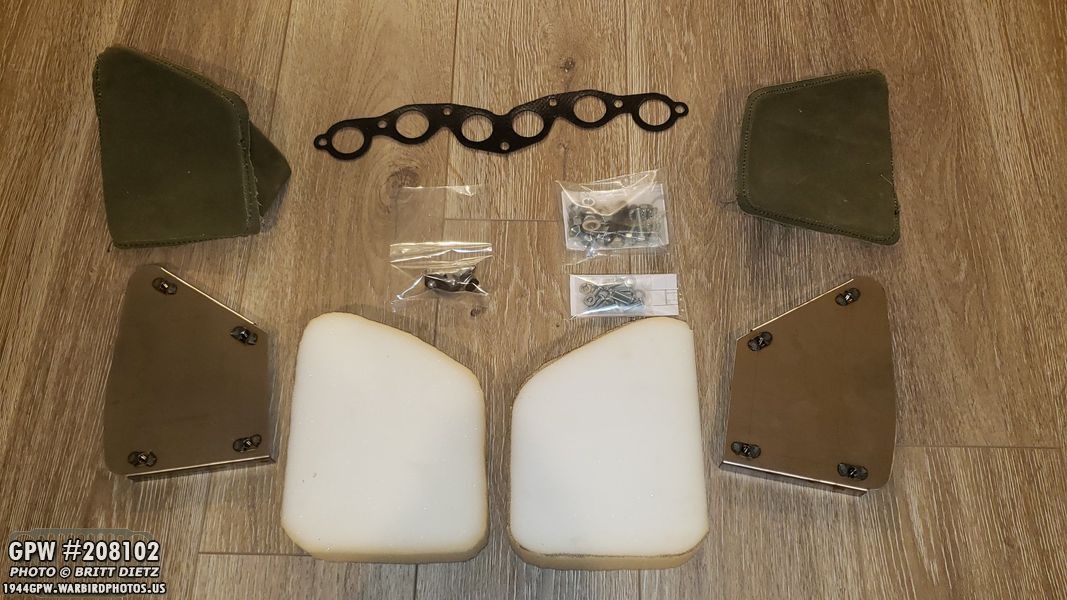
Another shipment arrived from Ron Fitzpatrick Jeep Parts, this time with a new gasket for the manifold (I accidentally threw away the other one I ordered, whoops!), mounting hardware for the manifold and carburetor, and also a complete set of crash pads including the canvas. More on the crash pads in a bit.
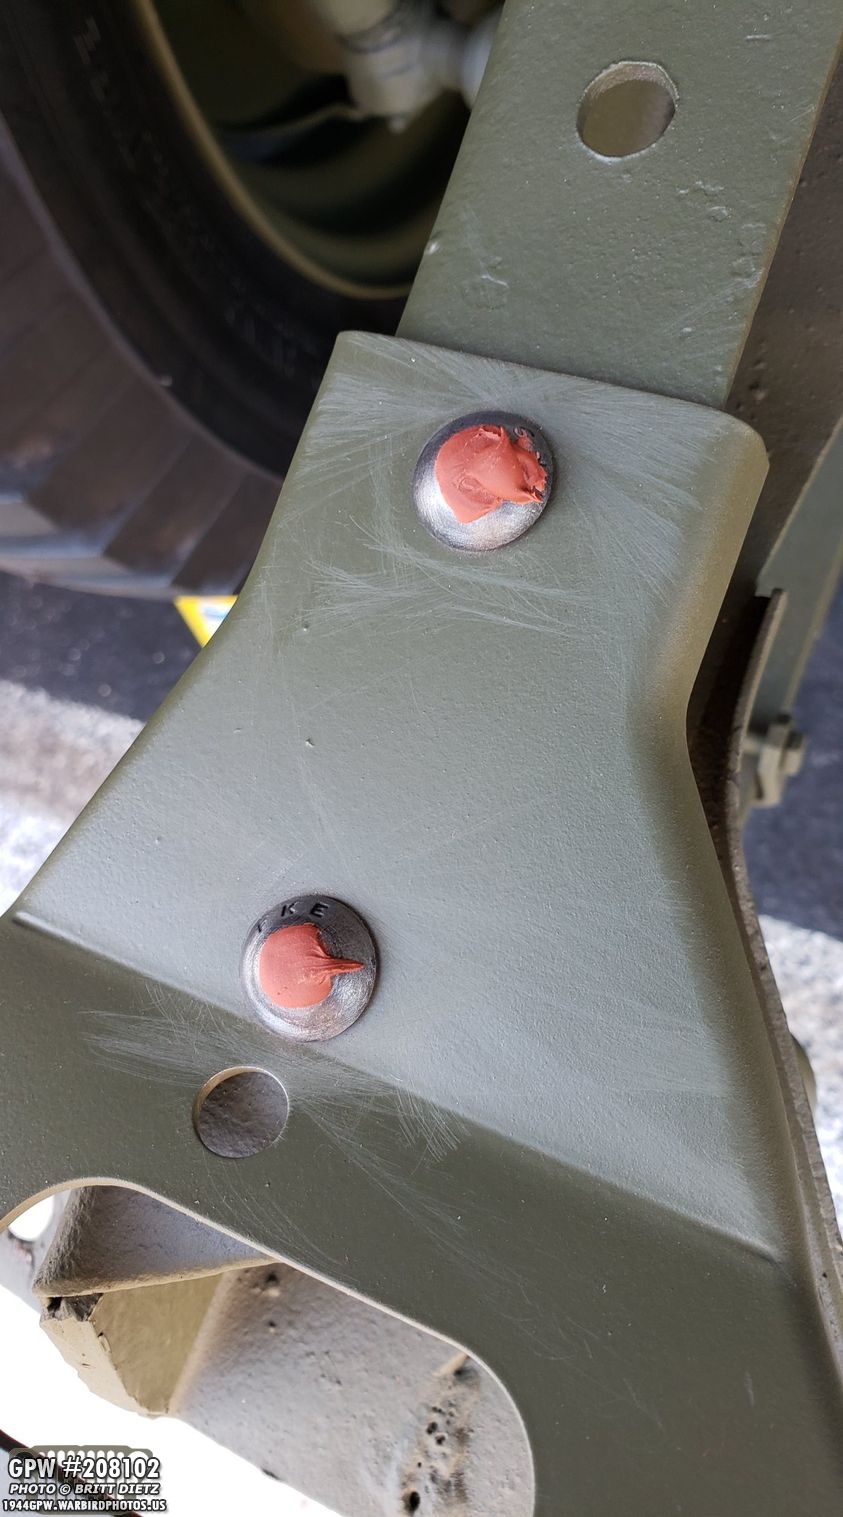
For those who remember from previous updates, I had opted to use special screws on the front top gussets instead of rivets. Using a hex tool, I tightened and torqued them to just about the same strength as the rivets. All that’s left is to fill the hex holes on the top, which I have started here with body filler. Once filled and painted they will look exactly like the rivets.
After last update’s fiasco with the flywheel not spinning because of the incorrect sized timing cover seal, I put everything back together and repainted some of the spots that got banged up while trying to figure out that issue. The engine is ready for remounting!
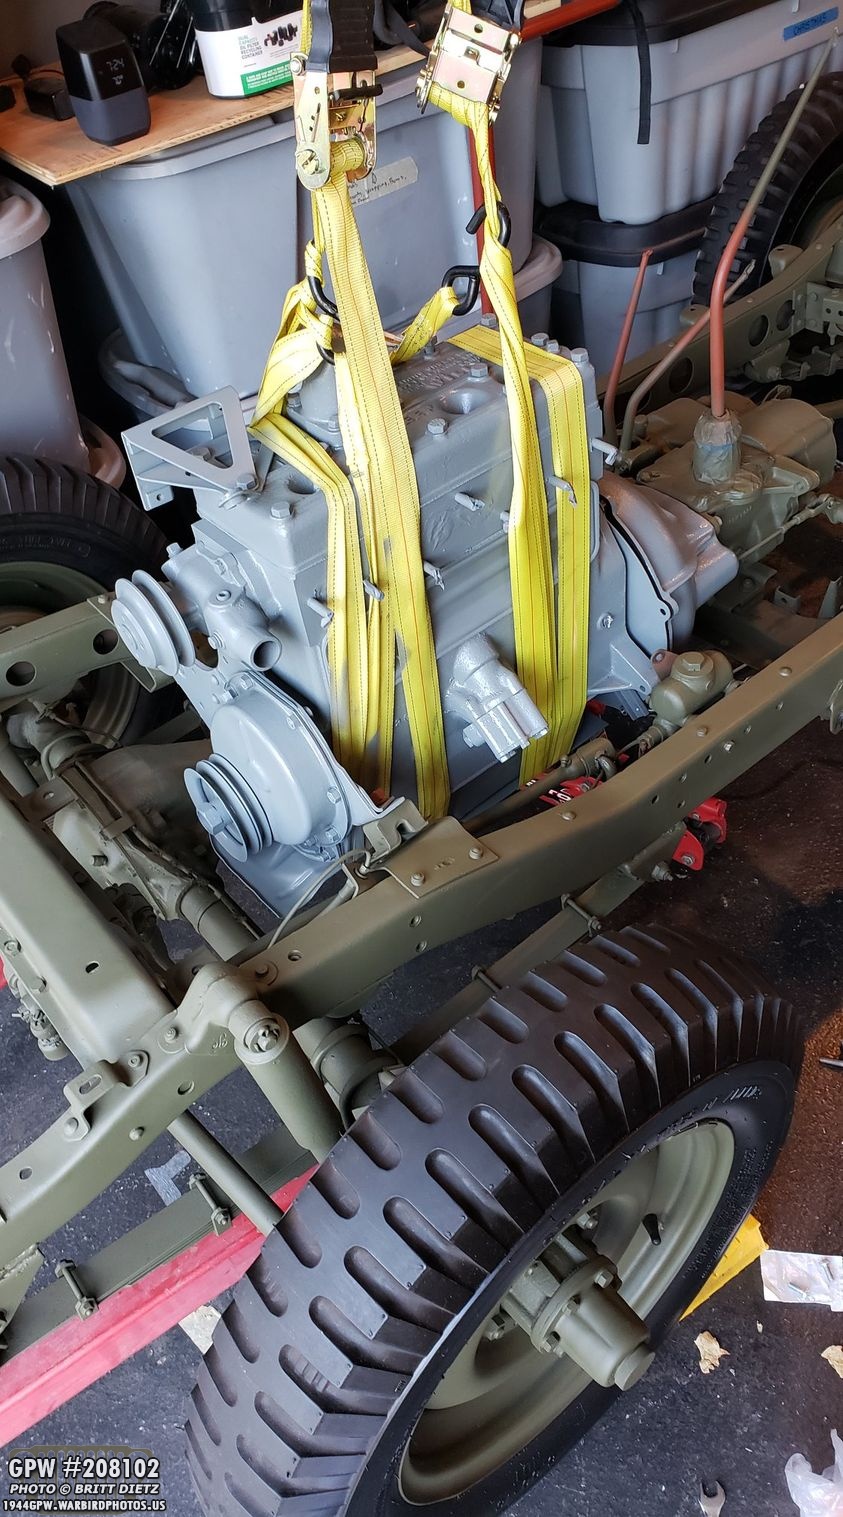
And with Crystal’s help, I carefully used the engine hoist to put the engine back on the frame! It turned out to be quite the task. Because I had changed out the flywheel bushing, it was super super tight to get the input shaft in. This caused a few headaches and a lot of work.
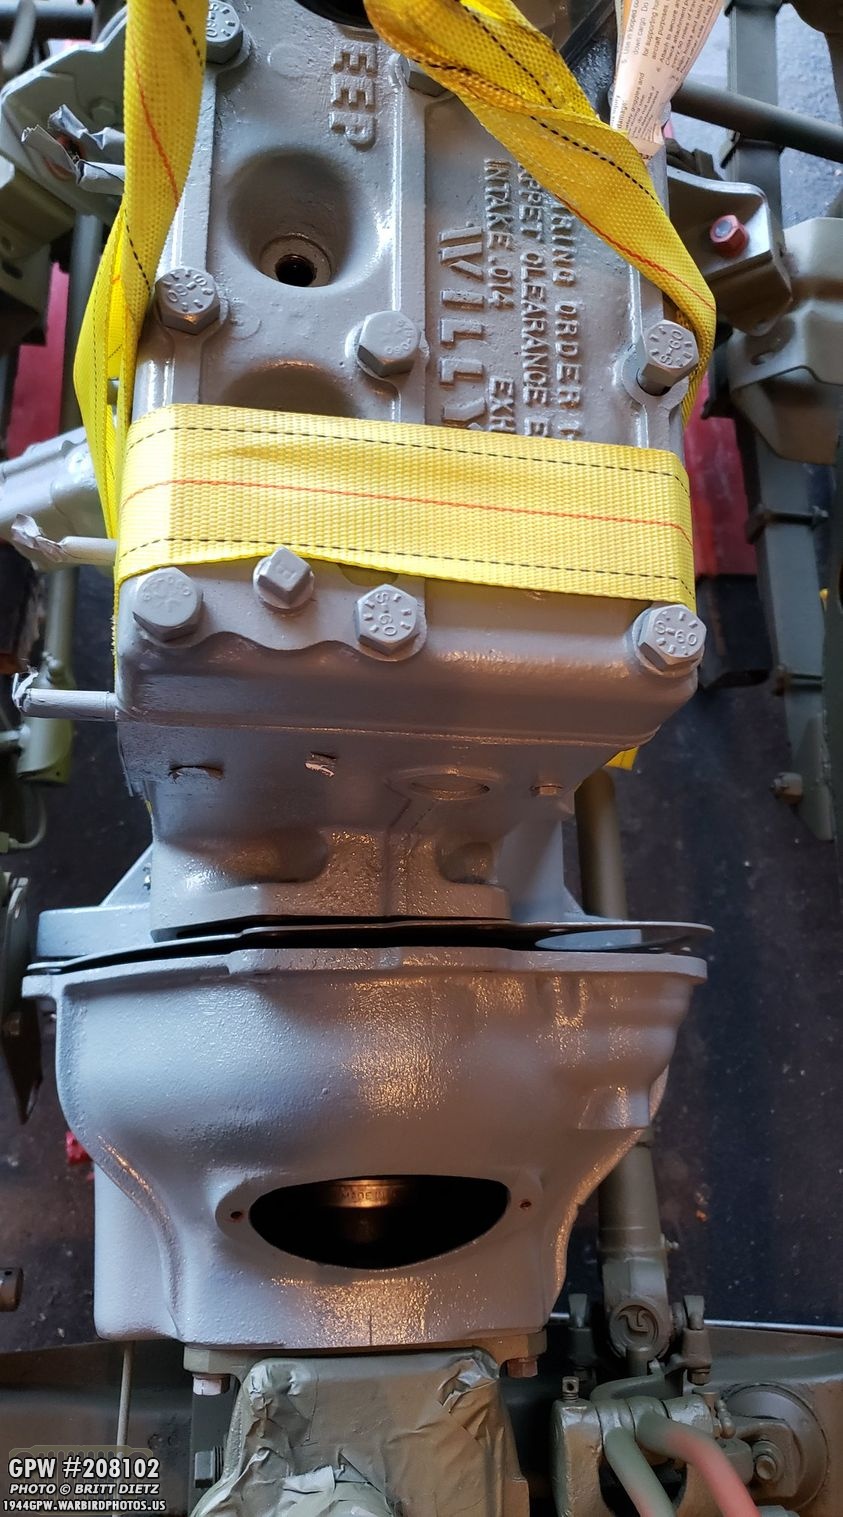
You can see, it left a gap between the engine and the bell housing because the input shaft was so tight in the bushing. The solution was to get really long screws and pull the two sides together with a rachet. This worked out well, and after carefully tightening both sides evenly, it slid together.
Engine installed! Yay! Another major milestone in the restoration!
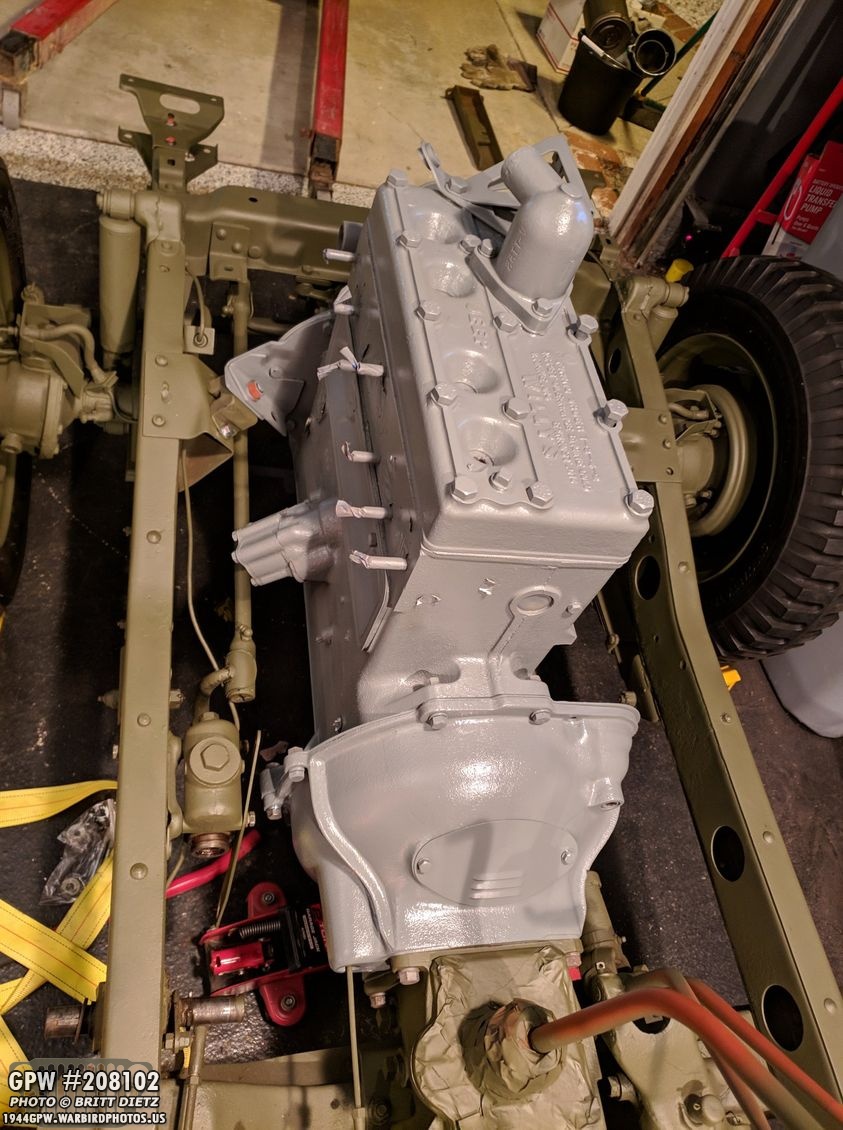
It was a nice feeling having the engine finally put back onto the frame. Really started to feel like I can make my July deadline.
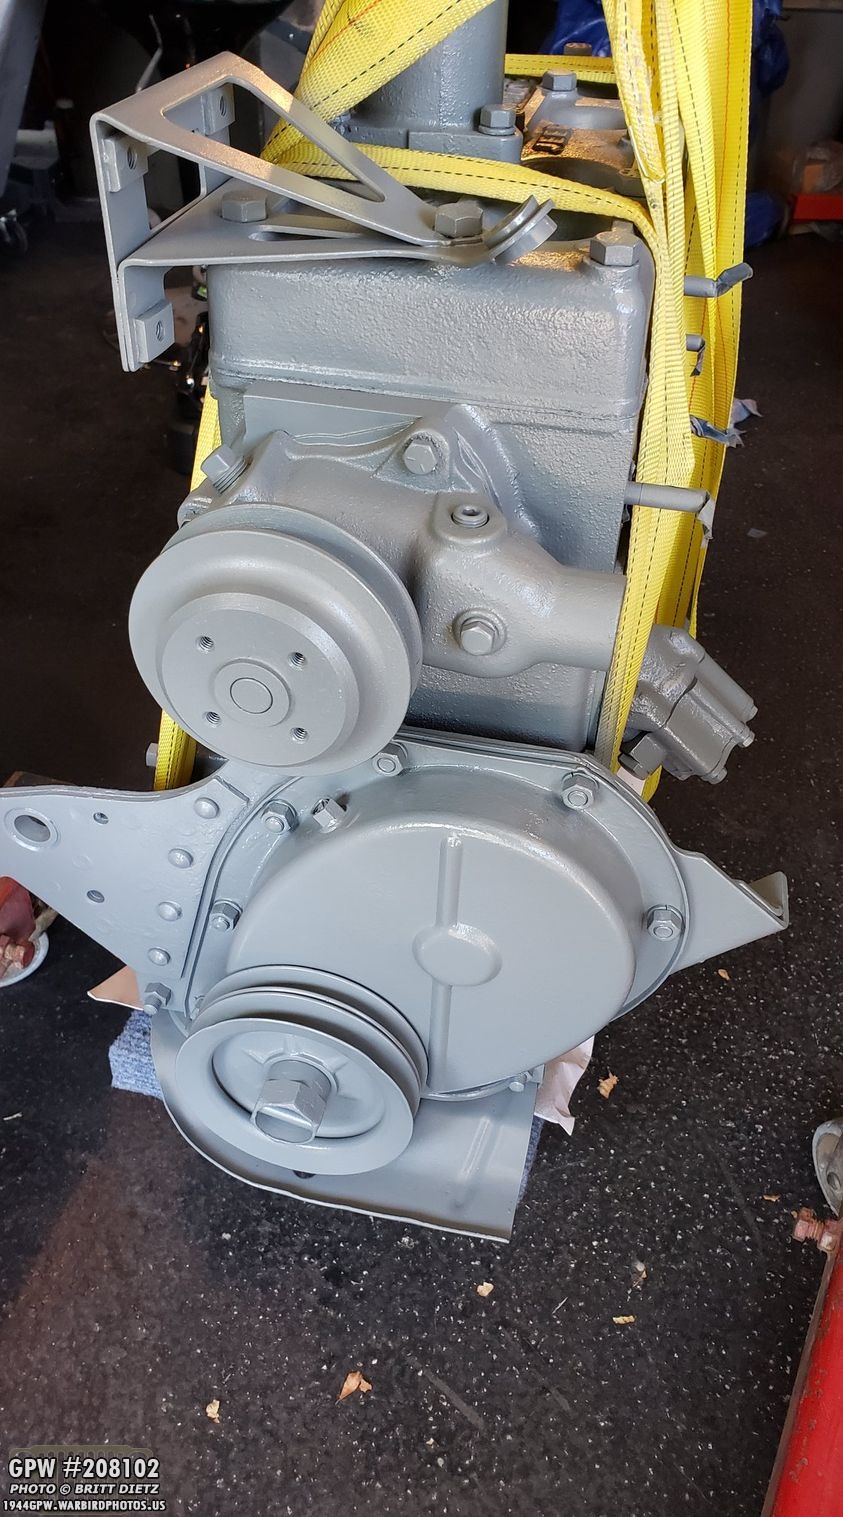
A look at the front of the engine… awaiting more items to be added!
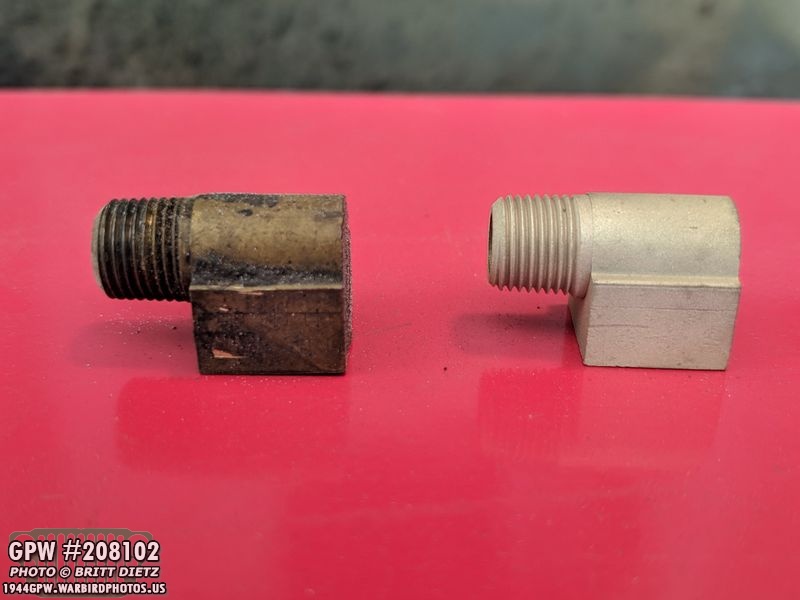
First up to be readded is the fuel pump, but the connectors needed to be cleaned! On the left is the original (little bit of dust on it), and on the right is the other one after sandblasting. Big difference.
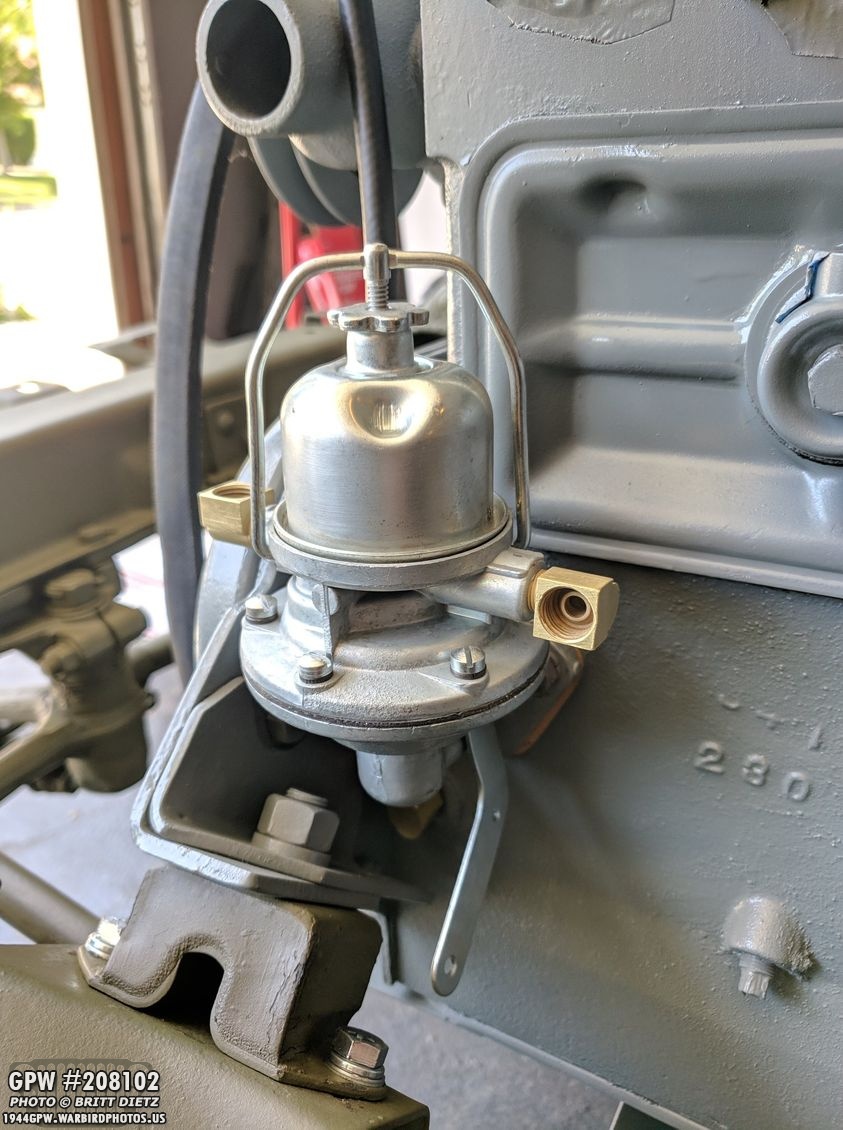
New fuel pump installed! I had bought this really great reproduction one a few months ago to replace the incorrect and broken one that was on the engine. This is the wartime style pump.
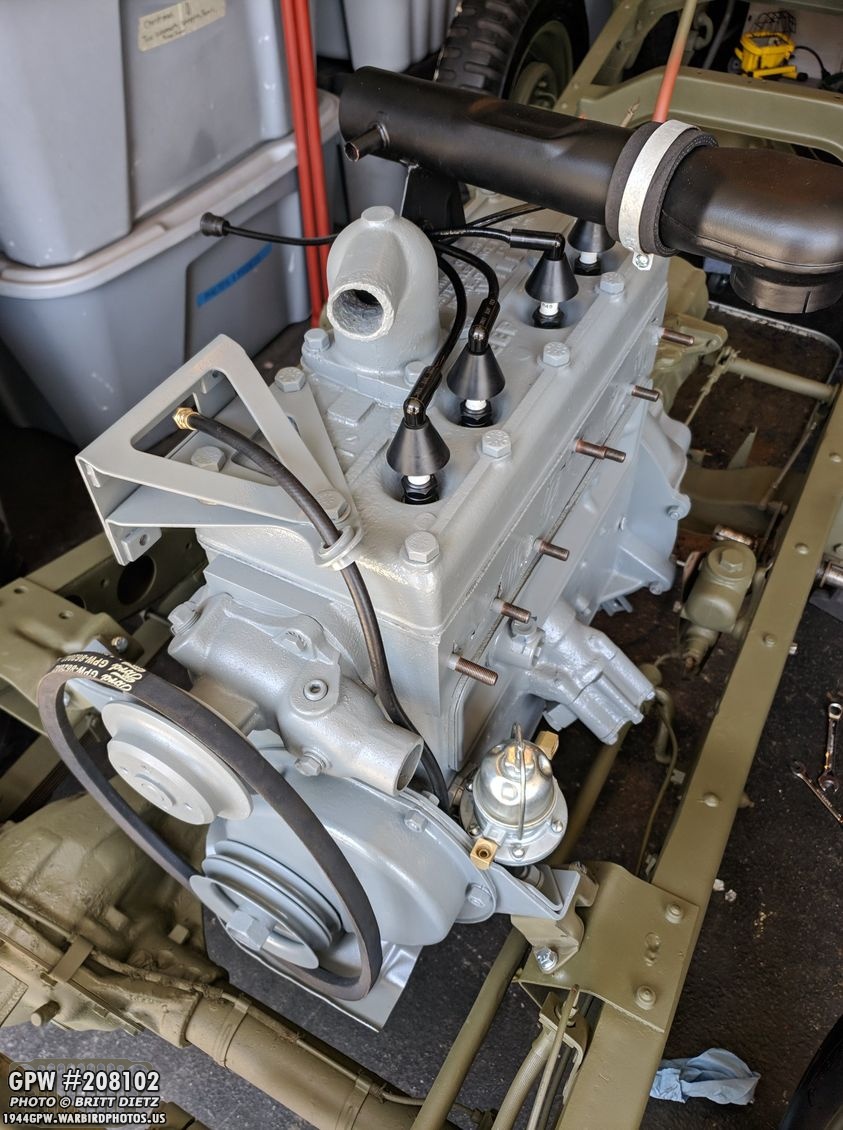
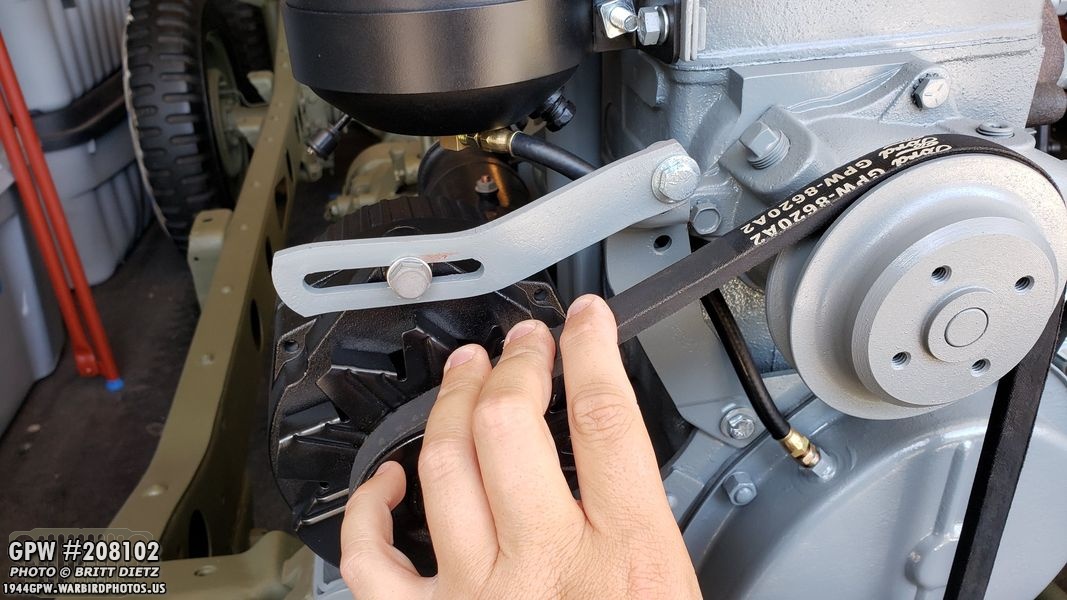
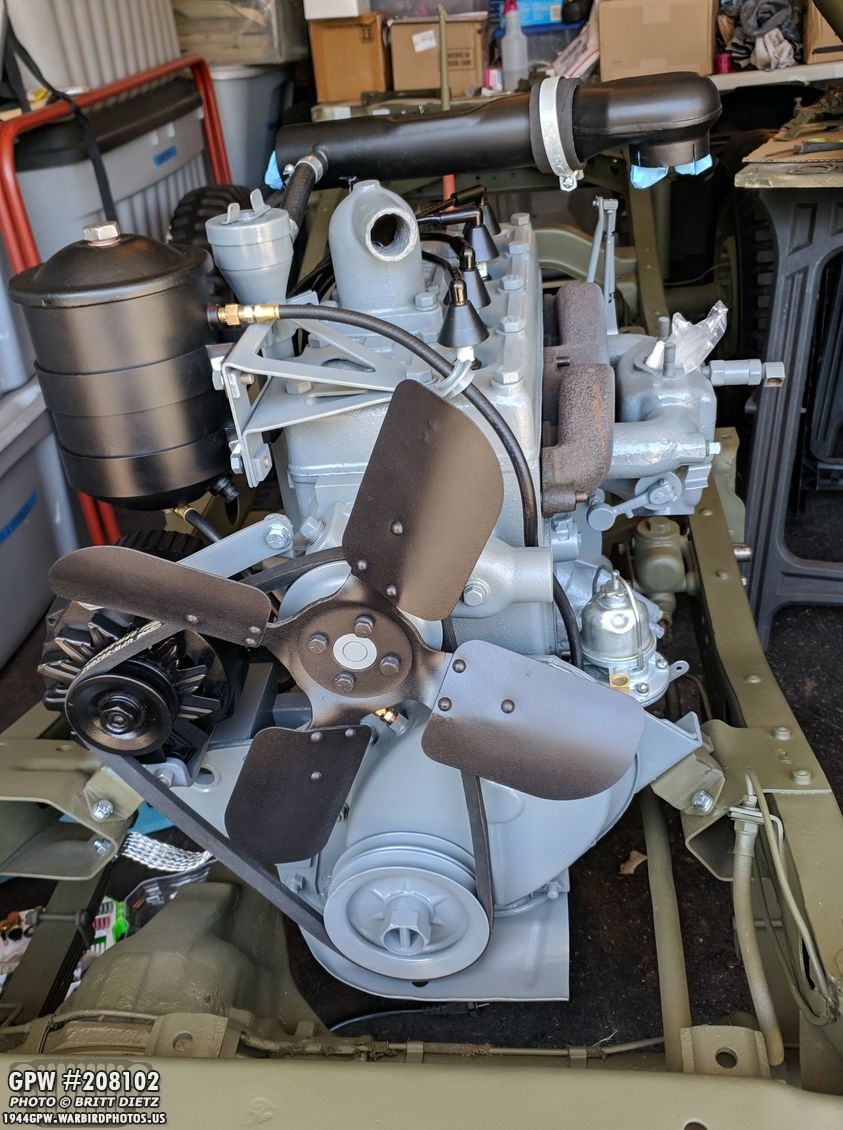
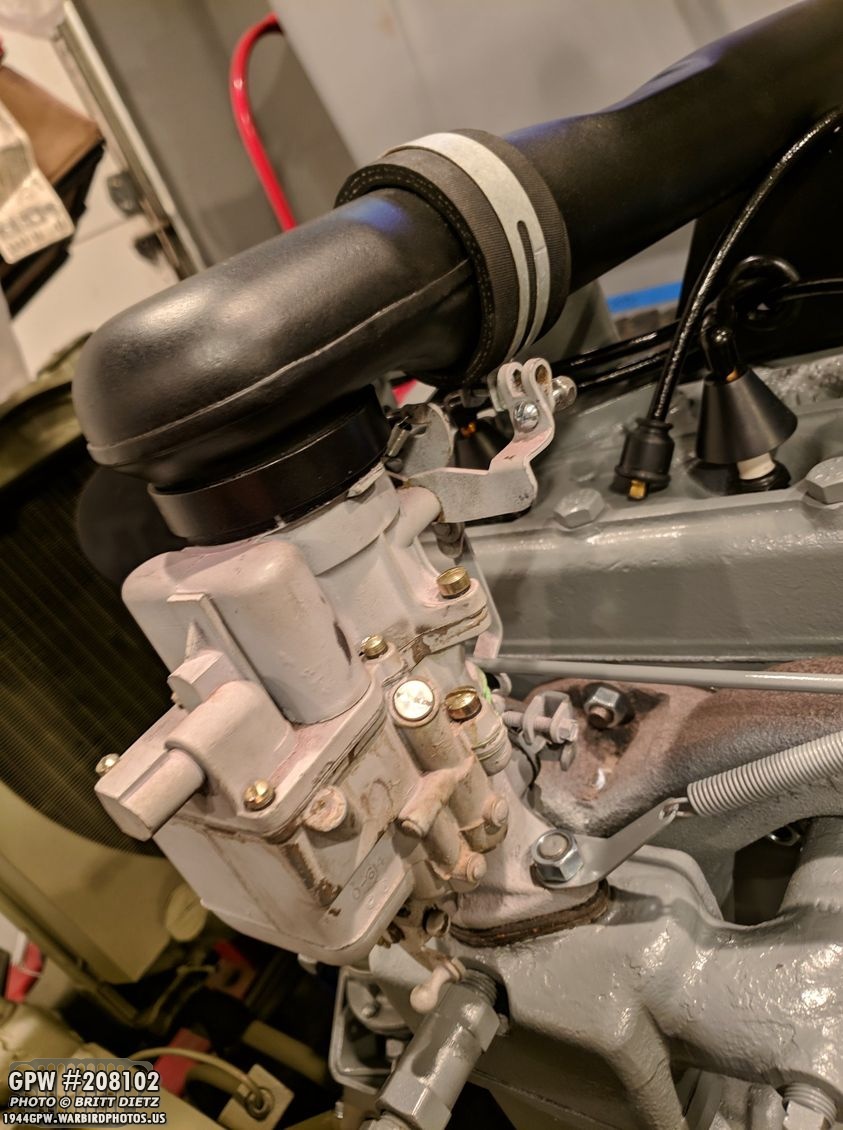
Already adding a bunch of items! Added here is the oil line, ignition wires with rain shields and new spark plugs, air crossover tube, air horn, and test fitting the fan belt.
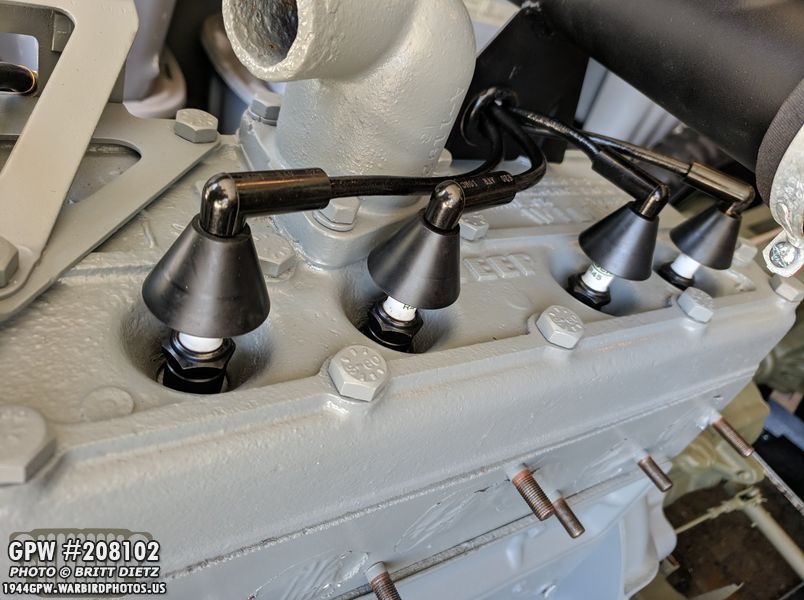
The new ignition wires (WW2 style) and rain shields look good!
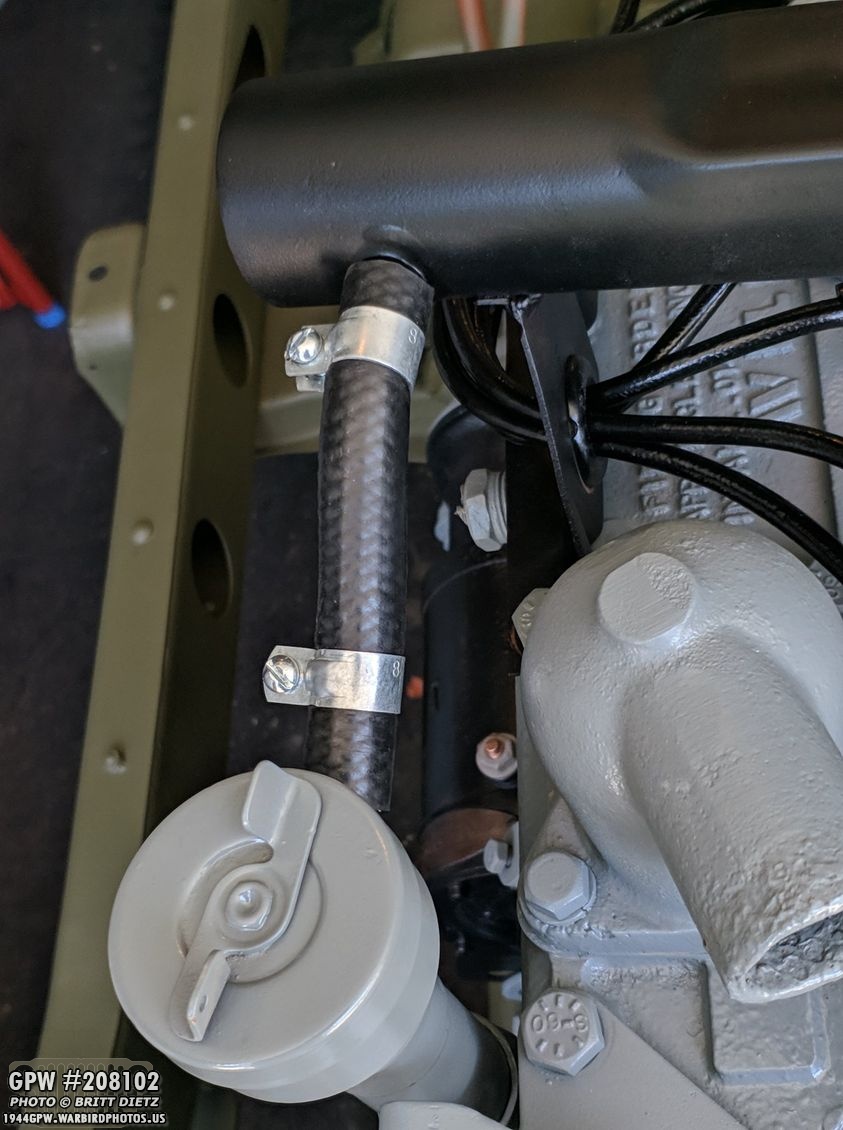
Added the cross over tubing from the oil filler tube to the crossover tube. These are the correct GPW style.
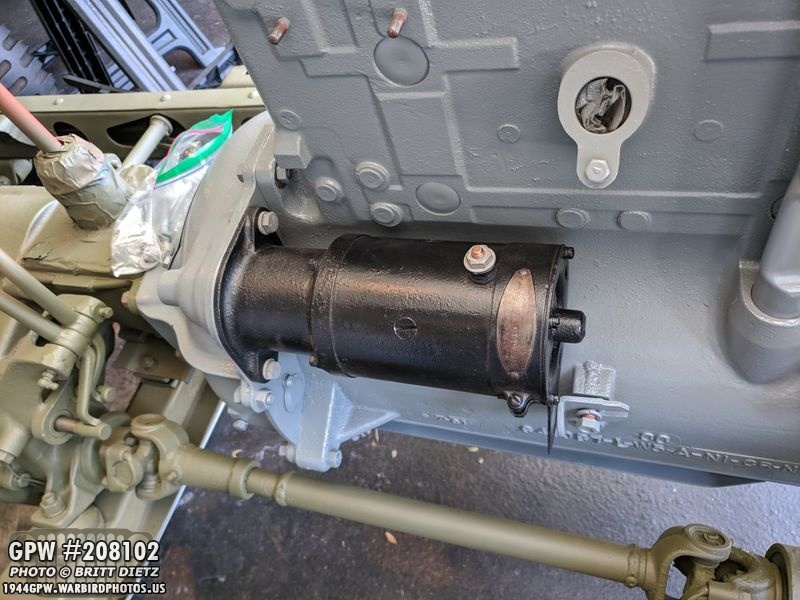
Next up, added the starter back on the engine, this went surprisingly simple!
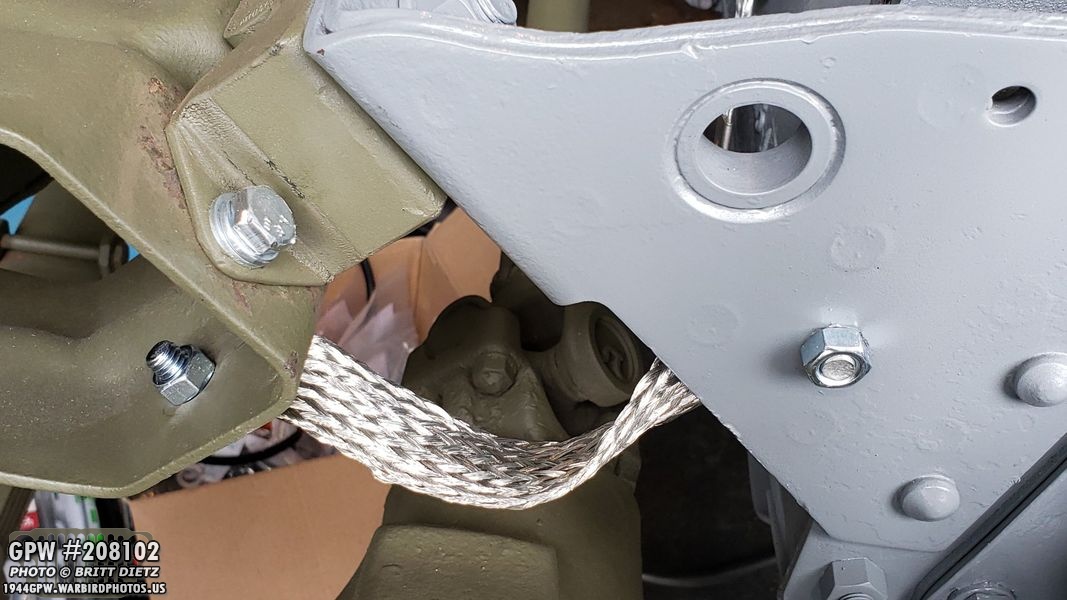
Added the first ground bond strap to the jeep, from the engine to the engine mount on the frame. Tested it with a continuity checker, worked great.
Re-adding the alternator was a bit of a pain, since it’s a post-war alternator. There was a bit of a custom bracket on it that Turns out, it wasn’t installed correctly to being with (which is how it’s pictured), but I figured out that empty screw hole was supposed to attach to the leftmost water pump bolt (to the right of the hole in this shot). After moving the bracket over, it lined up better than before!
Fan belt attached and the intake/exhaust manifold without screwing it in just to check the fit.
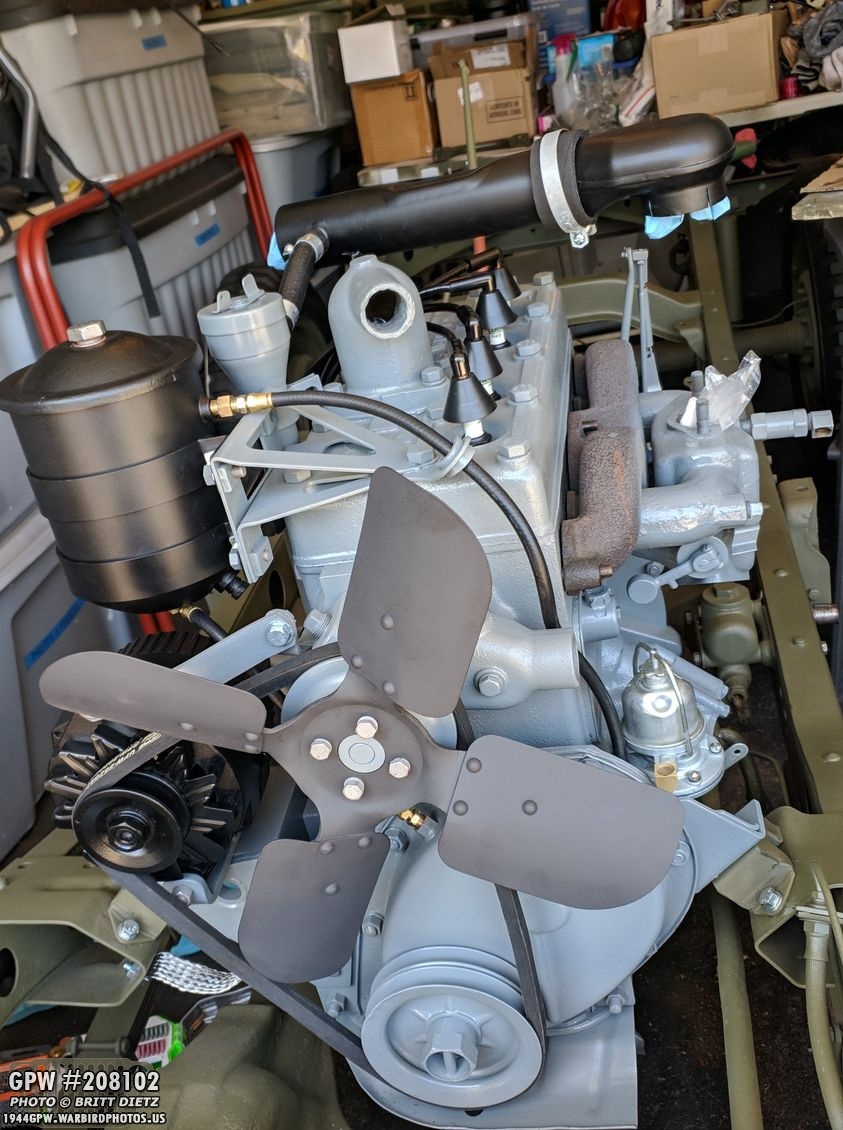
Added the oil filter and I test fitted the fan on the front of the water pump. Problem is, the fan was painted matte and stands out. So that’ll need fixing…
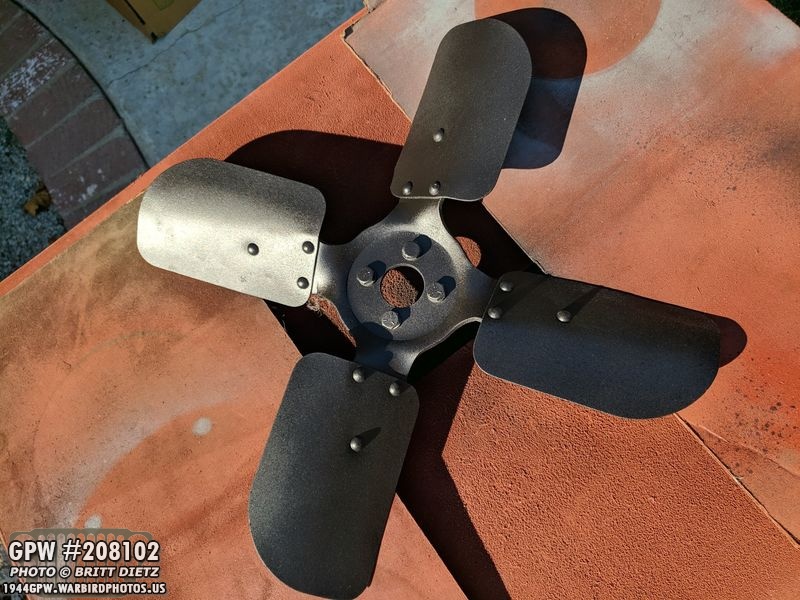
A little satin protective finish will do the job!
There we go, much better!
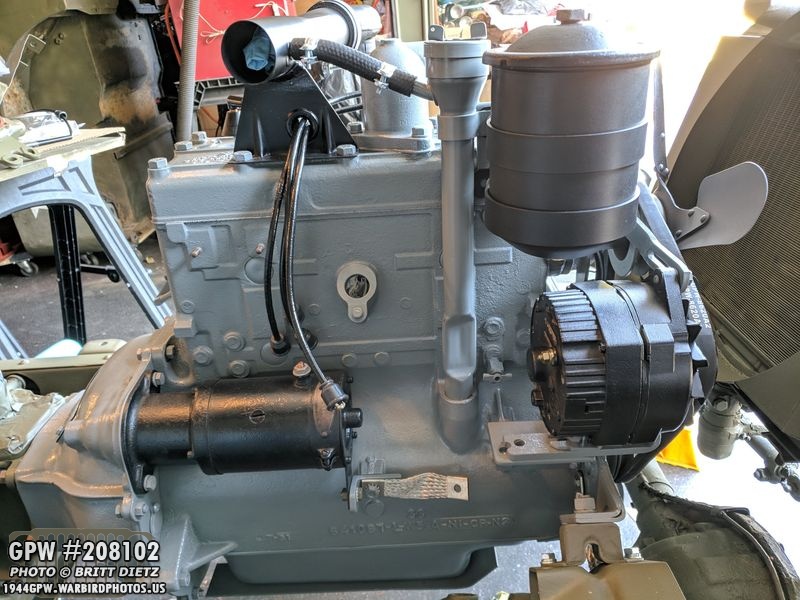
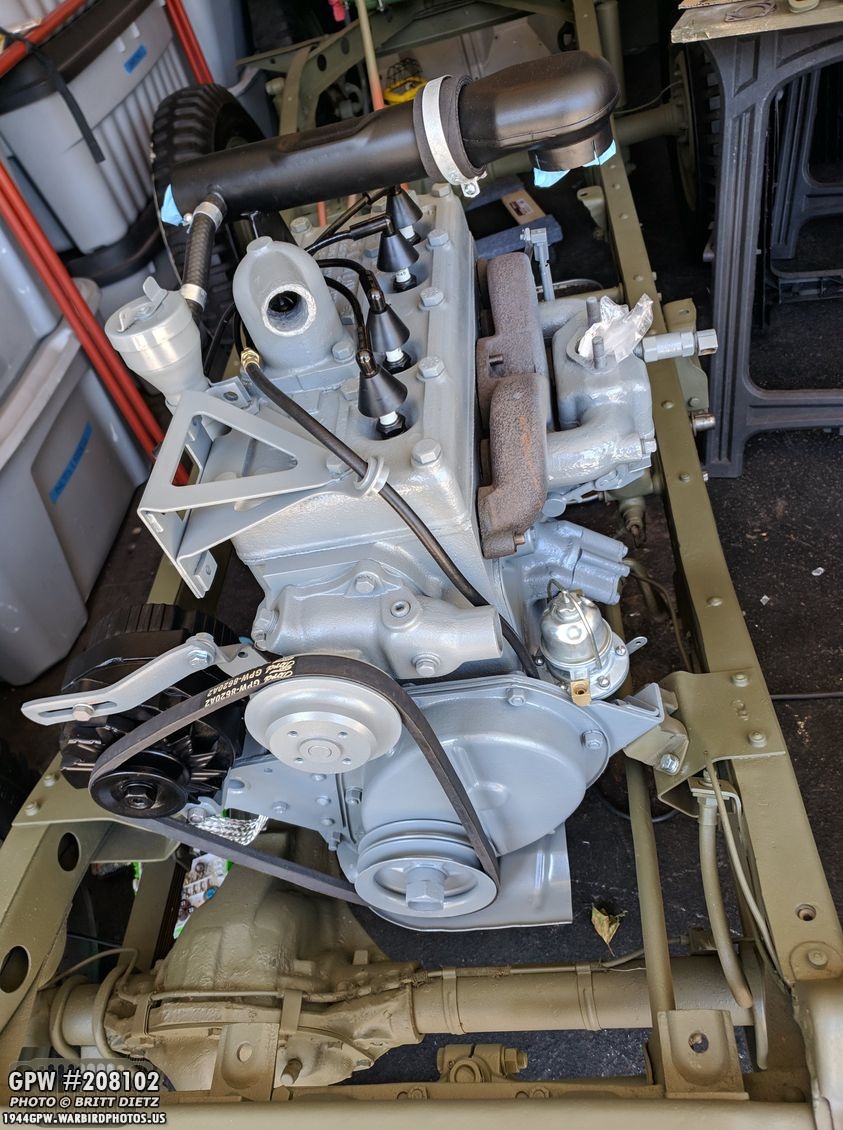
A look at the side of the engine, lots already installed! Needs a few Ford Engine Gray touch-ups from wrenches hitting, but nothing big. The lone bond strap attached to the starter is supposed to go from the starter to the generator. Since I have a post-war alternator instead of a generator (an alternator is actually better), the bond strap won’t work. So I’ll just have to leave that one off. One day I might look into getting a WW2 style generator that’s been converted to an alternator.

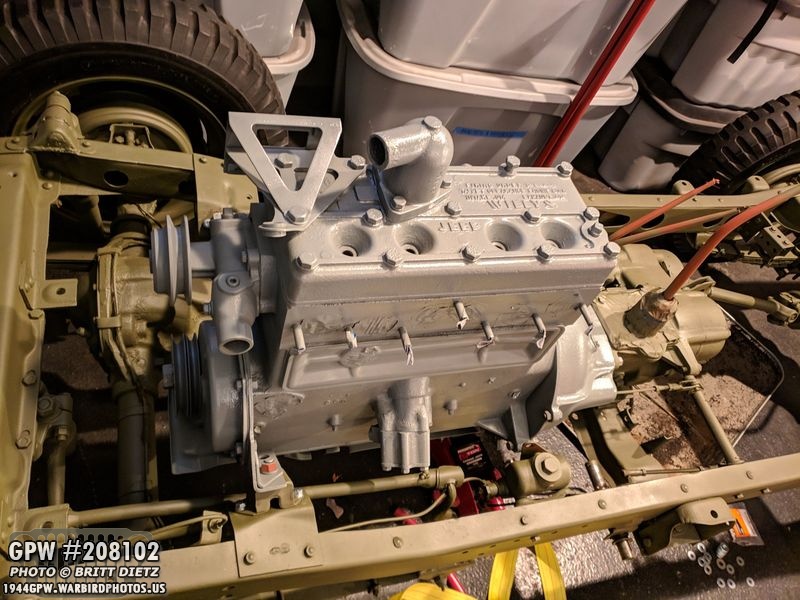
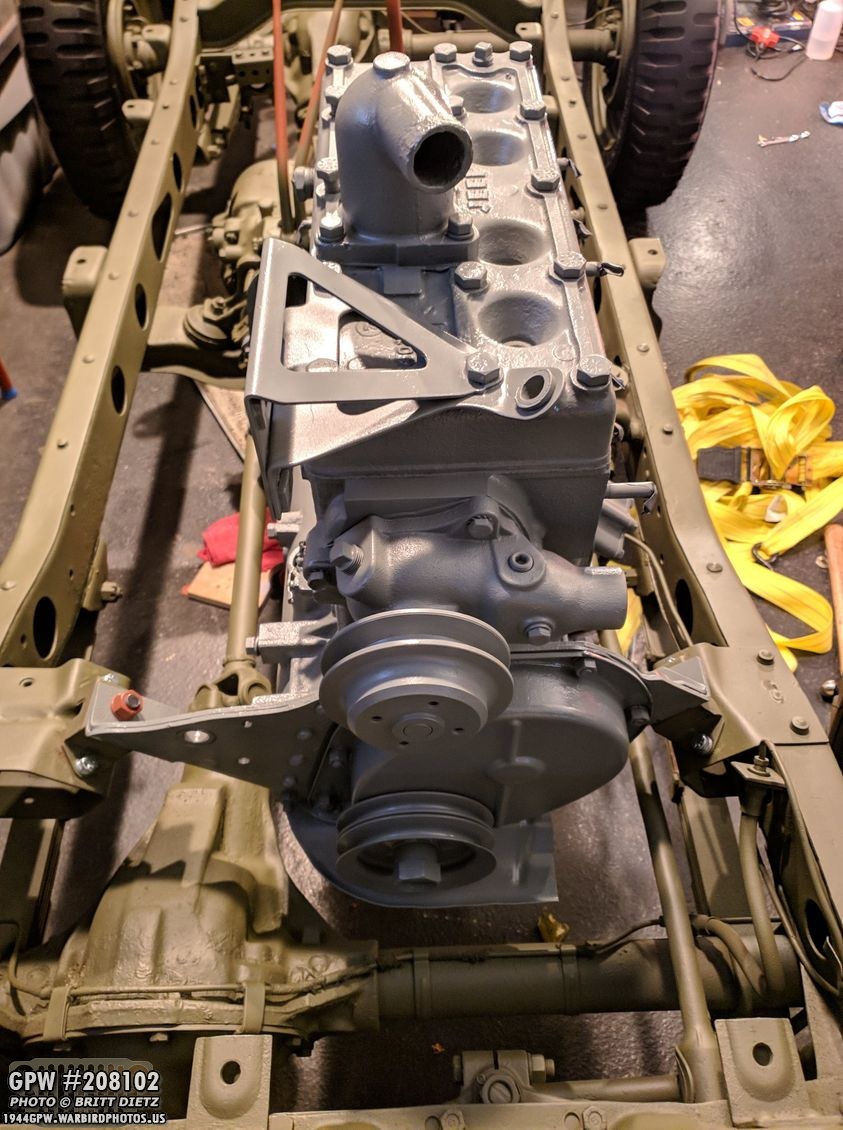
A look at the top. Engine looks so dramatically different from when I got the Jeep! I can’t wait to do side by side photo comparisons.

Once I attach a few more things and make sure everything is secure, I’ll attach the radiator and get the engine closer to doing a test run!
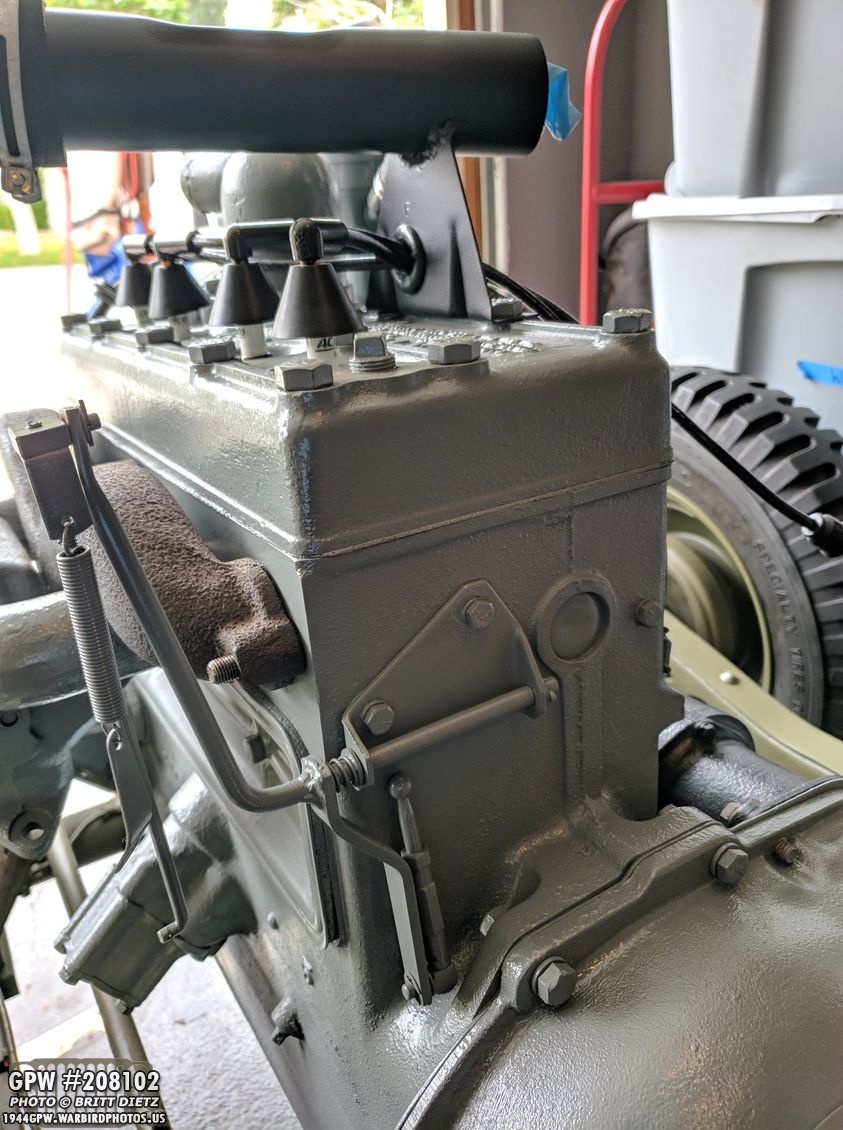
Next up, added the linkage for the gas pedal in prep for adding the carburetor.

Here I’ve attached the intake/exhaust manifolds with the mounting kit from Ron Fitzpatrick Jeep Parts. I ordered the wrong ones and meant to get brass nuts for the manifold. Easily replaceable, however. For now I’ll use these. I added a little anti-seize under the nuts to help keep them from getting stuck and rusted.
I put the carburetor back on, but it needs a good bath. Turns out, it’s been painted. Not a good thing. It’ll work just fine, but eventually, I’m going to take it apart, clean off the paint down to the metal, then put it back together.
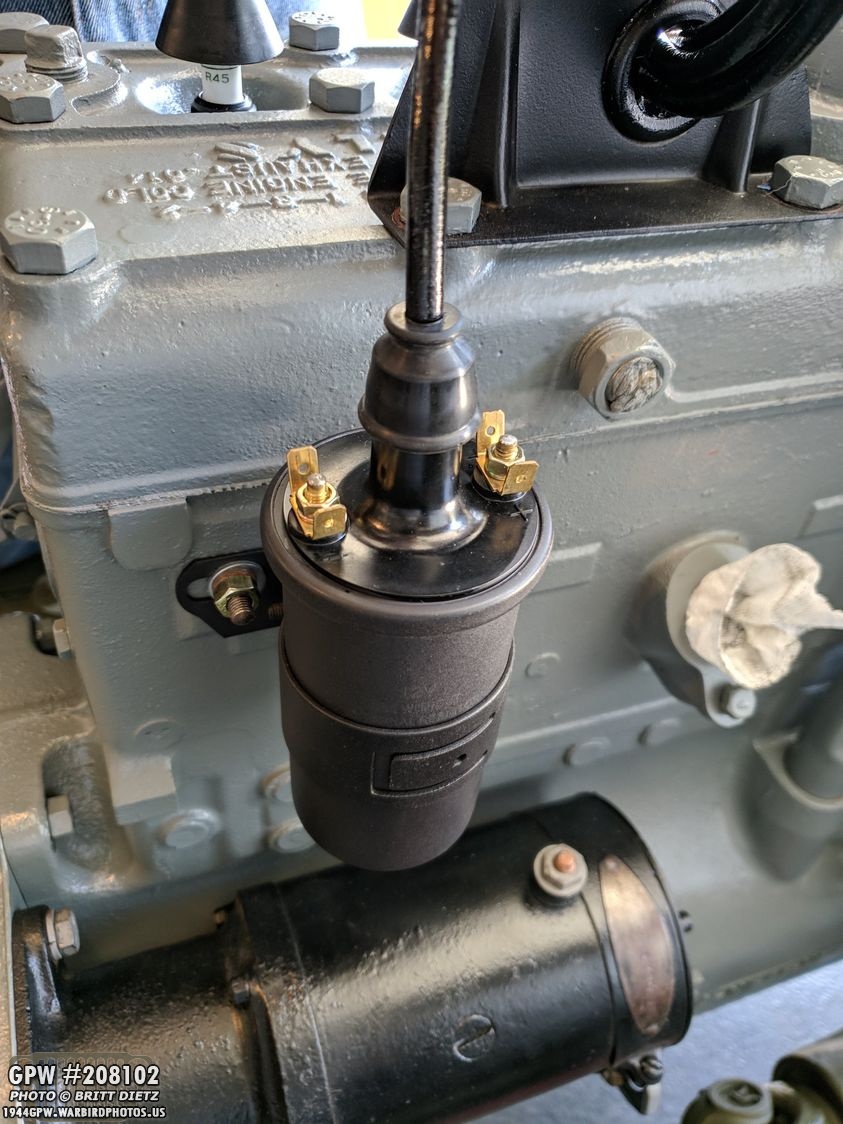
Re-added the new coil with an internal resistor.
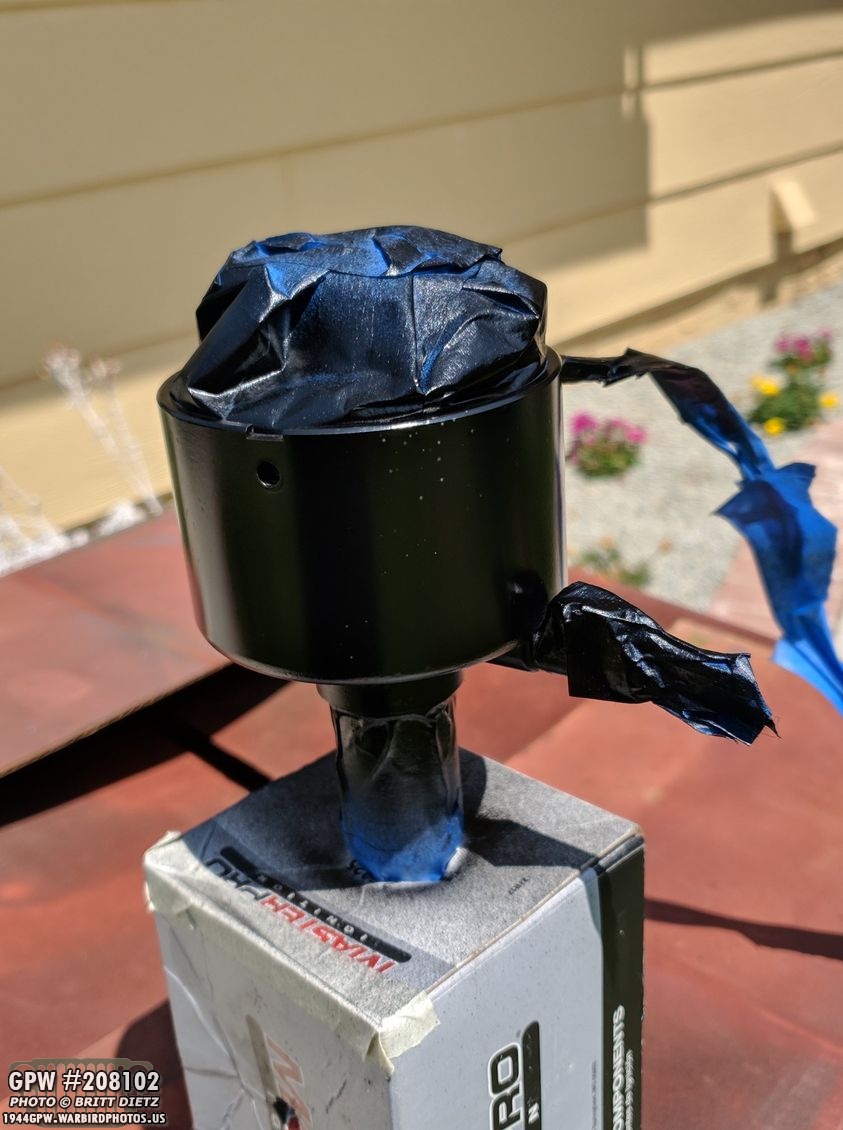
I decided to make the newer distributor look a bit more like the WW2 style with some black paint for the main body.
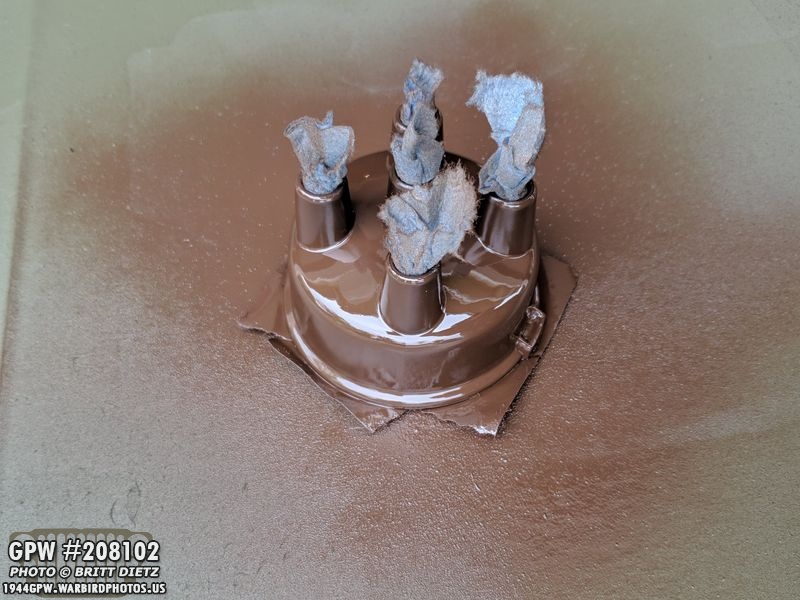
For the cap, I painted it a similar brown. This should make the whole distributor look more like the WW2 style.
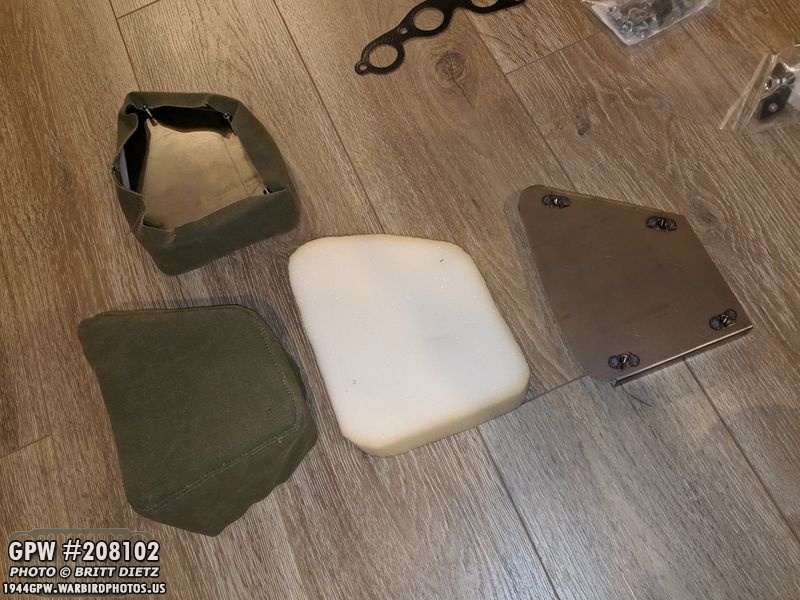
Going back to my Ron Fitzpatrick Jeep Parts order, I bought all the parts for the crash pads (also known as hip pads). They are three parts, the metal mounting bracket, foam insert, and the canvas covers. Above them is a completed one.
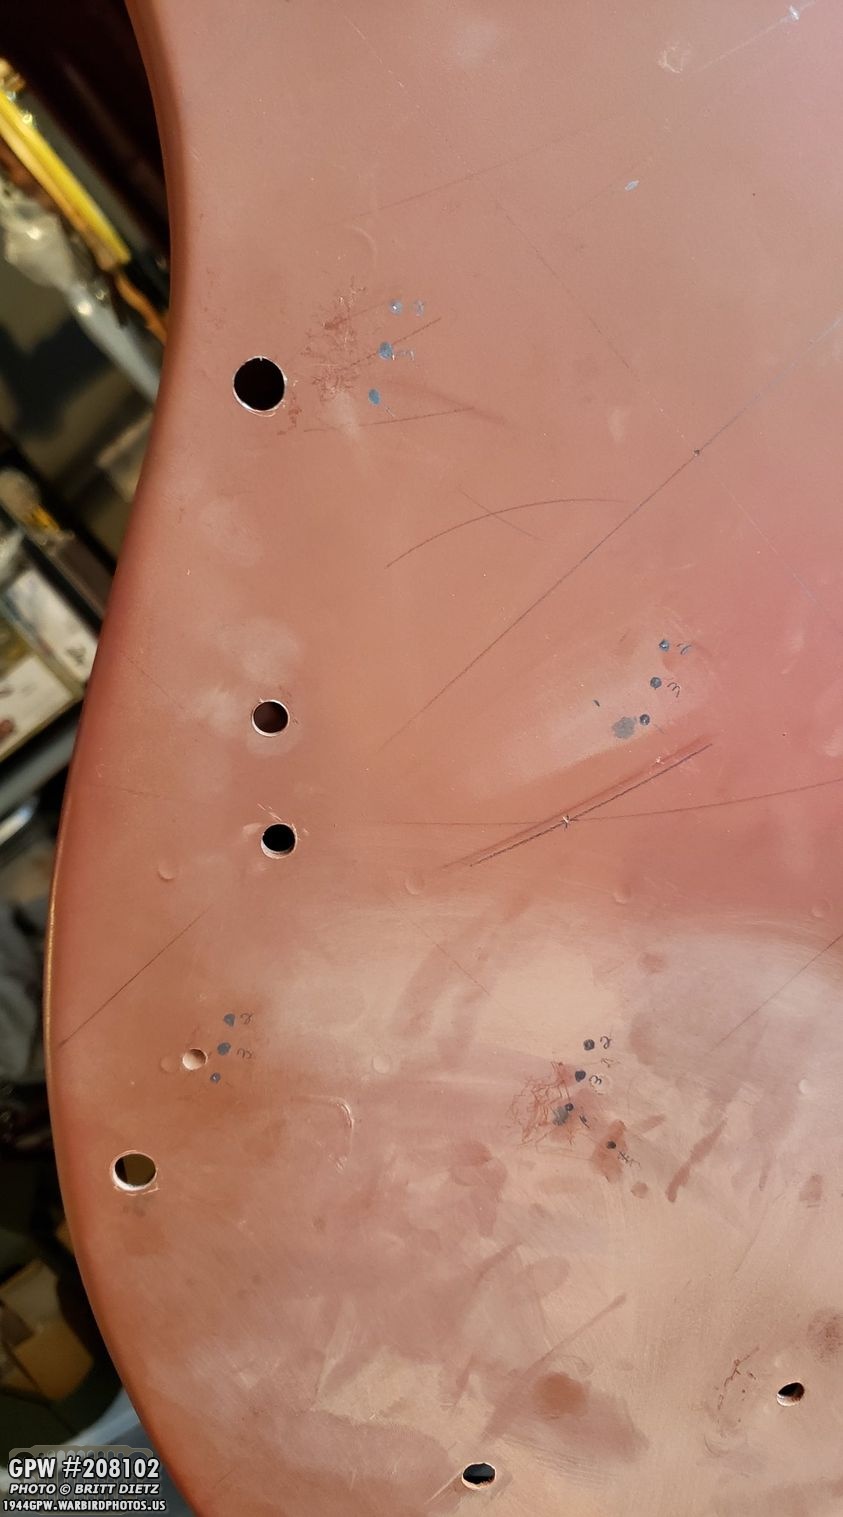
Back to drilling holes on the MD Juan reproduction tub… I used the crash pad mounting plate and the template instructions to plot three points. Had to choose between the three (each one of the holes represents a different way of measuring… the original tub, the RFJP template, and the mounting plate). I went with the middle of the three dots. That lined up the best with everything.

All drilled and test fitted with the plate on the other side, perfect fit!
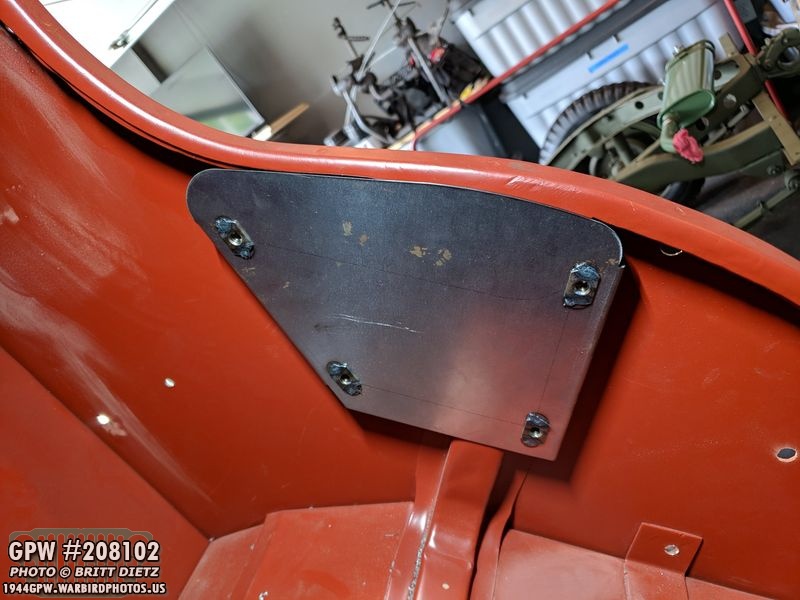
Here’s the inside with the plate. Looks great!
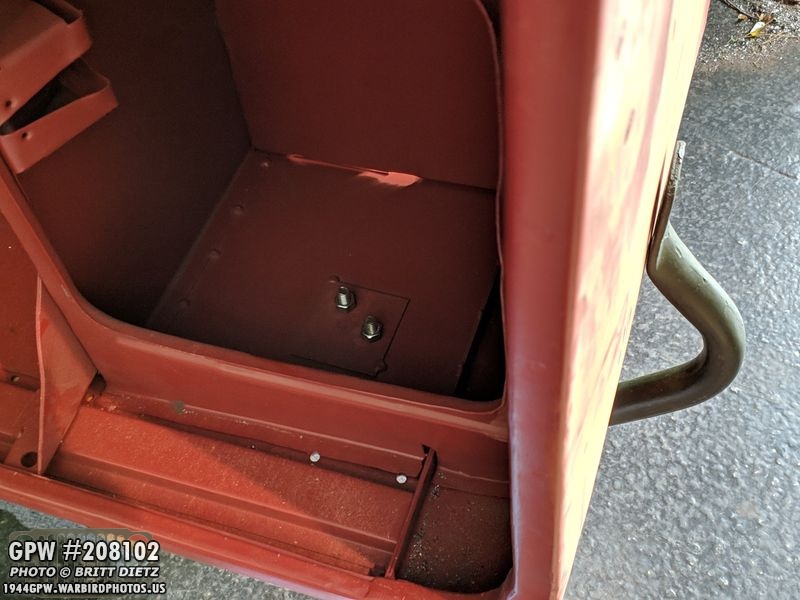
One nice thing already drilled was two of the holes for the rear handle. That made making the two other holes on side super easy. Bravo MD Juan!
Finally, using those two holes pre-drilled, it was easy to line up and drill the holes for the read handle. Just five more holes to measure and drill on this side, then it’s on to the other side! Till next week!