 Lyon Event, Fuel Filter, Air Cleaner, & More

This week’s update includes a trip to Lyon Air Museum with the Jeep for an event and then a photoshoot around Old Town Orange! I continue work on a friend’s Fuel Filter and start work on his Air Cleaner for a full restoration. Finally, a look at a ‘smaller’ Jeep project I’ve continued.

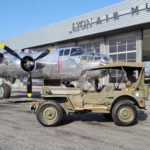
1944 GPW Jeep #208102 with 1944 North American B-25J Mitchell ‘Guardian of Freedom’ #44-29465 at Lyon Air Museum. Adding another warbird to the list of aircraft I’ve shot with the Jeep!
About a month ago, I heard about Lyon Air Museum putting on a special flying event celebrating the 80th anniversary of the Doolittle Raid on Tokyo. I asked the museum president (a friend) if he’d like me to bring out the Jeep, and he was excited at the idea. So I wrangled up the Haulmark trailer I’ve borrowed in the past to take the Jeep over John Wayne Airport, Orange County. Unfortunately, the airport is too far to drive the Jeep as I’d have to take it on the freeway.

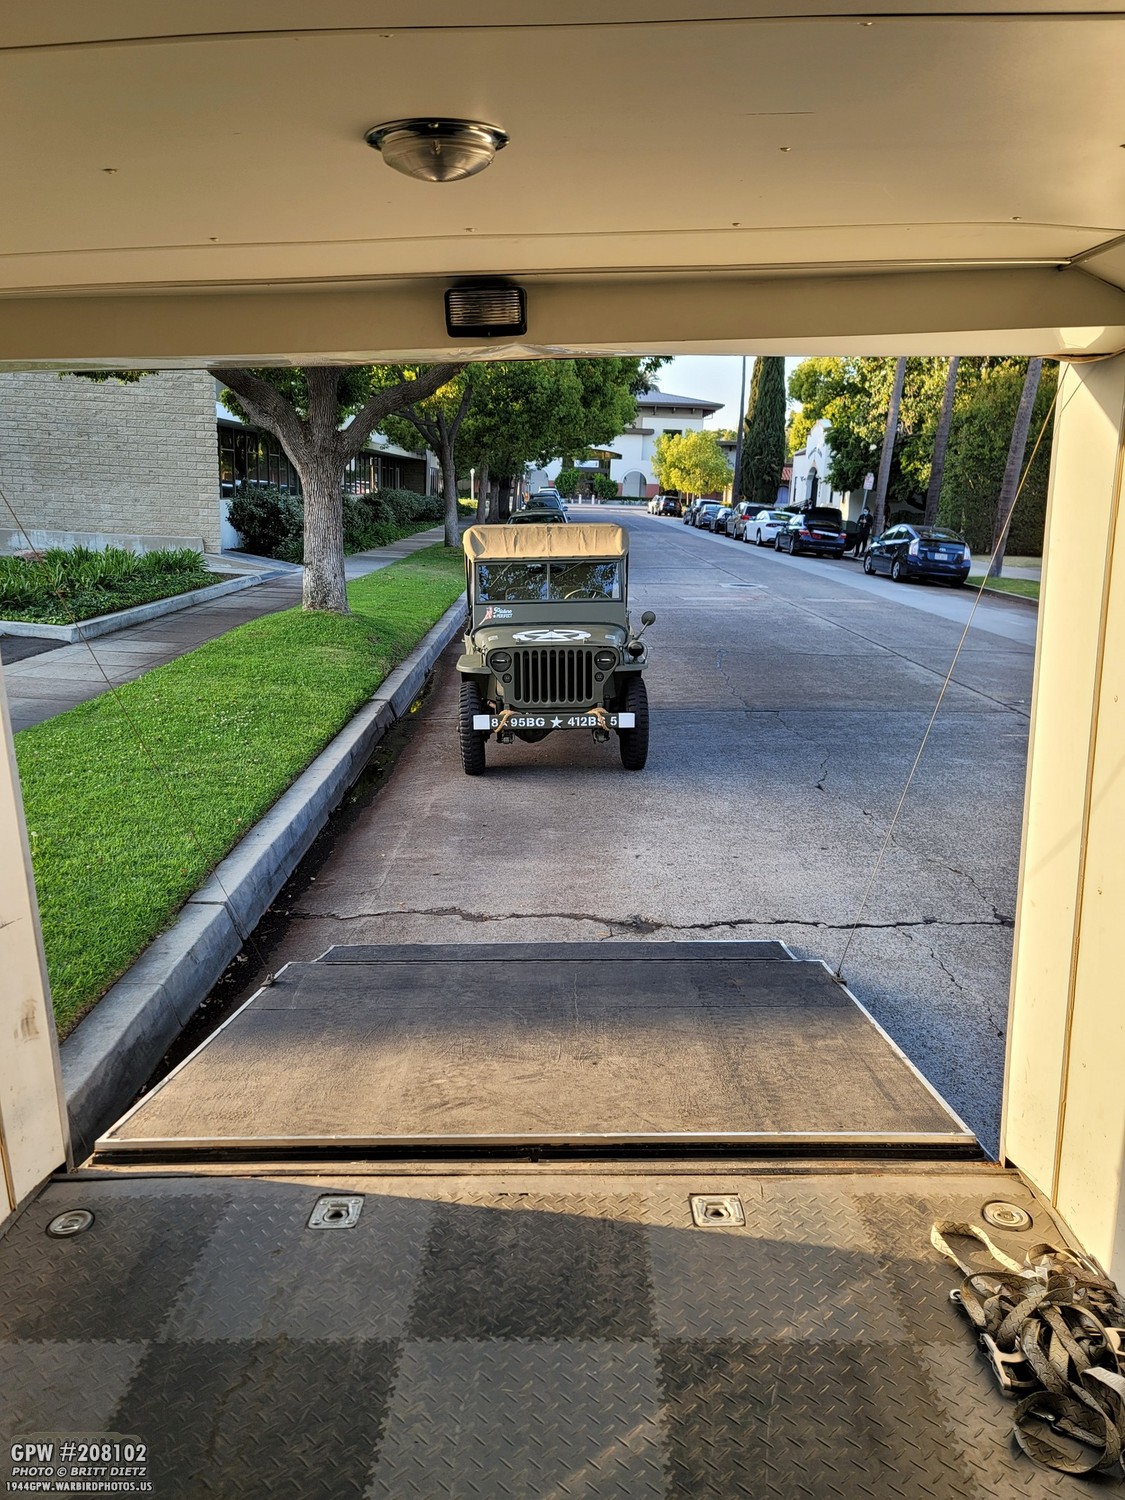
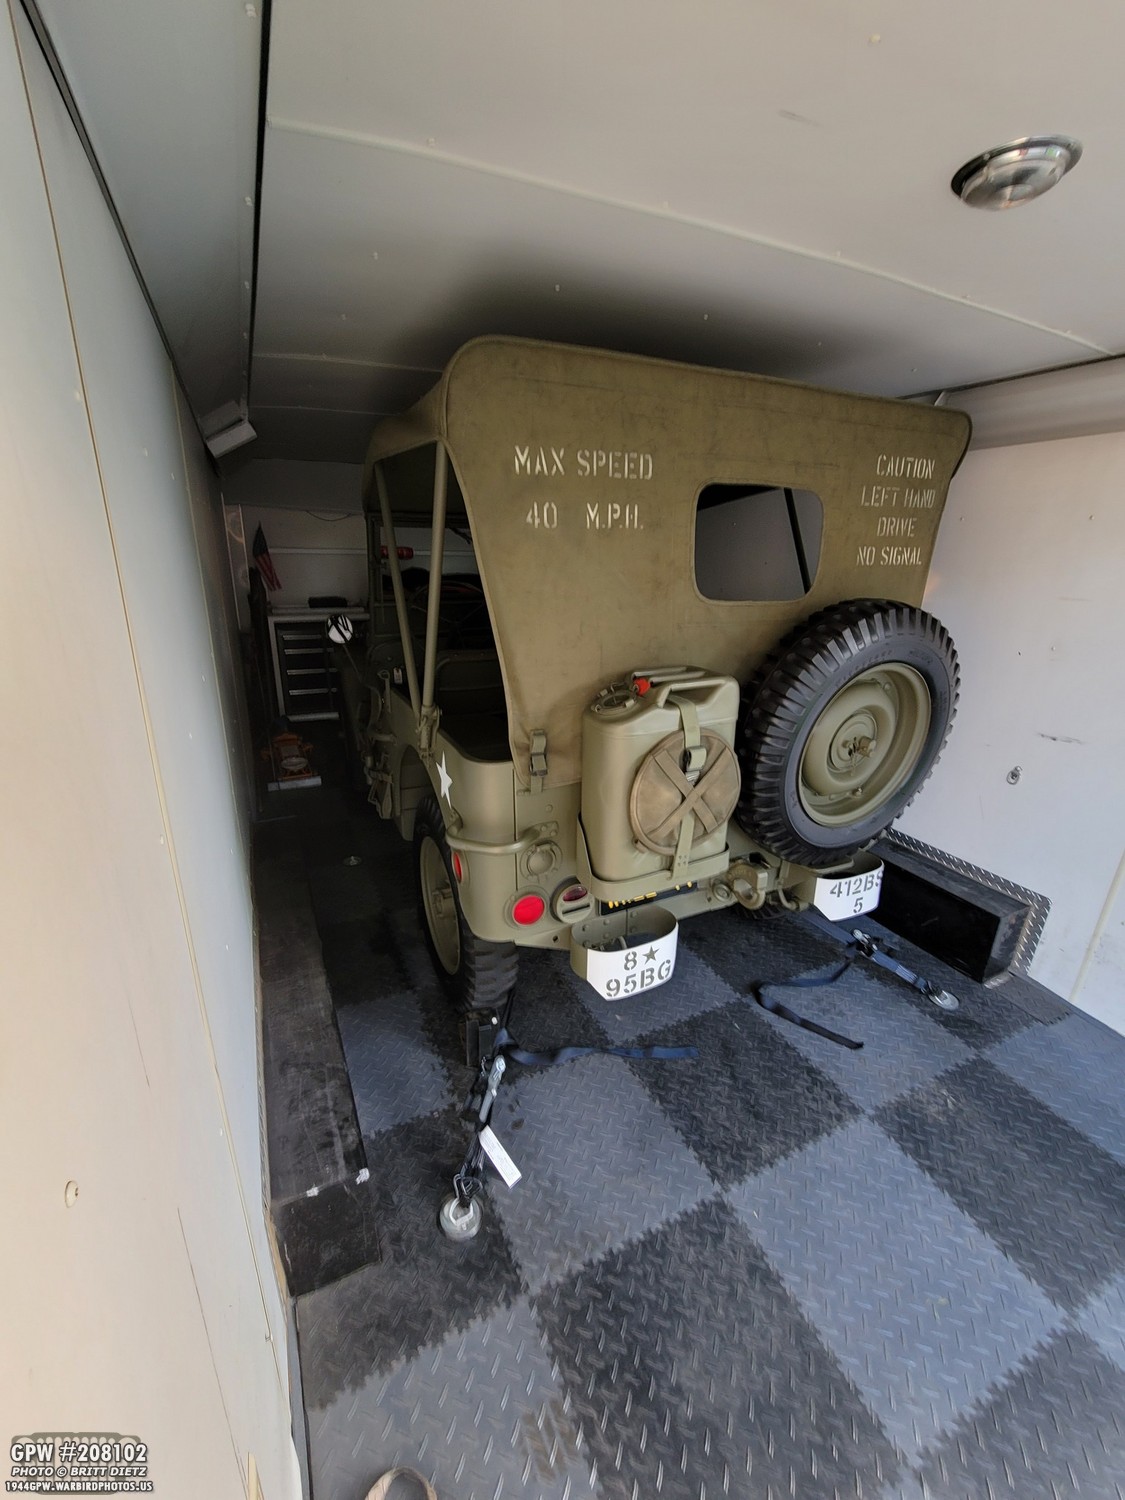
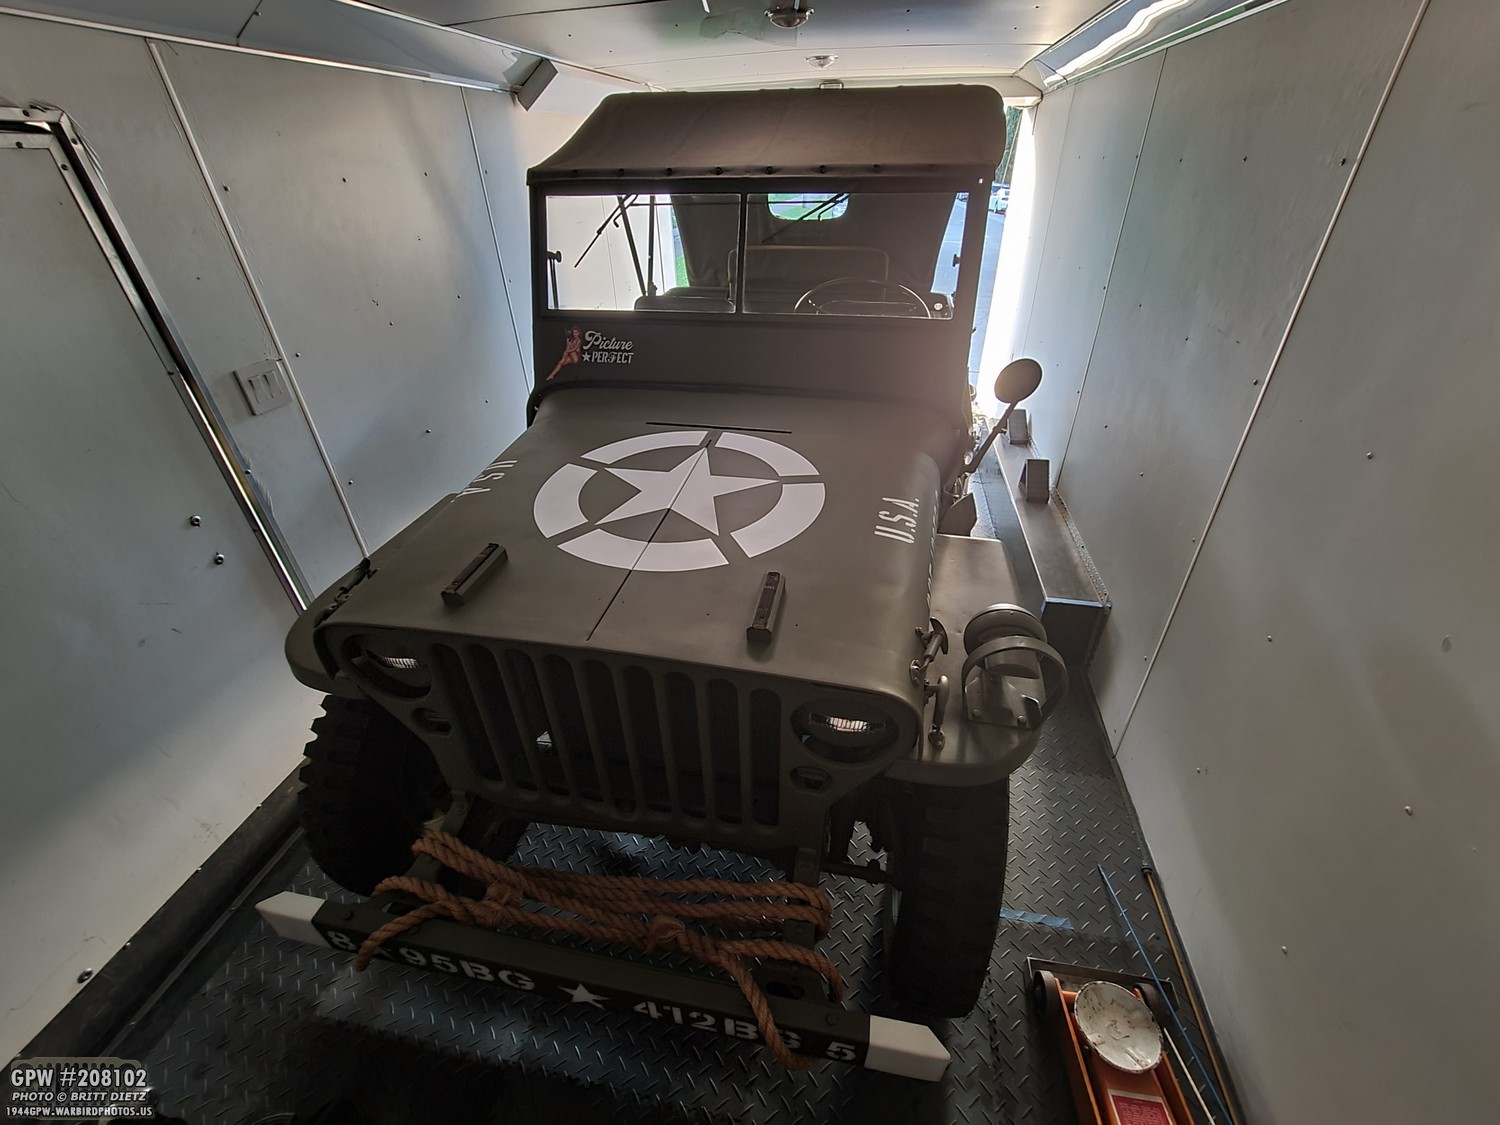
The trailer is a bit of an overkill, but I like the fact that I don’t need to lower the windshield and take down the canvas top. Literally, just drive it in, strap it down, and off we go.
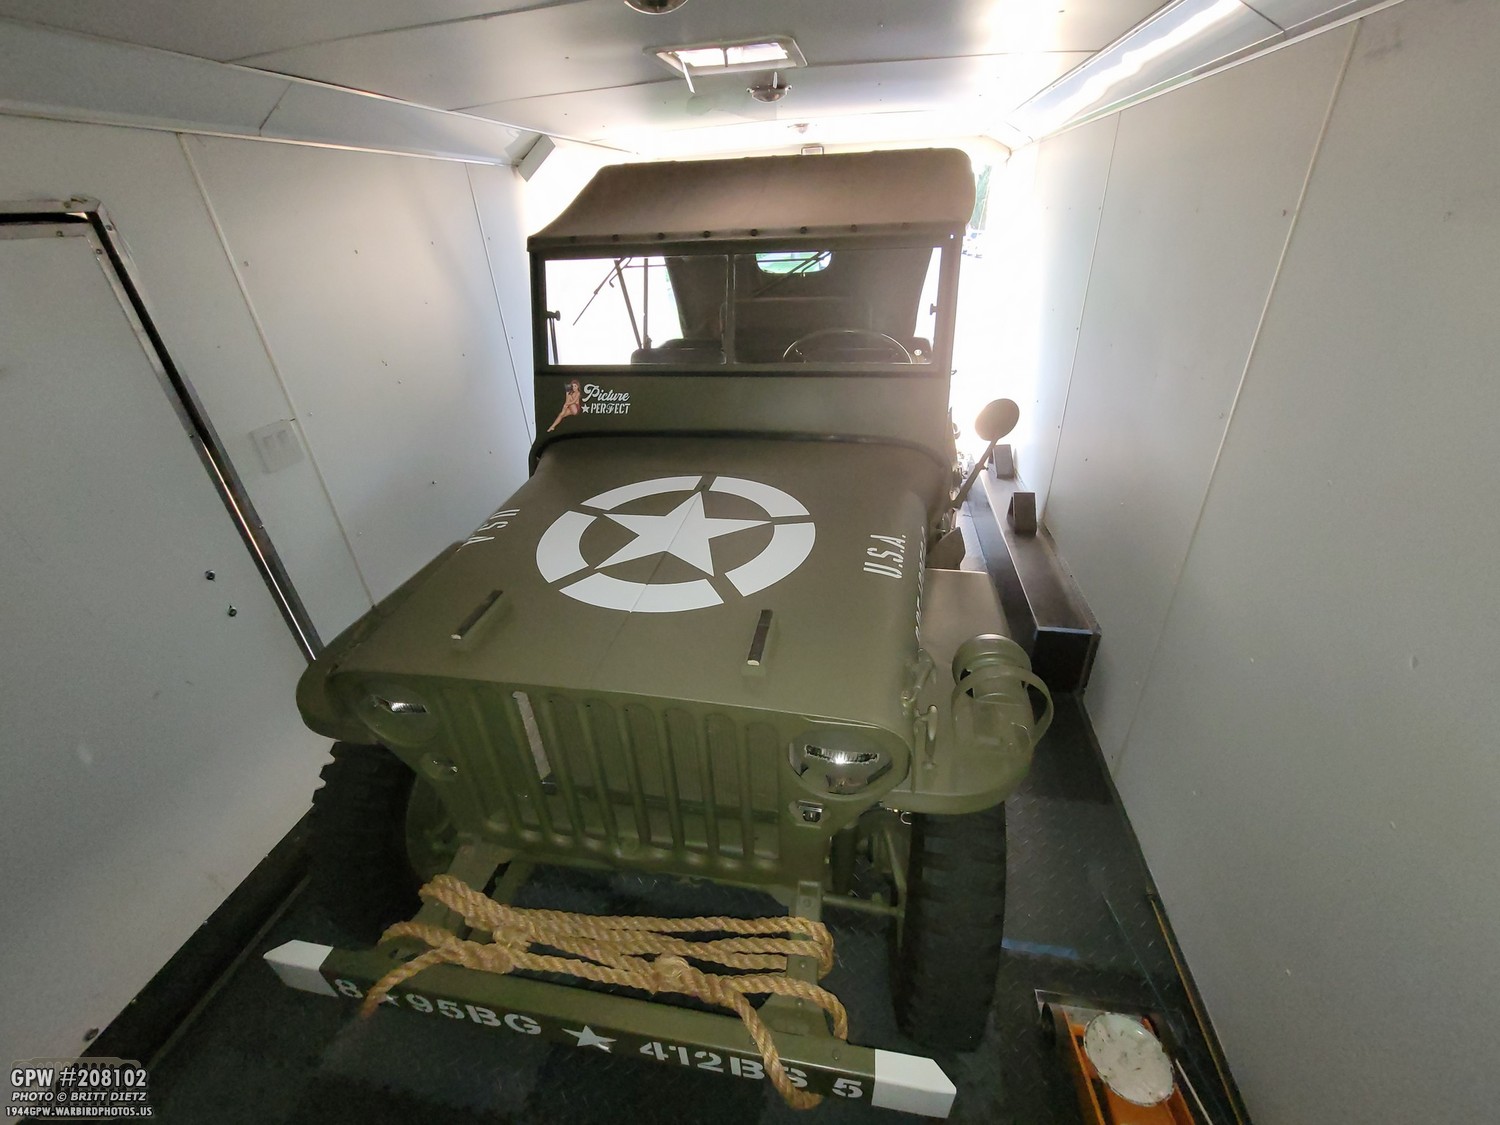
Eventually, I’d like to get a Haulmark trailer like this, but smaller. It’s roomy, so I can put other display items in the trailer and keep the Jeep traveling in style.
The problem with the trailer, as I mentioned, is its overkill. It’s a huge trailer and I can almost fit two Jeeps in it. I could easily fit the Jeep and a trailer. So I’d want something smaller. I’m going to start being on the lookout for something just the right size!
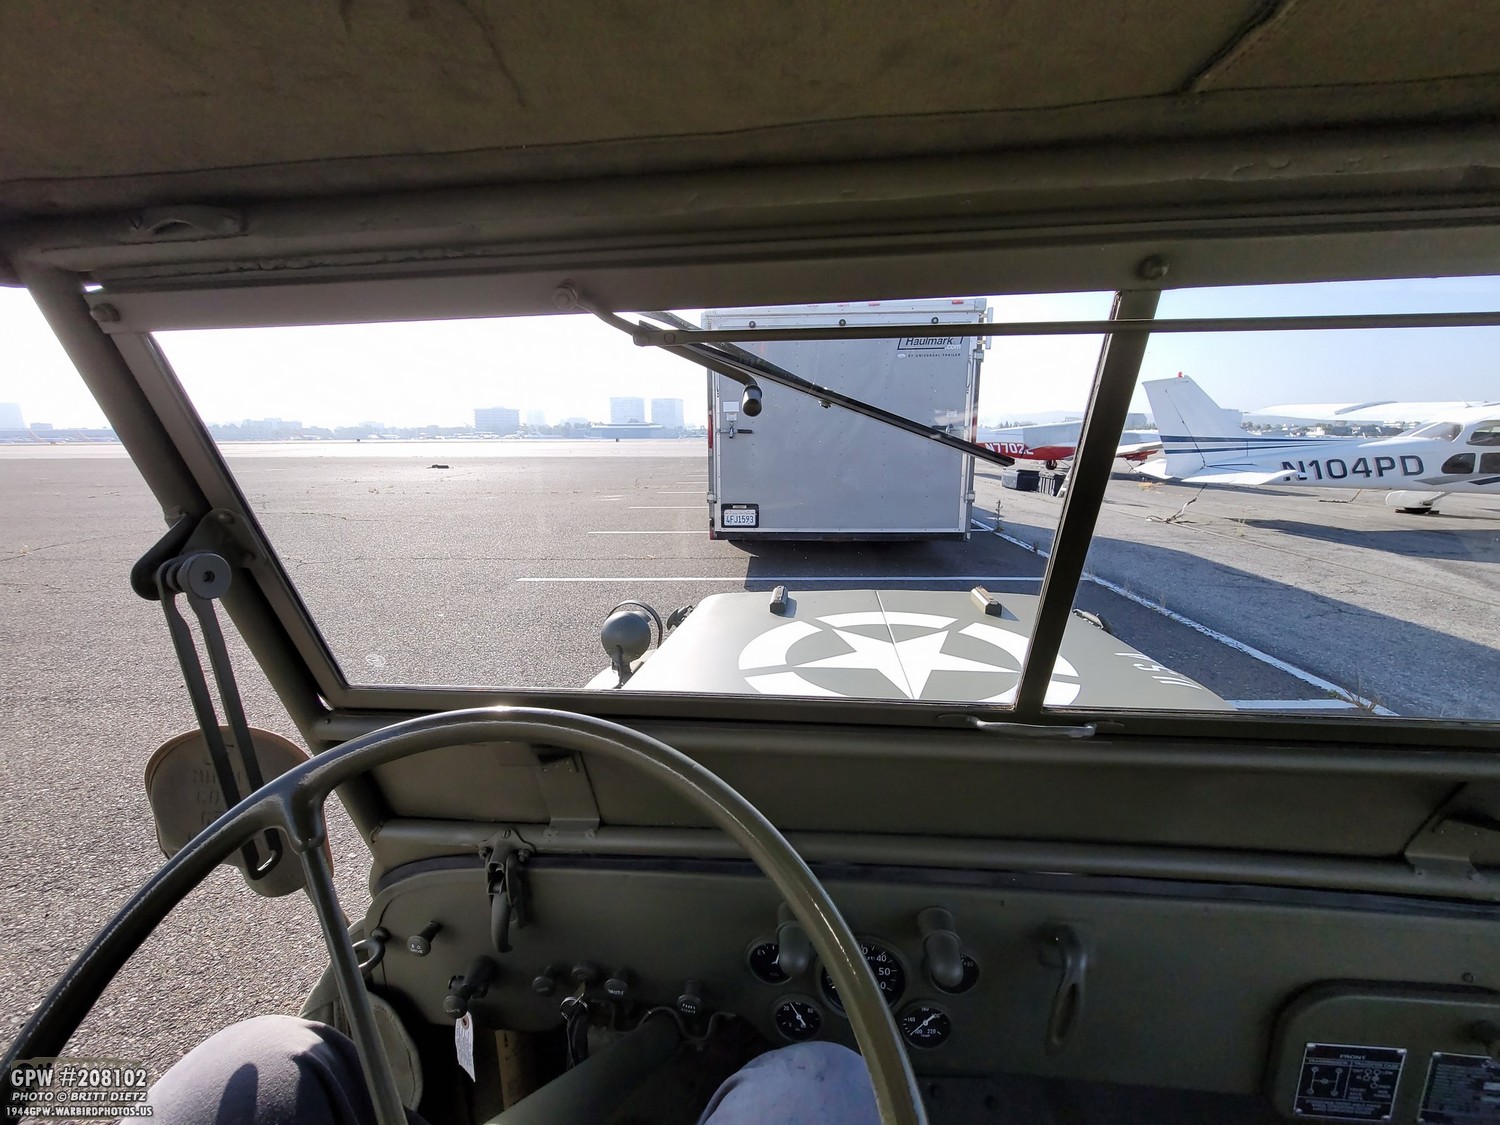
I was able to drive the van and trailer onto John Wayne Airport, Orange County, which was fun, and park it out on the ramp of the museum! Here I’ve just offloaded the Jeep. Across the airport and just out of frame are the main terminals for the airport.

Before pulling the Jeep into the museum to put on display, I took a moment to get some shots with the museum’s B-25J Mitchell. This B-25, built in Kansas and delivered in August of 1944, served at Moody Field, GA until being placed into storage as surplus. She spent the end of the war through the 1950s either in storage or as a crew trainer. After suffering an incident in 1954 (requiring a daring ‘air to air’ transfer of tools from a C-47 with a rope to fix a landing gear issue in the air), the B-25 was moved again from air base to airbase being used as a trainer. It was finally stricken from the Air Force in 1959. It changed hands in the civilian community several times before restoration started in 1977. By 1989, she was flying again. In 2000, she was acquired by Lyon Air Museum

I was able to pull the Jeep into the museum hangar and put me right next to the American Airlines flagship Orange County DC-3. Ironically, this DC-3 was actually a C-47A Skytrain during WW2 serving with the 440th Troop Carrier Group dropping 101st Airborne paratroopers into Normandy during D-Day.
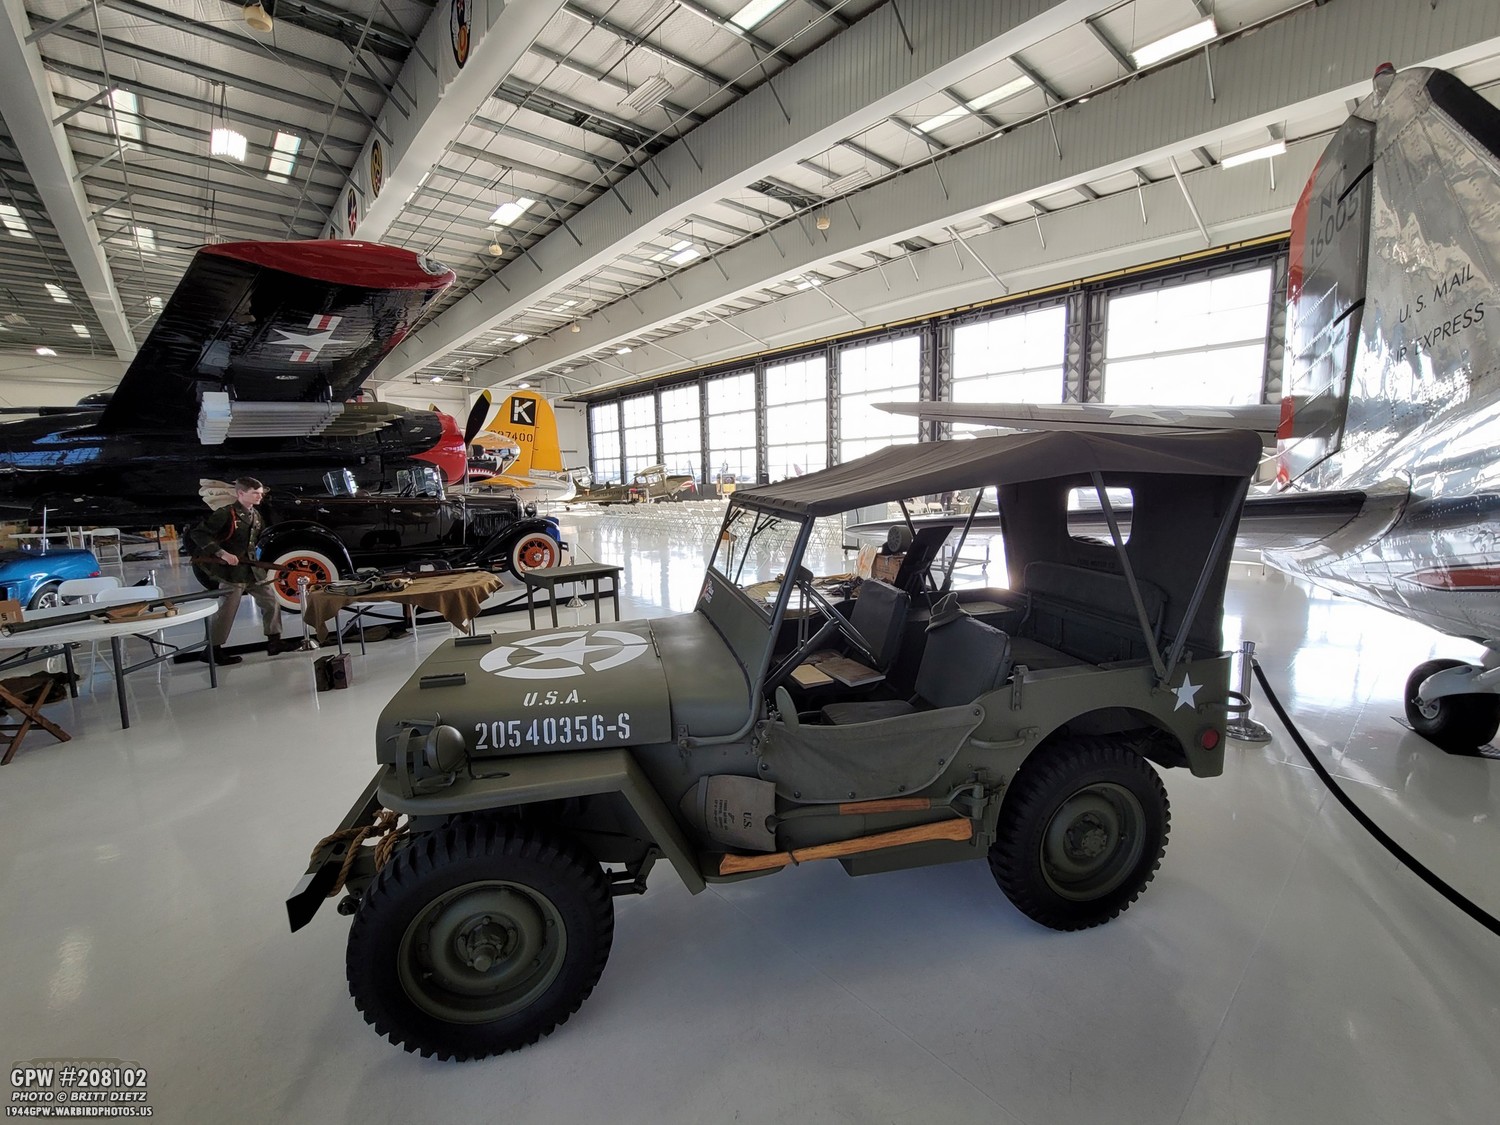
I had a lot of good company with the Jeep. Douglas A-26 Invader, a Boeing B-17G Flying Fortress (Yellow tail), and lots more.

Along with bringing the Jeep, I brought a small grouping of my massive Army Air Force collection.
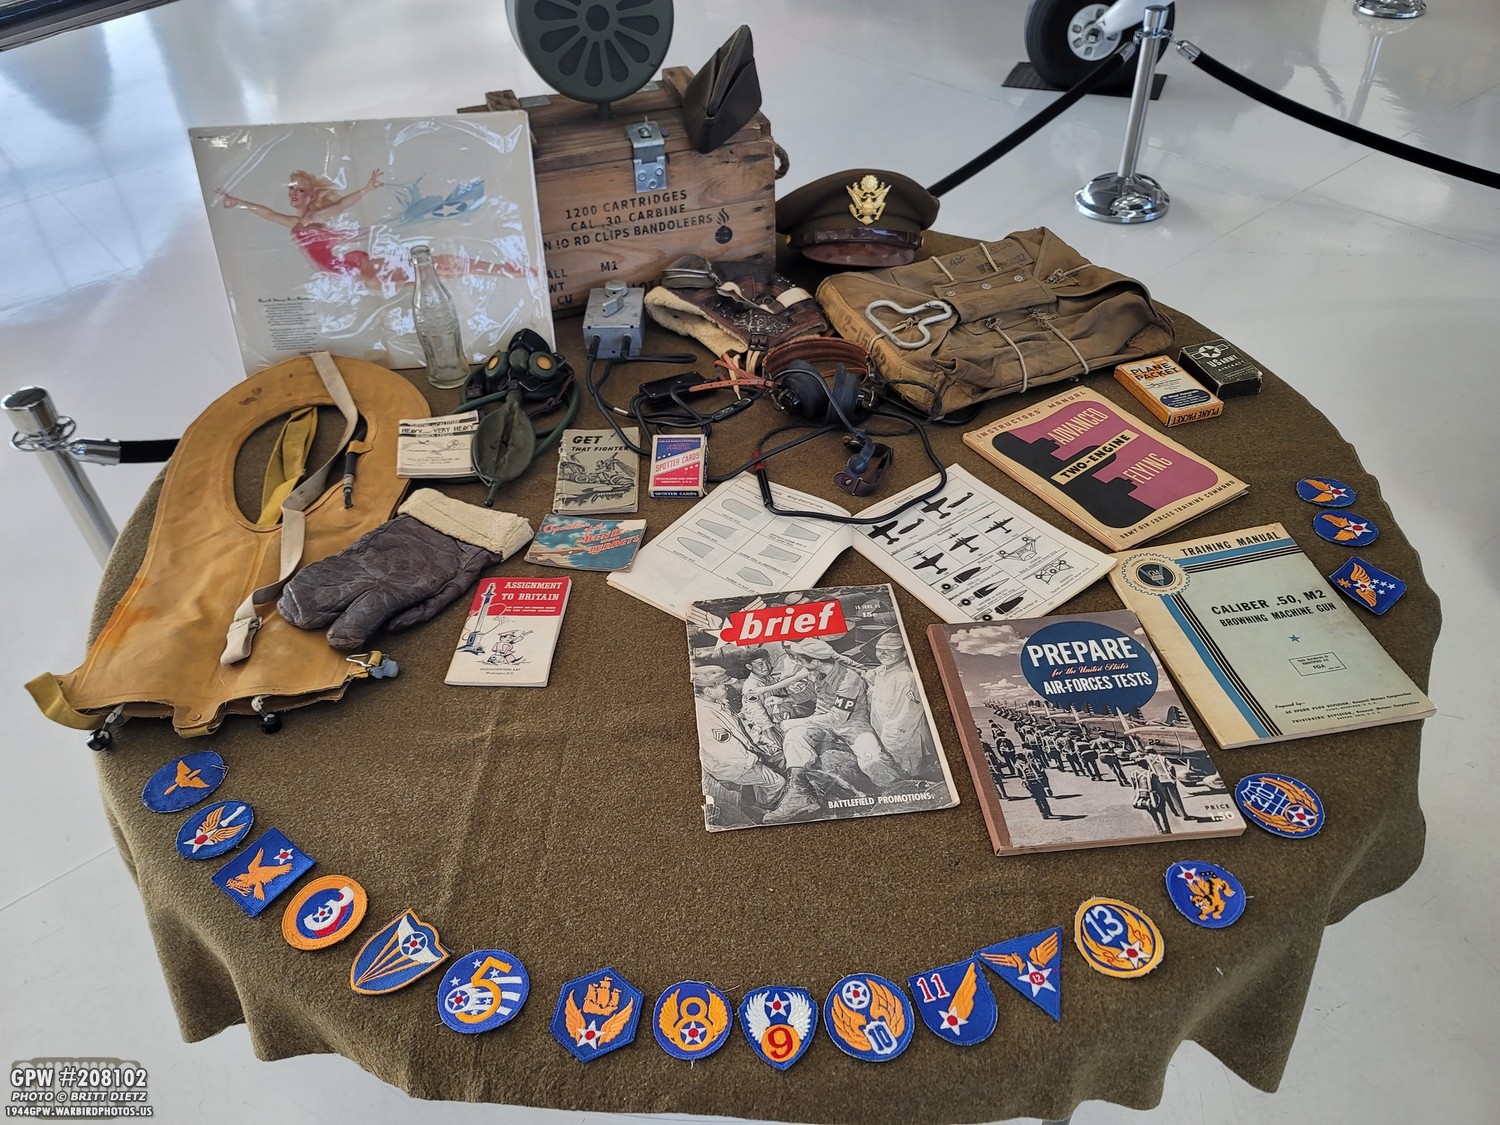
Here’s a look at what all I brought. I didn’t want to bring much, as I was binging the Jeep, so I had a friend (who came after I shot this photo) to fill in the gaps. I main brought items relating to the training of pilots in WW2 and early war items.

A large group of reenactors set up around the Jeep in this little area representing airborne and infantry.
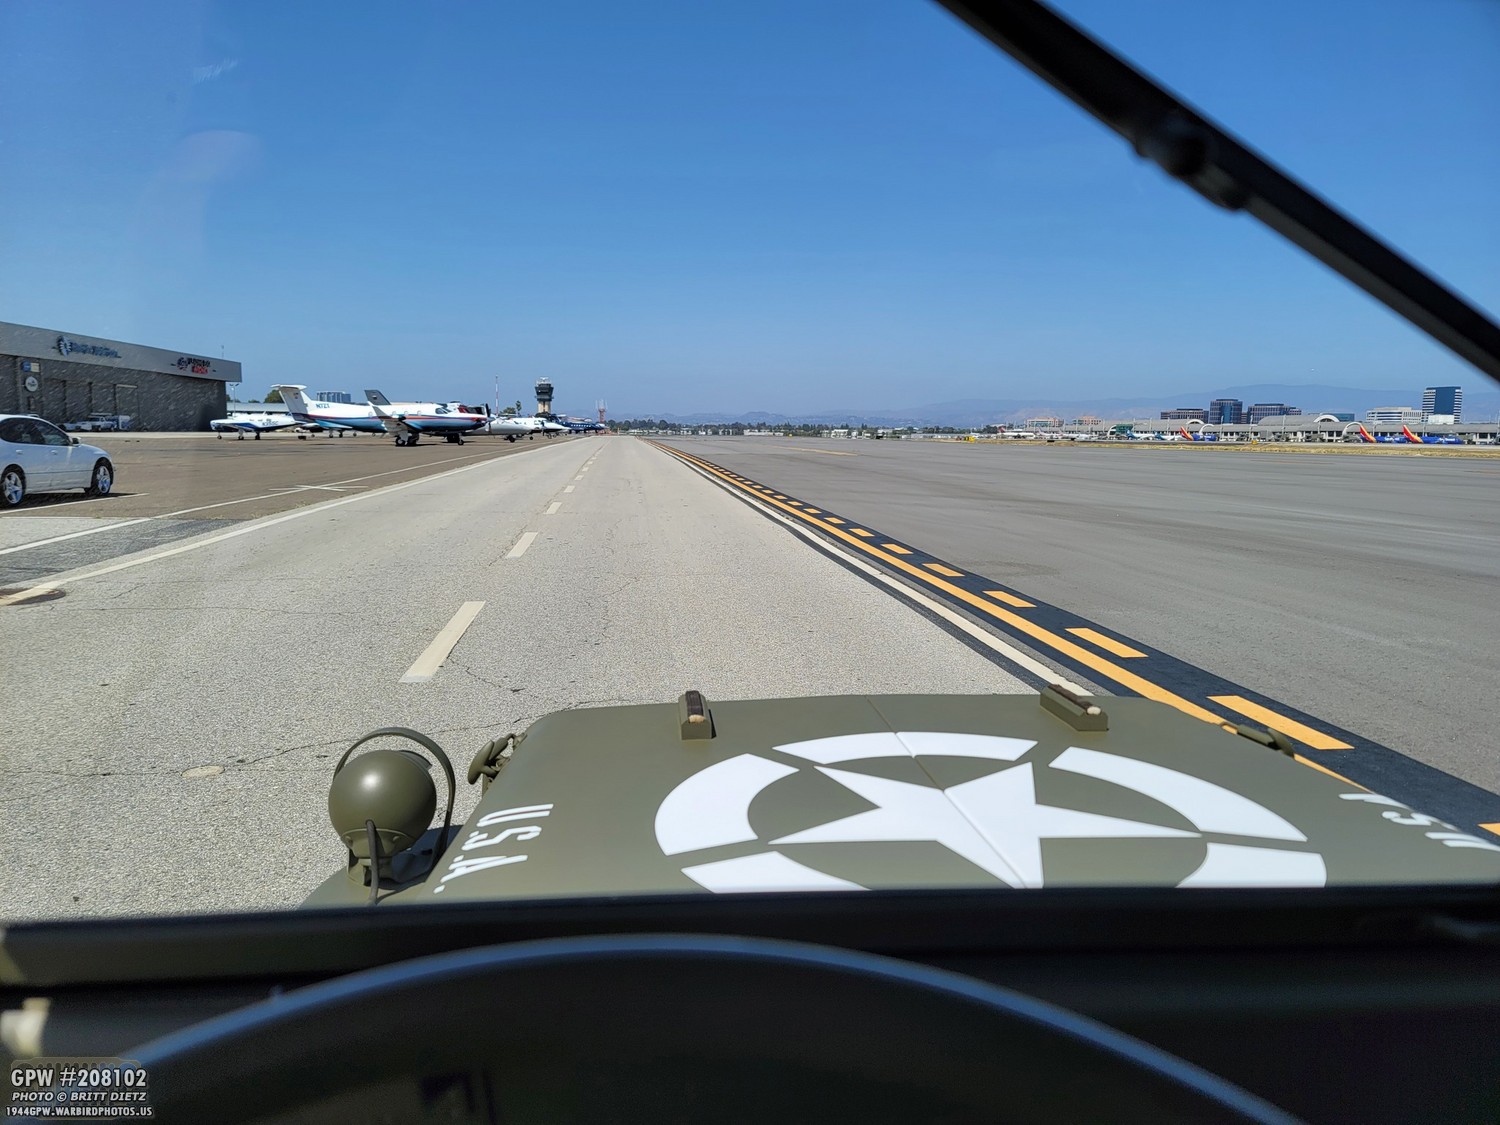
After the event ended (the B-25 Mitchell flew a short flight), I was able to take the Jeep and drive it on the perimeter road of the airport. Pretty fun! I’ve driven around the perimeter road of Chino Airport, but this was the first time at John Wayne Airport, Orange County! You can see the main terminals with Southwest aircraft on the right.

One final photo before I left with the main hangars. Hopefully, I’ll be back with the Jeep later this year when they do a military vehicle event! The Jeep was pretty popular at the event, several people stopped by to talk with me about it!
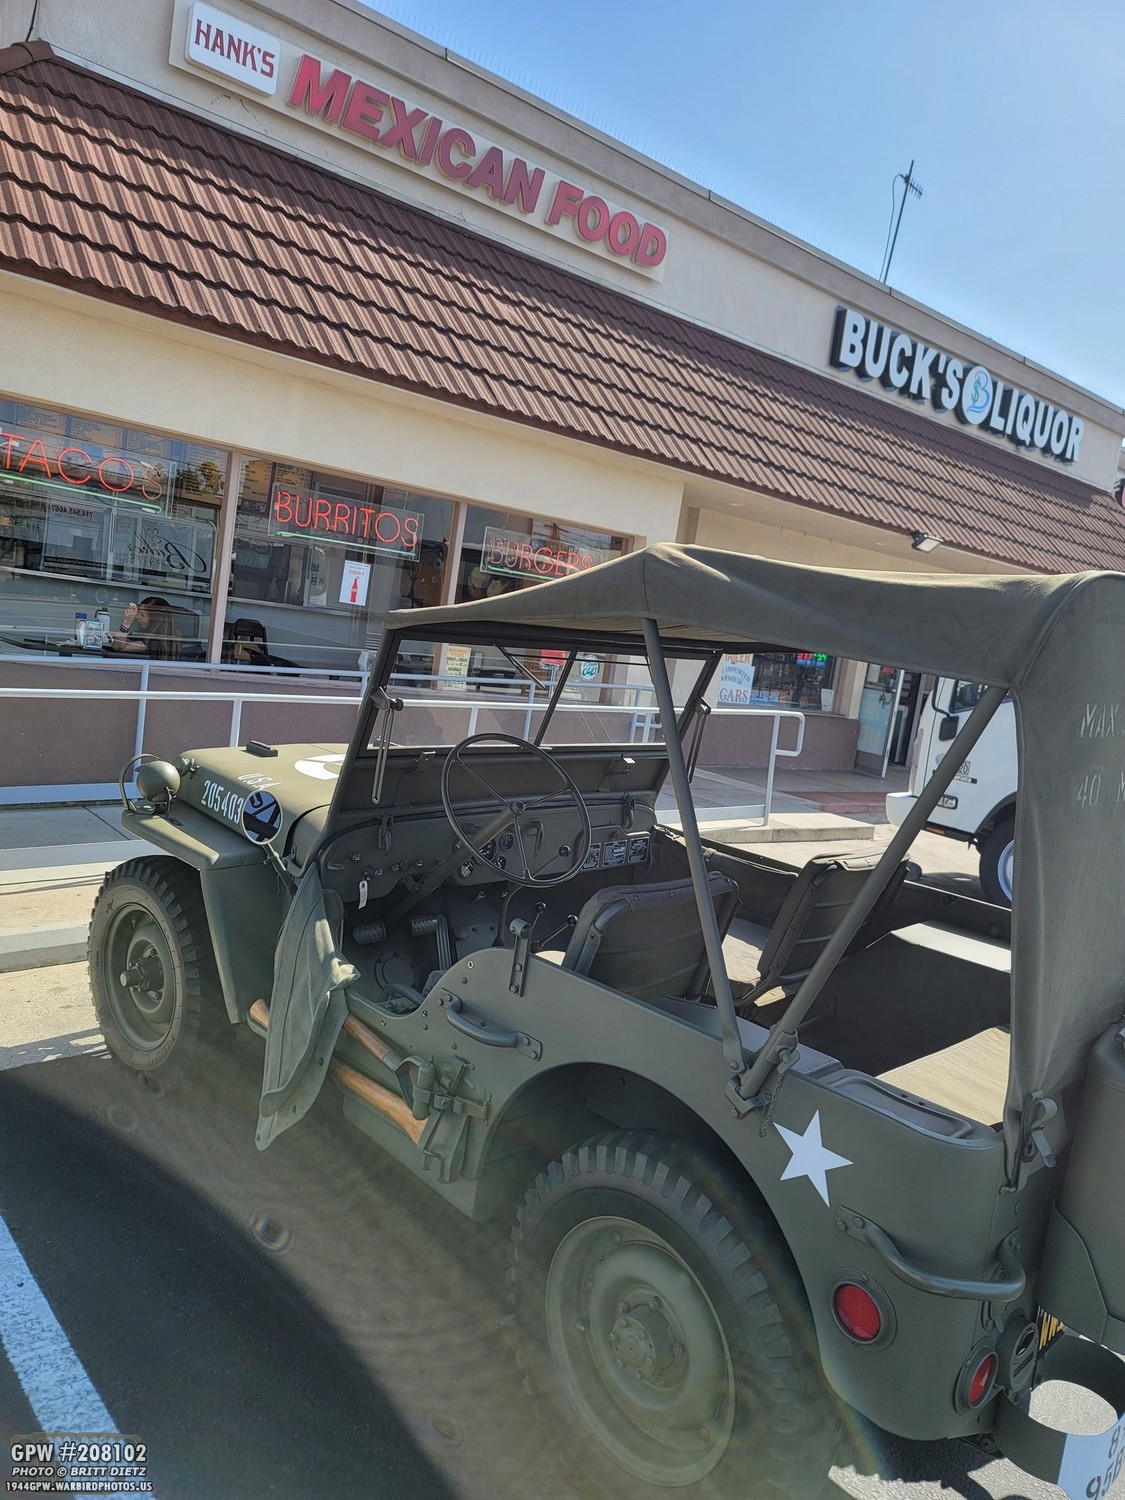
After taking both the Jeep and the van/trailer out of the airport, I parked the van/trailer on an outside road near the airport and then drove the Jeep over to one of my favorite Mexican food places in Costa Mesa, Hank’s Mexican Food.
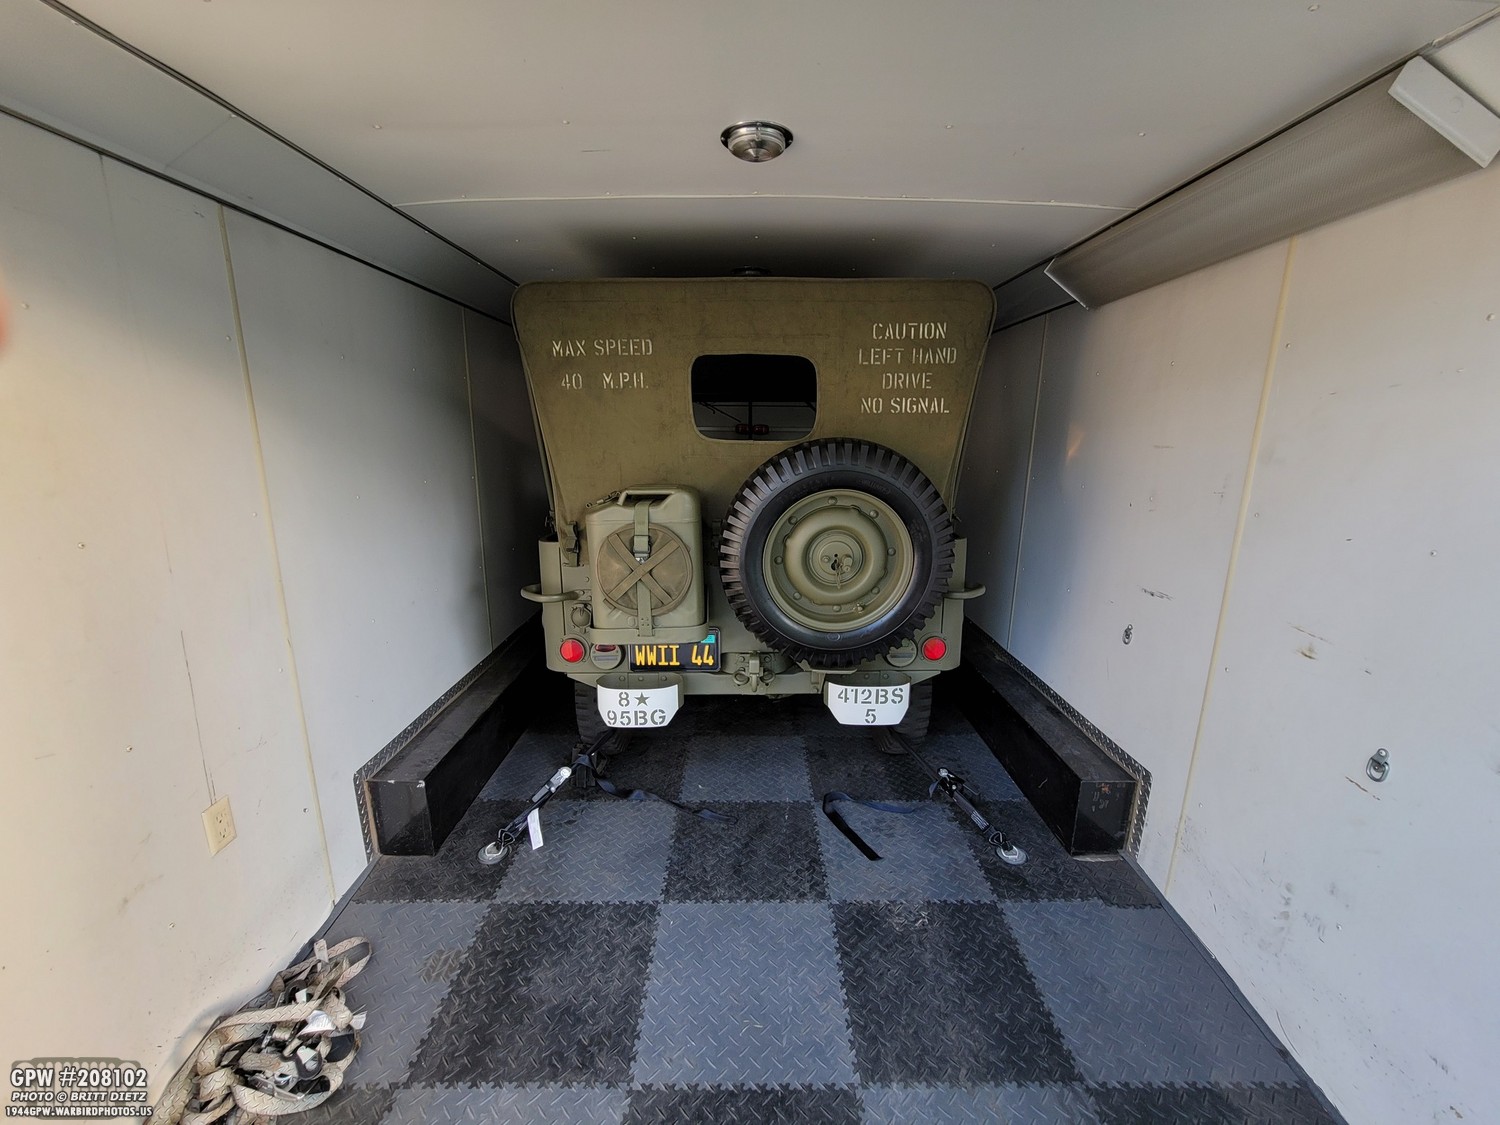
After lunch, it was back in the trailer… but she’s not headed home yet!

I took the Jeep out to the ‘Orange Circle’ (Old Towne Orange) to do some update photos since I’ve done a lot to the Jeep since the last time I took it there. I took the Jeep around the main roundabout as I was driving around to look for photos, and the live stream camera on the circle captured me driving by.
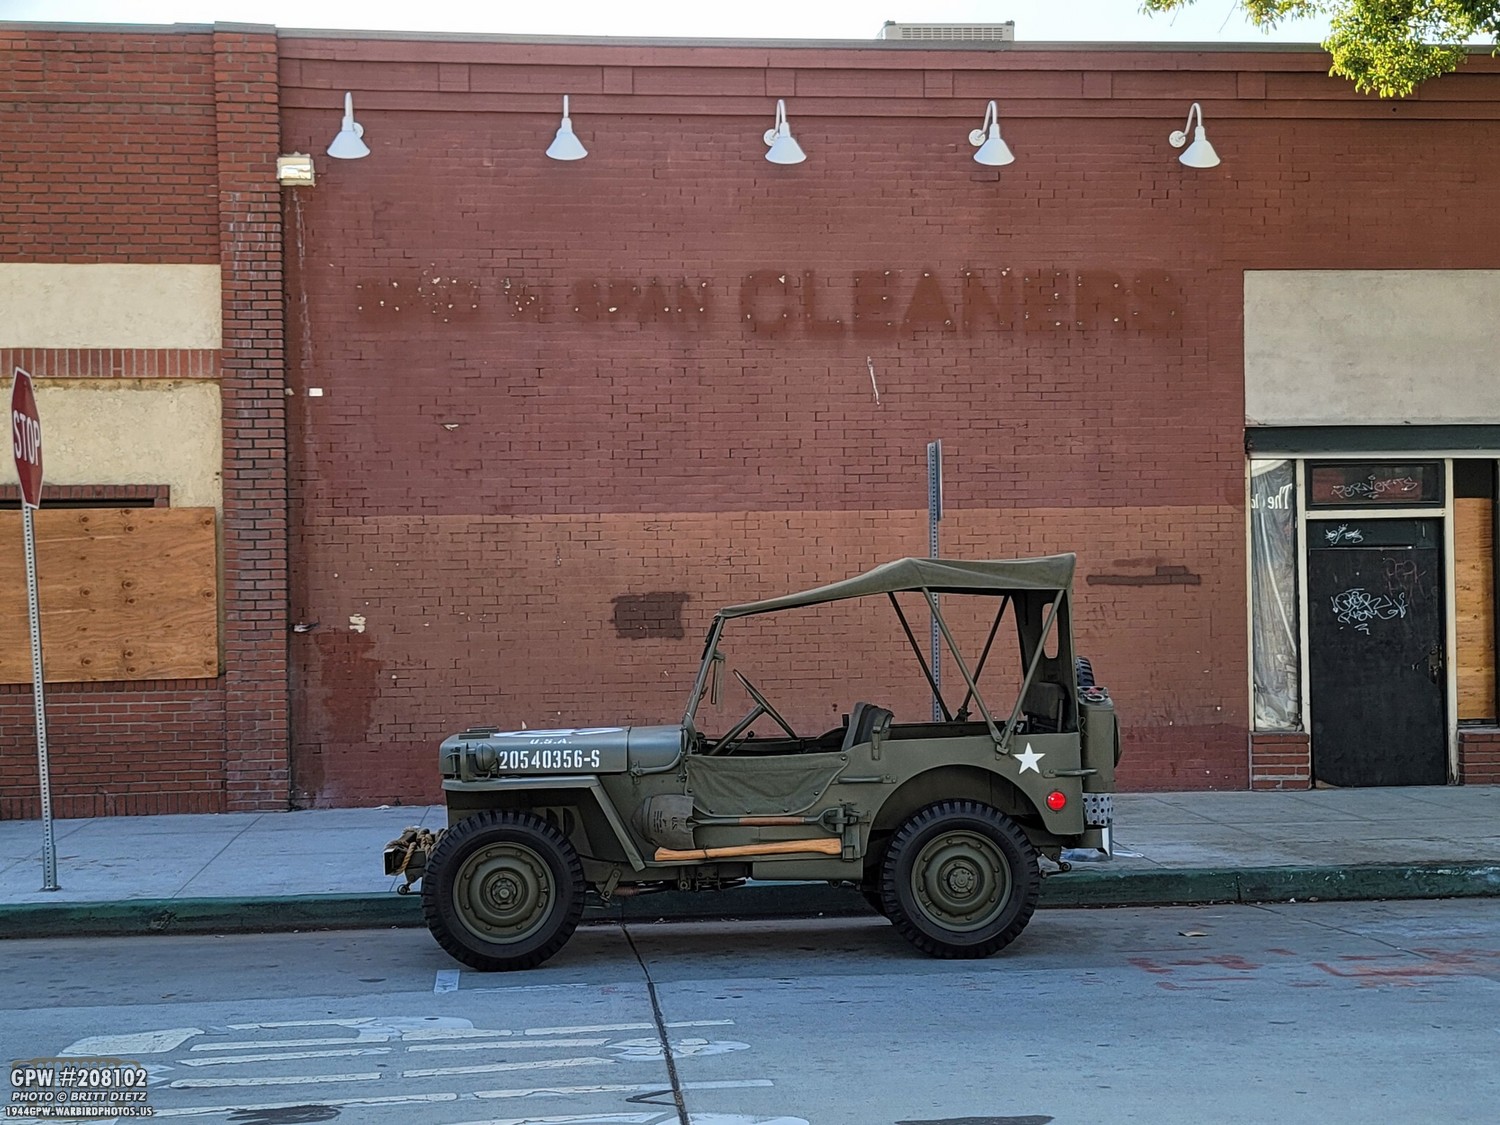
I love parking next to this wall, and recently the cleaners left which meant they removed their sign. I can take that blank wall, clean up the remnants of the sign,, the parking sign, and put a WW2 advertisement on the bricks.

The Orange Circle was rather busy (it was about 6pm, so lots of people coming out for dinner), so I kept getting people stopping to look at the Jeep and take photos. It turned heads wherever it went.

I went over to one of the Chapman College buildings that has a nice factory look for some shots.

I love the vintage style signs and this old factory look.
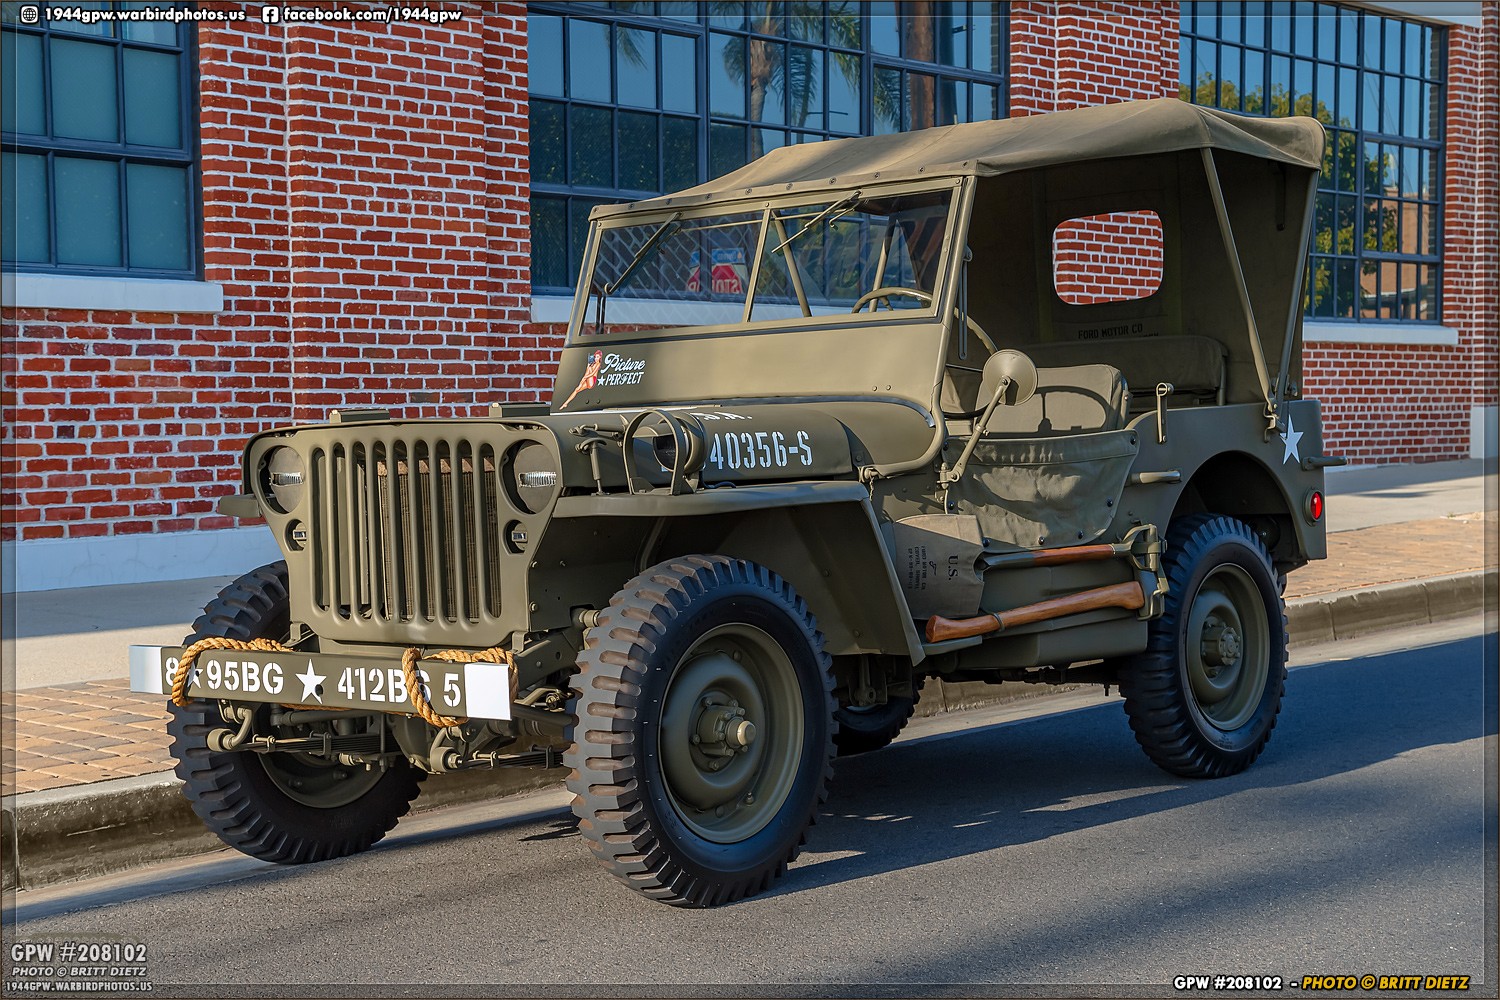
Last time I was here was in 2019, and since then I’ve changed out the axles, added combat rims, gotten Firestone tires, added half doors, changed the hood with new markings, and lots more.

I then drove over to the Ruby’s Diner Orange Depot and Streamliner Lounge for some shots.

This Ruby’s Diner is themed like a 1940s train station (and it actually is a train station).

I found this nice auto repair building that looks pretty old, so I pulled over to shoot some shots.

The industrial look of this auto shop is a perfect background, even the light fixture.

I parked in front of the St. John’s Orange church. This church was built in 1913 and looks a bit like something you might find in France.

Last stop, outside of the CW Moss Ford Parts and museum. In good company!

As the sun was starting to set, I took the Jeep back to the trailer. It was nice to get the Jeep out and about.
Back in the trailer for the trip home! Till the next time I can borrow the trailer… or hopefully find one to purchase!
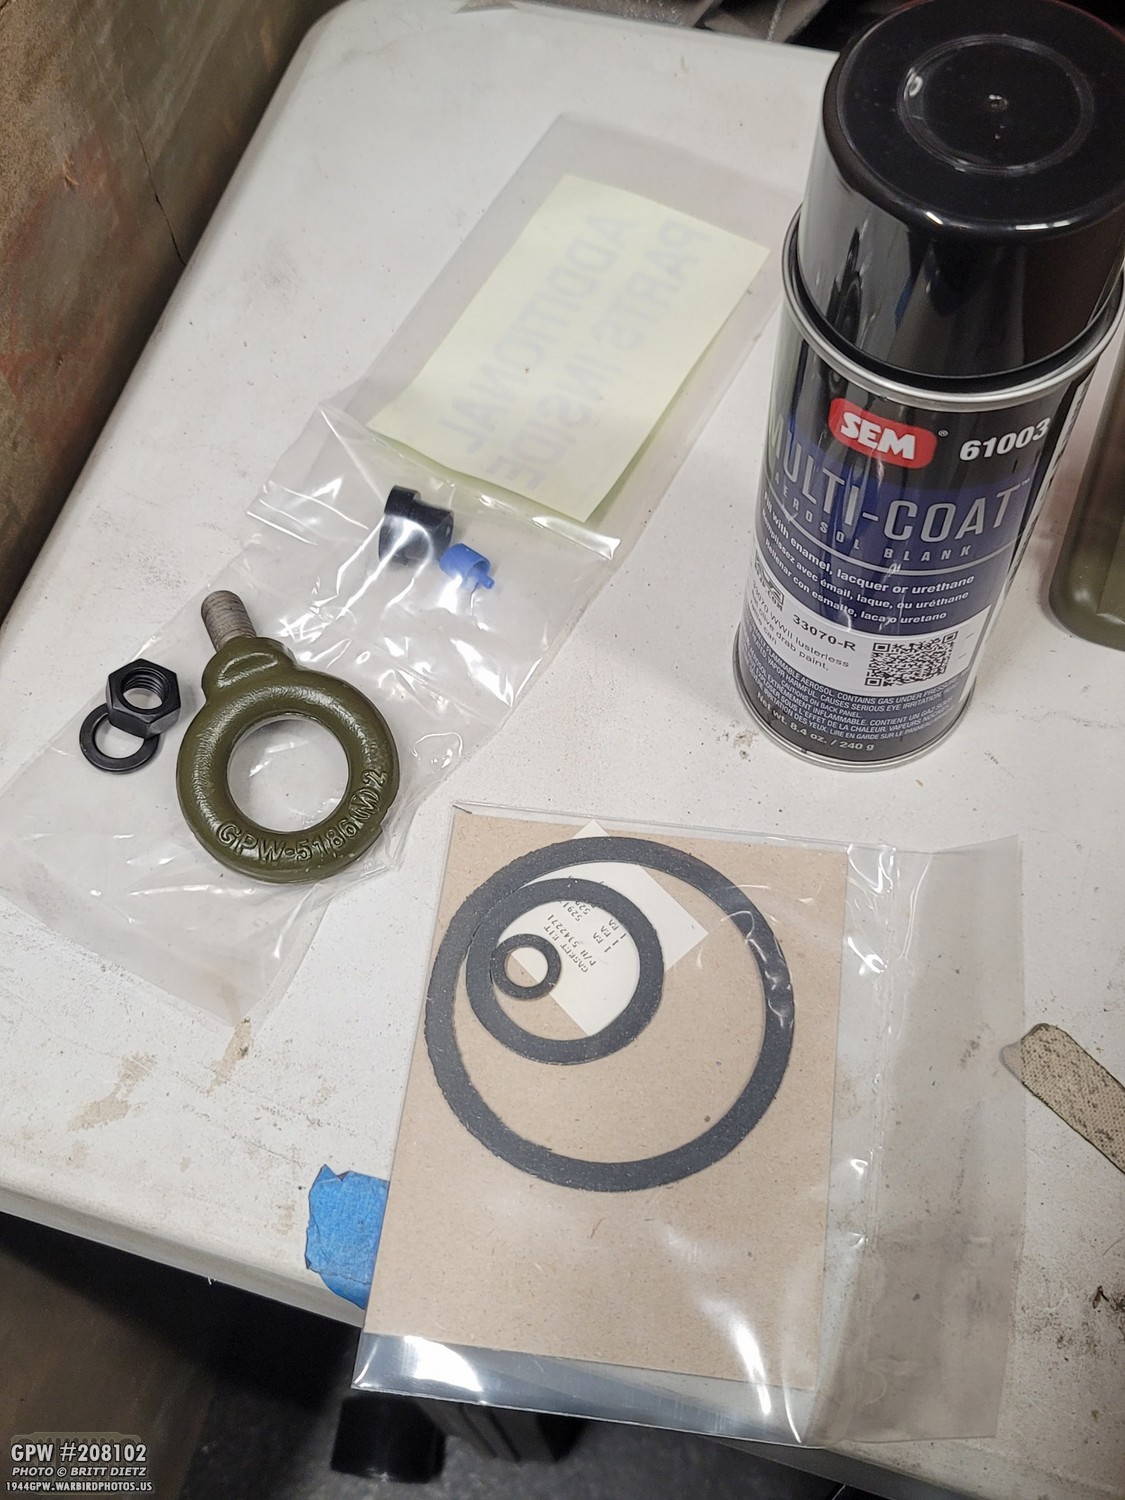
Mail call! I got a new order from Ron Fitzpatrick Jeep Parts with some more 33070 OD Green paint, a GPW eye hook for the pintle, and a set of gaskets for the fuel filter I’m restoring.

I have post-war eye hooks on the rear of the Jeep. It’s one of the last things I’ve yet to replace with either repro or original. Finding GPW marked originals have been nearly impossible lately, so I caved and bought a repro. Only one for now (these are expensive!).
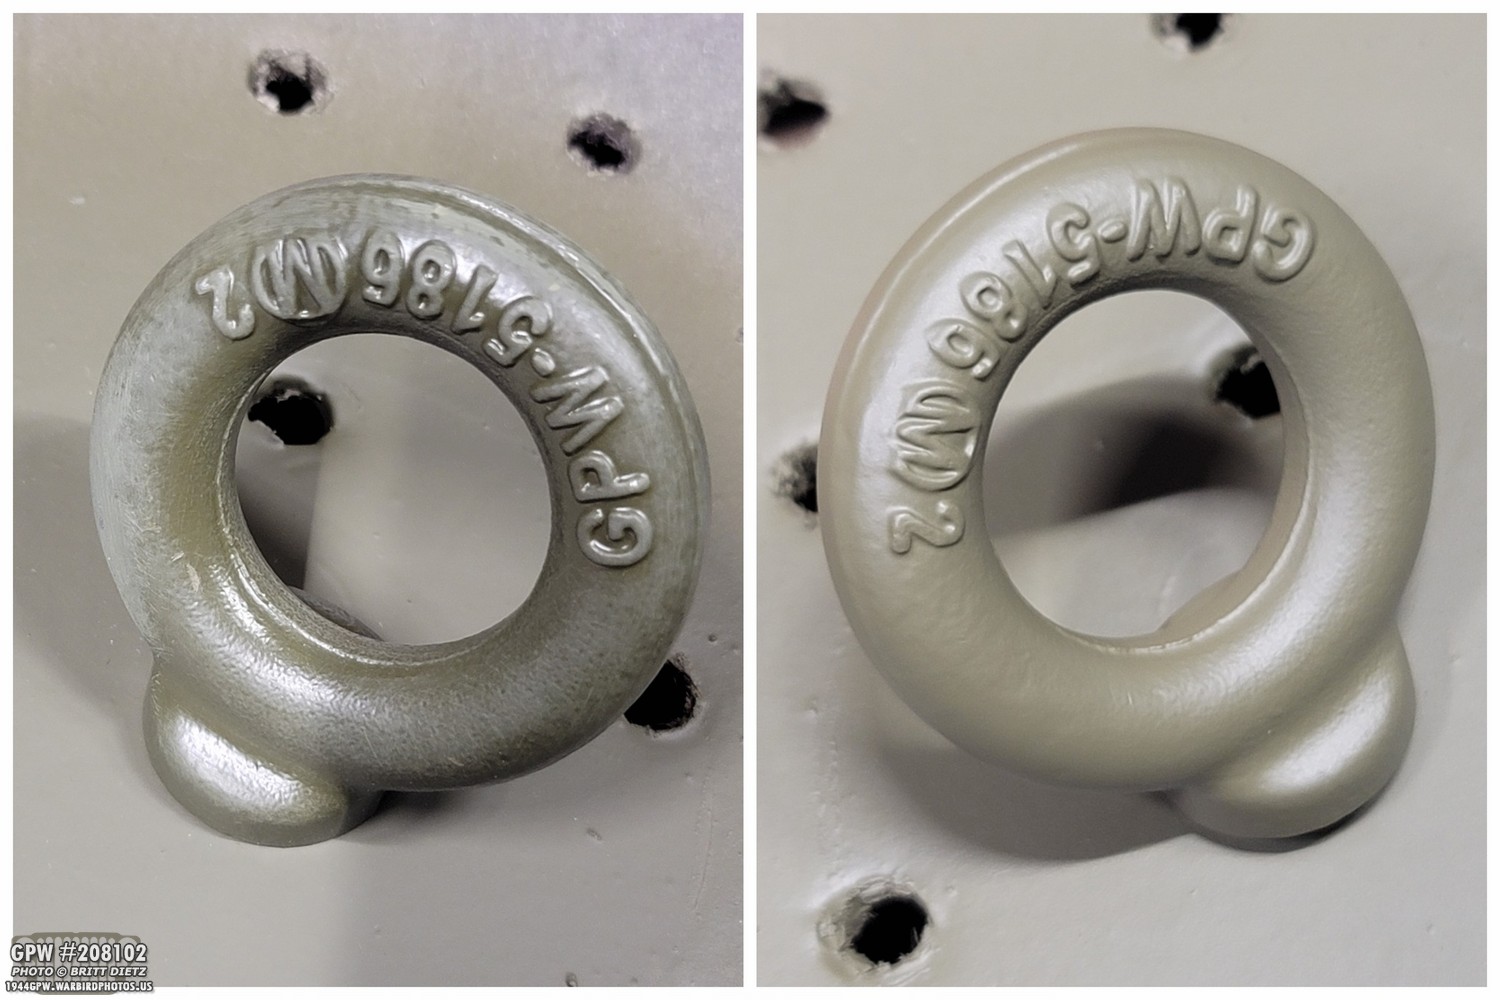
I sanded the eye hook and then hit it with 33070 OD Green.

All installed, looks great. I’ll get another one soon toe finish the set!

Last update, I talked about how I was diving into a side project helping out my friend restore his Jeep. It’s been fun reminding me when I restored mine in 2019.

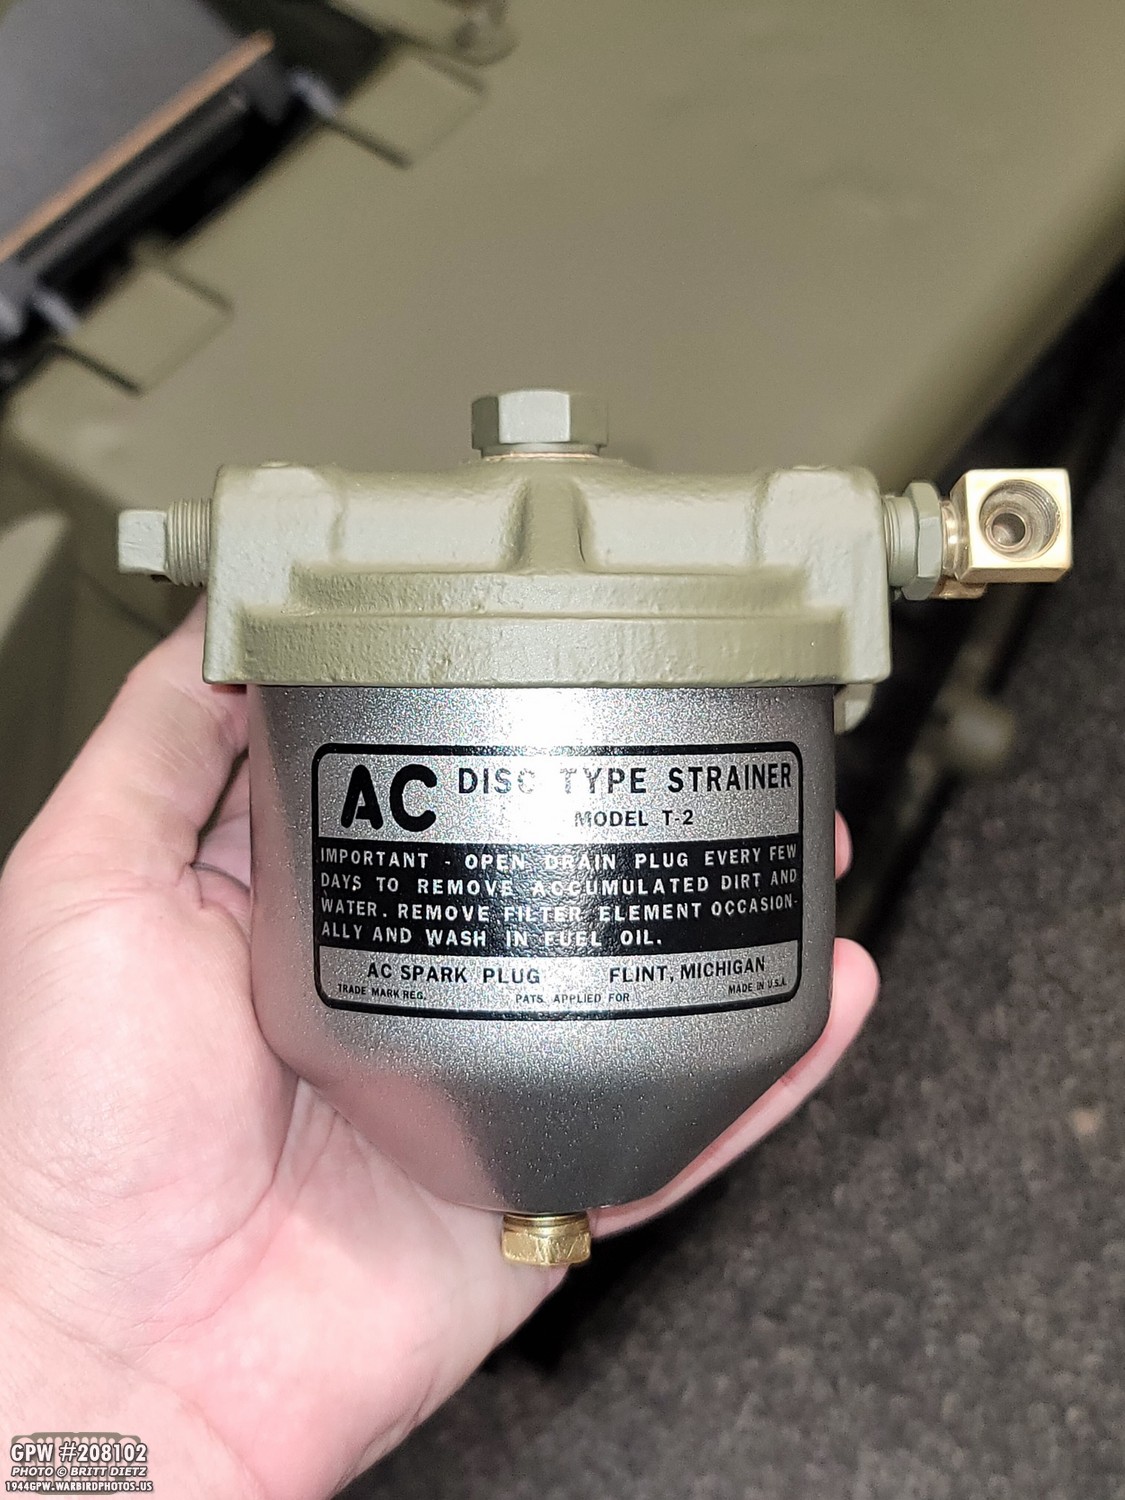
The gasket set was for this fuel filter, since the gaskets in his fuel filter had hardened and cracked. There are three gaskets, one for the lid (largest), one for the top of the brass filter (med), and a small one for under the top bolt.
Here’s all three of them installed on their items.
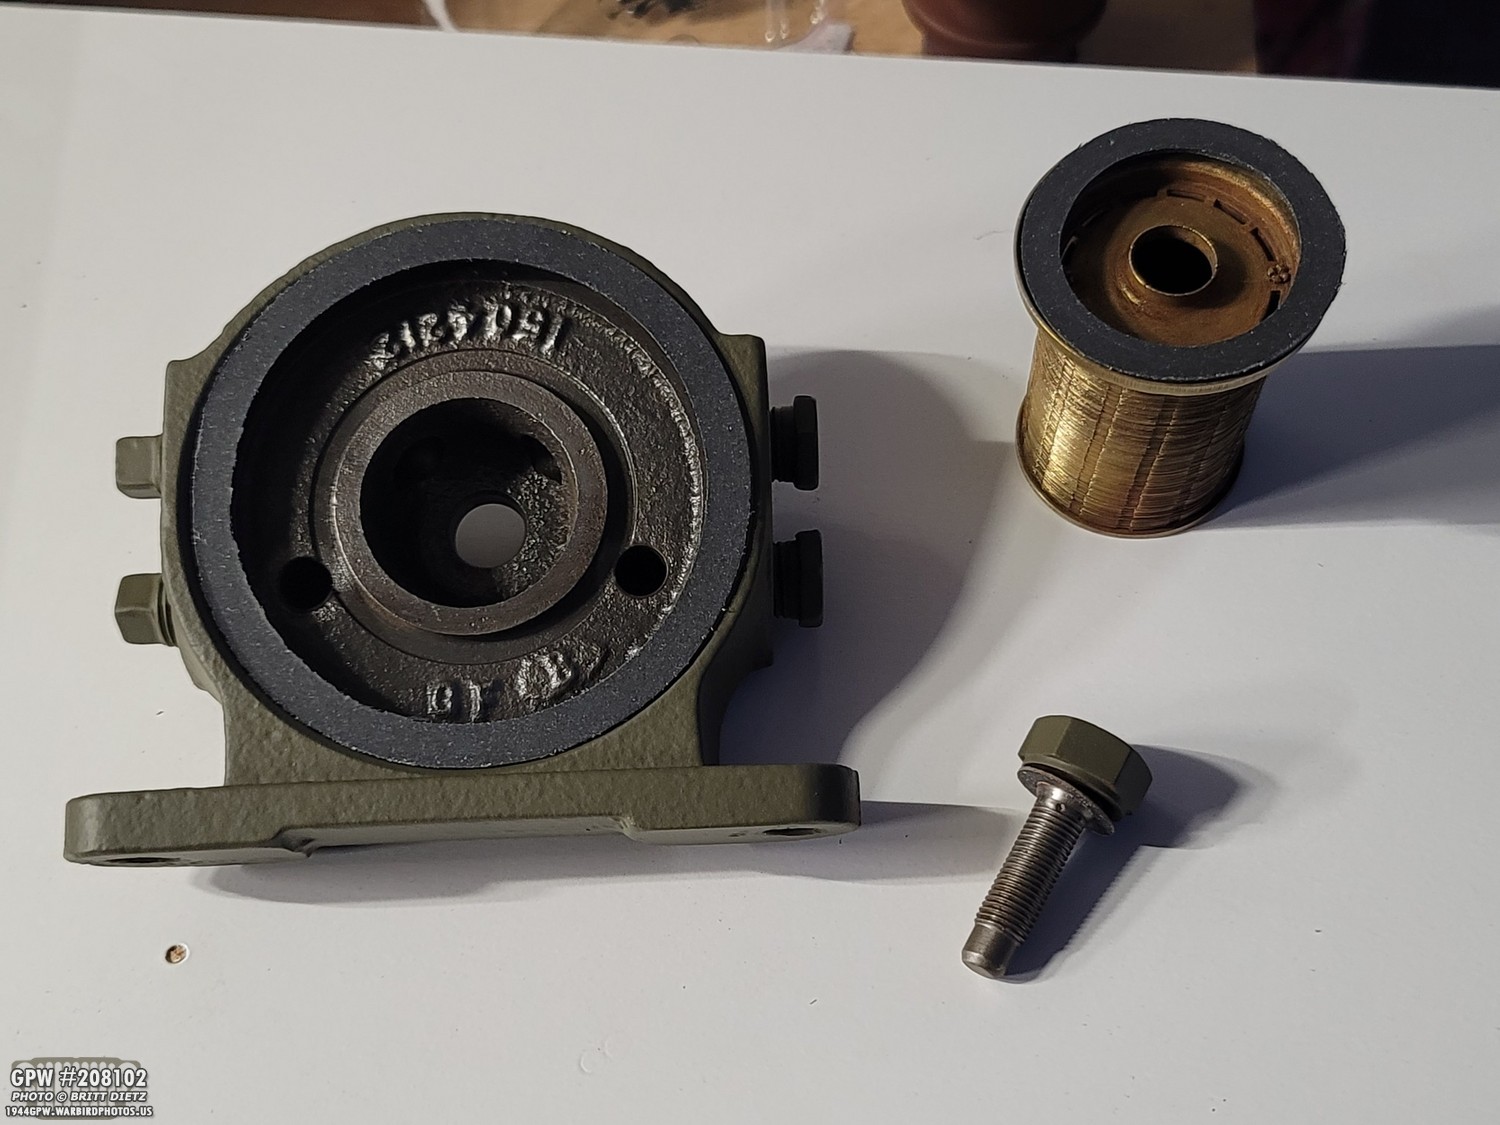
Time to put it all together! If you want to read about how I restored the bowl (which had holes and required me to weld and Red Kote the inside), see the last update.
All finished! Really proud of this one. I think it came out better than the one currently on my Jeep! It should last another 75 years no problem now!
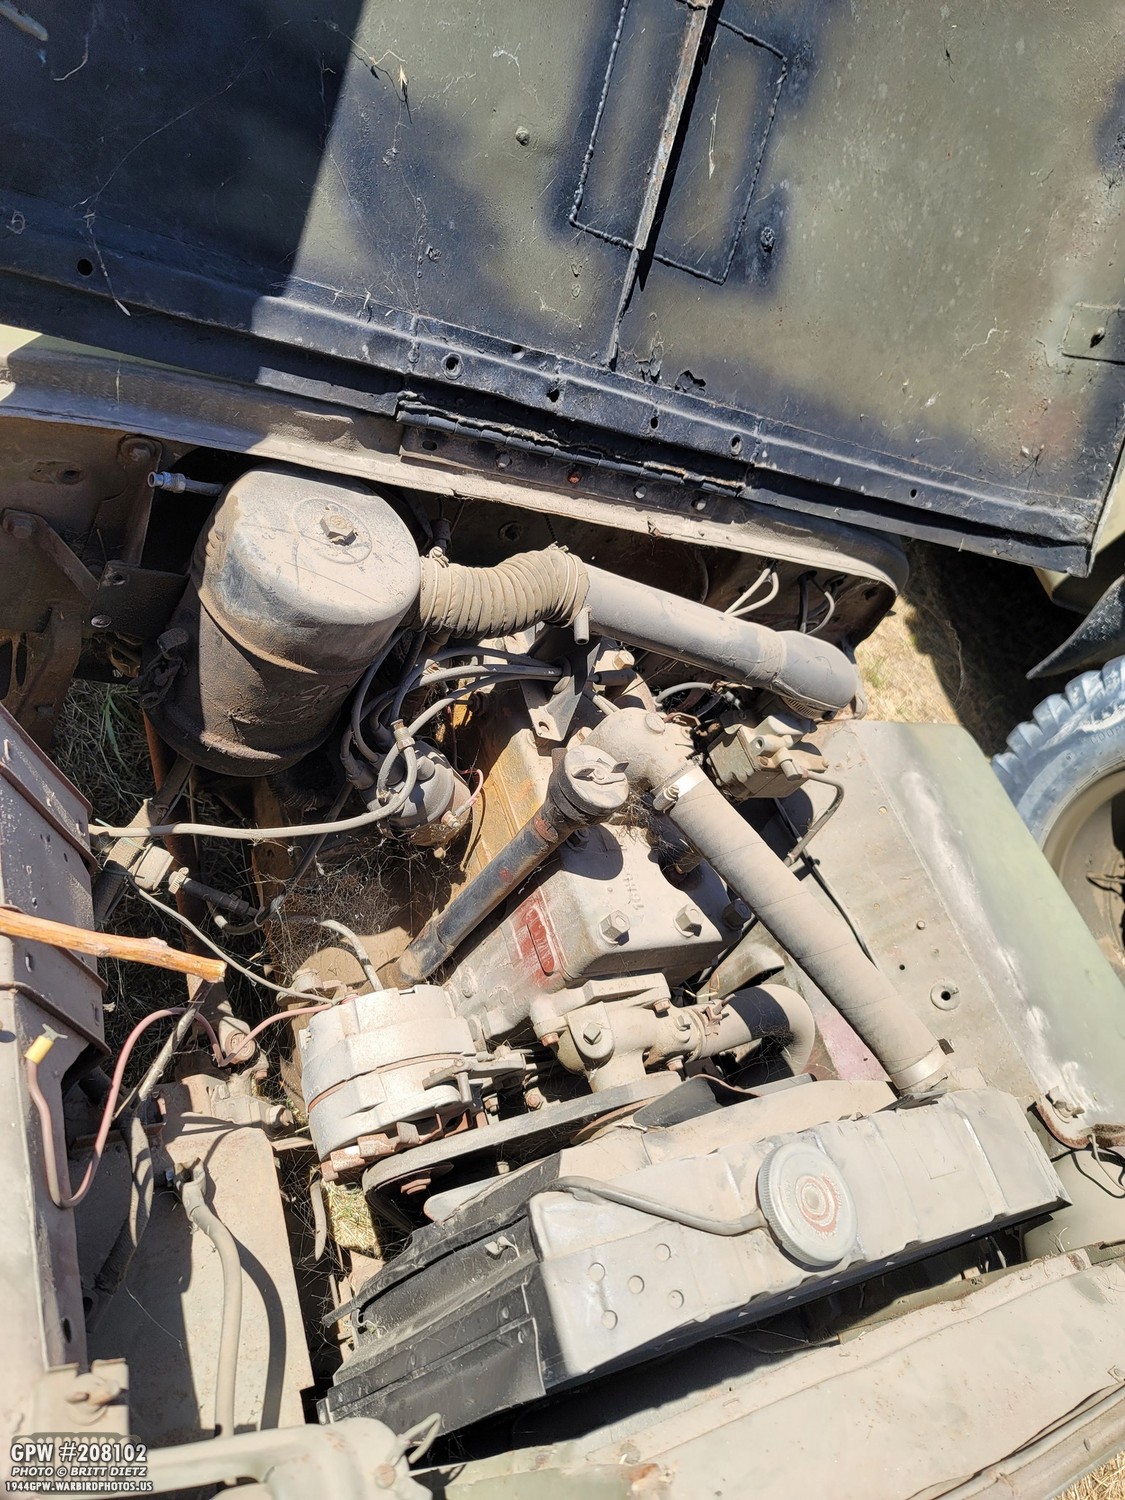
I told my friend, for his birthday, I’d work on some more items for him. So I went to the Planes of Fame Air Museum (which his Jeep is living for the time being), and looked over the engine bay for what I could take next.

Fighting through the spiders (there were SO many), I managed to get out the air cleaner, cross over tube, air horn, and the dip stick/tube. Restoring this Jeep one part at a time!

This time I made sure to document all the ‘before’ photos. Here’s the dip stick/tube. From what I can see, it’s a post war set.
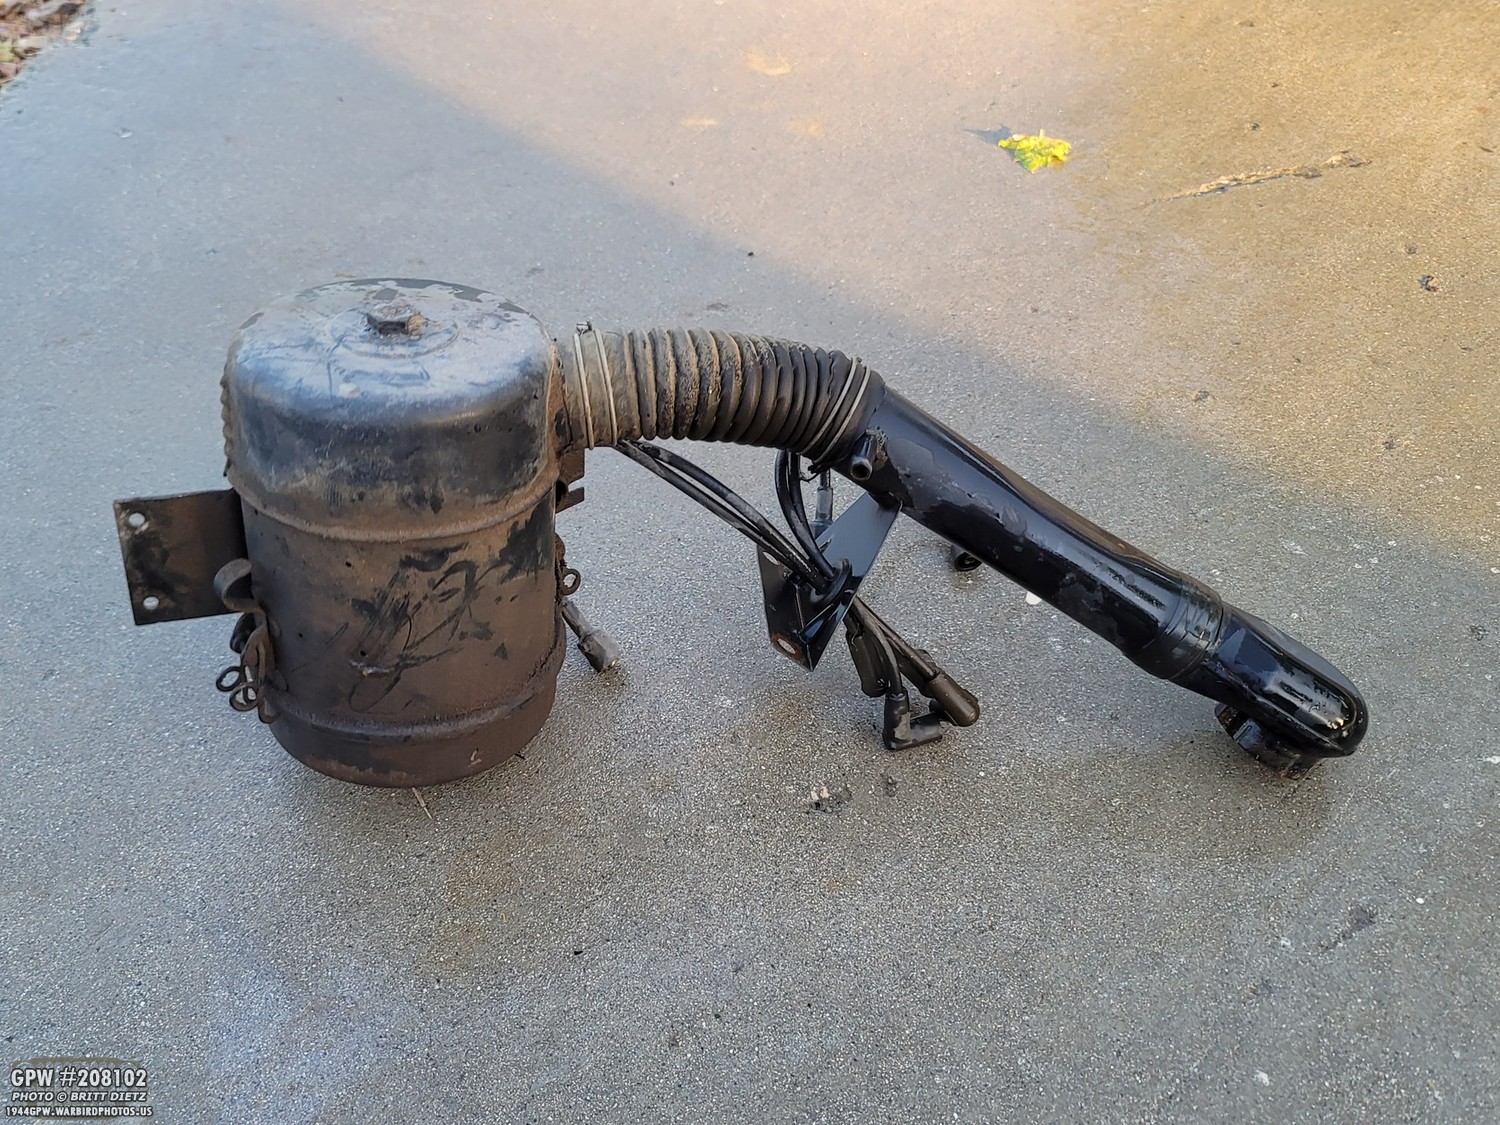
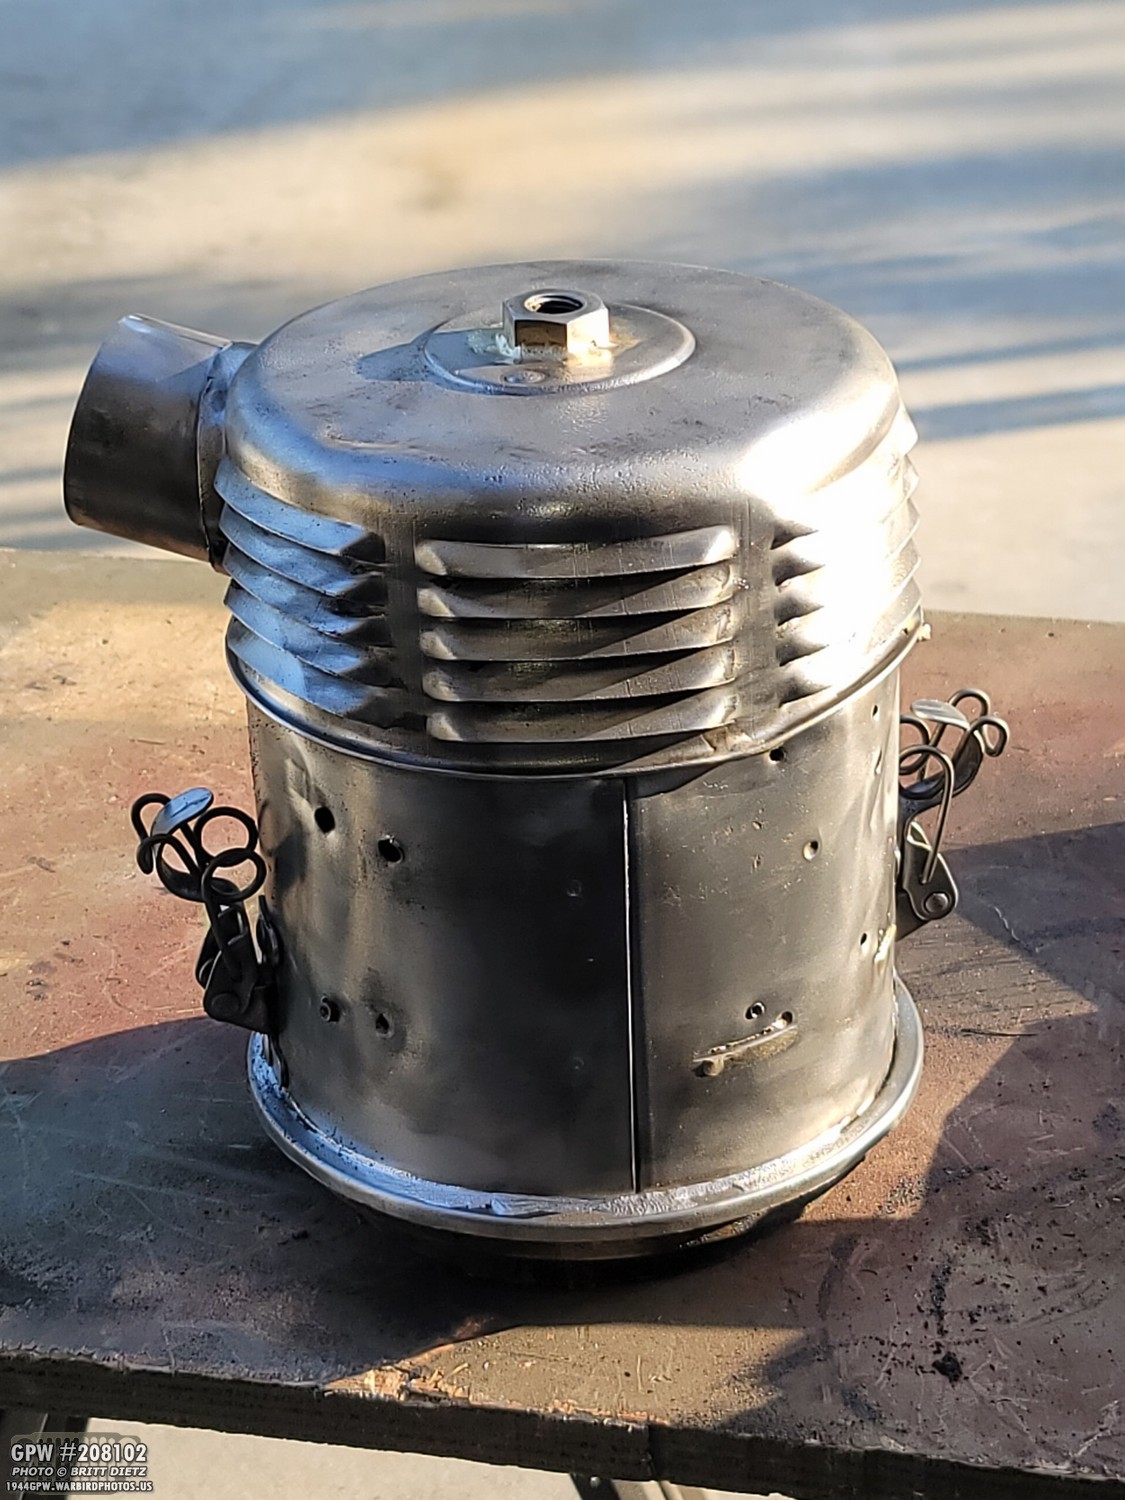
here’s the air cleaner, cross over tube, and air horn.

The air cleaner doesn’t have the embossed instructions on the front. So it’s an earlier style with either a sticker or the spot welded plate.

The crossover tube looks to be a late war MB style. The air horn did look wartime.

Sure enough, I spy with my little eye an F stamp on the air horn!

The air cleaner, after giving it a quick cleaning, started to appear heavily bubba’d. Including brazing a large nut onto the top of the air cleaner. This nut was not filled with anything, so it appears water got inside the cleaner.

I was afraid to open it up… and my fears were realized when the bowl was removed and I found this really gross mess of water, oil, dirt, and more. Yuck.

The filter doesn’t look that much better. Going to take a lot of cleaning to get all that out.

After three degreaser baths, sitting in a bucket of gasoline for several days, cleaning, wire wheeling… it’s all clean.
The back wing support bracket that holds the cleaner to the brackets on the firewall was removed off the canister at some point (or broke off) and instead several holes were drilled and it was attached by screws. I removed it and plan to fill all those holes then reattach the wing bracket.

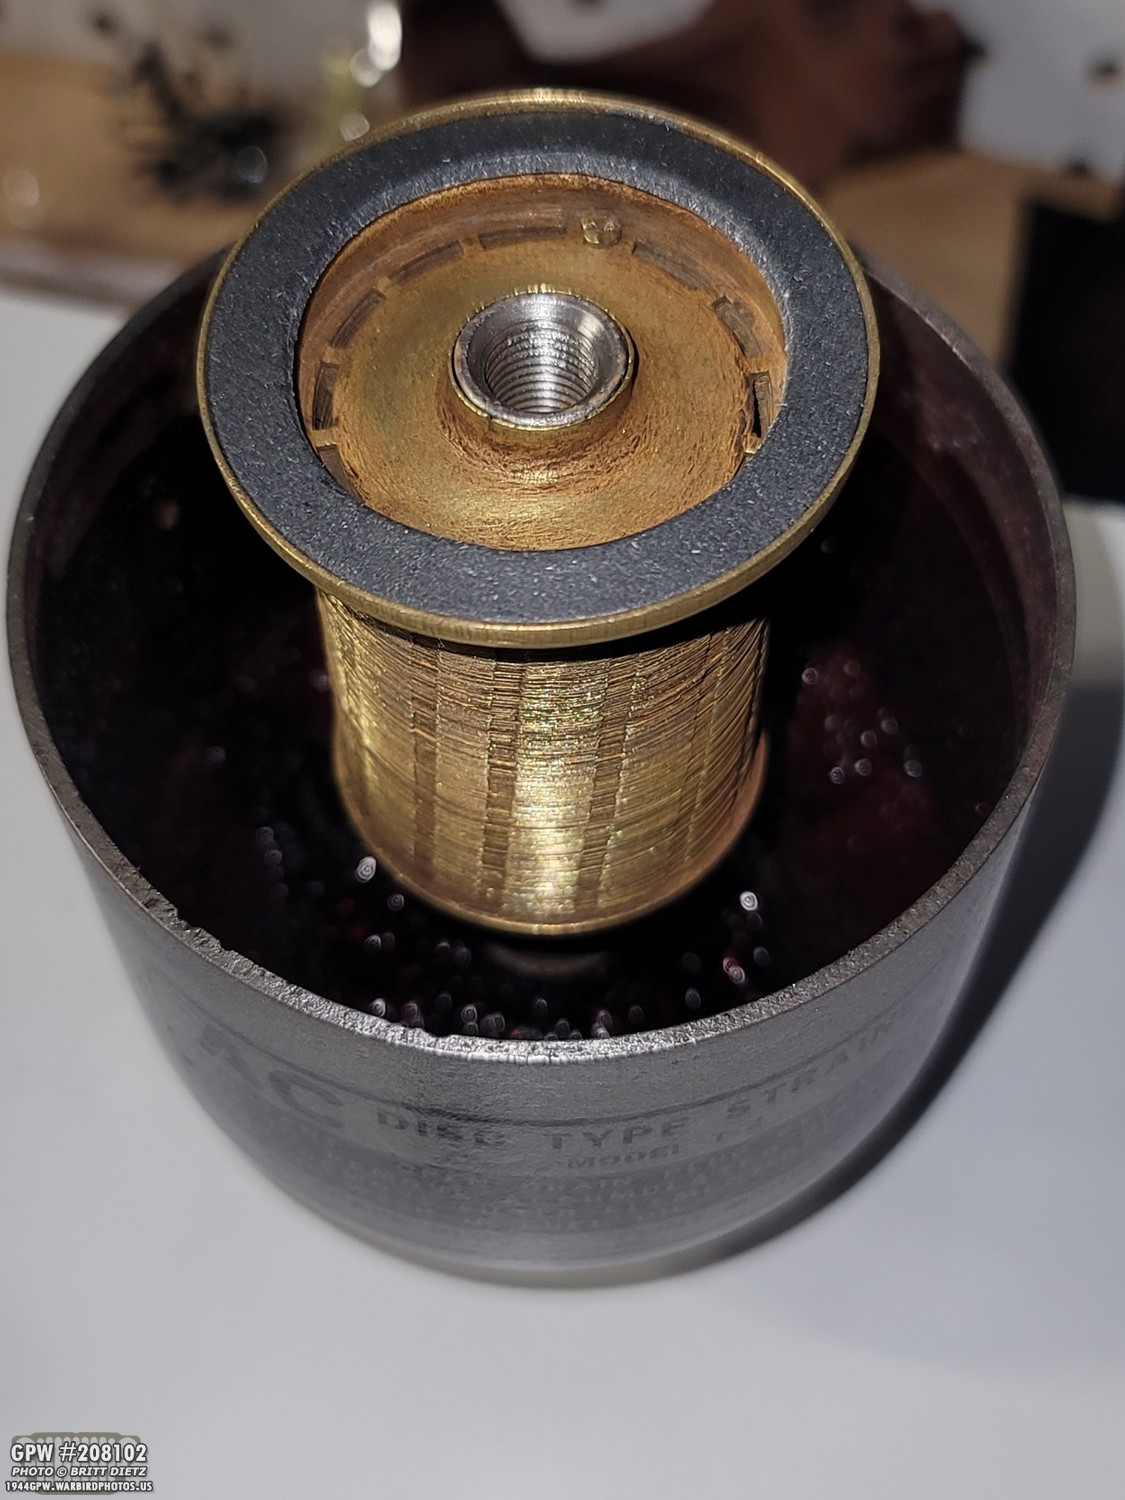
As I was cleaning things, I realized that the two wire meshes could be pulled out. This was a look inside the filter. After some research, I found out that this is the very early style of the air cleaner with the removable wire meshes. The next models had the entire internal filter that could be removed and is held in with a wing nut on a long shaft.

Here’s a look at the two wire meshes.

After talking with my friend, we decided that I would remove this added nut and make it look more like it should.
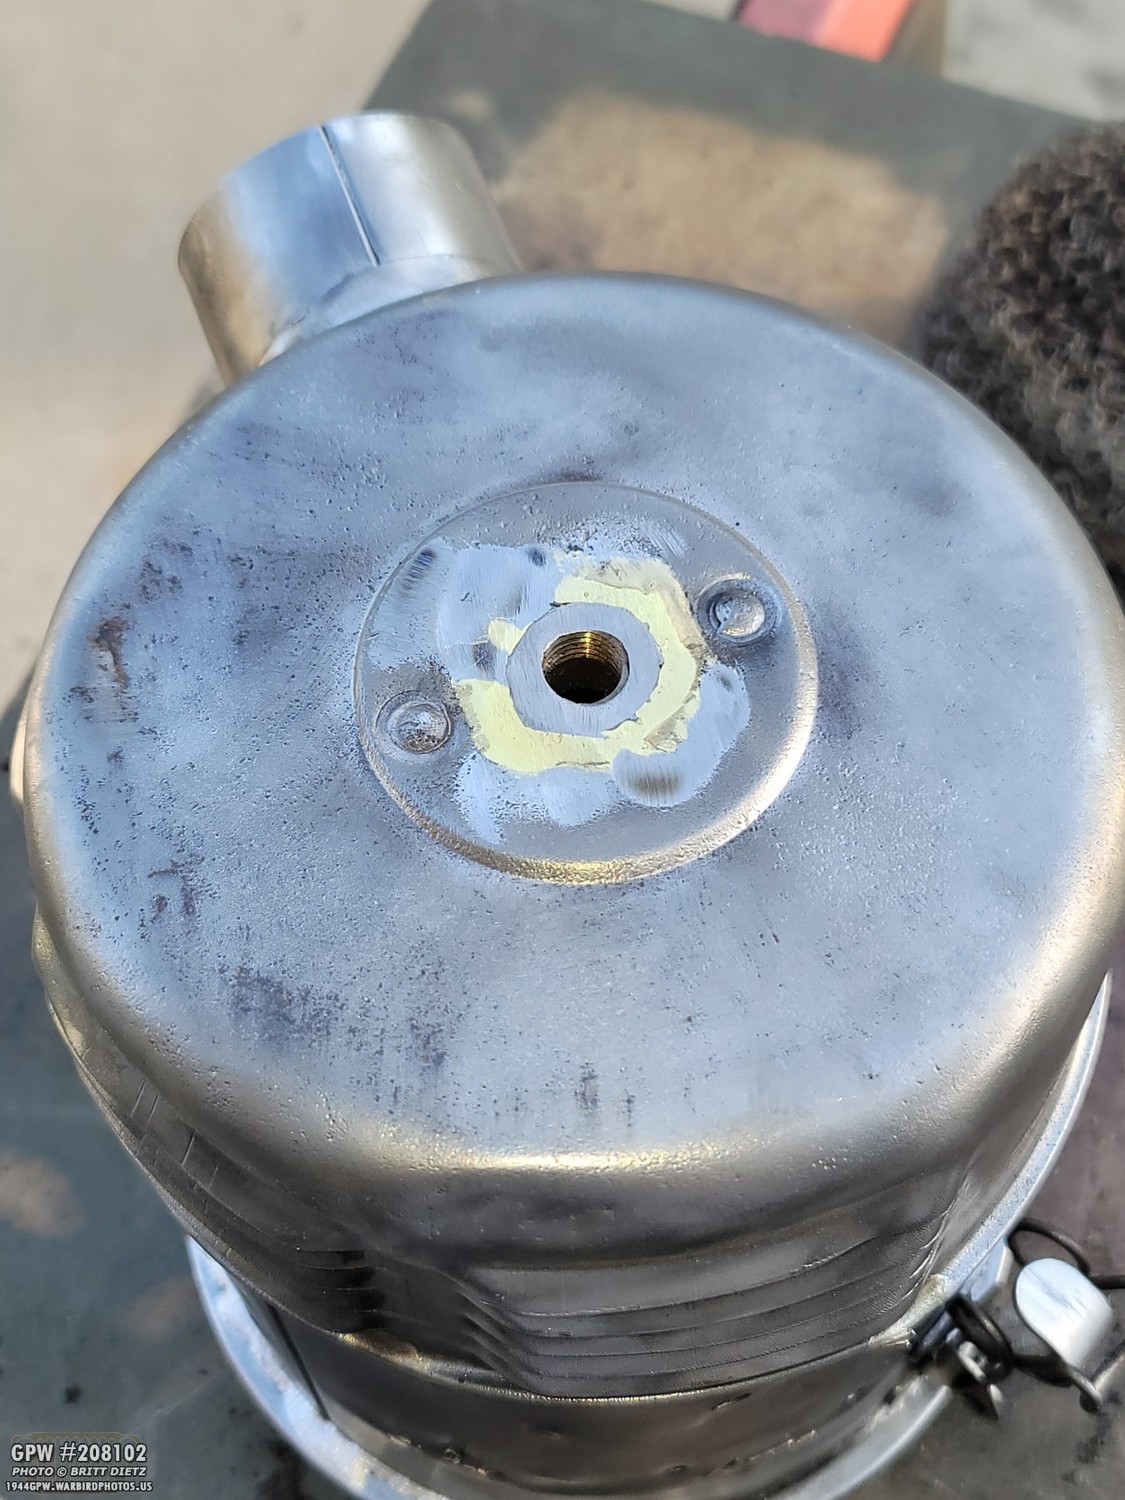
Using the angle grinder, I shaved the nut down flush.

Then welded it as best as I could. the brazing fought me with the welding. After smoothing that out, I’ll fill in all the imperfections with JB Weld steel and bondo.

All smoothed out and ready for painting! It should look normal once painted. And no more water getting into the cleaner!

Here’s a look at the wing bracket I took off. You can see all the holes that were drilled into it over the years, and a chunk removed.

After wire wheeling, it’s nice and shiney!

Welding the excess holes shut…
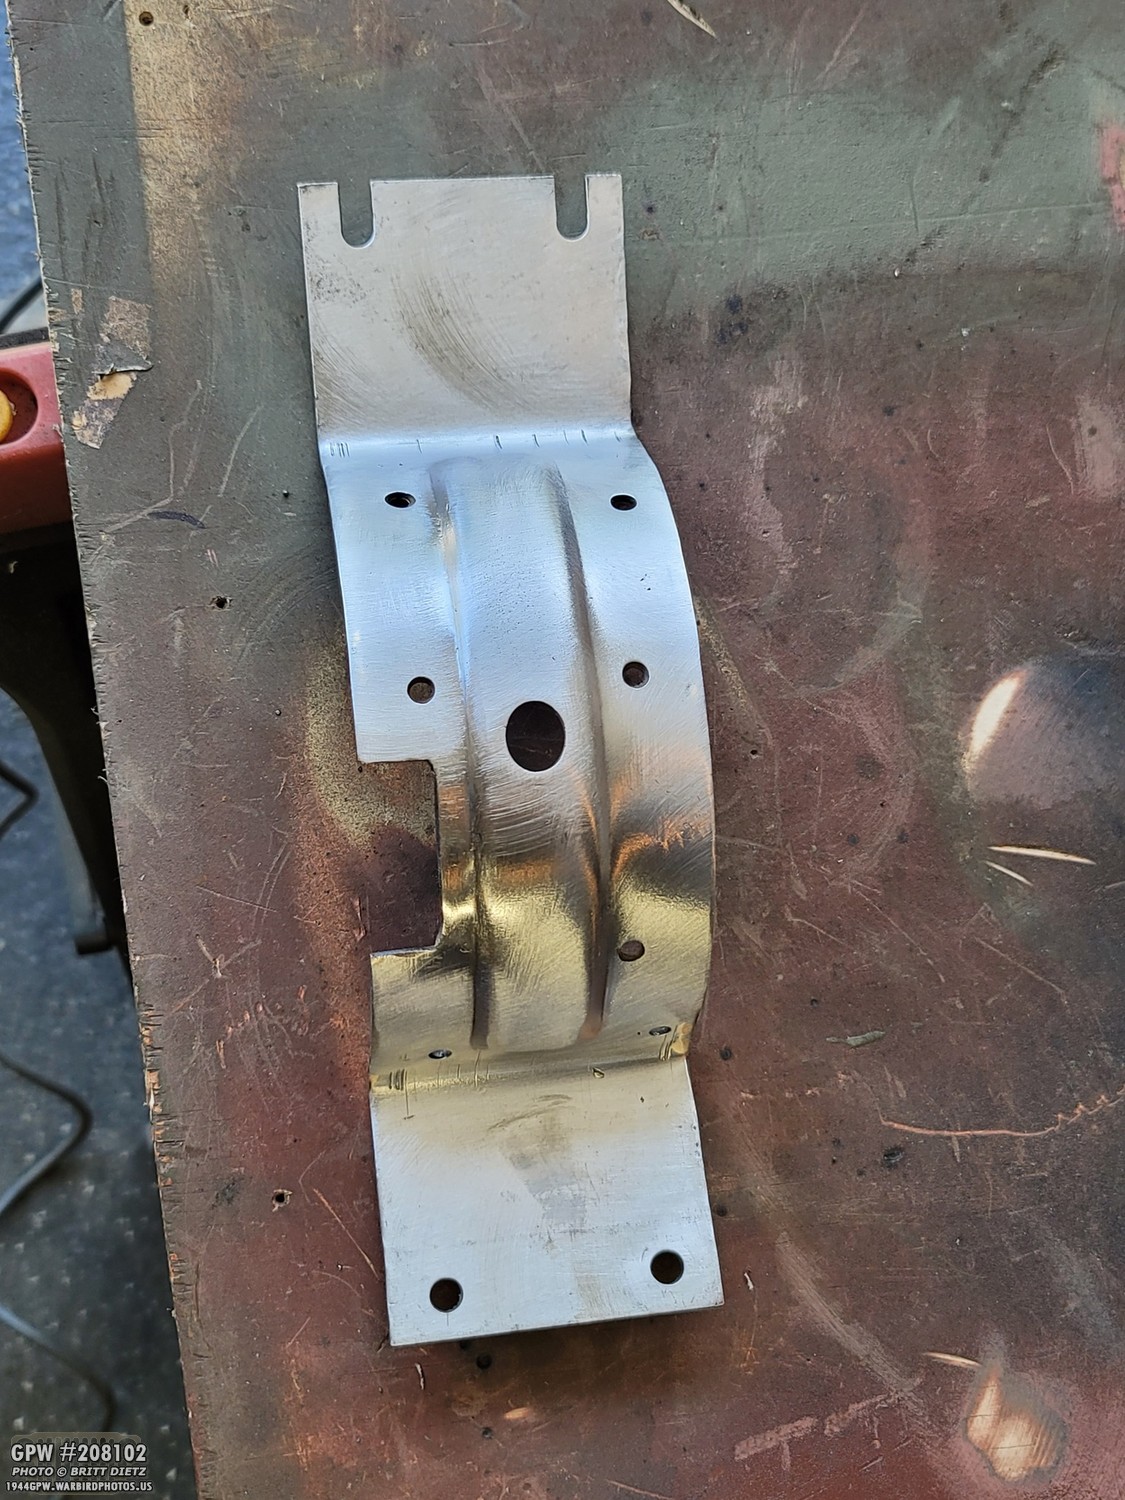
Smoothed out. Really proud of how this turned out. The holes still there are the ones I’m going to use to attach the bracket to the back of the canister. I could have tried to weld the notch taken out, but I don’t think it’s worth the effort since you can’t see this behind the air cleaner.
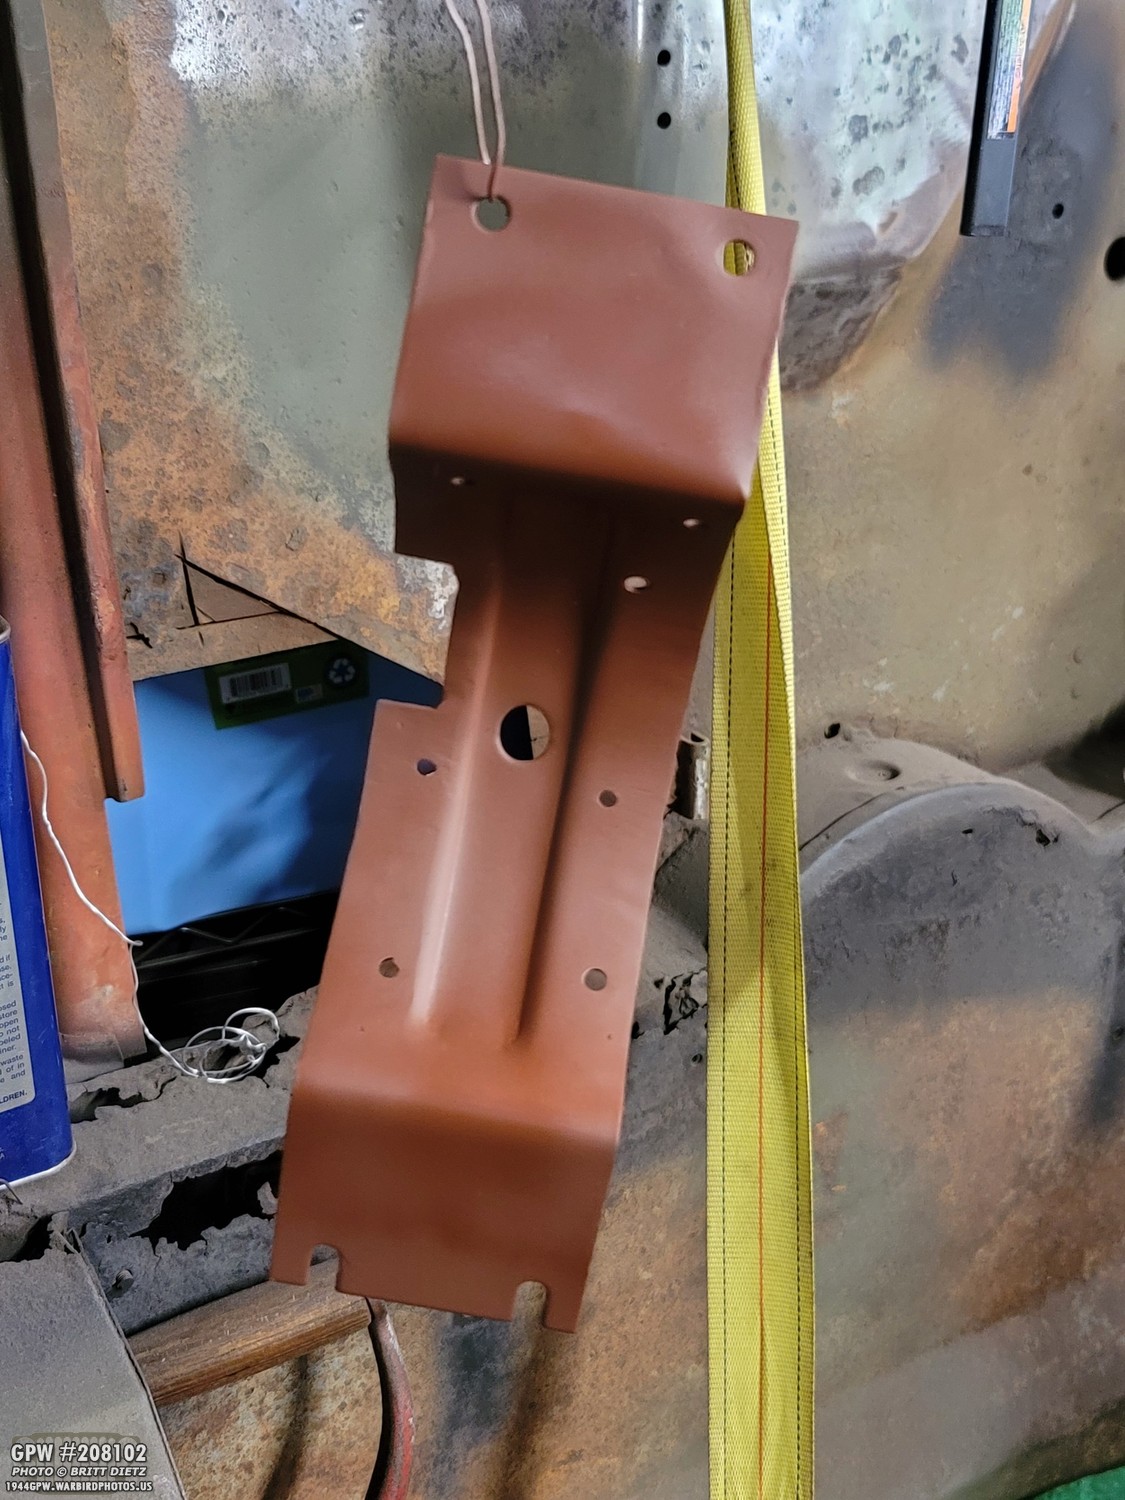
Once I weld the bracket to the back of the canister, the are behind the bracket and the area on the back of the canister will be inaccessible for paint. So I decided to prime them first, then I’ll remove the paint where the holes are right before welding. That way there’s some paint in those areas I can’t get to.
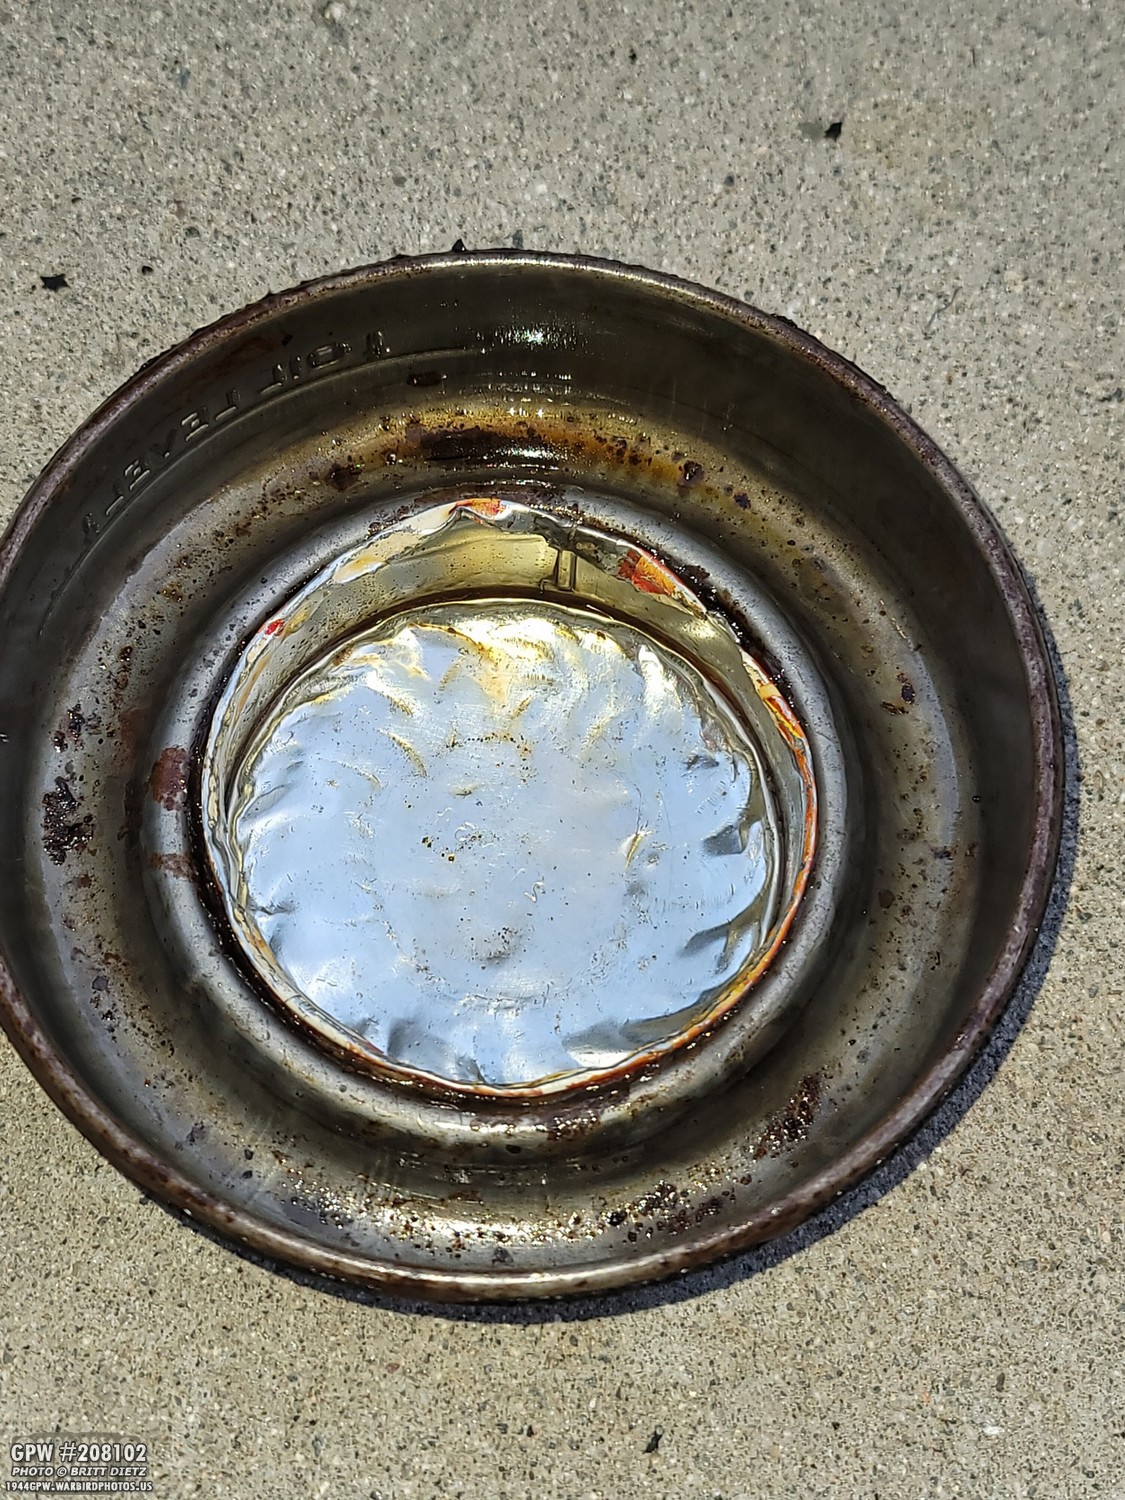
Now, let’s move on to the bottom bowl. After soaking it in the bucket of gasoline for a few days, here’s how it came out. I noticed that someone appeared to made a make-shift cover in the center area. It must have been leaking. But what is that aluminum?

I was able to pry it out. Turns out, it’s some sort of container.
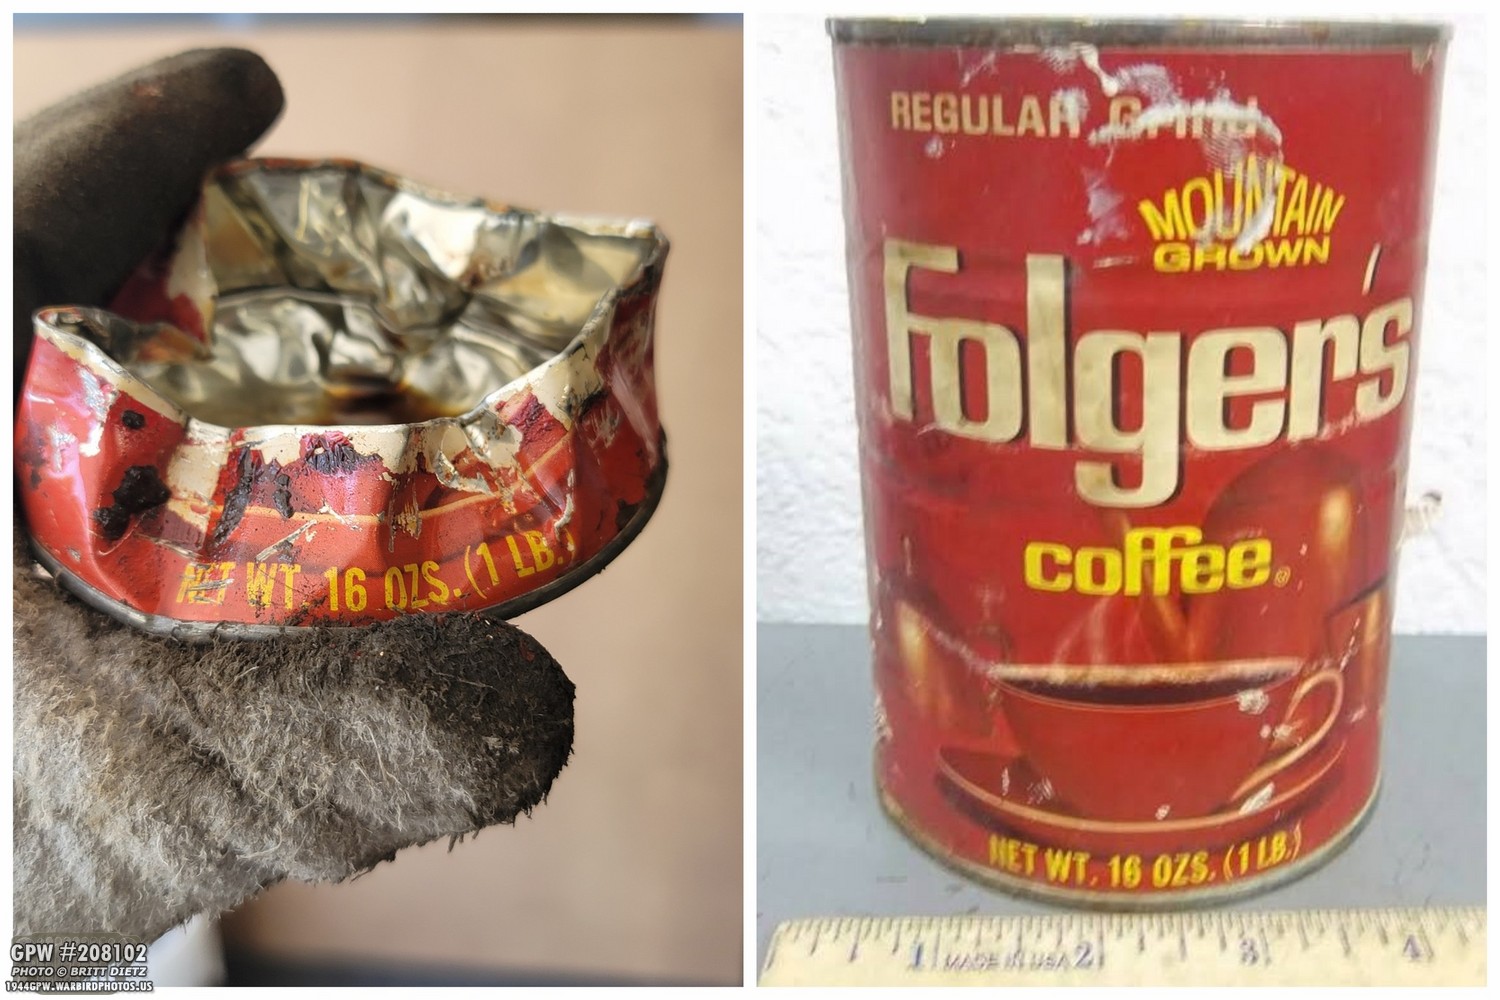
After looking it up, it appears to be a Folders 1 pound coffee canister from the 1970s! It was a perfect fit, and someone must have shoved it in the bowl to stop the leaking. Since it’s held up for an additional 40 years, I’d say it did pretty good.
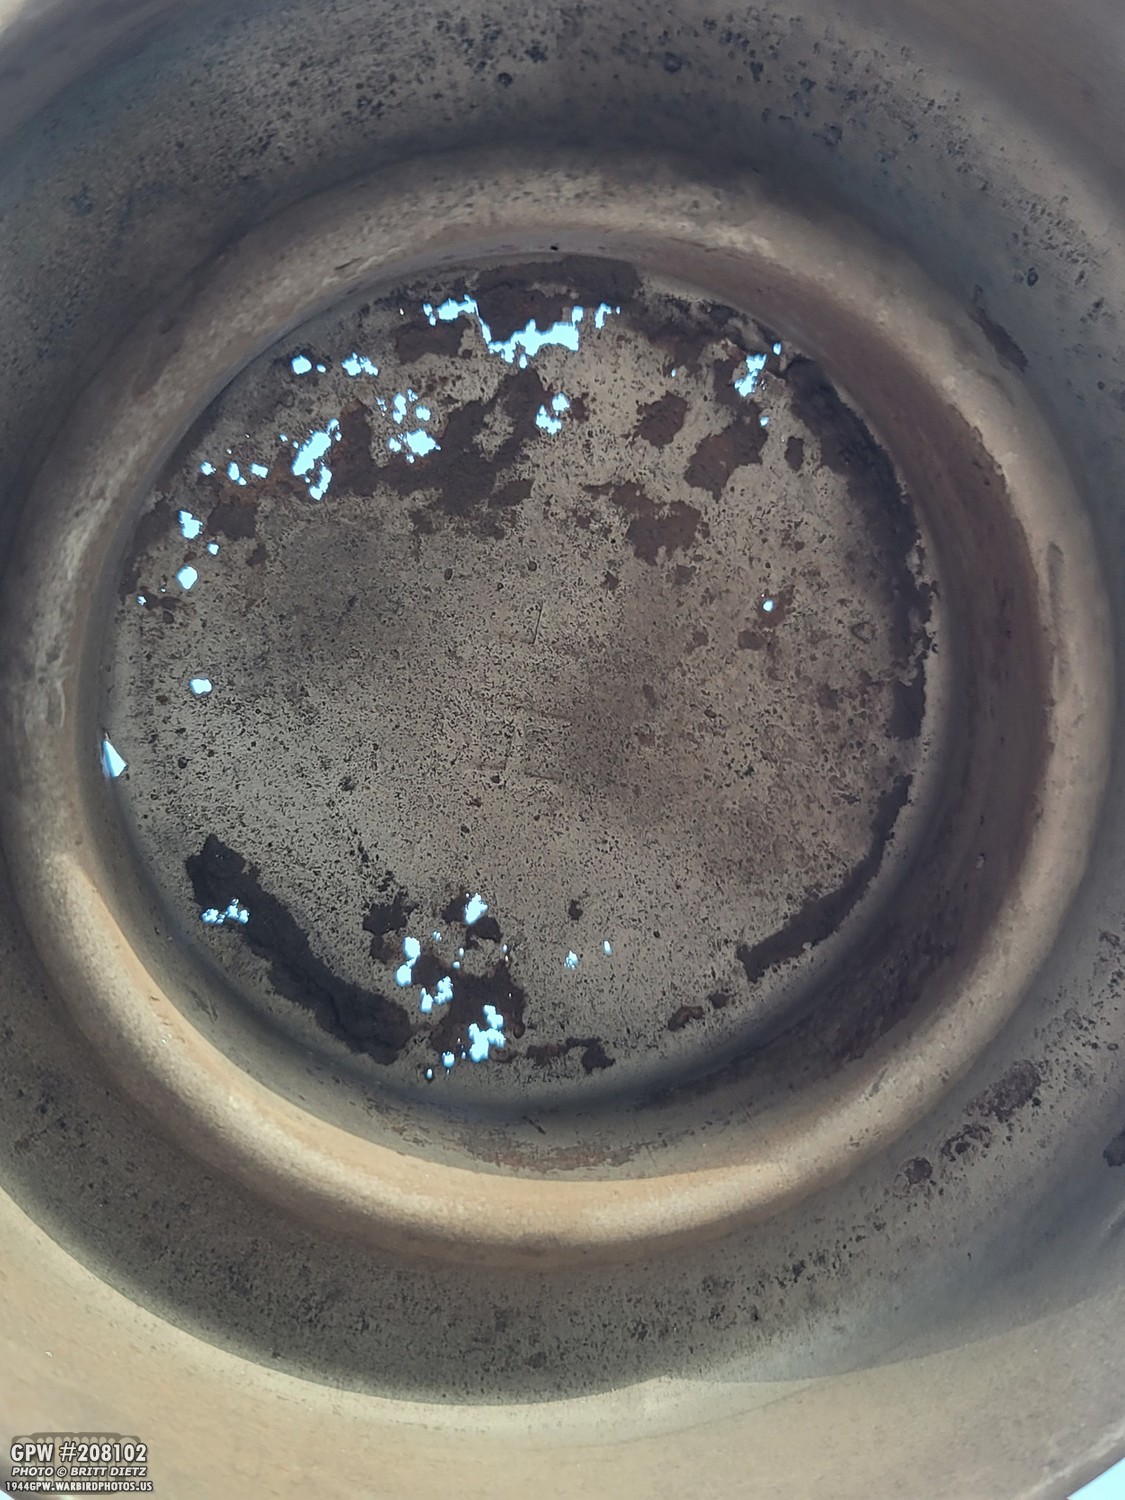
With the Folgers can removed, I sand blasted the bowl… and found out why the can was added. That’s a LOT of holes. We plan on putting in one of the modern day dry air filters that fit into these air cleaners from Ron Fitzpatrick Jeep Parts, so I’ll use JB Weld Steel to fill the holes, then use Red Kote to seal it, just in case. But we won’t be using oil.
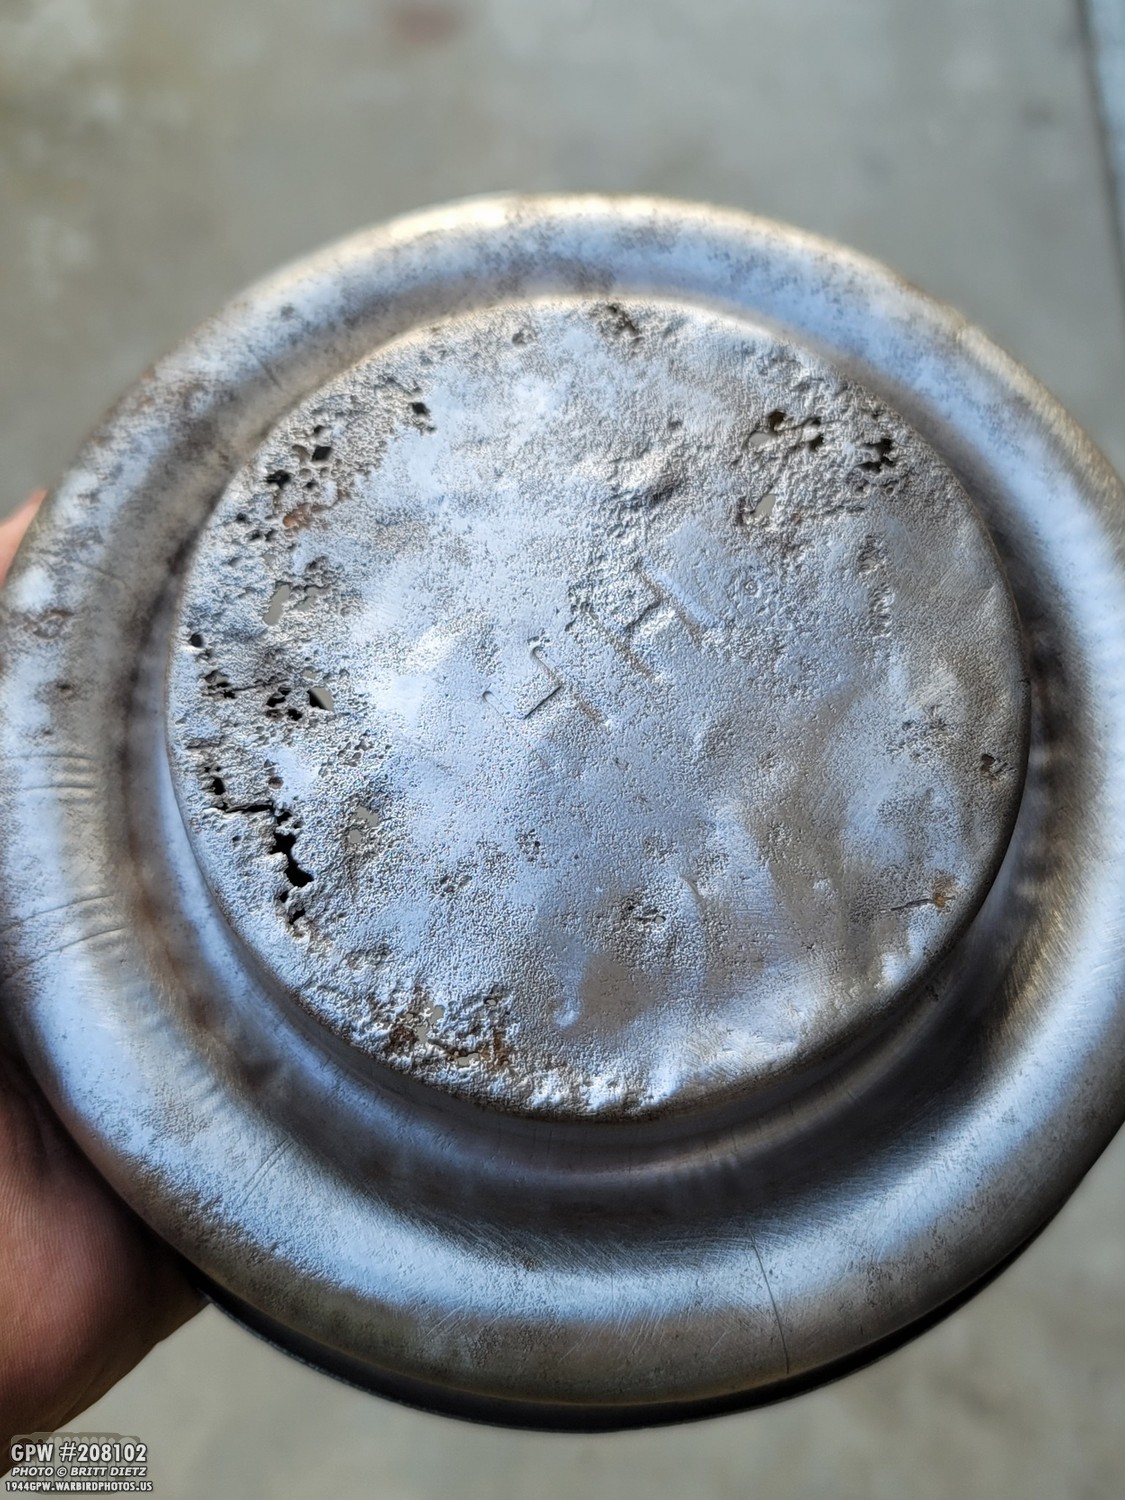
I also noticed it has HH on the bowl. From what I’ve read, a single H is wartime, HH is post-war. So the air cleaner canister is earlier wartime, but the bowl is post-war.

Looking at the air horn, I got that also all wire wheeled and ready for paint. Pretty simple for this one. I’ll be working on these items for the next few weeks on weekends when I have time, so look for updates on these and other items from his Jeep and I slowly help him restore it!
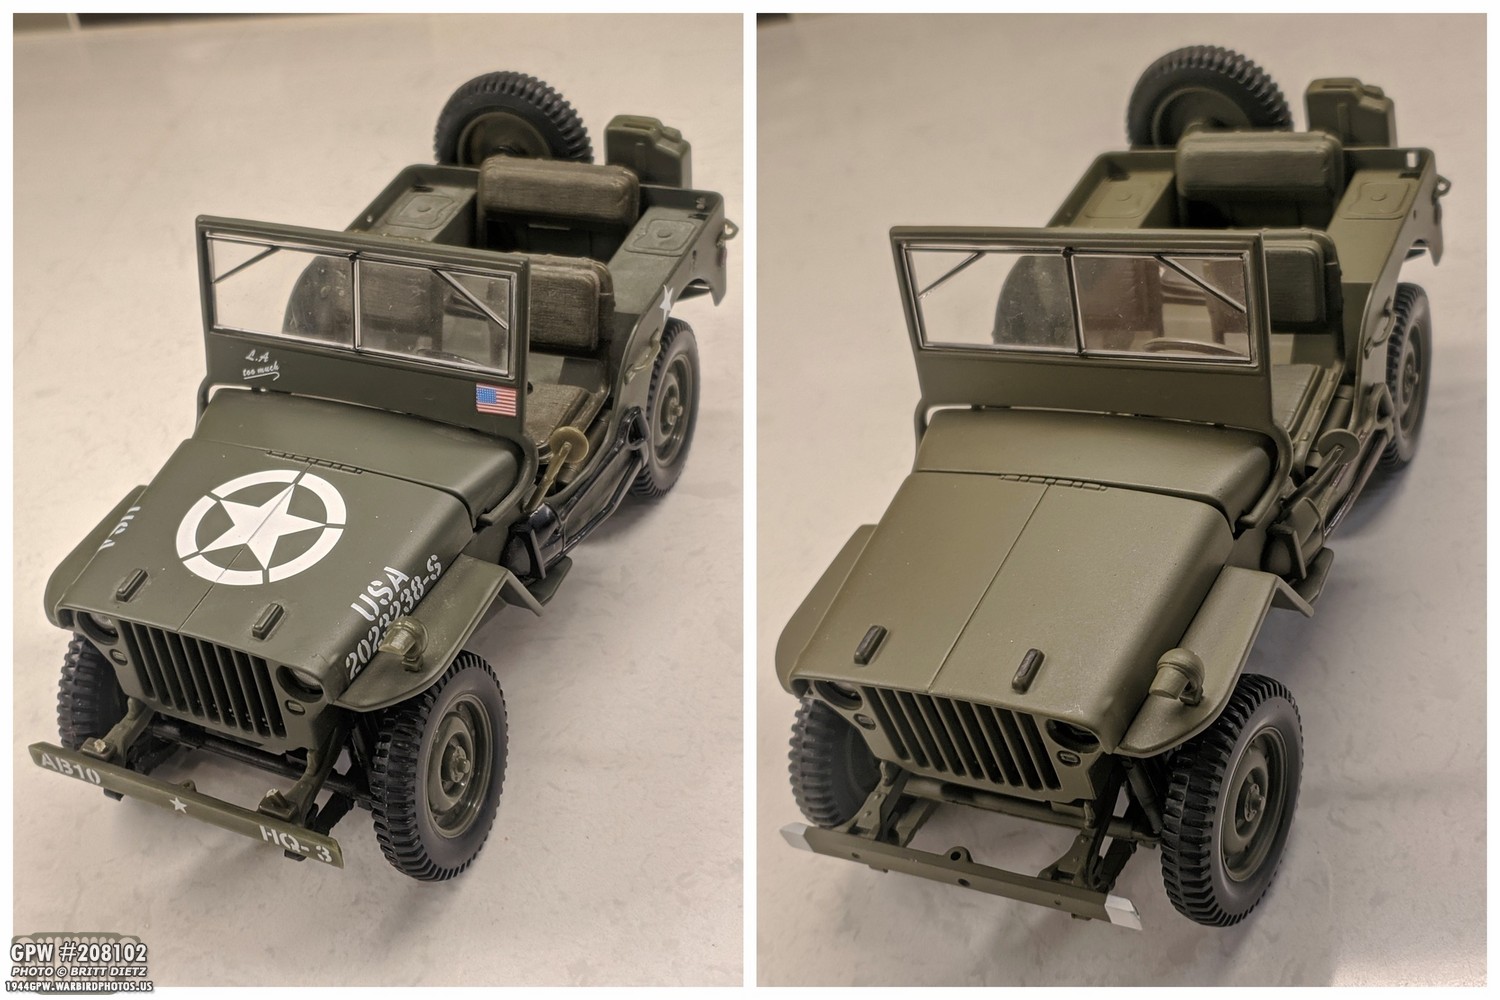
Quite some time ago, I showed how I took a 1/18 diecast Jeep and began the process of making it look like my Jeep. I took it apart and stripped the paint, then used the same 33070 OD Green I used on my Jeep to paint it.

It’s sat like that for a long time, but recently I decided to continue on with the project. Using my Cricut machine, I made stencils using the same fonts/styles/sizes of the markings as my Jeep.
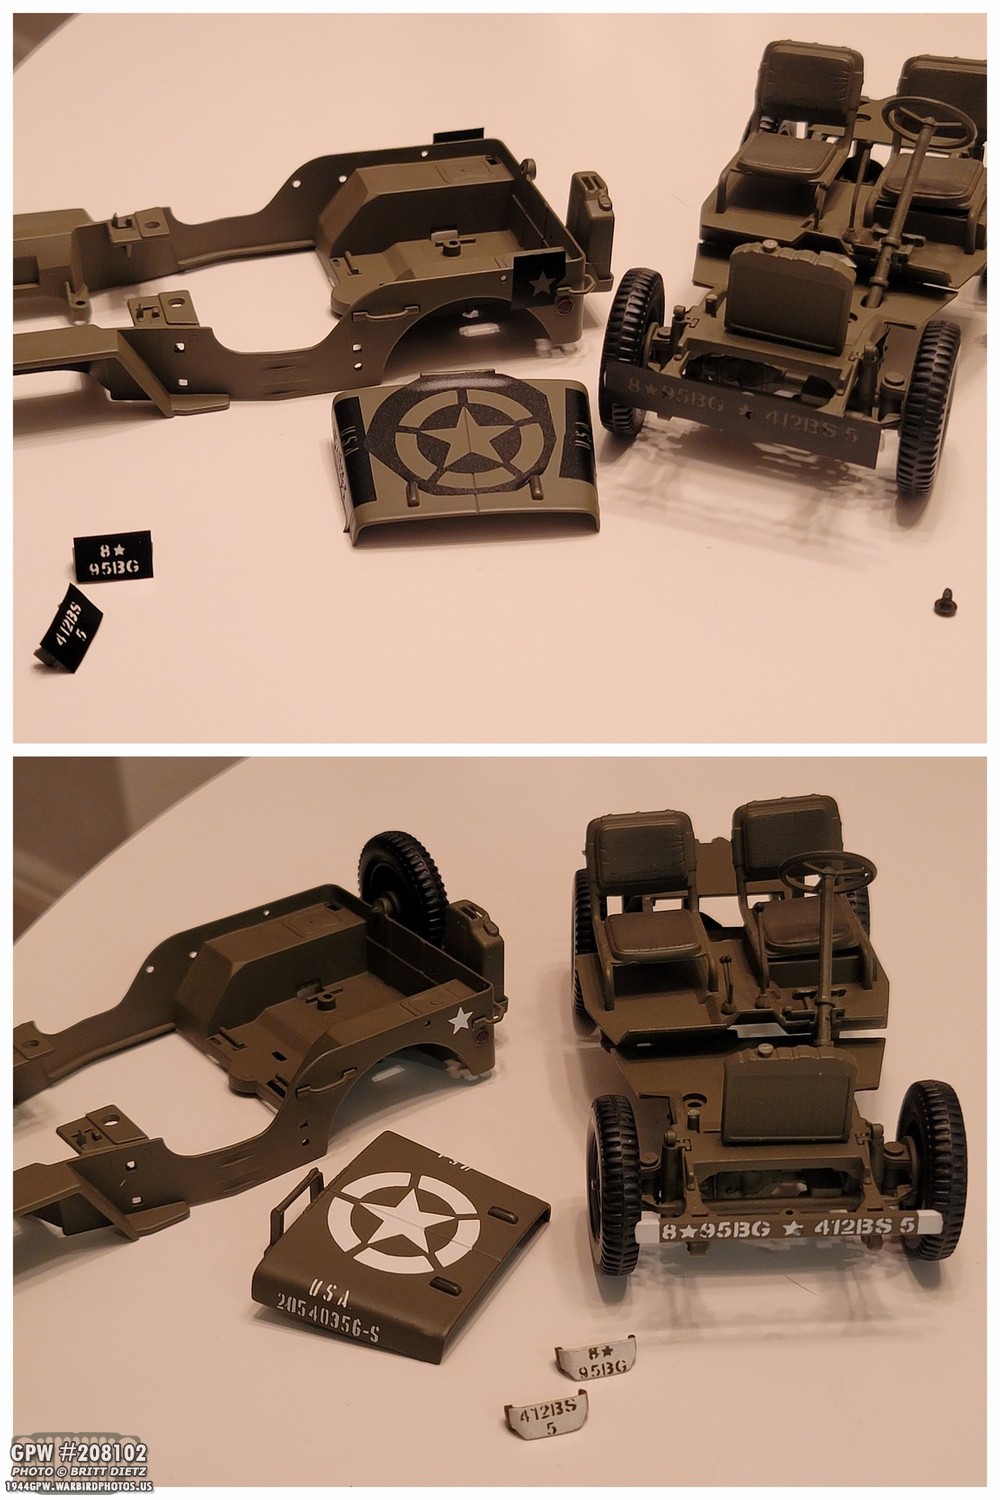
Just like what I did on the real thing, I used the Cricut vinyl stencils and masked off the parts to paint the white markings.
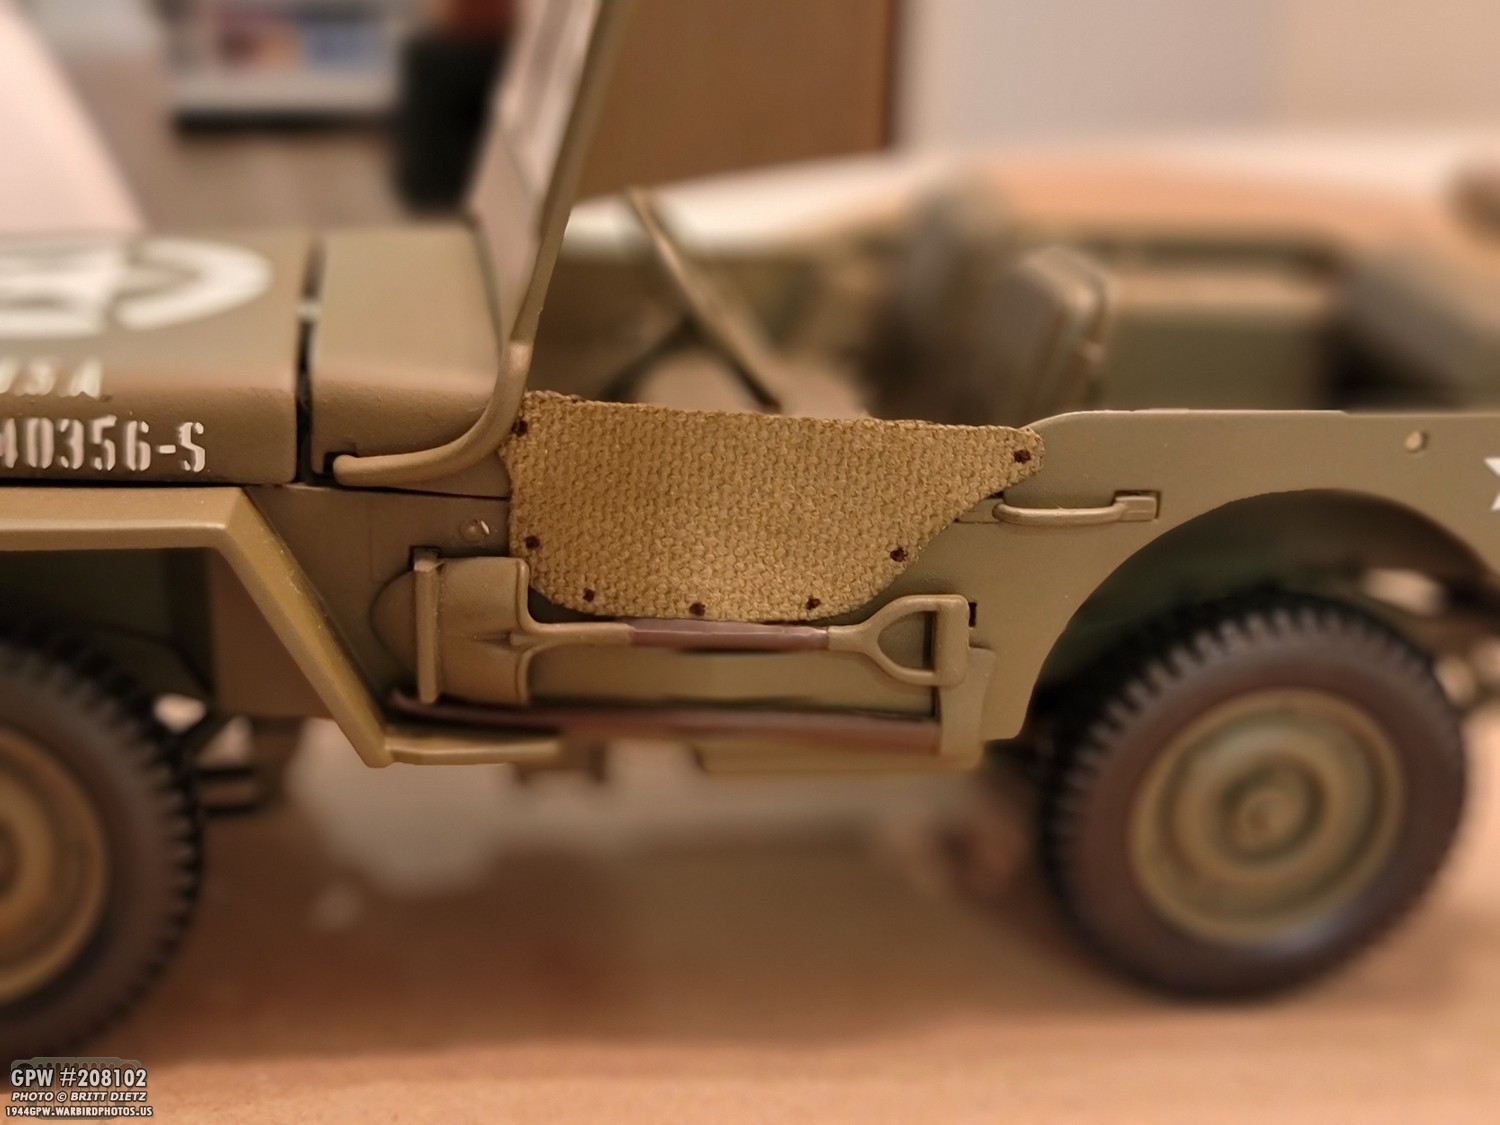
I’ll have to save the reveal till next week, but I went overboard with new details including crash pads, half doors, etc.

One more project I’ve been continuing to work on is my push/pull hang tag replicas. I’ve been working hard on new ways to make it as close as possible to the original one I recently got. I’ve since had a stamp made of the instructions with the exact same font and size down to the millimeter. The stamp is an exact replica and will help me speed up the creation of these tags! Look for more in the next update.

So that’s it for this week! A nice week of part restorations and getting the Jeep out into new territory. To close out this week’s update, here’s one where I added some creative editing with the Ford sign.
Till the next update…