 Flushing the Coolant System Part 1, TRS Shackles, and more!
This week’s update features Part 1 of a complete flush of the coolant system only the Jeep, which is quite the process. I also do some more GPW axle work, continue restoring the Torque Reaction Spring items focusing on the shackles removing the bushings and figuring out what to replace them with. Also some other various projects and starting a new Coca Cola project!

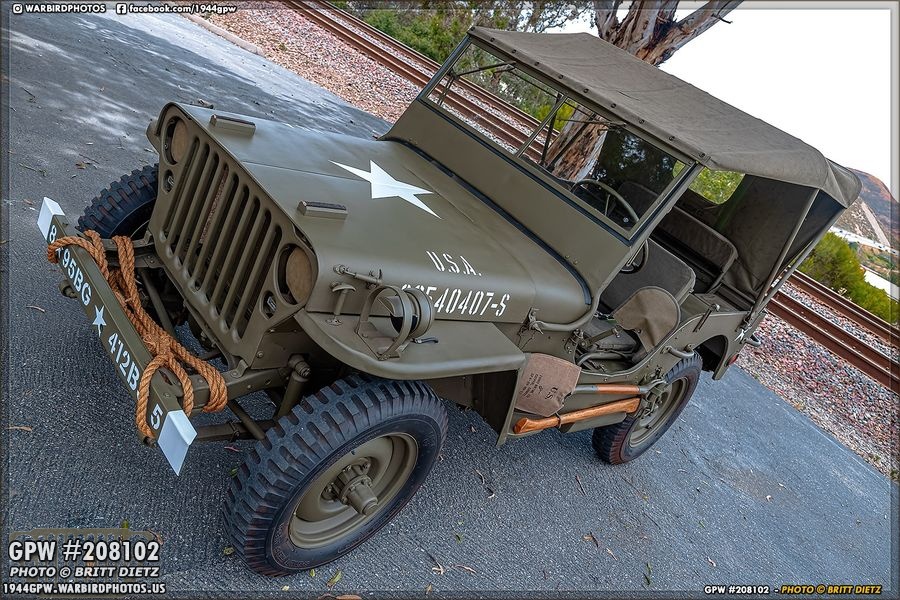
A nice look at the Jeep as I spent a lot of time this week driving her around the neighborhood. It was an overcast day, so a nice time to take her out and do some more professional photos with the DSLR rather than the usual phone photos. Look for more photos at the end of this update!

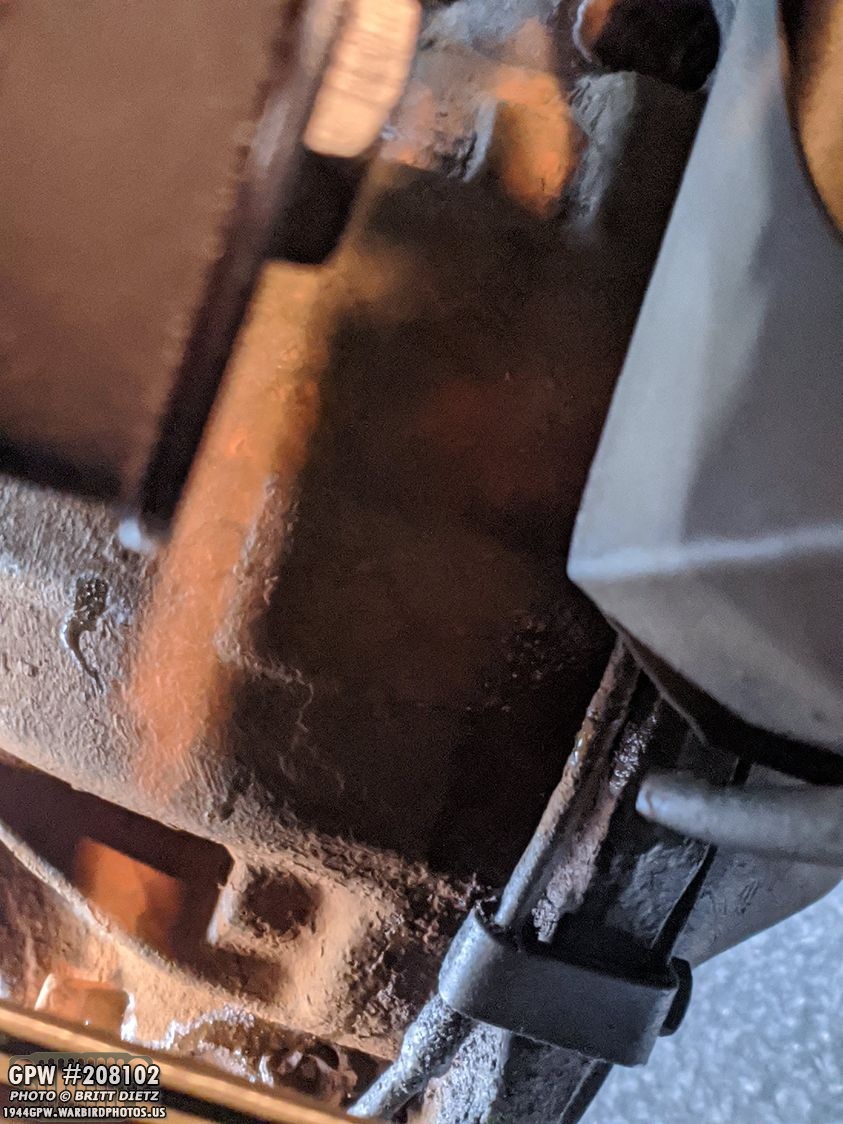
As I mentioned last week, I’ve been having an ongoing issue with the radiator overflowing coolant all over the Jeep from the overflow tube. It’s a common occurrence and, as you can see under the battery tray here, it’s stained the OD Green paint on the axle. Roger mentioned that it might be time for me to flush the system, as there could be a lot of sediment in there. That’s something I didn’t do when I had the engine out during the restoration last year.

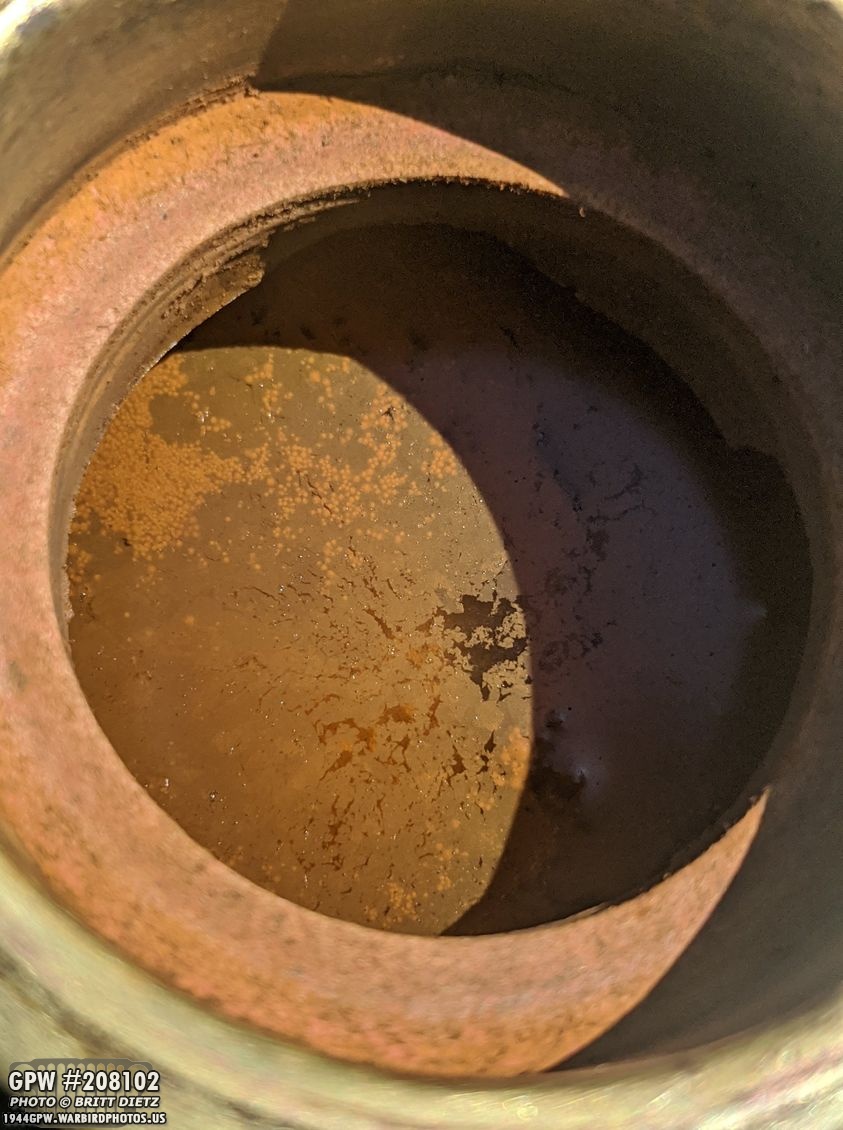
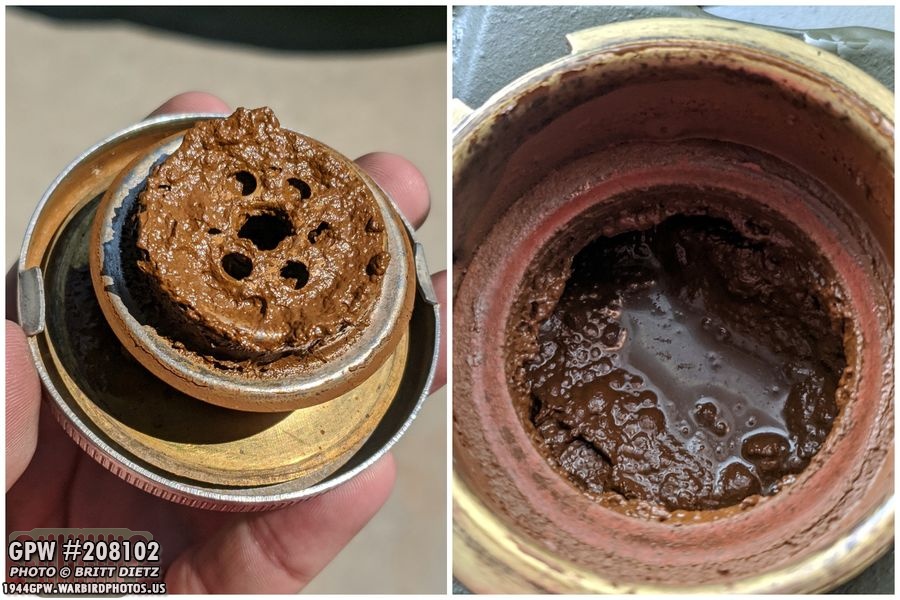
Looking inside the radiator, you can see the gunk in there. I figured it was time to go ahead and start the process.
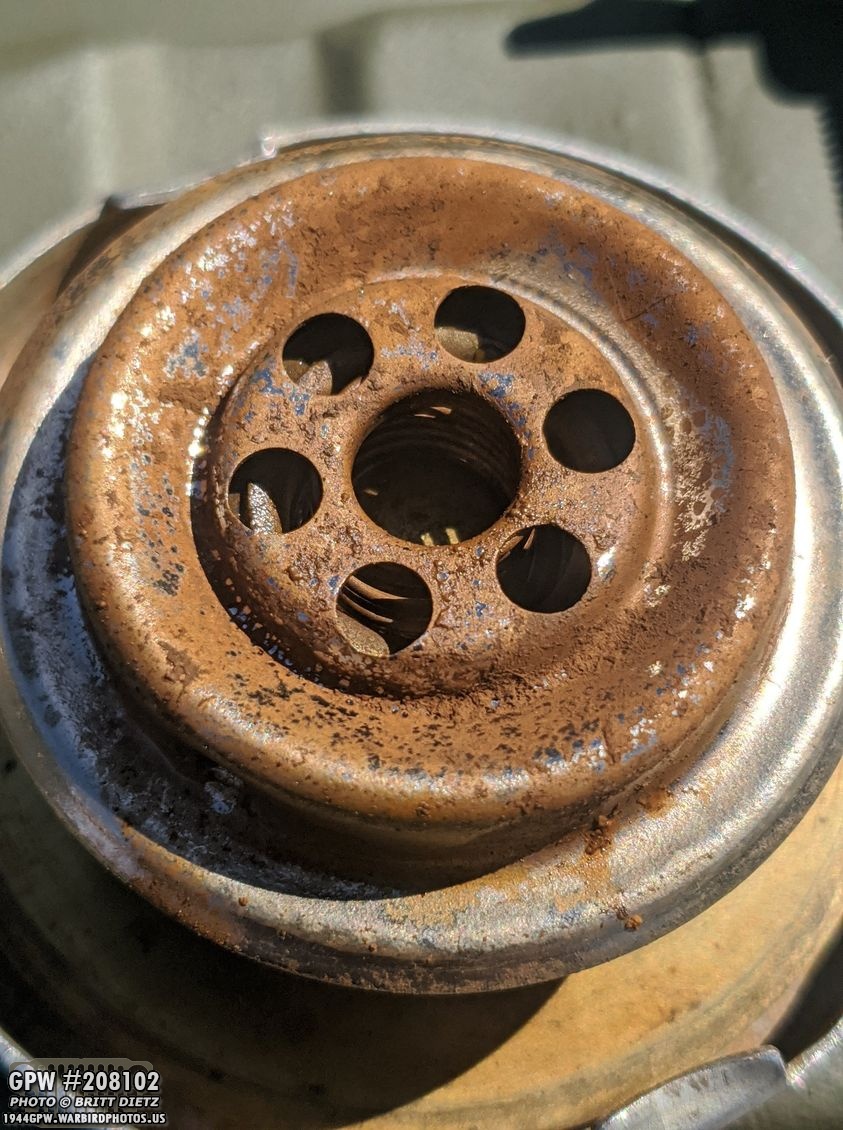
And here’s a look at the radiator cap, which is how it commonly looks when I take it off. Easy to remove the gunk with the hose, but still annoying.

So I went to Pep Boys and picked up 32 OZ of this radiator flush, which should do the trick. It’s a process though, not as simple as just putting this in and washing it out.

I also went to Lowes and picked up this rigid tubing that I’ll be using to direct the flow of gunk that’s going to come out of my engine/radiator away from the Jeep when I put the hose into the radiator and engine directly to flush it out. I will be getting to that part of the process this weekend but wanted this tubing ready.

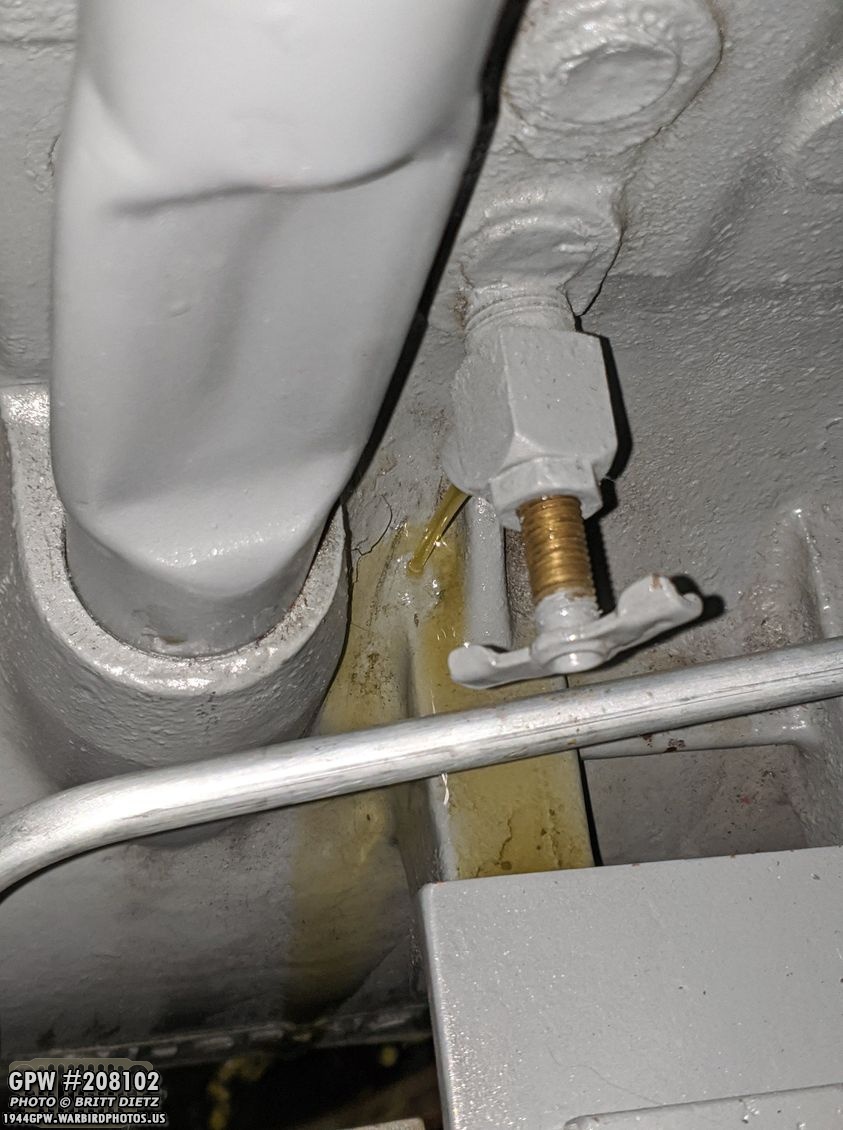
First step, drain the antifreeze coolant in the Jeep currently. I first drained it from the radiator drain screw. I was able to use a funnel, a twisty tie, a hose, and an unused oil collector to capture to coolant.
I couldn’t get a funnel anywhere near the drain screw on the side of the block, so I just had to let it drain over the side of the engine into the oil collector container below and clean it up afterward.

Here’s what came out of the engine and radiator once I dumped it into a bucket (to eventually take to a waste reclaim location). Lots of particles of things and very murky coolant with stuff in it.

Before I can put in the flush liquid, it said I should do a water flush of the engine by filling the system with straight-up water and running the engine. So I closed off the drain screws…

And used the hose to fill the radiator and engine with water. I made sure to let the water settle into the engine by pausing every now and then to let it spread throughout the system.

I then ran the engine for a full 10 minutes, letting it all circulate. I revved the engine a few times and then shut it off at 10 minutes. I then left the engine cool down before going on to the next step (don’t want to get any steam burns!).
Once the engine and radiator were cool, I removed the radiator cap and the water looked like this. Fun! Now to drain all the water out.

I once again drained the radiator and the engine block of all the water. It wasn’t as dark and gunky as the first time, but you can see that water isn’t exactly clear either.

Once all the water was removed, it was time to put in the flush liquid. The instructions said to add the liquid flush first, then start the engine and add the water while the engine is running. I put a little bit of water in there as well so it wasn’t just the flush liquid when it was starting up. With the engine running and the flush liquid in the system, I then filled it all up the rest of the way with more water from the hose.

Now the coolant system is a mix of the flush liquid and water. So the next step is a long one… a multiday one. It says to drive the vehicle for 3-6 hours over a few days under normal driving conditions. That’s easy in a daily driver car, but my Jeep only really goes locally around the neighborhood… so I realized I’d just need to take 15-30 minutes each day for a week and drive the Jeep.

So, I started driving it on a 30-minute cruise through the area.

And I drove it another 20 minutes the next day.
After each drive I’d check to see if the radiator was overflowing, but I was already seeing that it wasn’t other than a few drops. The engine was staying cooler than it normally did, which tells me the flush is working.

So I continued to drive the Jeep each day.
Yesterday, I opened up the radiator before the daily drive to see how things looked. Yup, that flush is breaking up all the gunk, and there’s a LOT in there. I’m not sure if I’m looking forward to seeing what all comes out when I do the big flush this weekend. I cleaned off the cap after this photo and put it back on the radiator.
And I went on another 30-minute drive. Did I mention you have to drive a lot? Not that I’m complaining, it’s been nice to drive the Jeep every day. I’ve been trying to dive it around new areas which gets a lot of thumbs up from people.

After today’s long drive, I noticed a bit more drainage from the overflow tube than the last few days, but it was also around 90 degrees out and I was going up some hills, so the engine got a bit hot. You can see the overflow was draining some gunk. I’ll have to make sure I flush out the overflow tube this weekend when flushing the radiator.
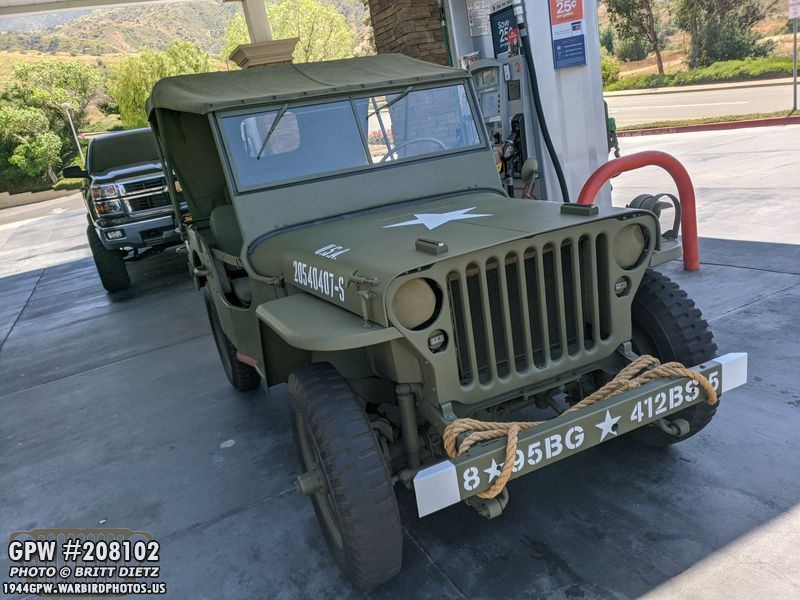
So that’s part 1 on how to flush the coolant system. Here’s the Jeep getting some gas before heading back home. I’ll drive the Jeep for another 15-30 minutes tomorrow and Saturday morning. Then on Saturday afternoon, once the engine is cool, I’ll drain it all out of the screw drains and start the main flush.
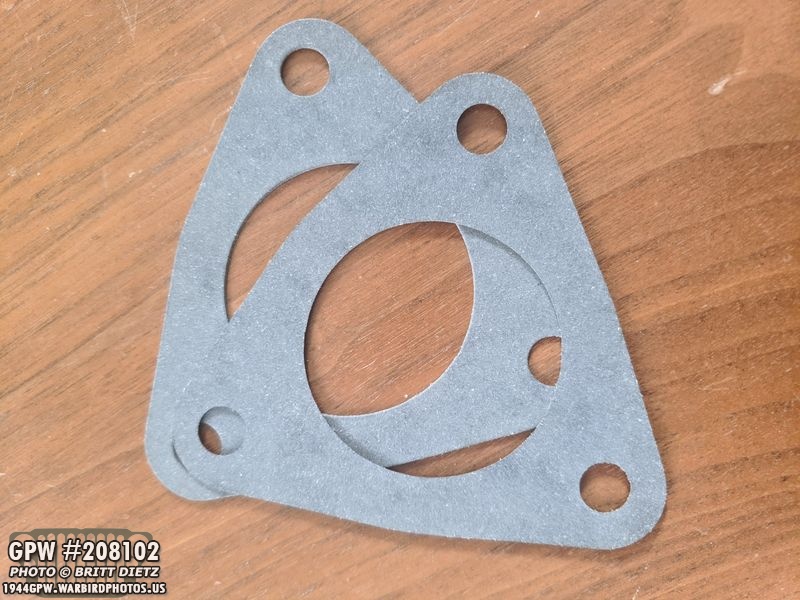
In order to flush the engine, I’ll need to remove the thermostat elbow off the engine head, sadly, so I can put the hose directly into the engine. That’ll mean it’ll destroy the gasket I have on there. So I went ahead and ordered two gaskets (one for when I go to replace the thermostat elbow and one to keep for the future).

Speaking of mail call for this week, I also got a new Clearview inline Fuel Filter to replace the one that I broke last week when replacing the fuel lines. I’ll probably put this on next week. This is a modern item that many people add to their Jeeps to not only filter the fuel, but check fuel flow. I liked having mine where the flex line usually is.
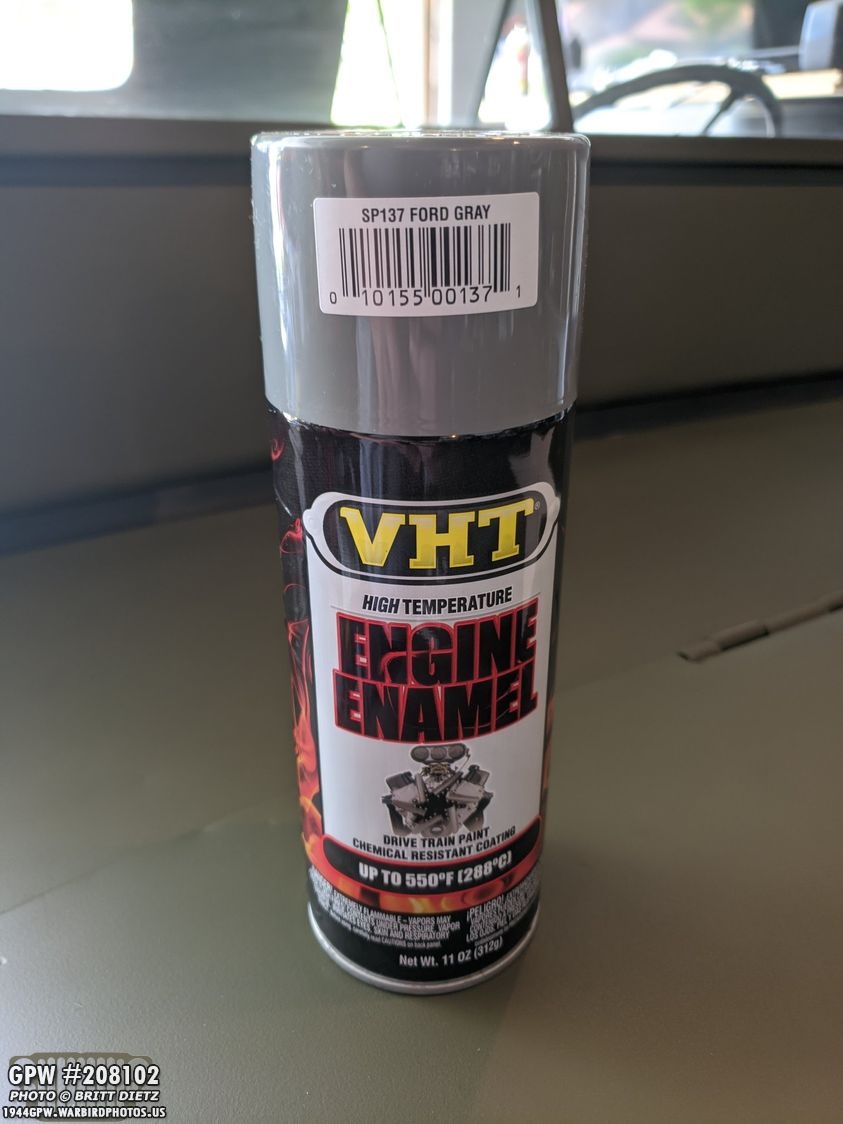
I also got another can of VHT Ford Gray, which is what my engine is painted with. It’s a wonderful spray paint that works well and resists oil, coolant, etc. Easy to clean!
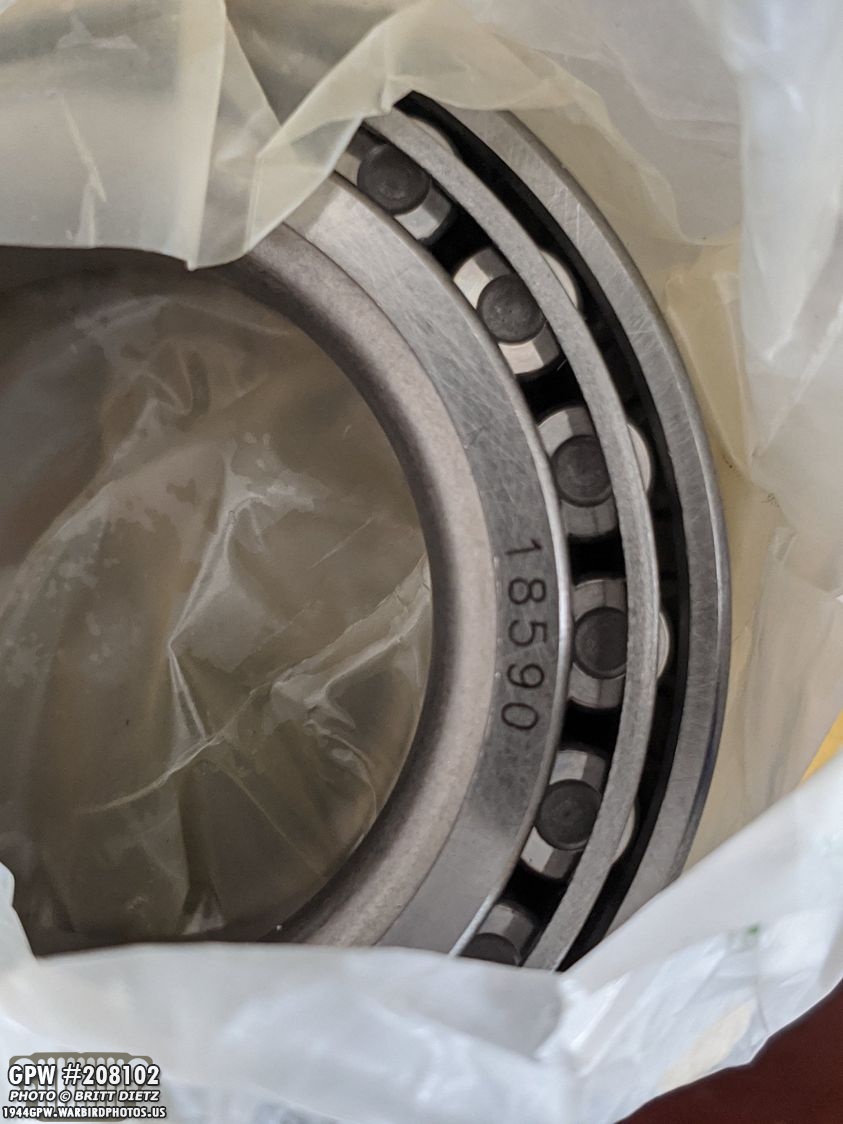
I also got a stack of bearings and racers for the GPW axles I’m restoring. Two sets of the ones I pulled out were in good shape, but the rest needed replacing so I got 6 brand new sets from Joes Motor Pool.

Speaking of axles… So for those who are new, I have CJ (post-war) axles on my Jeep right now. They came with the Jeep. I managed to get two wartime 1943 GPW axles to replace them that I’ve been slowly restoring. The rear axle drums had worn out, so I traded a repro windshield I had for two GPW drums in good shape (seen here).

I’ve already cleaned up and painted one of the drums, but the other one needed some work. After sandblasting, I cleaned up the drum and used pipe cleaner to get the crud out of the bolt holes on the hub.
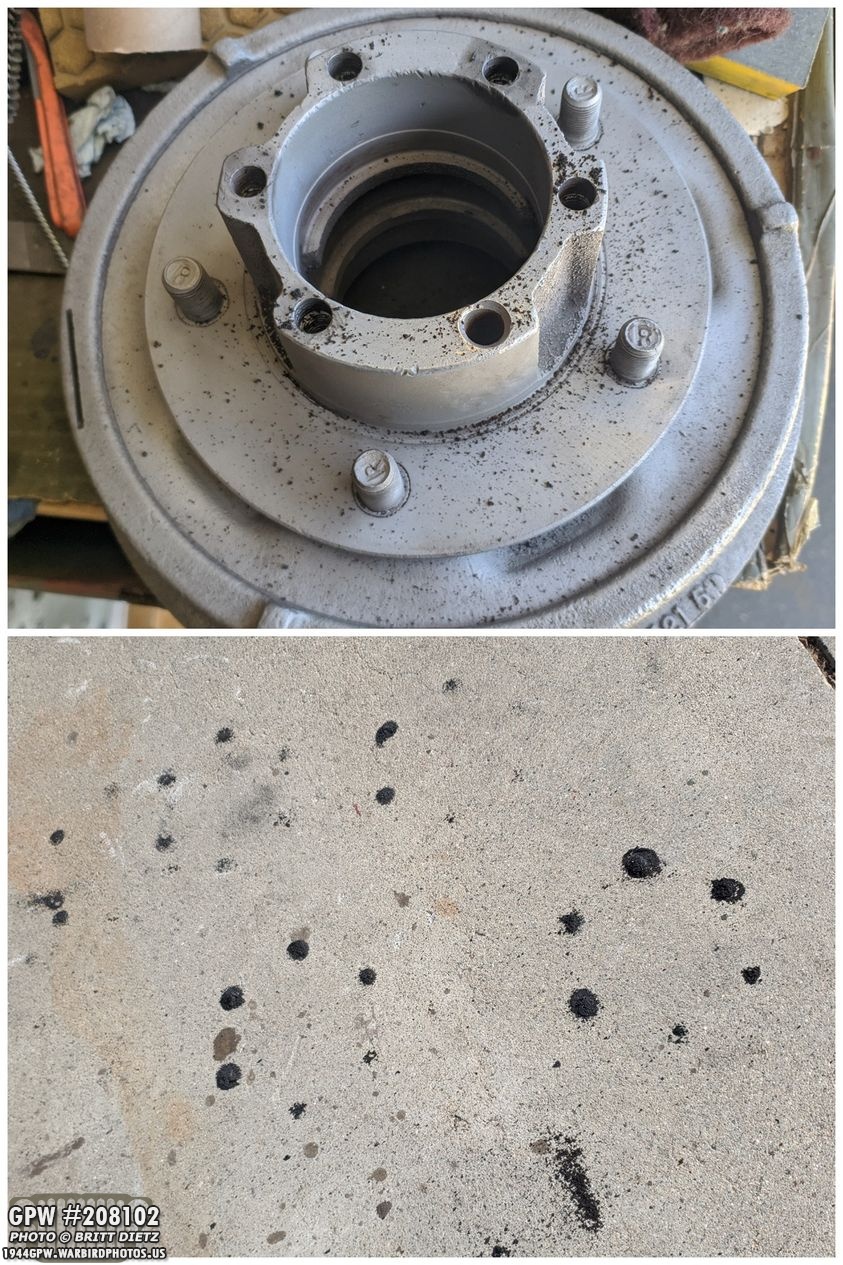
After using a pipe cleaner on these shafts, it’s good to turn the drum over and tap it. As you can see, little piles of crud come out.

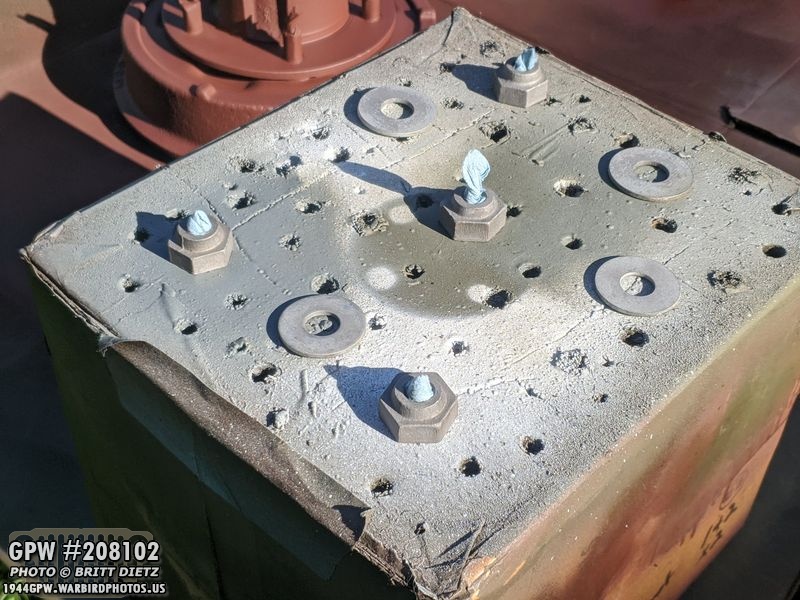
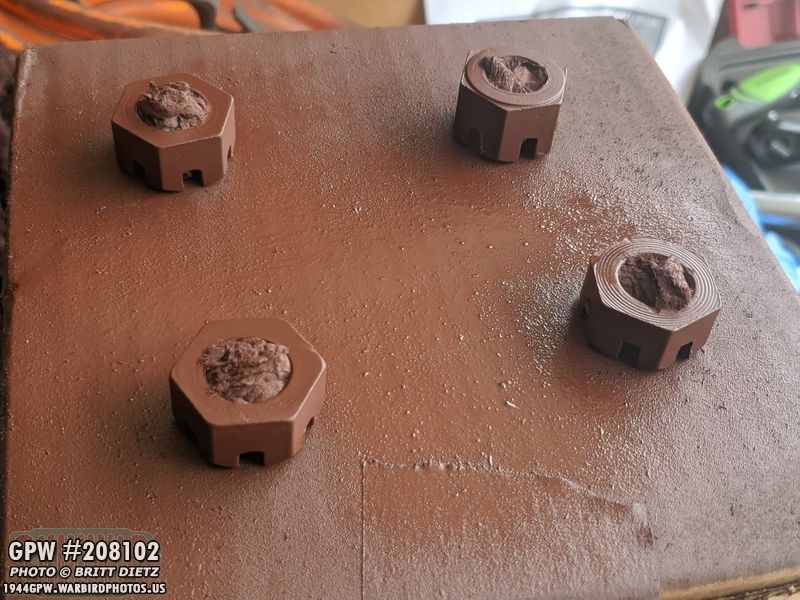
The axle is ready for painting! First, masking off the lug nut studs and the top of the hub. As a reminder, that tag on the drum (F215) means the drum was castF = June (6)21 = 21st5 = 1945

And all painted with Red Barrier III Red Oxide primer from &Ron Fitzpatrick Jeep Parts. This drum will be put aside now until it’s ready for reinstallation onto the rear axle. Once installed, the whole axle will be painted OD Green.
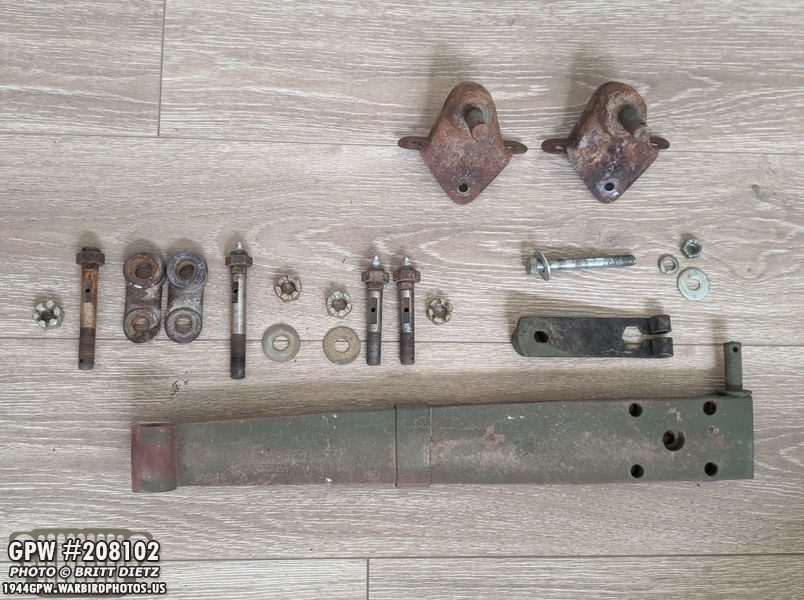
Last week I also got a set of take-off parts from a fellow G503 member. This included an entire Torque Reaction Spring assembly with all the parts. But, everything needs restoring!

I worked on the Torque Reaction Spring bolt lock bracket (say that 5 times fast). It sandblasted really nice and the red oxide primer went on smooth.

And now it’s 33070 OD Green! Ready for install once I finish the axles and get ready to swap them!
Before I sorted through all the extra bolts I got in this group, I went ahead and cleaned them up and prepped them for painting along with the larger washers.

And after priming (forgot to take a photo), I hit them with OD Green. Turns out, I only needed one of these bolts. But I have some extra leaf spring bolts if I need in the future!
I also started to prime and paint the crown nuts, again I only need one, but it’ll be nice to have a few of these for the future just in case.
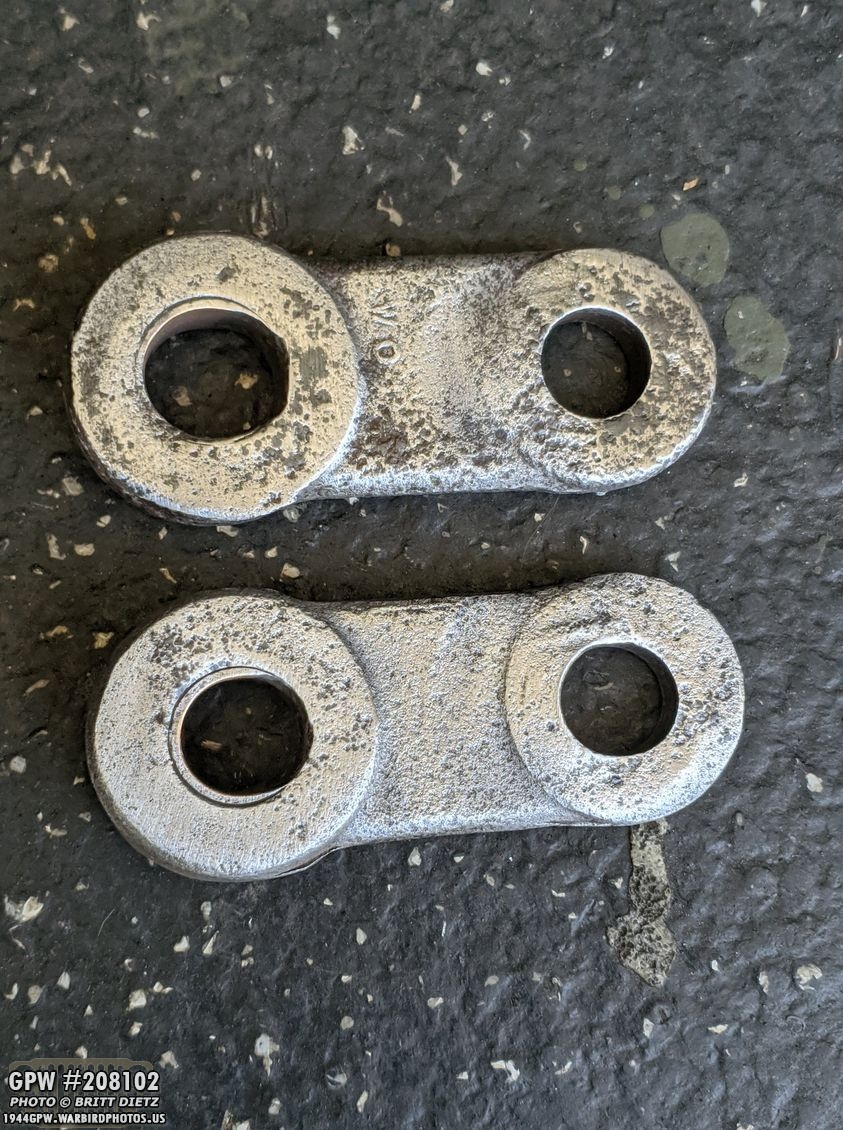
Now on to the part I was starting to think wouldn’t be usable… the shackles! These two shackle brackets cleaned up well, but are pretty pitted. They seem to have a WO on them, making them Willys shackles.

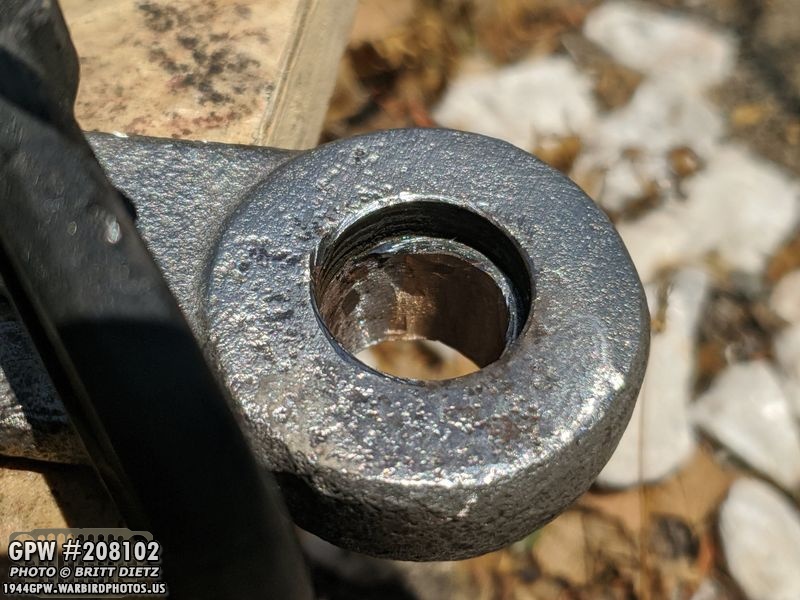
Inside the top of the shackles are bushings, which the arrows point to. They have been HEAVILY worn down to almost nothing. Thankfully, it didn’t warp the shackle itself. The problem is, how to get these bushings out without a press.

I tried several things to no avail… I tried using a socket the same size as the hole to drive them out… they wouldn’t budge. I tried using a flat punch and drive them out, didn’t budge. I then even resorted to trying to grind them out… and they didn’t seem to want to grind even. It was about this time I started to think about giving up on them and getting repros.

After chatting with Ron Fitzpatrick from &Ron Fitzpatrick Jeep Parts, I had an idea… I should try heating them. So I used my burner and headed the shackles up again. I then used the sockets, and after whacking the heck out of them…
They started to come out very slowly!

Here’s the first one out. You can see how worn the bushing was.

I got the second one out after a bit more work. YAY! Now I need to replace those bushings. As you can see, the upper hole on the shackles are two different sizes. The outer shackle has a large hole while the inner shackle has a smaller hole.

Before I got into replacing the bushings, I thought I’d note the markings I found on the ones that I drove out. Look to be CLEVITE.
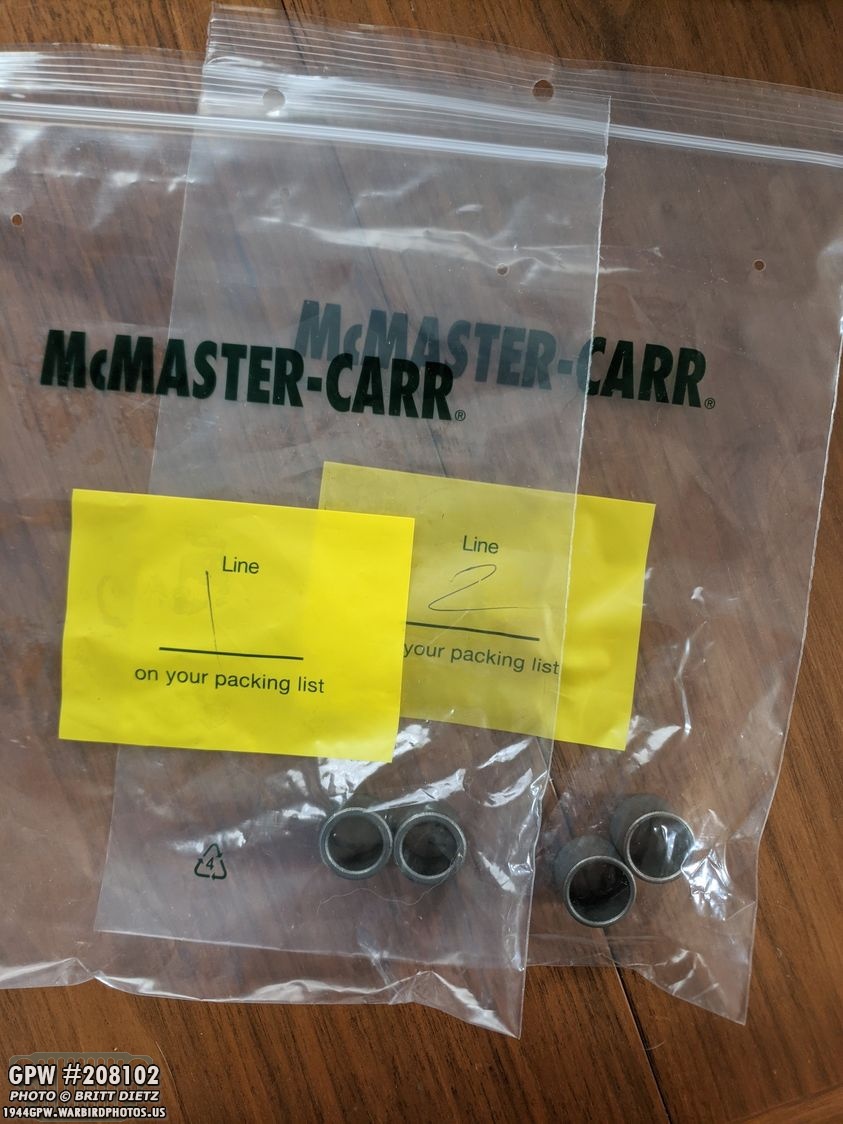
I looked online for the size of the bushings (also called sleeve bearings) for the shackles. I found an online blog of someone who’s been restoring their GPW and he had listed the sizes he got for his shackles. So I went to McMaster-Carr and ordered the two different sizes (I got a pair of each just in case I messed one up). Sadly, it turns out the sizes the guy posted online were wrong, and it appears he had two inner shackles.
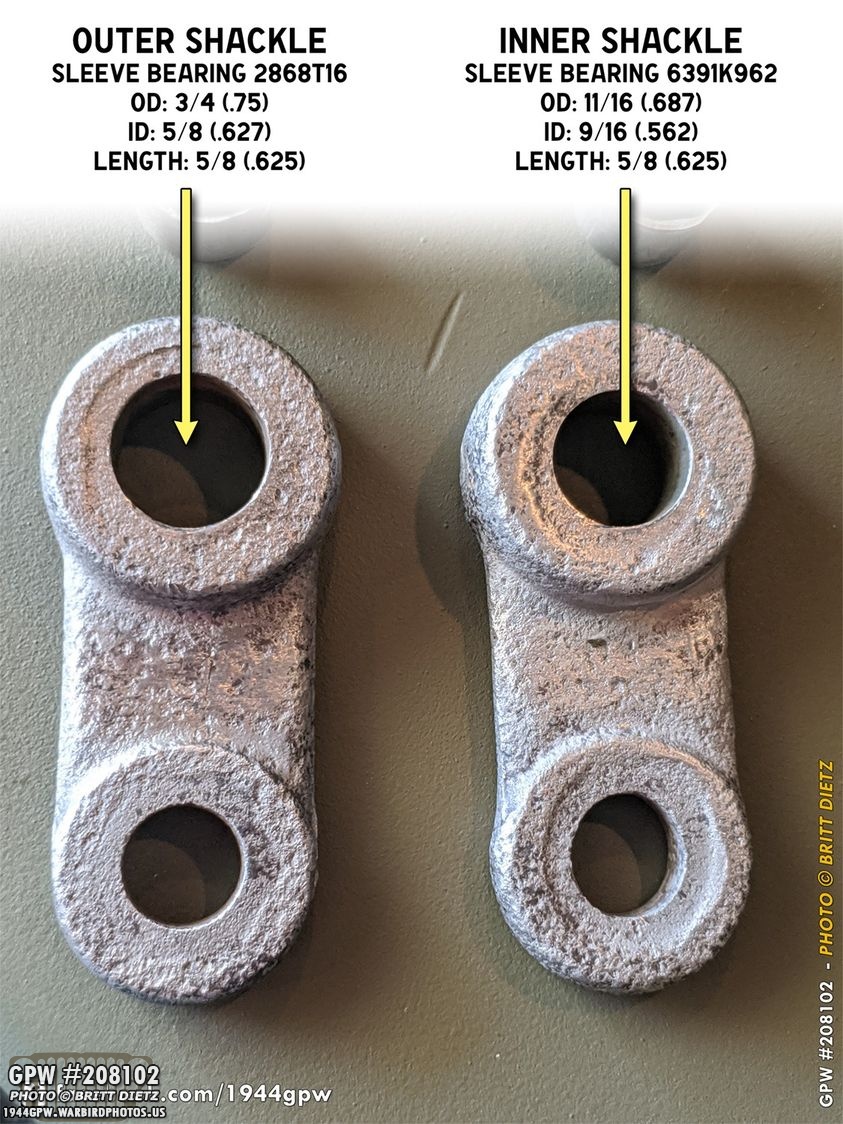
So, after doing some measuring and figuring out which shackle goes on which side of the bolt, here are the correct measurements for the bearings and the part number from McMaster-Carr if you need shackle bearings. The outer shackle is a 3/4 outer diameter, 5/8 inner diameter, and 5/8 long sleeve bushing. The inner shackle is a 11/16 outer diameter, 9/16 inner diameter, and 5/8 length sleeve bushing.

So only one of the two sleeve bushings I ordered from McMaster-Carr were correct, the one for the outer shackle, which is the larger sized hole. I ordered the correct one, now that I knew the measurements, and it should be here next week. I went ahead and decided to drive in the outer shackle bushing. Here I’ve just got it started.

Using a wood block to keep the pressure even on the bushing, I slowly drove it in. Perfect fit!

Next up, red oxide primer! Tomorrow I’ll hit it with OD Green. When I get the bushing for the inner shackle, I’ll post about that.
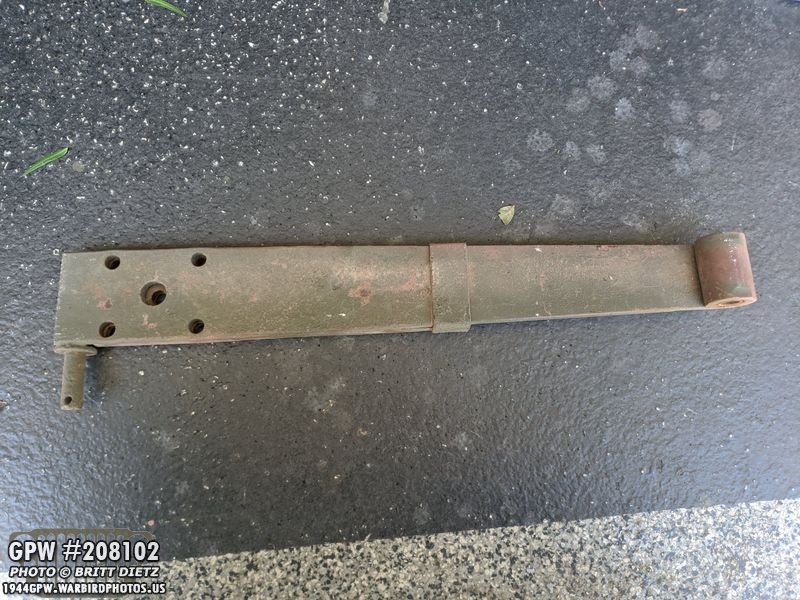
Moving on, another project for next week is cleaning up and restoring the Torque Reaction Spring itself, seen here.

I did a quick hit with the wire wheel, and it looks like it’ll clean up well. The Willy’s style clamp is a bit rough, but it’s still holding strong. I’ll wire wheel what I can, sandblast the rest, then begin painting it next week.
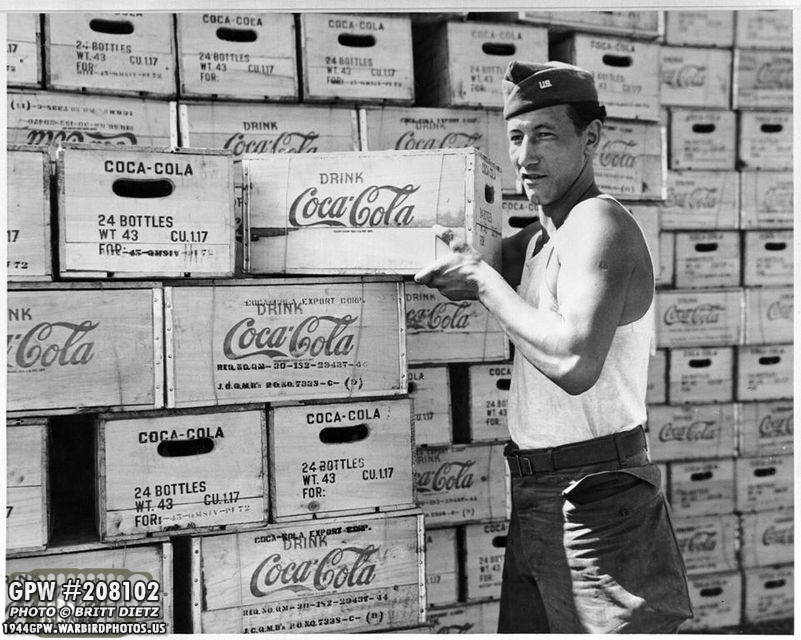
And another project I’m going to begin this week deals with Coca Cola and the Jeep! I’ve seen many Jeeps (especially last year in Normandy for the 7th of D-Day) with wooden Coca Cola crates, like these seen here. Being a huge Coca Cola fan and a collector of WW2 Coke items, I wanted to have one. But the ones I’ve seen sold online and the stencils I’ve seen online have all had glaring errors and are not correct. I’m sure that’s due partially to only two or three photos of these crates available to study, like this photo which I’ve found is the best.

I’ve done many years worth of research into 1940s/WW2 Coca Cola for my pinup photography over at Dietz Dolls Pinup Photography (https://instagram.com/vintagepinups). I’ve taken the time to research in depth font styles, colors, logo changes, etc throughout the 1940s.

And I’ve custom made a collection of various templates that I could use for my pinup work, shown here. Everything on this page is from the 1940s style minus three things (anyone want to guess which three things are from the 1950s?). So this research gives me a huge head start to making a crate almost perfect to the photos that exist.
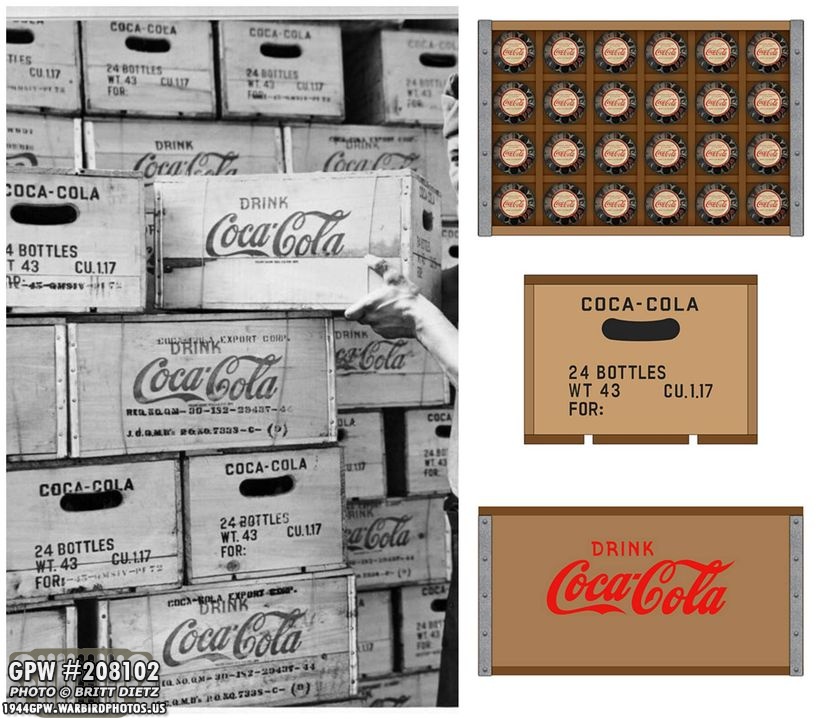
Using that photo from WW2, here’s the start of my research making a full size mockup in photoshop that will generate all the measurements I need. Each font is being carefully researched to withing aa 95% match. The Coca Cola logo itself (which is wrong on all the repro Coca Cola crates I’ve seen thus far) is my master Coca Cola logo that was used throughout the 1940s that I hand traced from an original master logo from that time. So this weekend I hope to begin constructing the crate and making stencils with the Cricut machine. Look for an in depth look next week! The crate will be a great addition for the Jeep.

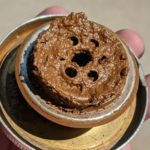
I found with the stamping for the oil filter, using the sponge brushes made it look more natural like a stamp. I figure that’s what will work for these crates.

Also, for the stencils (which last week I covered using the Cricut machine to make stencils for my First Aid Kit and for the stamping on the oil filter) I got a set of tools for the Cricut which will help to lift the stencils easier. I also found some stencil material for the Cricut, which I’m curious to see how that works vs removable vinyl.

As I mentioned at the start of the update, during one of the drives this week for the coolant flush, it was a bit overcast, so I took the Jeep to the little location by train tracks to do some nice photos.

A quick side shot, the pioneer tools look a lot closer in this shot! Now on to the professional DSLR shots…
Those new Beachwood Canvas Works headlight covers look pretty good!

Jeep looks nice and clean. I never really was going for a factory class appearance, but as a photographer who loves details and things looking good, it’s turned more towards that than motorpool.

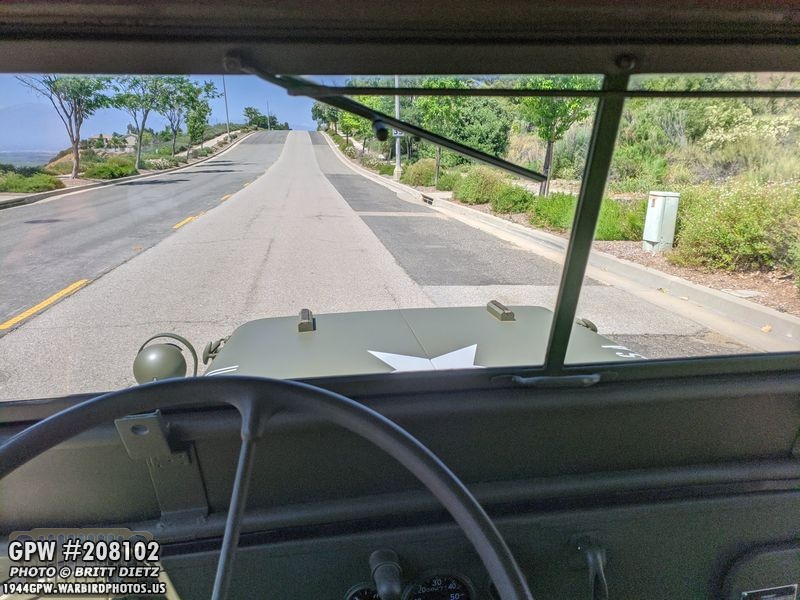
I always love this angle looking through the window on the back of the canvas top. It makes the Jeep look way larger than it really is.
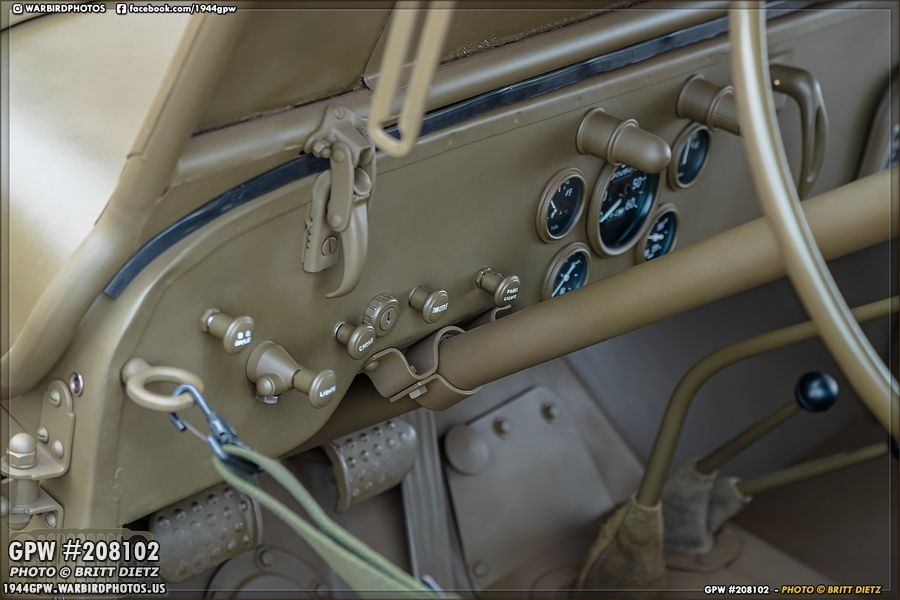
Quick look at the dash. When I eventually replace the carb on my Jeep with another one (borrowing one at the moment), I’ll redo the CHOKE cable so the knob is level. It’s easy to get that crooked.

Since Beachwood Canvas Works sent me the wrong canvas mirror cover, they just shipped the correct F stamped one I ordered. I still decided to put this one I have on for some photos.

A nice look at the pioneer tools and the ‘fantasy’ shovel cover. I think my buying the cover has inspired quite a few other GPW Jeep owners to buy one!

A look at the back of the Jeep at the upsidedown bumperettes. Again, very common for Army Air Force Jeeps carrying crews to the bombers.

And that’s it for this week! Next week I’ll be finishing the flush of the coolant system, finishing the shackles, working on that Coca Cola crate, and more! Till next week… Keep ‘Em Rolling!