 Tire Pump, Floor Mats, and Axle work!
Another week working on several Jeep projects! This week I finished the last steps in the Tire Pump restoration, it’s ready to mount. Also, I may have found the perfect solution to floor mats for the Jeep. Finally, I am almost finished taking apart the axles for their restoration and discover more F stamps along the way.
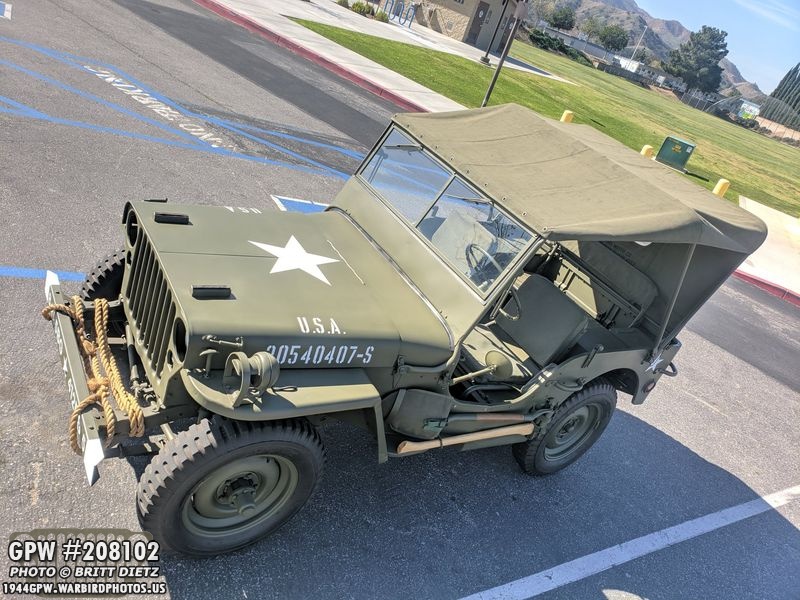
First, a quick look at the Jeep from a Thursday morning drive around the neighborhood! I’ve been trying to drive her about 2-3 times a week on short little joy rides.

As shown in last week’s update, I started and just about finished the restoration of this WALKER ORD tire pump for the Jeep. I cleaned it up, sanded the handles, replaced the hose and nozzle tip, and repainted it.

Next up was the make it work again. Inside on the other end of the handle rod is a spring, a large fender washer, two leather ‘cups’, a slightly smaller fender washer (which was missing and I picked up from ACE Hardware), a lock washer, and a nut. Here’s a look at it all together. What happens is that the leather cups catch the air forcing it to the hose. With that replaced smaller fender washer, the original leather cups kept their shape meaning I won’t need new ones!
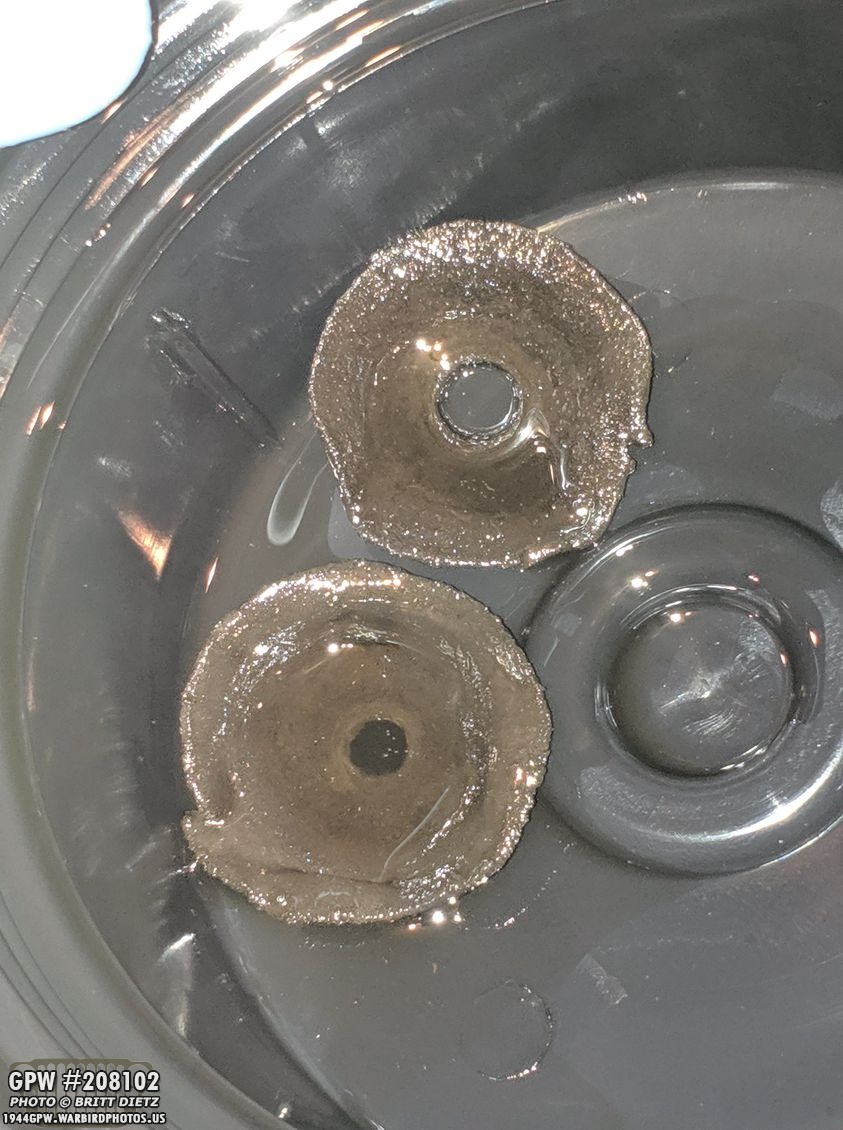
So the next step was to soak the two leather cups in oil. I used some left-over oil from the Jeep and make sure they were saturated (shown here). It appears the leather was originally coated with oil but has long since dried. Once I oiled them and put them back in the main pimp tube, it worked PERFECT forcing air out of the hose! Yay for using original parts!

I also decided on making the OD Green paint more glossy. Technically, it should be a darker shade of green, but I like it matching my Jeep’s 33070 shade. So I applied a semi-gloss clear coat to make it shiny.
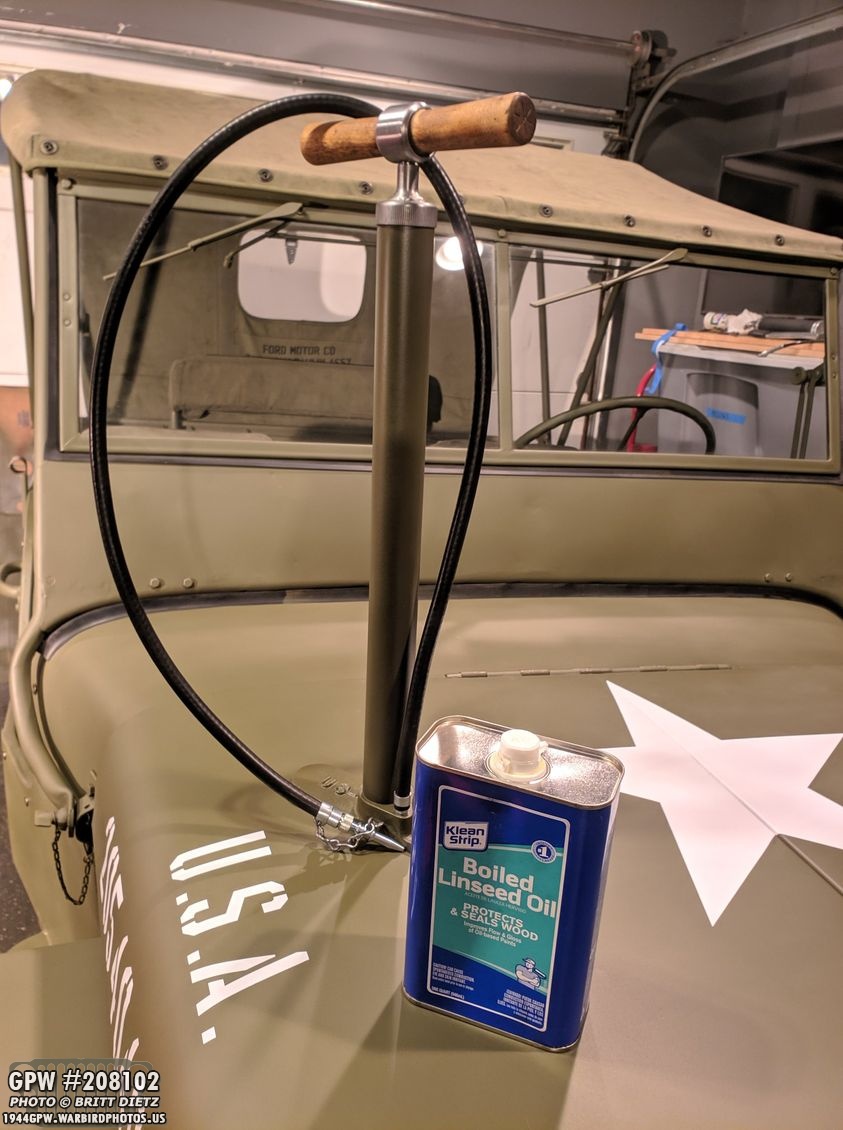
With it somewhat glossy now (making it look a little darker as well, so win-win), all that was left was to treat the wood handles. I went with the boiled linseed oil I had from when I was soaking the wood handles of the shovel/axe.
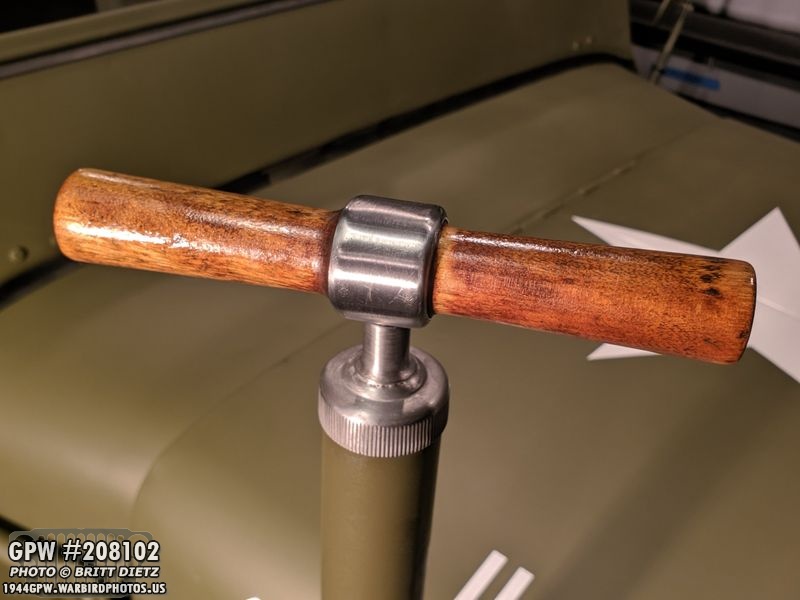
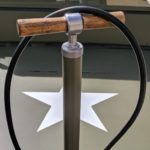
Here are the handles after applying the linseed oil. Looks nice! The tire pump is finished! All that is left is to attach it to the bottom of the rear seat. But, I still need the brackets that hold it to the seat, which are coming from Ron Fitzpatrick Jeep Parts on Friday! I’ll have to get one bracket welded to the seat and replace a thread. More on that, hopefully, in next week’s update!

When I was in Normandy, France last year for the 75th anniversary of D-Day, I documented every Jeep I ran across. Yes, I took photos of well over 150+ jeeps which gave me a great library to draw ideas and inspiration from. One thing I liked that many people did was put floor mats down to protect the paint job and, somewhat, keep it cleaner. Here are 6 Jeeps, of many, that had such floor mats. I liked the idea, but I didn’t want to have an obvious black mat.
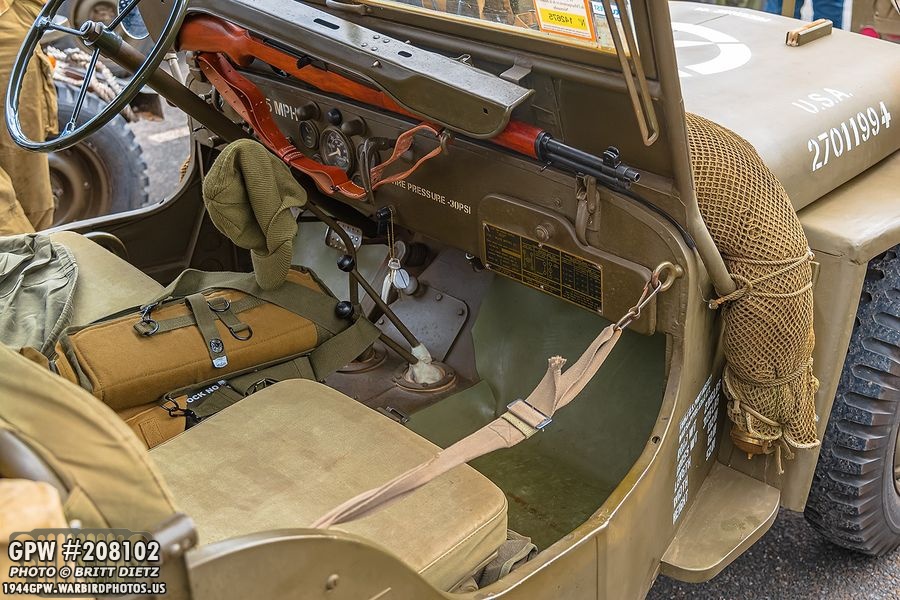
I liked how this Jeep tried to make them a little more inconspicuous. But it still stood out to me. So I decided that I’d try to make mats that didn’t stand out as much and matched the paint job as my Jeep. I’ll remove the mats at any shows or displays, but for everyday driving I wanted something there.
I started with this, which I covered a few months ago in the updates. I used that plastic that you put under a desk chair to make it roll better. I sanded it, painted it with primer (red oxide for one, and filler primer for the other) and then topped it off with the same 33070 OD Green. The problem was, this didn’t work. The paint wouldn’t stick, and it would scrape off no matter what I did. So I had to abandon the idea.
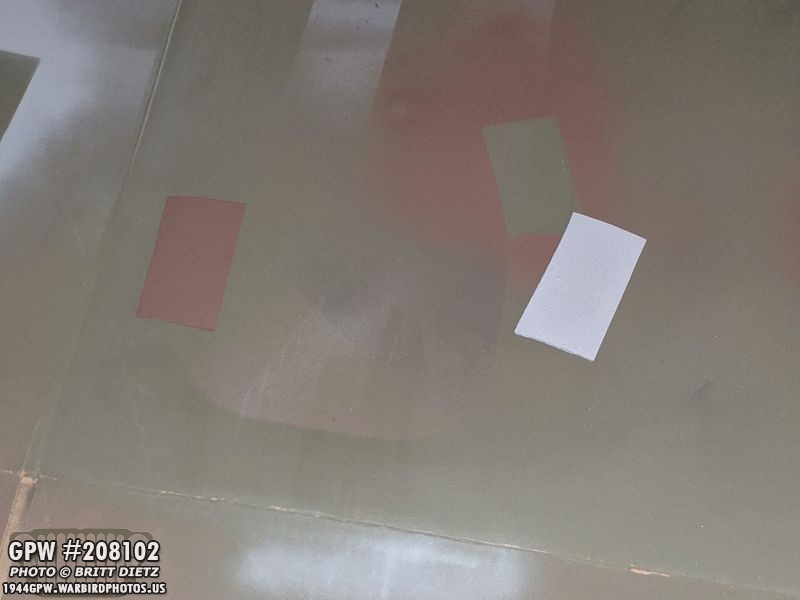
At Home Depot the other day, I was looking through the various floor mat material rolls and spotted a rubber material. It seems like paint might adhere to it, so I bought 3-yards of it. Here, I’ve taken two little samples off the three yards and have hit the left one with Red Barrier III Red Oxide primer from Ron Fitzpatrick Jeep Parts, and the right with Home Deport Rustoleum filler primer.

I then painted them with 33070 spray paint from Ron Fitzpatrick Jeep Parts. It worked! No craking, no scraping, no paint-that-never-dries! Weirdly, though, as you can see in this photo it looks like two different shades. The left one is the Red Oxide primer with the green, the right is the filler primer with the green. I decided to go with the filler primer as it seemed to not scratch and made for a smoother surface.
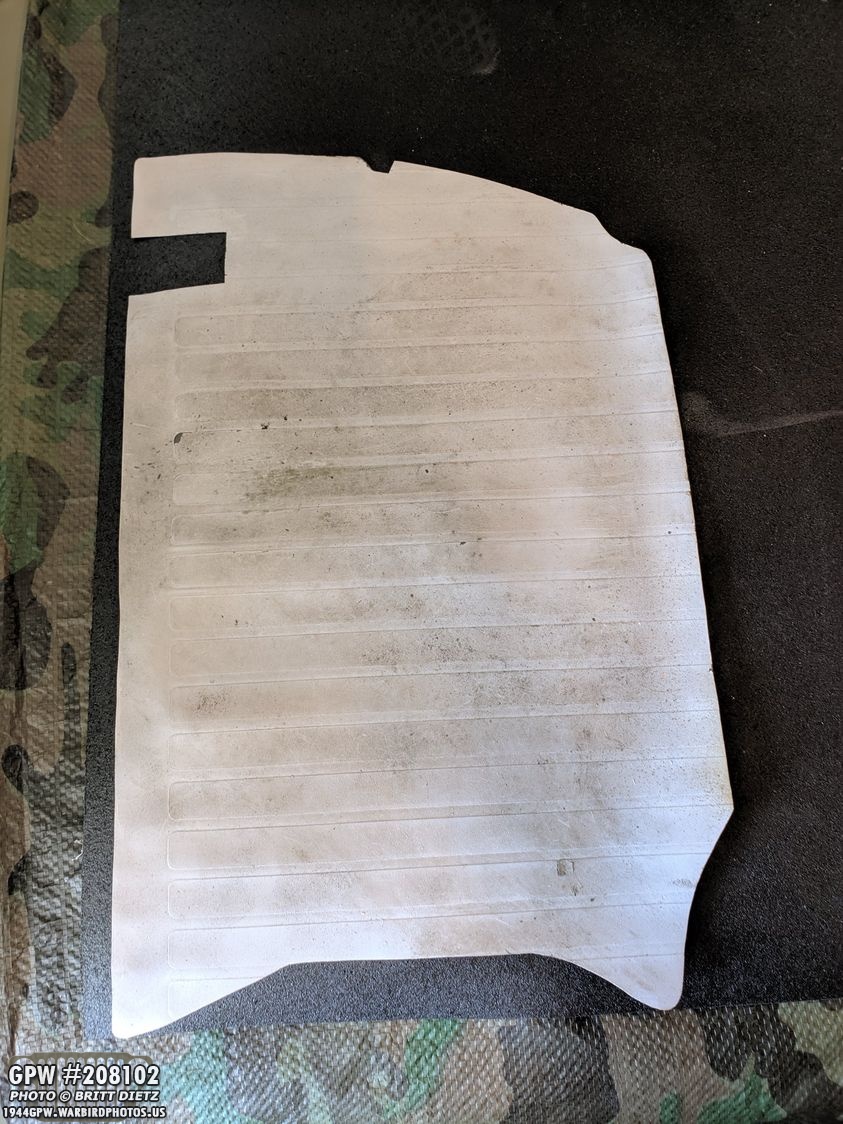
So I took the mat I had been using (which was one of the originals that had the filler primer), and I used that as my template.

Here’s the outline to cut from the template.

After I cut the first one, I decided to actually make it a bit wider so it covered a bit more, so the bottom one is the larger one.

Perfect fit! I decided not to make it go up from the floor as my shoes don’t ever really touch there. So this should be good enough.
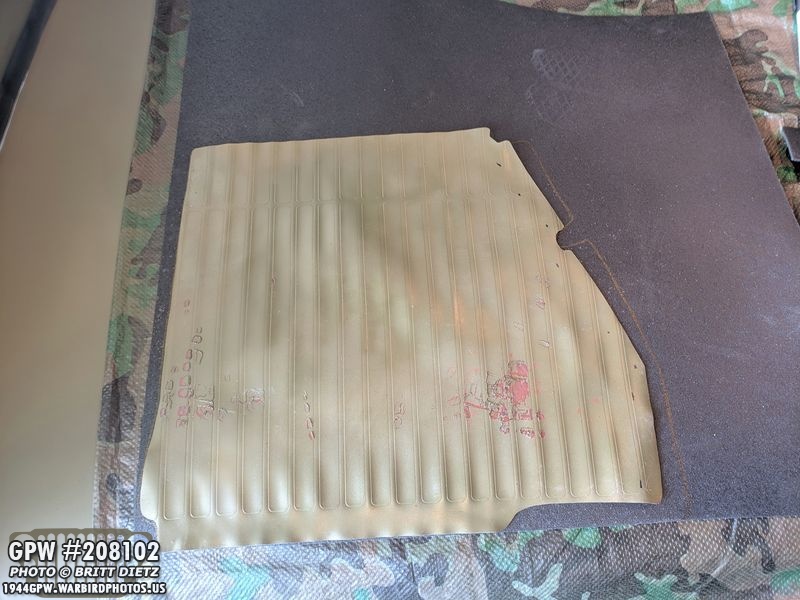
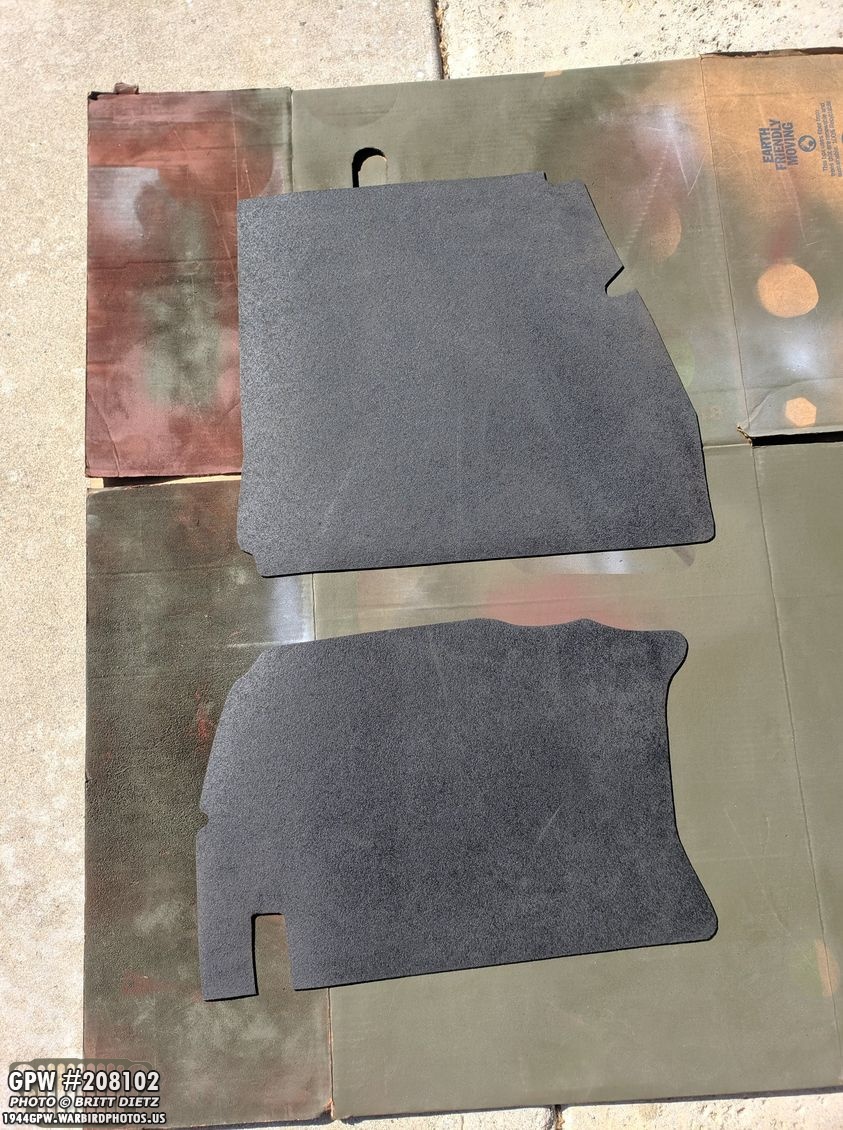
Next, I took the passenger side original (you can see how the paint just scraped off and wouldn’t stick) as a template and also made that a bit larger for a perfect fit.
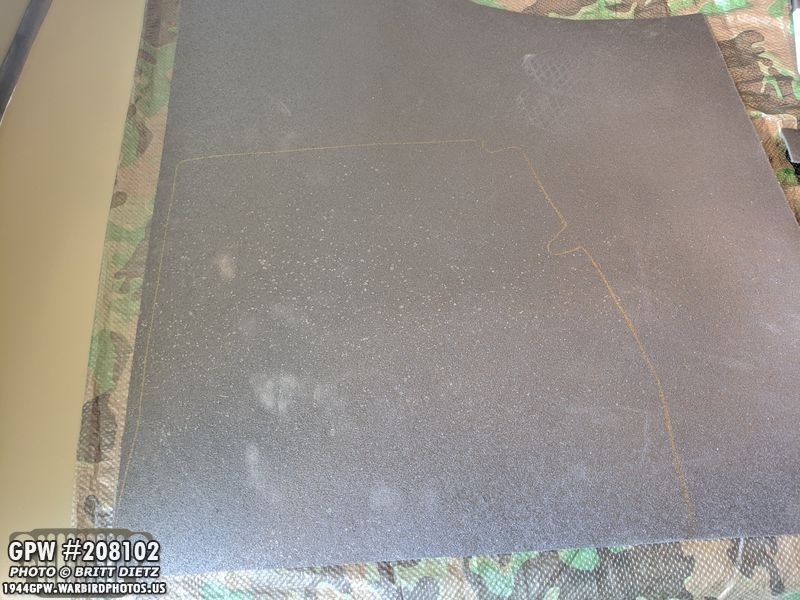
Here’s the shape to cut.

Super perfect fit. I don’t think I could get it to fit better than this!
Here’s a look at both mats, ready for the next step in prep for paint!
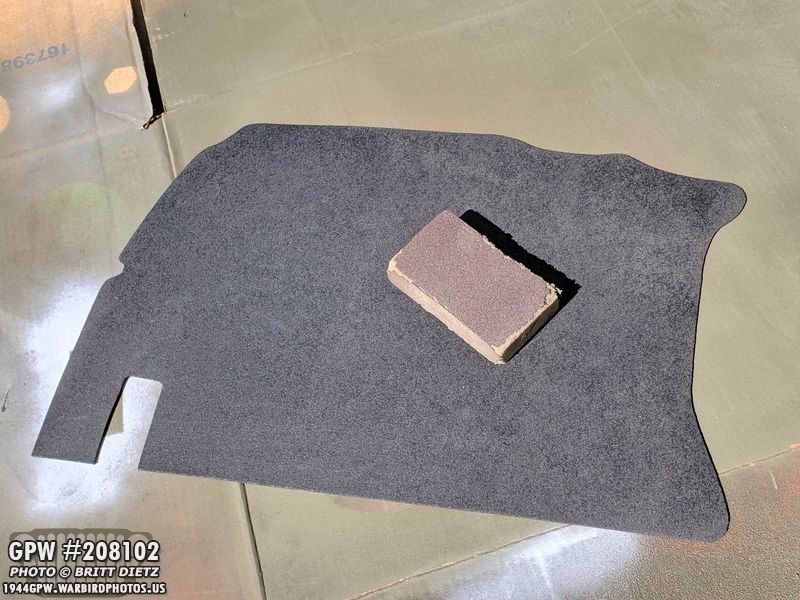
I wanted to rough up the surface, just in case, to help the paint adhere to the rubber, so I took a sandpaper block and sanded them.
Ready for primer!
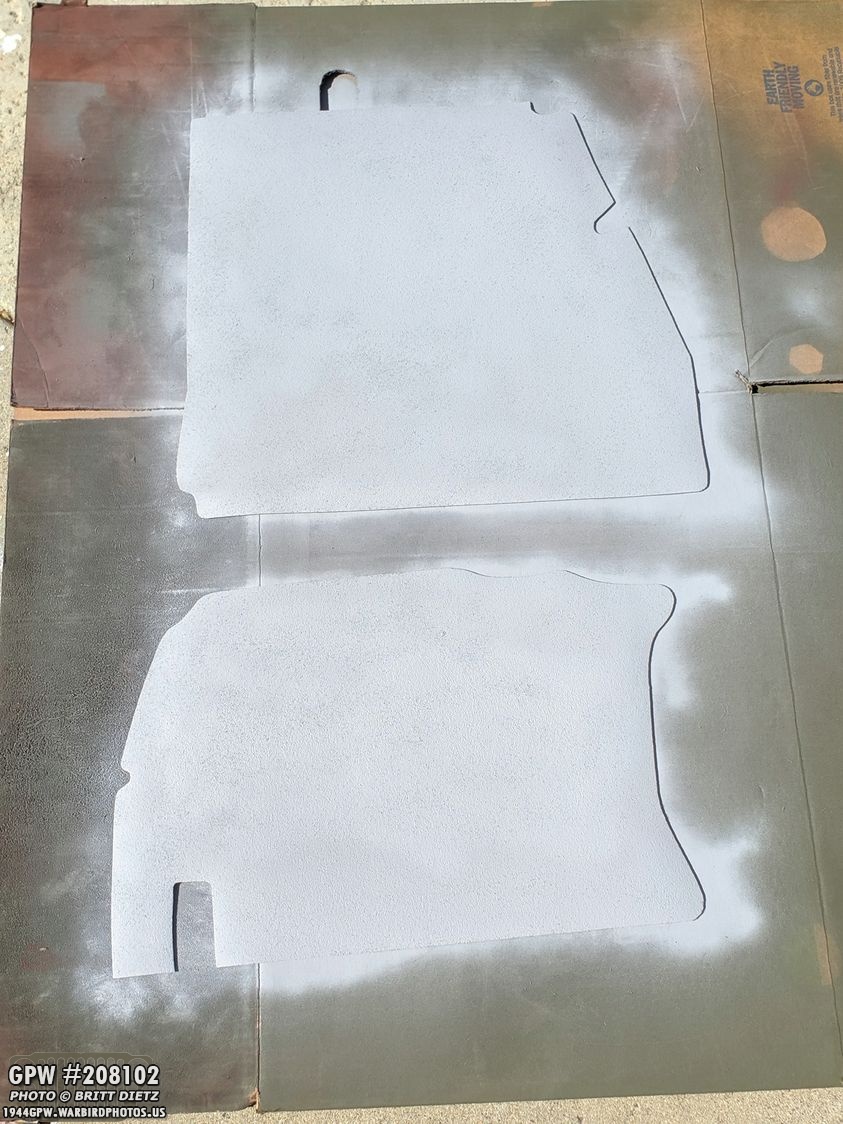
Here they are with the filler primer. Dries fast and adheres well to this material. As a bonus, since it is a filler primer, it helps to smooth out the rubber texture a little bit.
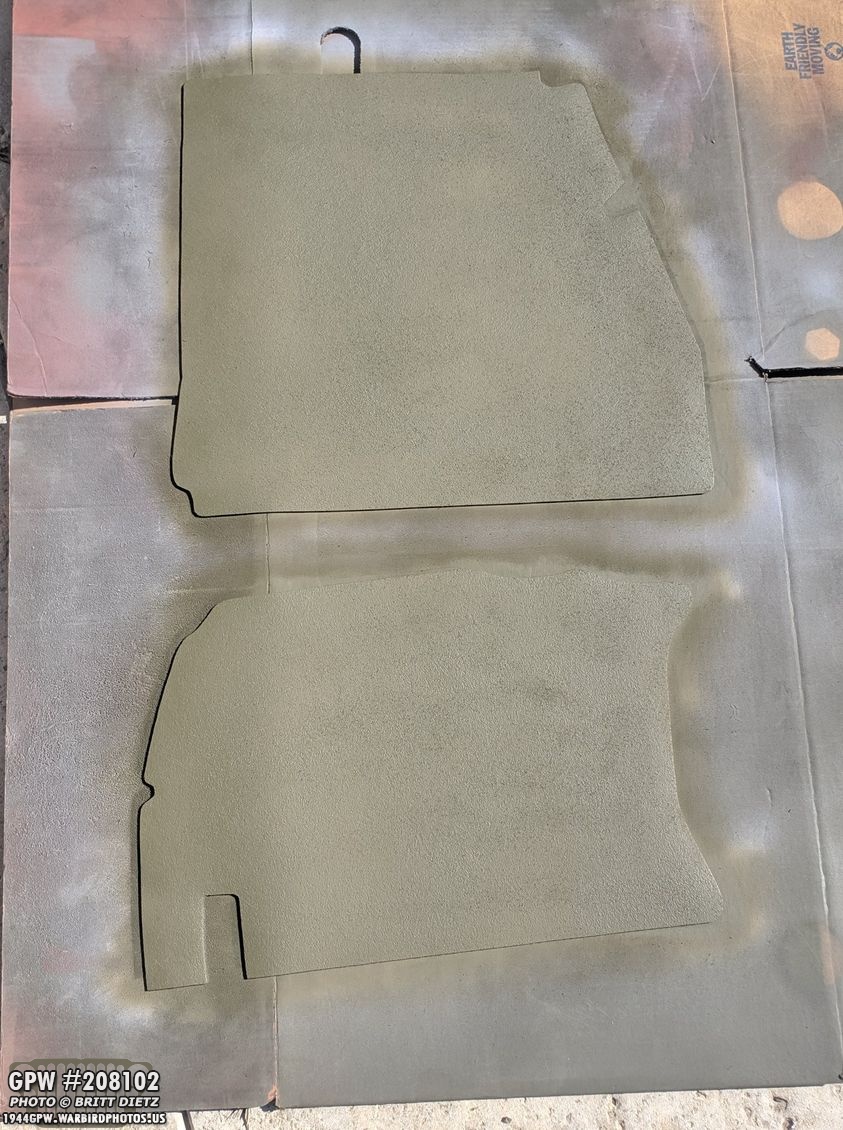
24 hours later, I hit it with the 33070 spray paint from Ron Fitzpatrick Jeep Parts. Looks really nice!

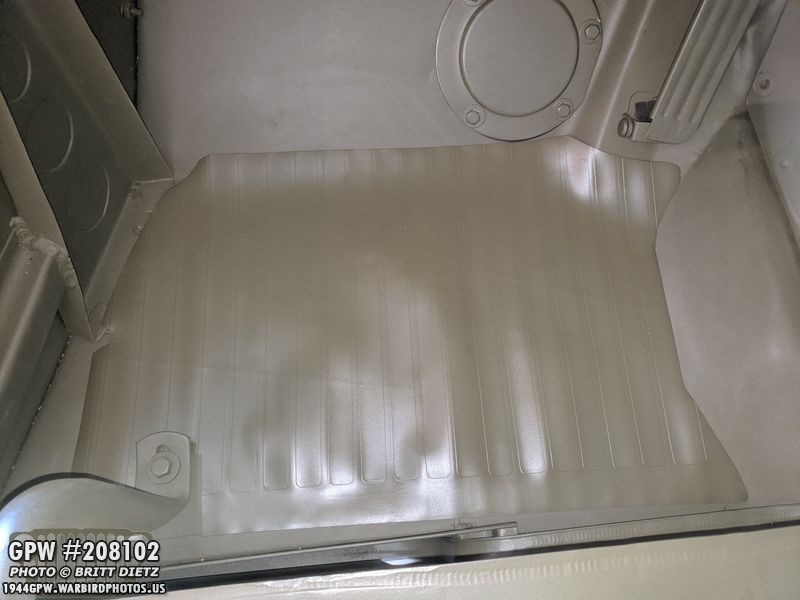
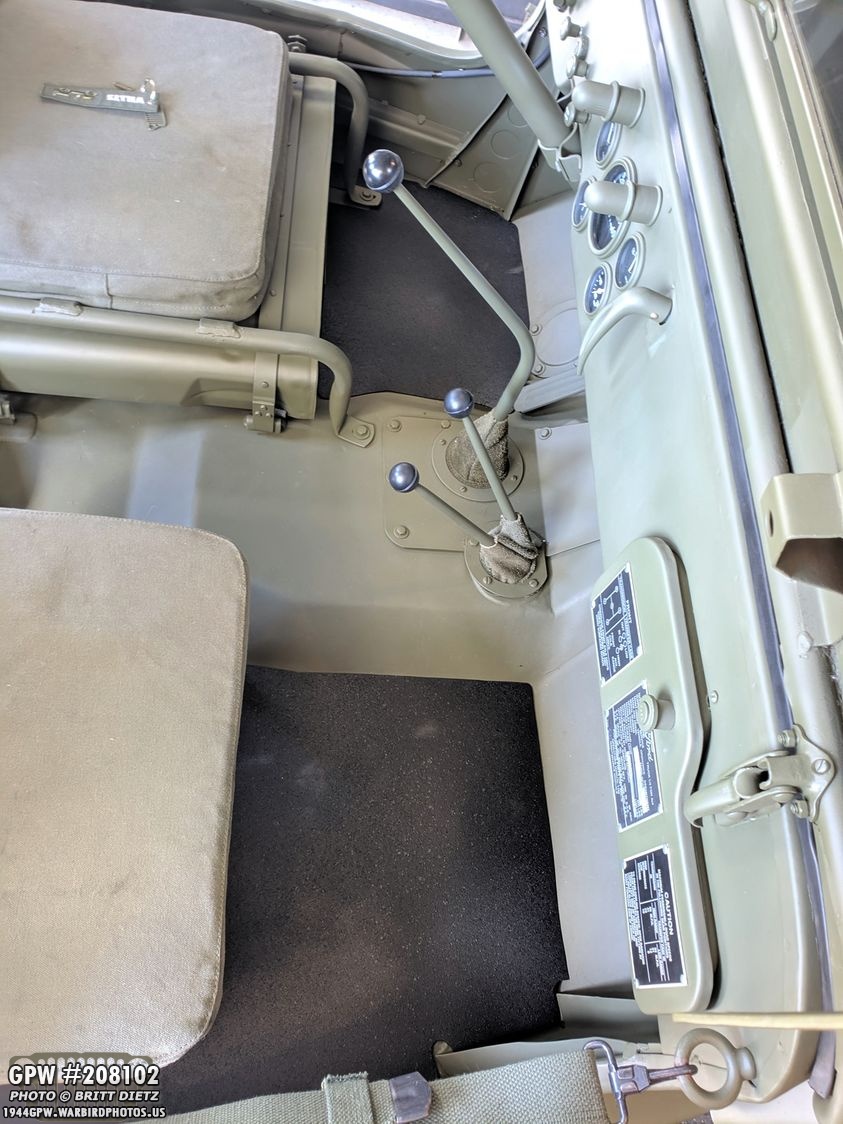
After letting them dry for a few hours in the hot sun, I put them as a test in the Jeep… and they look perfect! If you didn’t know better, you might not even realize they were there.

I’m most proud of the passenger one, which is a perfect fit. (note the reflections of light make it look multi-colored, but it’s a solid 33070 OD green).

One final look at both of them. I’ll probably spray them with a clear coat over-spray to help seal the paint and make it easier to clean them. Again, the idea is that these are only there when driving the Jeep. When on display at an event or show, I’ll take them out. But it should help keep the Jeep cleaner!

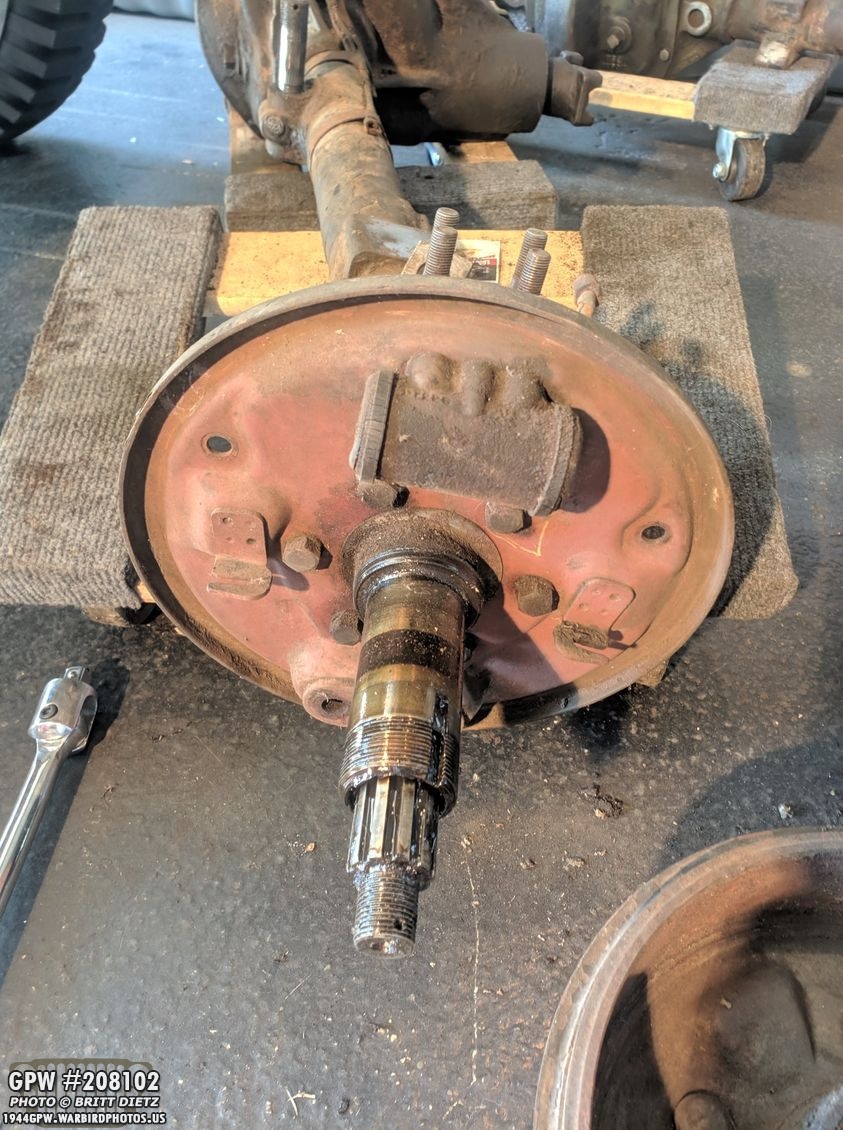
Moving on to the axles! The usual recap… my Jeep has CJ2 axles at the moment. I was given two wartime GPW axles that I’ve been spending the last few weeks taking apart for a full restoration and eventually replacing the CJ ones. Much of these axles have no been touched since WW2. With only one side of the front axle left to take apart, I went to work removing the large nut and lock washer on the spindle using the special socket.

That allowed me to take off the brake drum, which looked to be in good shape. However, unlike the other side, this side was missing several brake items. No brake shoes, no anchor plate, brake adjuster bolts, etc. So I’ll have to get all the parks for this side sadly.
Pretty much only the wheel cylinder was there.

Taking the wheel cylinder off, here are the markings I found. Same as the other side with FD7228 USA and Wagner Lockheed.

And the rubber pad has 5994 and 55.

The two small bolts for the wheel cylinder has A stamped on it.

With the spindle removed, I was able to take off the large Rzeppa joint. Covered with lots of grease.
Here’s a look at the knuckle before I took it apart. It’s caked with grime on the outside, grease on the inside.

With the knuckle off, you can see how much of a 75-year-old grease mess it is. You can see the two knuckle seals still on the axle.

Here’s a look at the spindle once I removed it. Took a rubber hammer to break it free from the grime.

Thick grease on the other side.

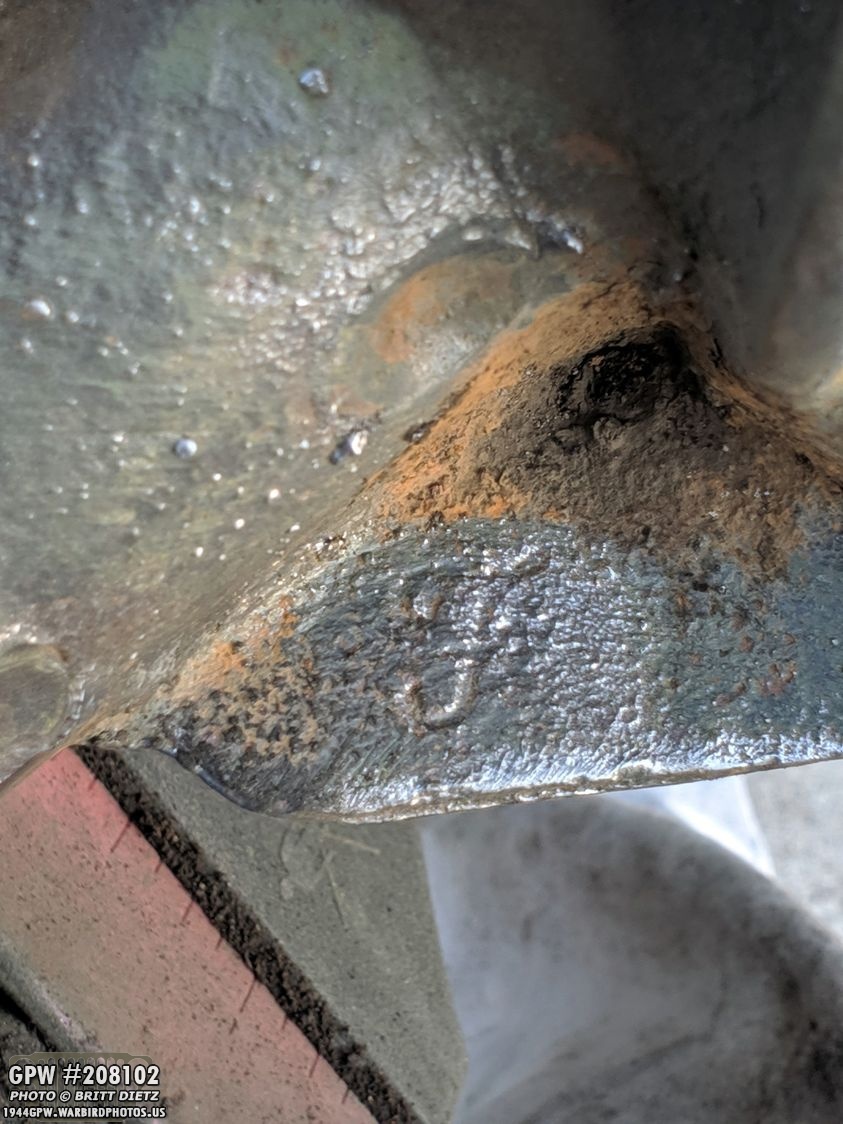
But after soaking it in my ‘bucket-o-fuel’ for an hour, it’s all gone revealing a faint Ford F stamp and a 2.

This won’t be fun to clean up. I’ll have to use a degreaser next week sometime and try to remove what I can.

Here is the knuckle seal gasket, and sure enough…

Just like the other side, there’s a Ford F stamp!

Looking at the brake backing plate, I started to hunt for markings. It has the original red oxide primer from WW2 on this side.
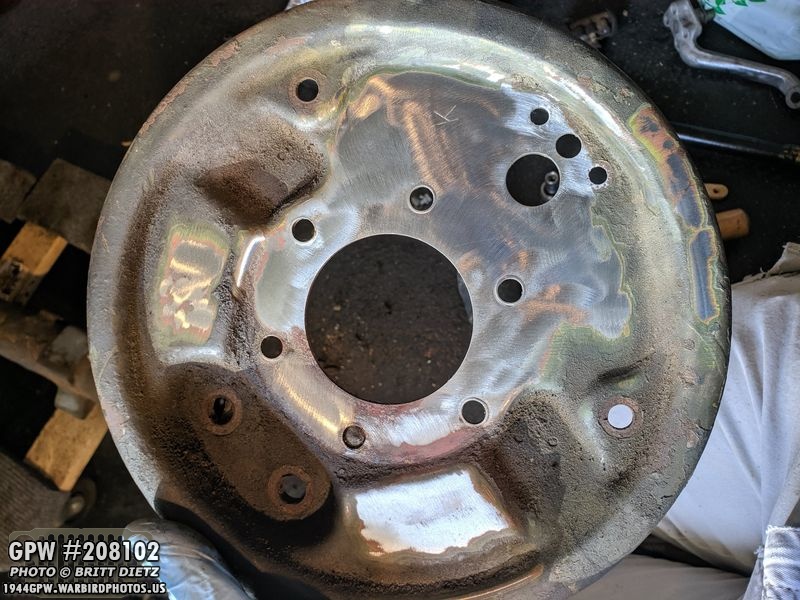
After wire wheeling the grime on the other side, I discovered a large K.
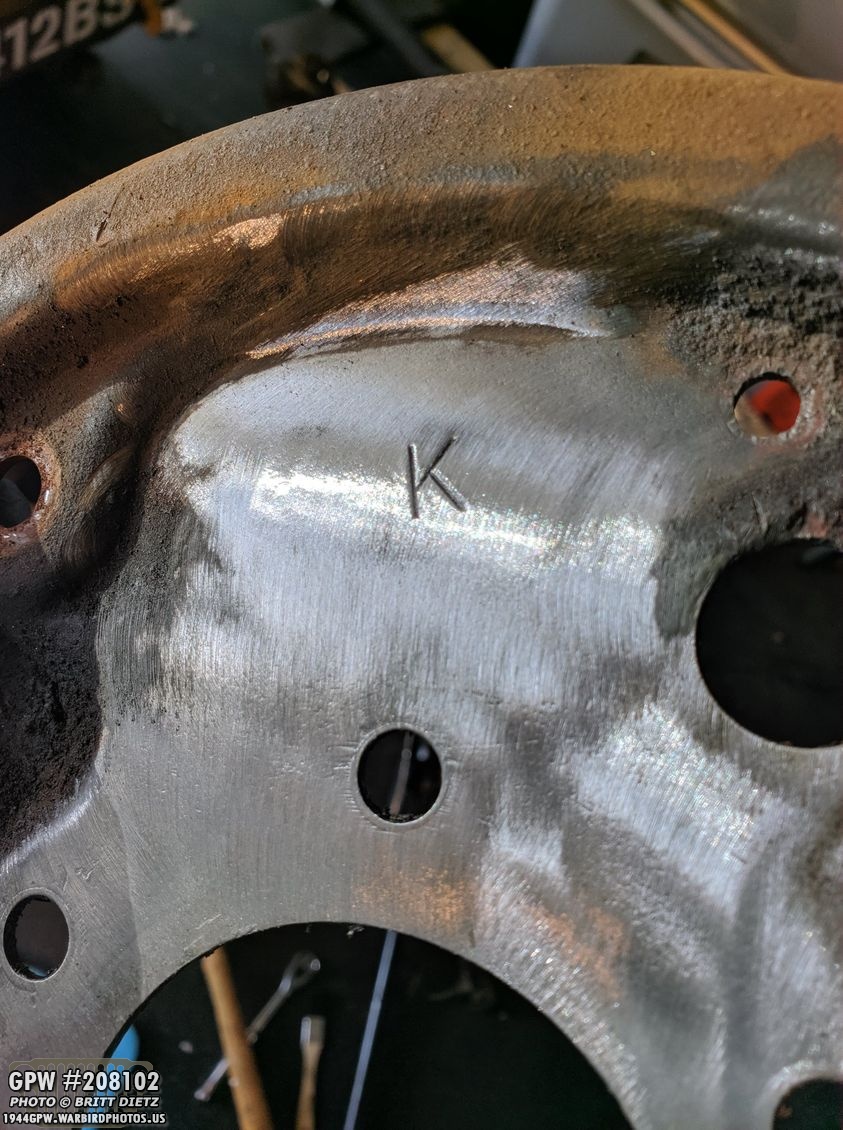
According to what I’ve read online, this K is correct for a wartime GPW axle.
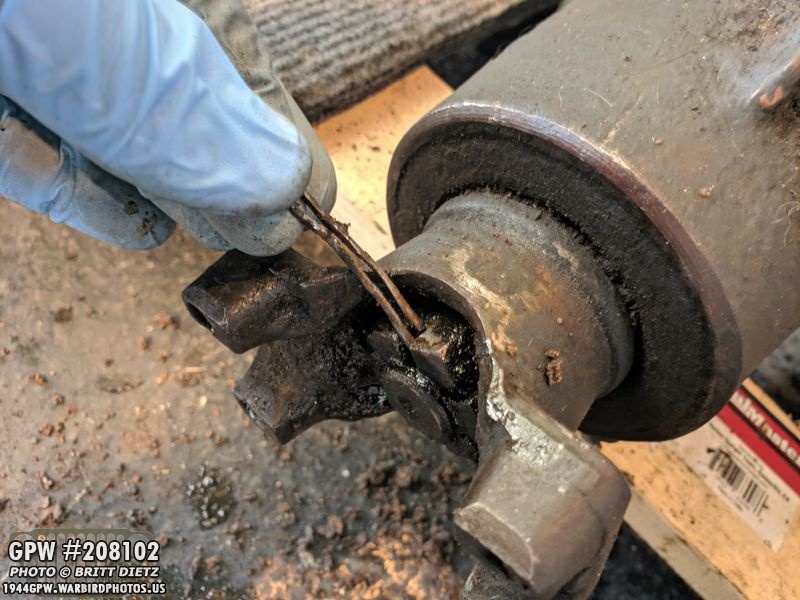
With all the wheel/brake components all removed, it was time to remove the final part, the pinion gear inside the main housing. The cotter pin holding the large nut was one heck of a pain to get out.

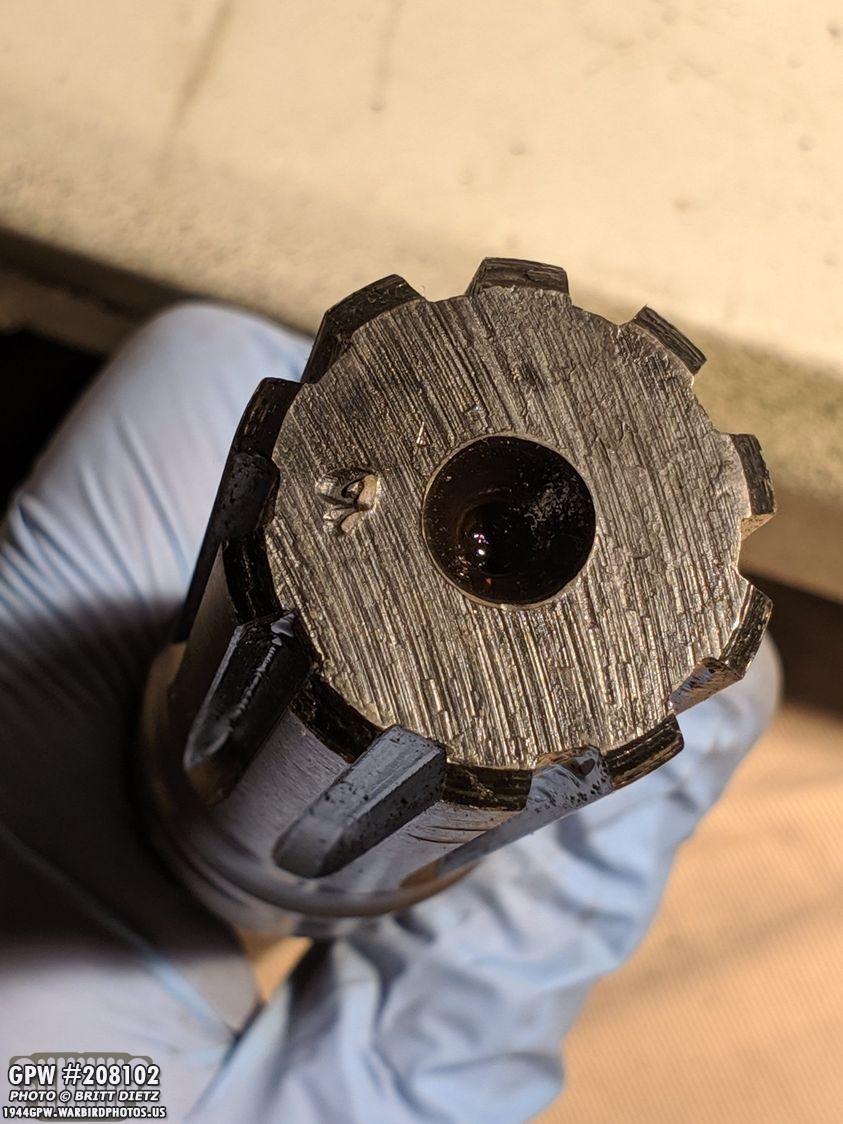
To remove the yoke, I need to remove that gear-shaped nut. But, unlike the rear axle, this one wouldn’t budge.

Even with a 1 1/4 socket and a breaker bar, I cannot get it to break free. After nearly hurting my back trying to get it to budge, I decided to try again another day and shift focus to cleaning the paint off. At the end of the day, I did go and soak the nut in PB blast, which at this moment it is still soaking in.

Before beginning work on taking the paint off, I needed to remove the remnants of the brake lines including the two original clips. Sadly, the screws had warped preventing them from being screwed out. So I had to cut the screws with an angle grinder. But that’ll be no problem to replace the screws, and use the original clips here.
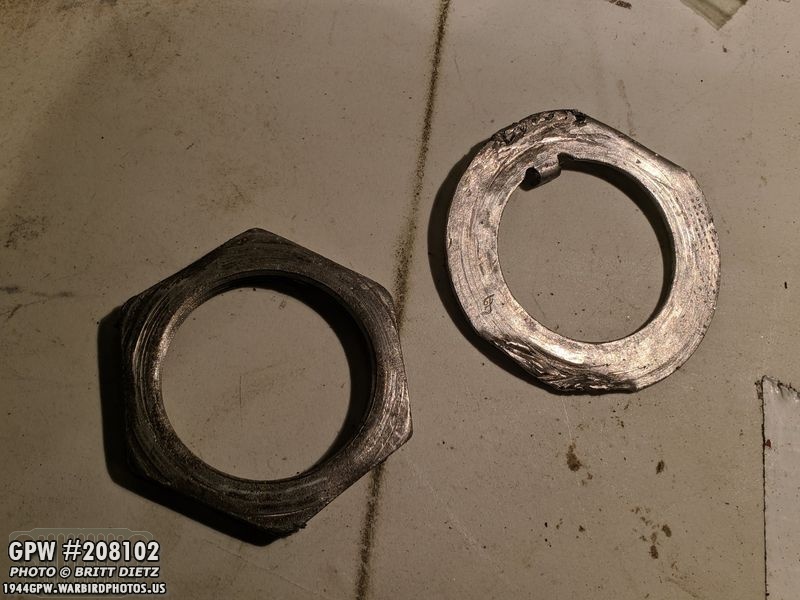
Before getting to the paint removal, I decided to take a break and check out the parts that I had just removed and quick clean them to inspect for markings. This side of the axle was missing one of the large wheel bearing nuts and the bearing nut lock washer. But there was the other pair there, and the lock washer has an F stamp. Sadly, it’s too mangled to use again, unlike the perfect one on the other side.

Close up of the F stamp. I could try and pound it back into shape, but I think it’s more work than it’s worth as no one will see it. So I’ll just get a new one.
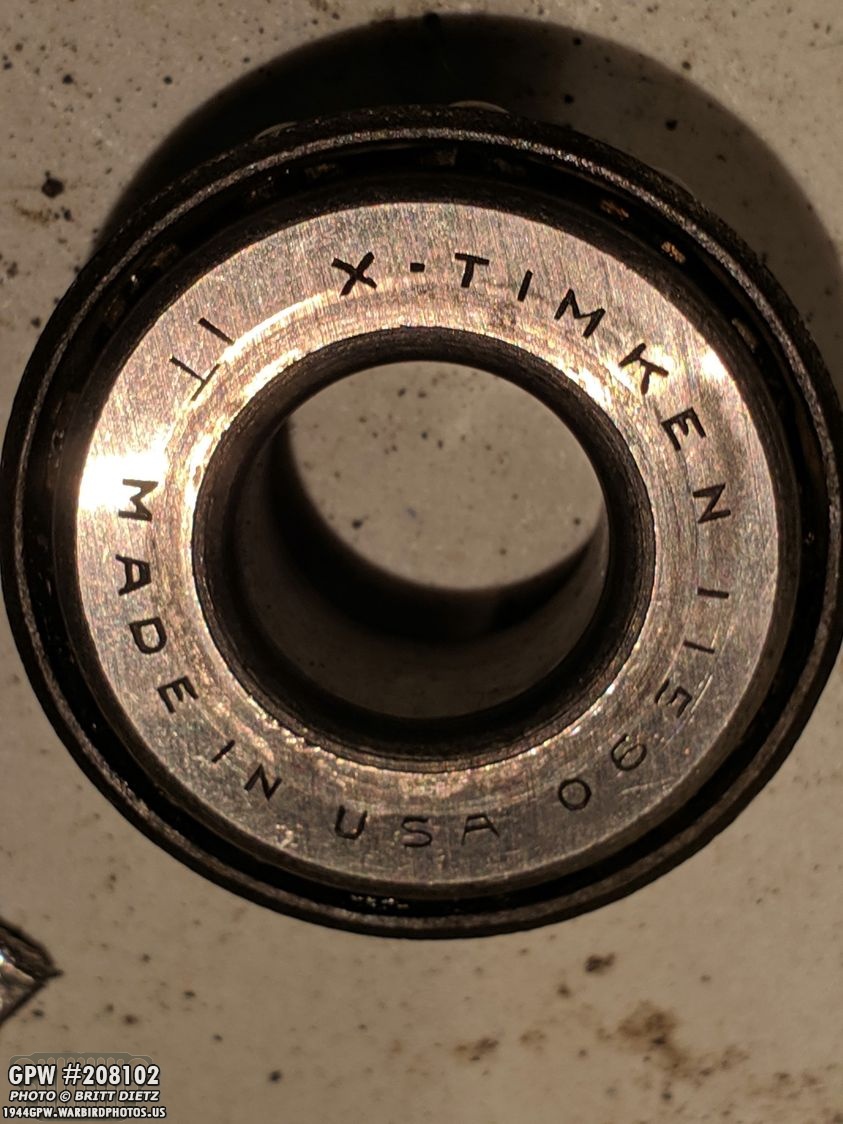
Here’s one of the two small king pin cone bearings with the correct wartime TIMKEN markings.
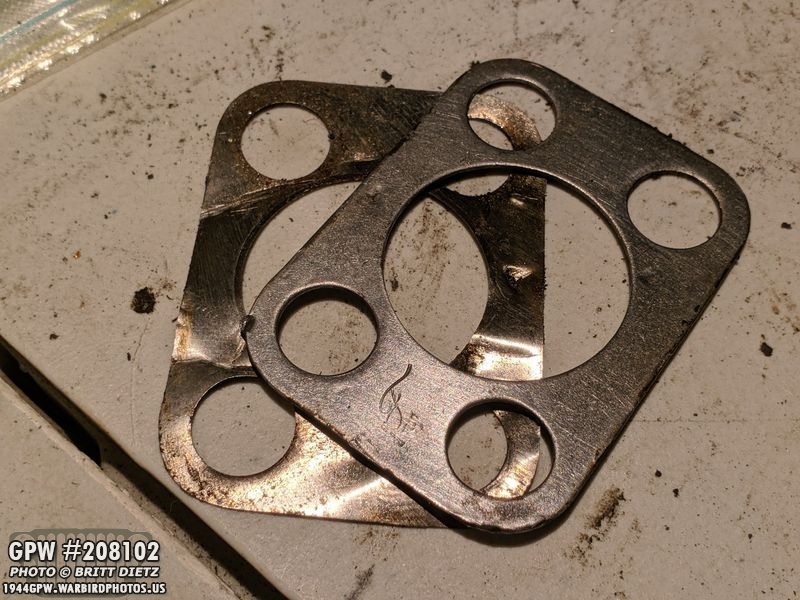
The shims for the king pin lower cap had an F stamp on the thicker of the shims.

And the lower king pin itself has a F stamp. I’m surprised this hasn’t worn away more.

The two knuckle seals have the same markings as the other side of the axle. Overall in good shape, even the felt.

17131 with an interesting hard to decipher logo on one of the seals. The other one has 17132.

And, of course, I found all the bolts have F stamps on them throughout this side of the axle. They will all be cleaned up and re-used.

Here’s the knuckle after sitting in fuel for an hour. There’s still some grease where the lower king pin cap was, which I left on as it was soaking to help loosen it up to remove. It’ll be cleaned in fuel again before sandblasting.

Markins on the knuckle include what looks like 412 and a circle?

A GP number that’s hard to make out. Maybe 3148?

And then there’s a &9 possibly?

And a A2.

Sadly, no F stamp that I can see so far, but the GP number means it is a Ford part.

Taking a look at the long Rzeppa joint after having it soak in the fuel to remove all the grease…

There’s a double stamped F mark, and a T.

There’s also a N or Z.

An 8…
And a partial F stamp on the end.
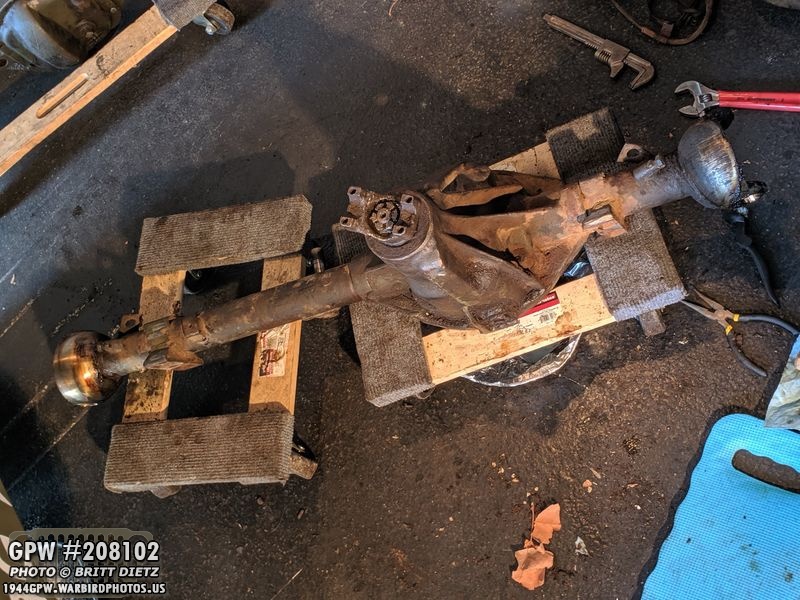
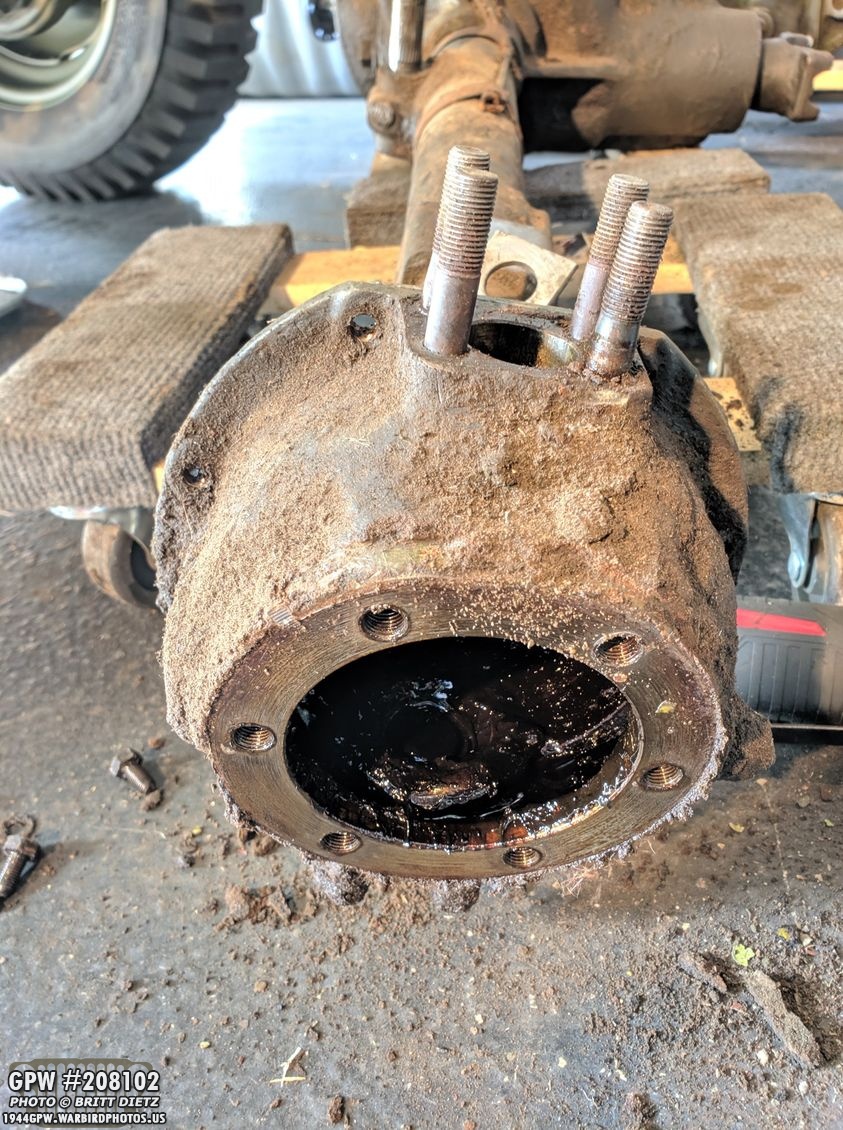
So here’s what the front axle looks like after almost everything but that back yoke/pinion gear removed.

Taking a drill with an abrasive wheel and the wire wheel on the angle grinder, I got much of the paint off that I could.

I’d like to think I can remove it all without taking it to the sandblasters, but there’s so many nooks and small areas that I might have to. At least I can make it faster for them (as sandblasting is paid by the hour).
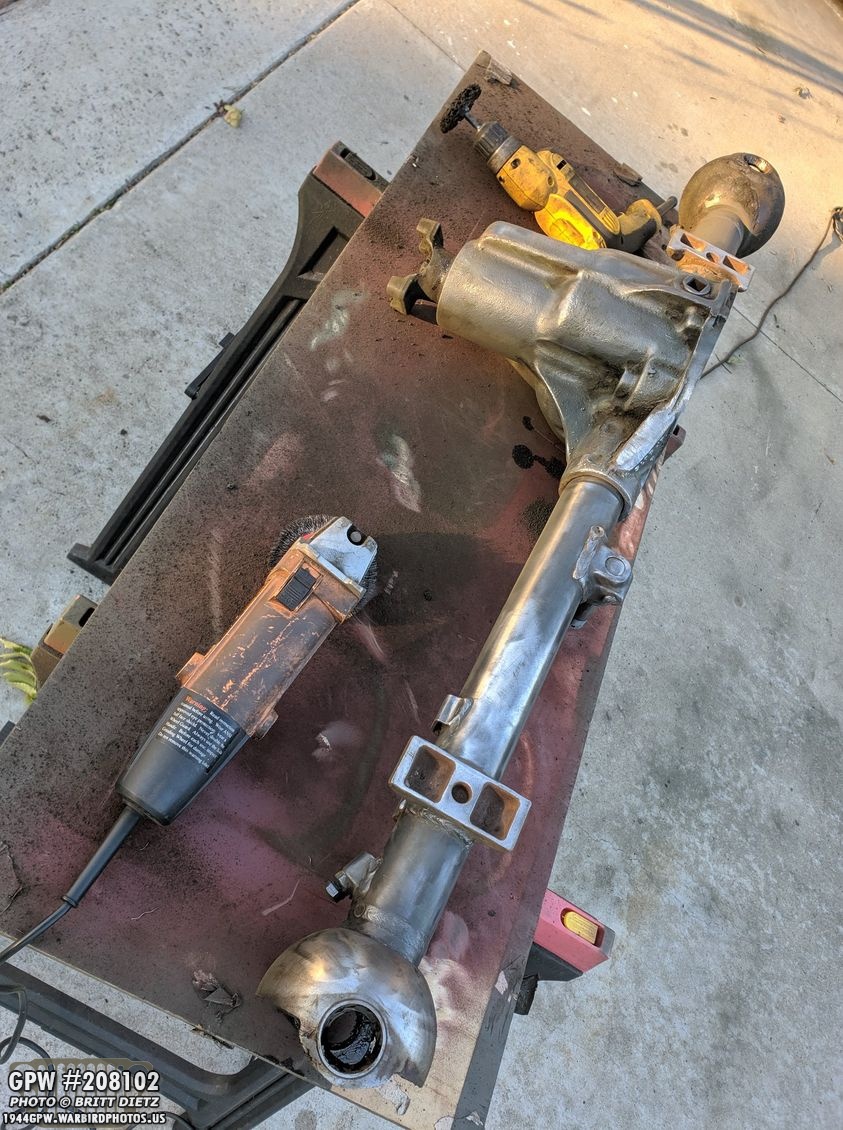
So after about an hour of wire wheeling, it’s mostly removed of paint.

Taking a look at the bellcrank, you can see a very faint almost gone F stamp on the left, and a 5 on the right.

Here’s a look at the various markings.
And on the other side.
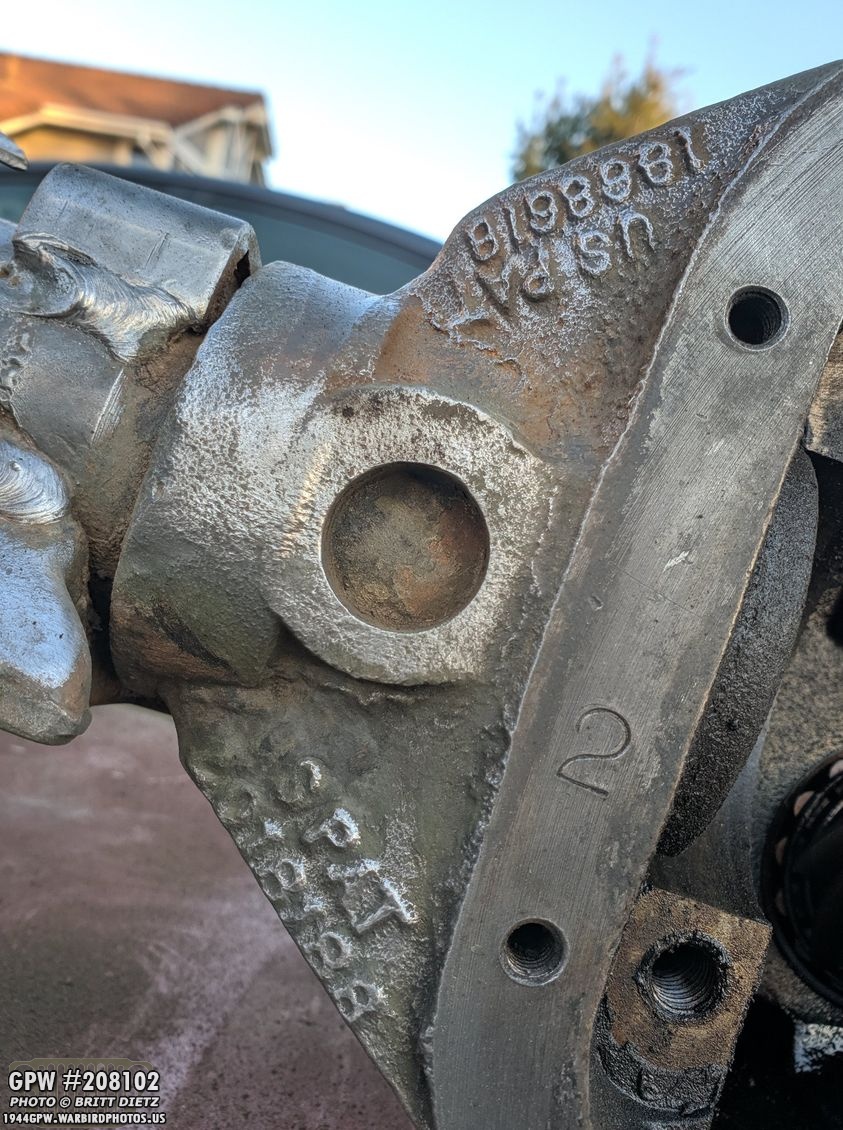
I did find a large F stamp on the housing.

And there’s still more to try and wire wheel, I might even get some smaller wire wheels to see if I can remove more before I give up and take it to the sandblasters. This coming week I’ll do the same thing to the rear axle.
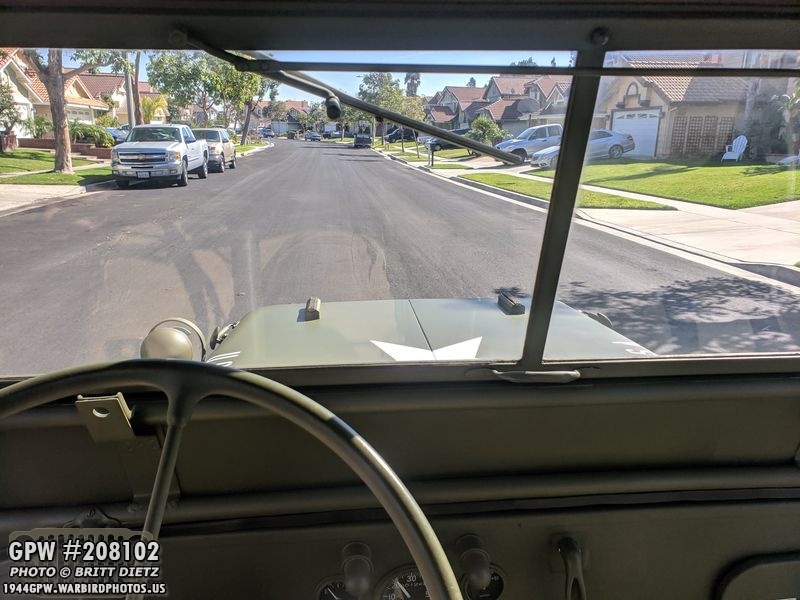
Here’s a look I don’t post too often, but a look inside the Jeep when driving it. Always a delight to see this view!
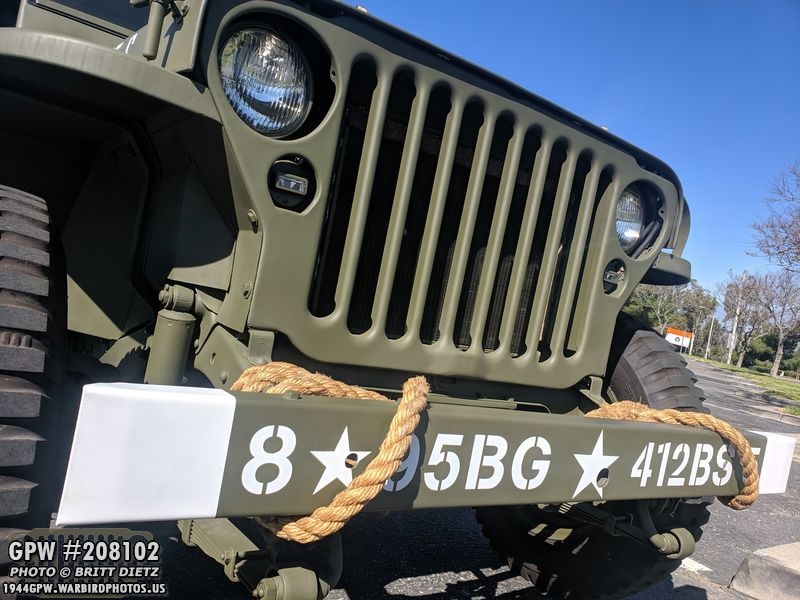
Finally, one last look at the iconic grill of the Jeep. That’s all for this week! I have a very large order coming from Ron Fitzpatrick Jeep Parts later today with all the parks for the axles, the tire pump brackets, brake items, and more. So lots more work ahead! Plus, next week I’ll be announcing the first ‘event’ that my Jeep will attend! Till next week!!