 Axle work, restoring the tire pump, and more!
Last week I was on vacation, so here’s a 2-week large update featuring the restoration of a WW2 tire pump for the Jeep and continuing work on taking apart the front wartime GPW axle! Lots of F stamps, grease, and neat discoveries!
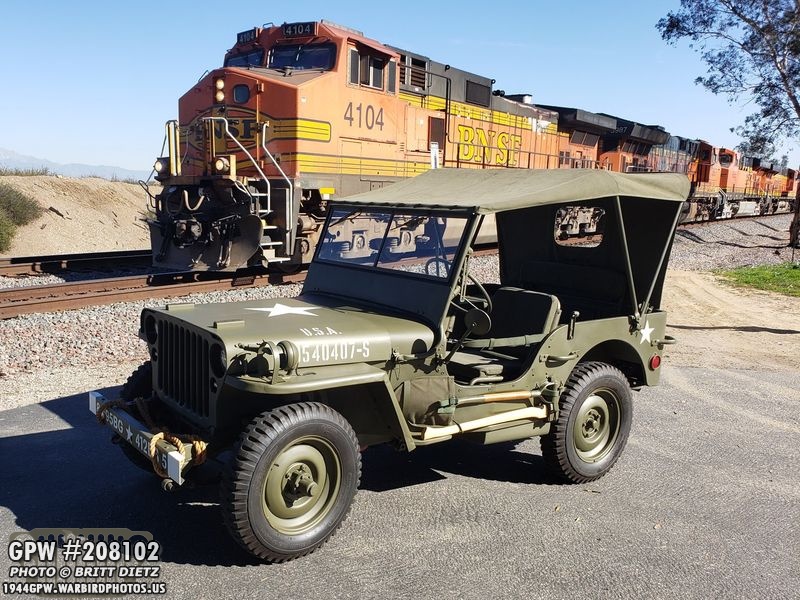
After the vacation, it’s nice to drive the Jeep again! While out shooting some video of the Jeep, happened to have a train come by making for a neat shot.
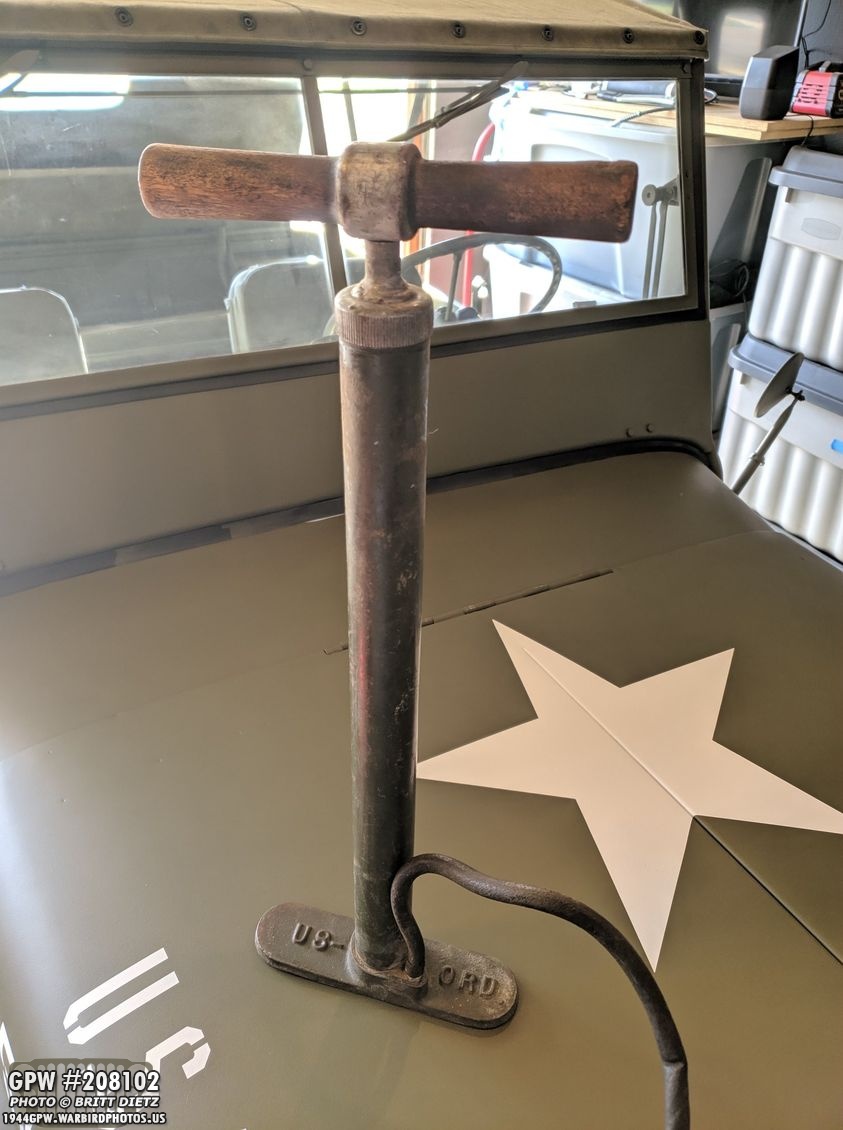
In the last major update, I mentioned how I won a WW2 tire pump on eBay. It arrived just before the vacation and I had some time to begin the restoration! The pump is attached via brackets to the bottom of the rear seat on the Jeep, which I’ll be adding in the near future.
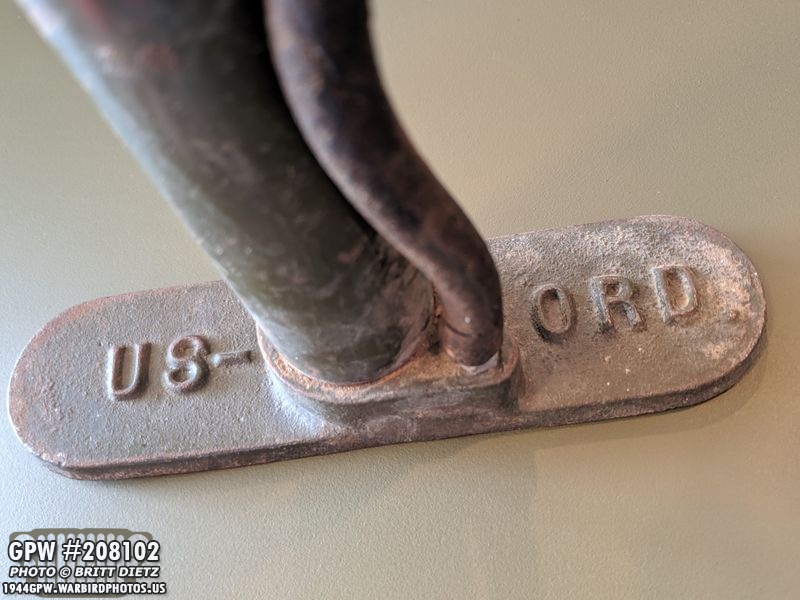
Here’s a look at the markings on the feet of the pump, with the US and ORD. The hose looks like it was cut short at some point. The attachment nozzle to the pump looks correct and the clip on the hose to that nozzle looks correct.

Underneath, it has the WALKER MFG makings making it correct wartime.

First step was to remove the hose, then start to take apart the rest of the pump.

Here’s a look at the handle once I unscrewed the cap from the main pump tube. On the left is a look at the wood handle with the original machine marks when the handles were being put together. On the right shows the ‘guts’ of how the pump works attached to the bottom of the handle. You have the main cap that screws into the tube, a spring, a larger fender style washer, two leather ‘cups’ to push the air, a lock washer, and a nut. Sadly, I’m missing the second fender washer that helps keep the leather stiff and in position, but that’s an easy fix.

After unscrewing the nut on the bottom, it’s easy to remove everything from the handle.
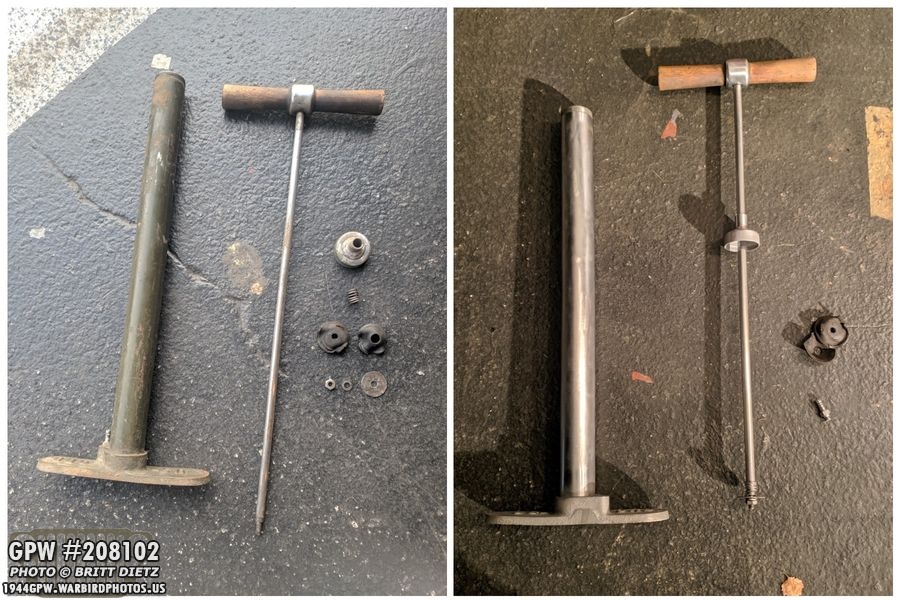
On the left is all the parts taken off the tire pump. After sanding, sandblasting, and cleaning all the items, I’m left with the right photo.

Taking great care not to get sand into the main tube or the hose screw hole, I sandblasted the feet of the pump.

The bottom proved to be difficult to sandblast, so I did what I could and hand sanded the rest. I’m not too concerned with getting it 100% free of paint.

With everything sanded and cleaned, here’s the whole assembly ready for painting.
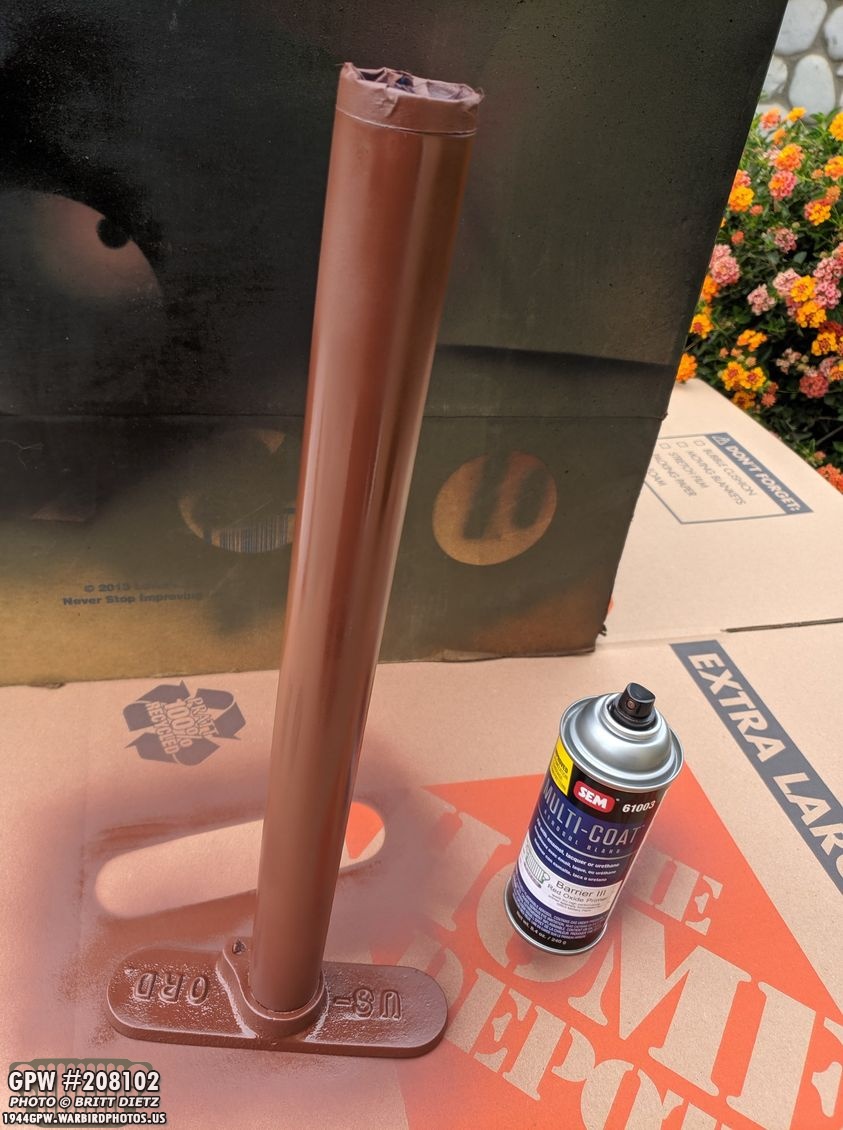
Using Ron Fitzpatrick Jeep Parts Red Barrier III red oxide primer for the start.

Then Ron Fitzpatrick Jeep Parts 33070 OD Green spray, just like my Jeep. Technically, it should be a bit darker and also glossy, but I wanted to match the look of my Jeep. If anything, I might spray some gloss overcoat spray before attaching it to my Jeep.

I sanded the wood handles as best I could, but years of grime, water, dirt, etc have soaked into the wood. I’ll seal it with a stain.
Final coats drying!
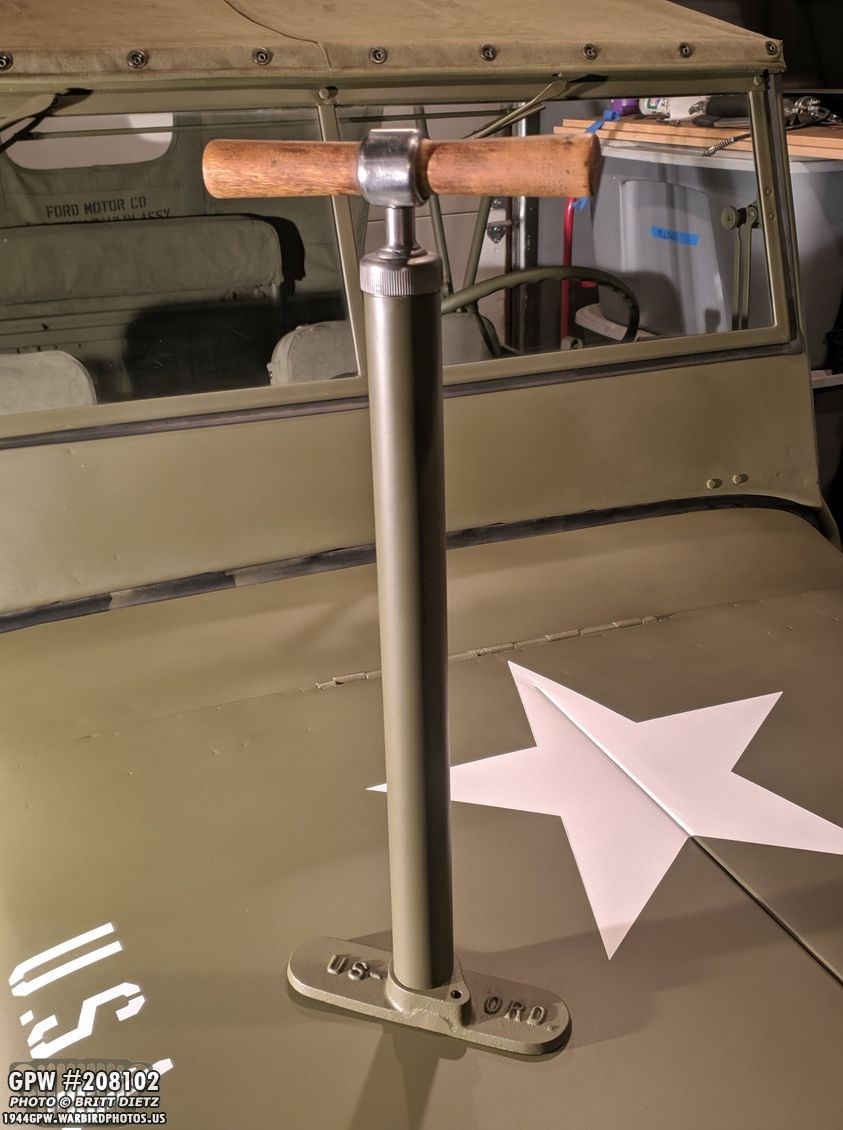
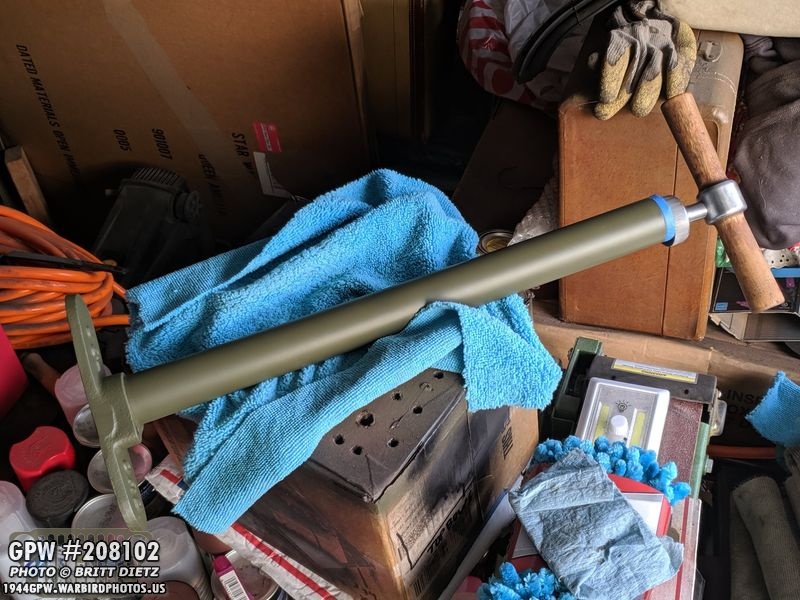
Here it is, all painted! But, it still needs a hose with the correct length and attachment.
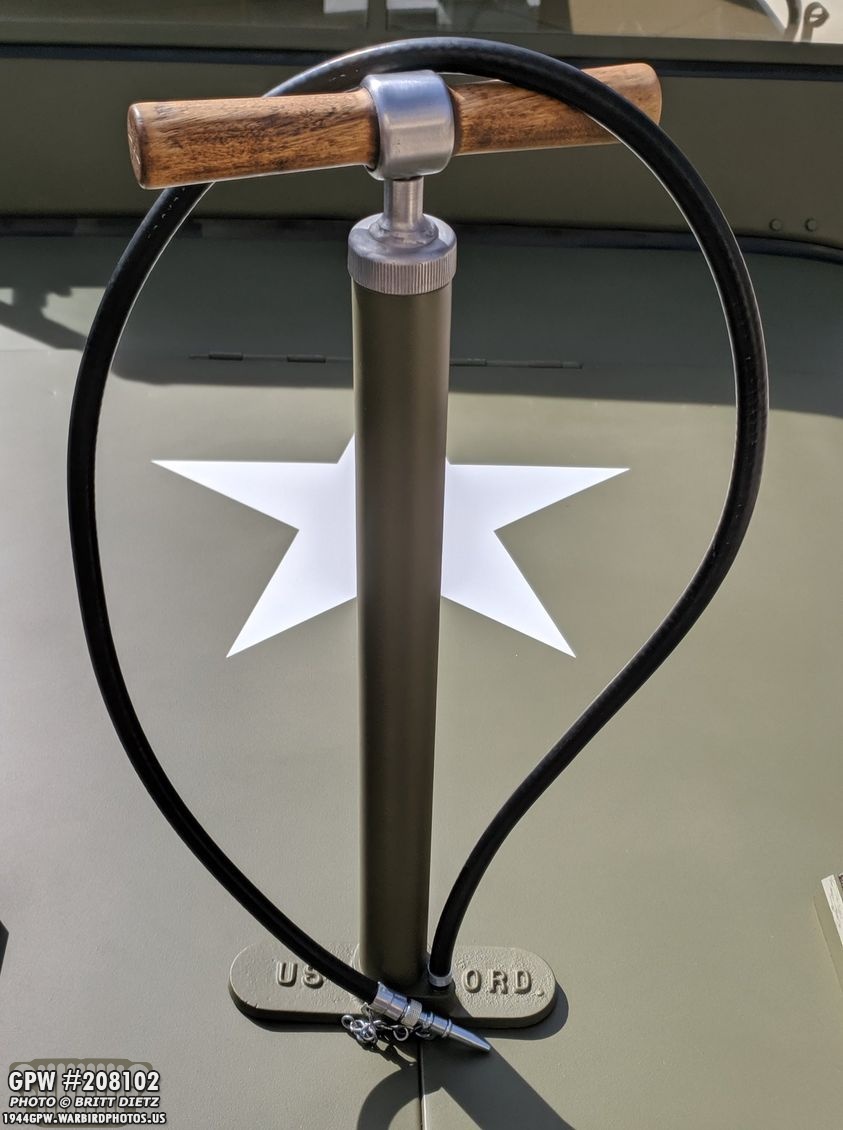
Thankfully, Peter Debella Jeep parts had a replacement hose with a correct nozzle on eBay. Perfect fit into the pump!
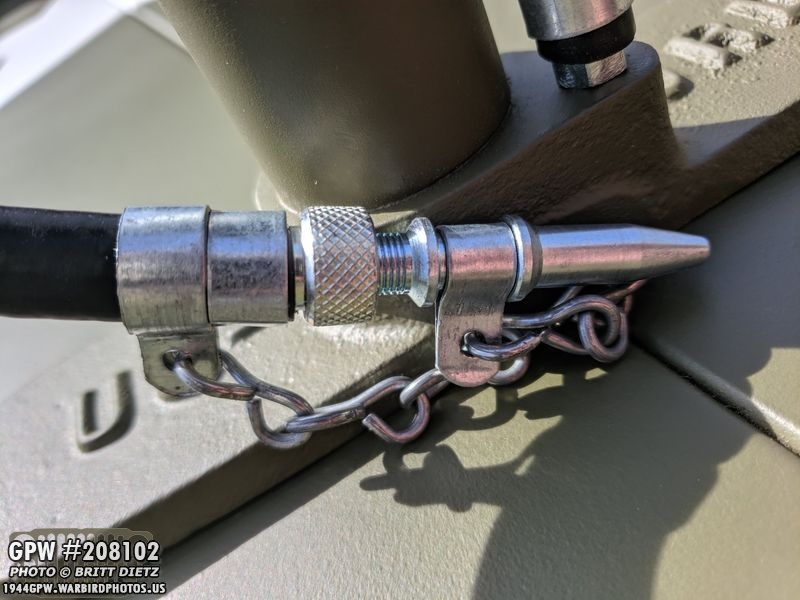
Here’s a look at the nozzle, which is two nozzles in one. The bullet-shaped tip unscrews out for when you want to fill tires. Tire pump is all done! Now I need to weld/bolt the brackets to the bottom of the rear seat so I can attach it on there! Hopefully, I can do that in the coming week.
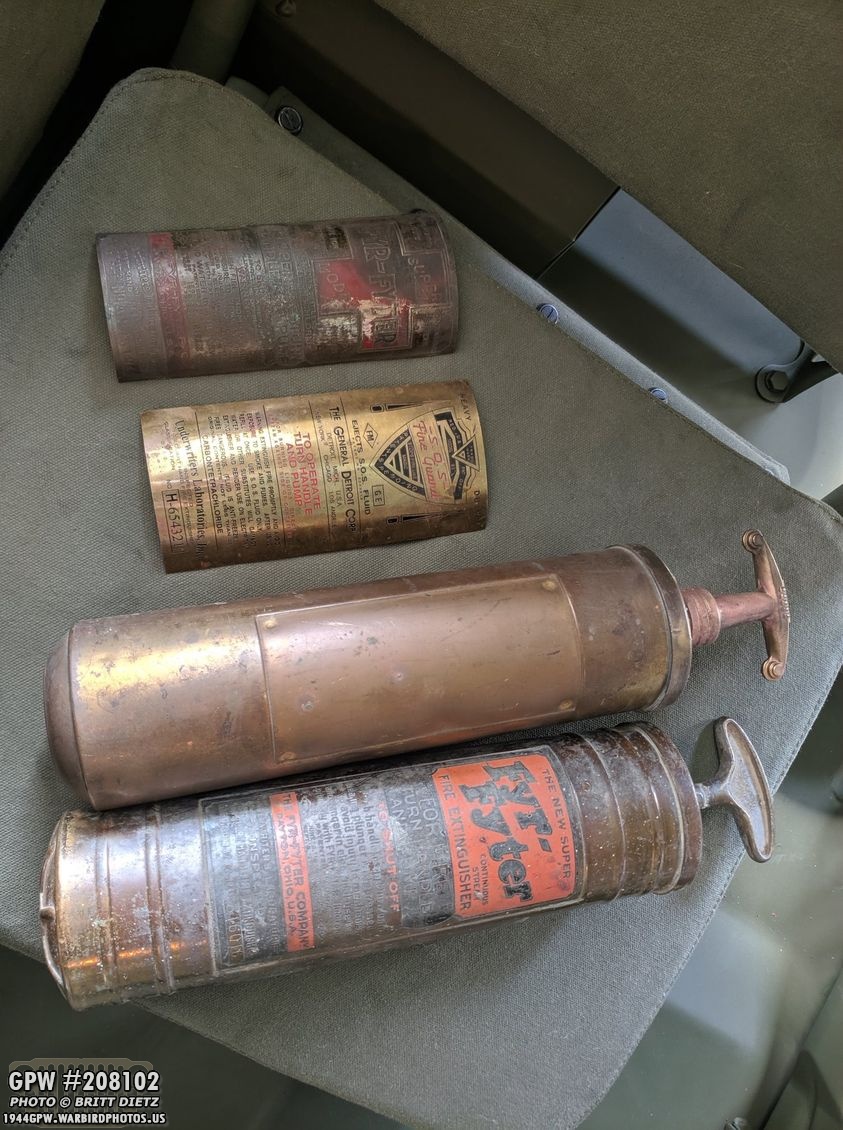
Another item I got while on vacation was two WW2 fire extinguishers and 2 extra fire extinguisher data plates. I’m still debating if I’m going to attach an extinguisher to my Jeep, as they go right next to the clutch… and for tall guys like me with size 13.5 shoes, it can be a huge pain.
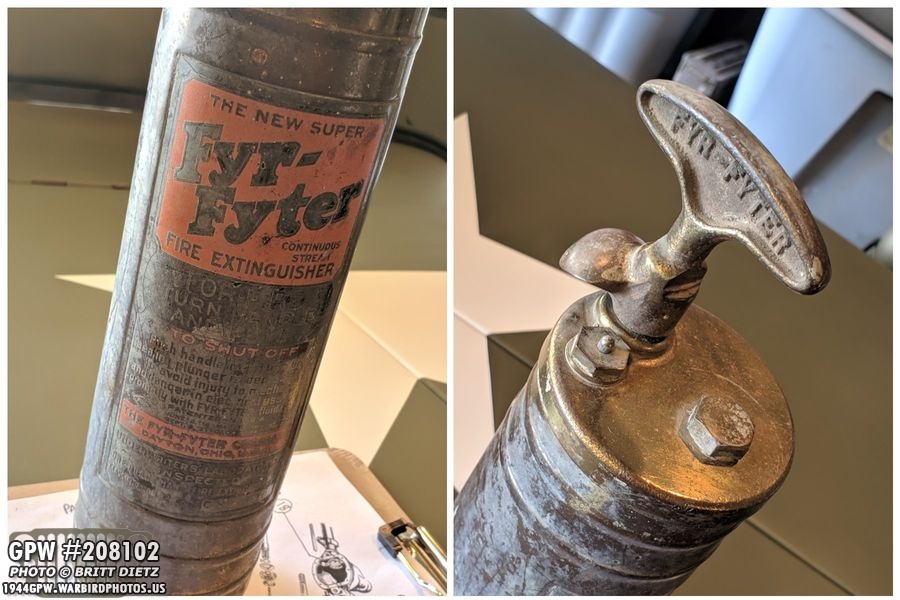
Here’s a look at the Fyr-Fyter fire extinguisher. It’s a common Jeep one. I’ll end up restoring these extinguishers regardless if I use one on the Jeep or not.

Now back to the axles! Again, the quick synopsis is that my Jeep has CJ2 axles, and I got a pair of wartime GPW axles from a fellow G503 member. They are in need of a full break down and restoration as they are mostly untouched since WW2. I’ve taken apart the rear axle and have been working on taking apart the front axle discovering all sorts of neat things along the way.

I got stuck in the last update as I needed a special tool to unscrew the wheel bearing nut. That tool arrived from Ron Fitzpatrick Jeep Parts, a large special socket.
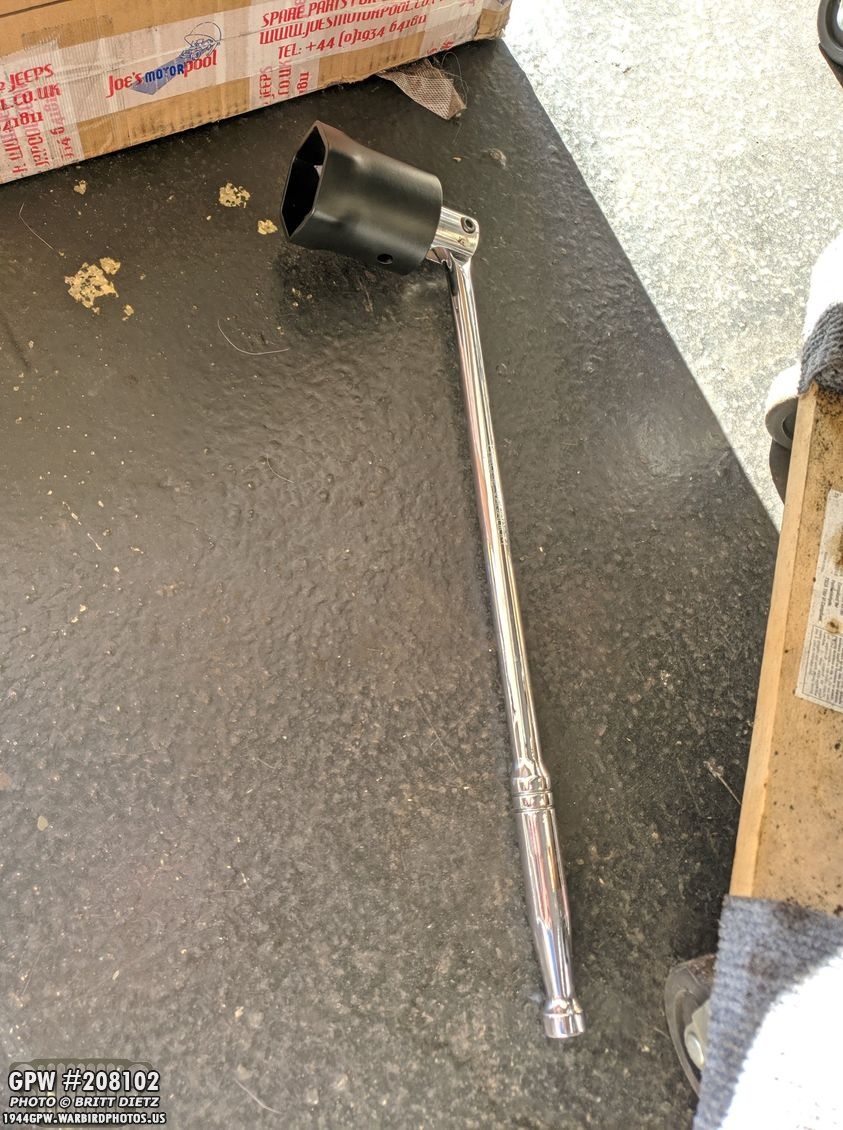
Here’s the socket attached to my breaker bar. It took a bit of work to break free the wheel bearing nuts, but they came off.

Here’s a look at the front axle driver’s side with the nut still in there (covered with grease).
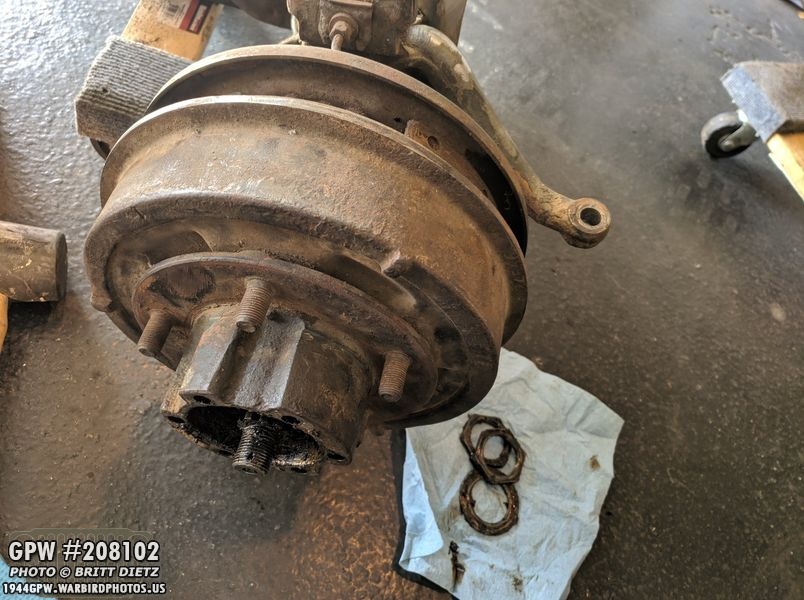
With the two nuts and washers out (on the blue shop towel), I could then carefully pull off the brake drum.

Here’s a look inside the brake drum. Not too bad, little bit of rust (looks like the axle was sitting for some time) but should clean up nice.

Here’s a look at the spindle assembly. That bearing actually didn’t come off with the drum, it’s caked on there with dried grease. The brake plate, brake shoes, and the cylinder look untouched for 75 years.

Here’s a look at that caked on bearing. I had to scrape off the dried grease and carefully work that bearing off the spindle.

Getting the brake plate off made me realize I need to remove the steering arm on this side and the king pin cap on the bottom. Here I’ve removed the 4 bolts and lock washers so I can remove the steering arm. You can see the F stamp already on the king pin.

Under the steering arm were several shims. The shicker shims had F stamps while the thinner ones did not.

Here’s a look at the brake line flex hose guard, bolts, and brake line clip.
I found the GPW and F stamp markings after some quick wire wheeling the brake line flex hose guard.

Close up of those markings.
And the thicker shim that has the F stamp. Its neat to see the many many items that have stamps. I’m certain this is the first time since WW2 that these shims have been removed, along with most of this front axle.

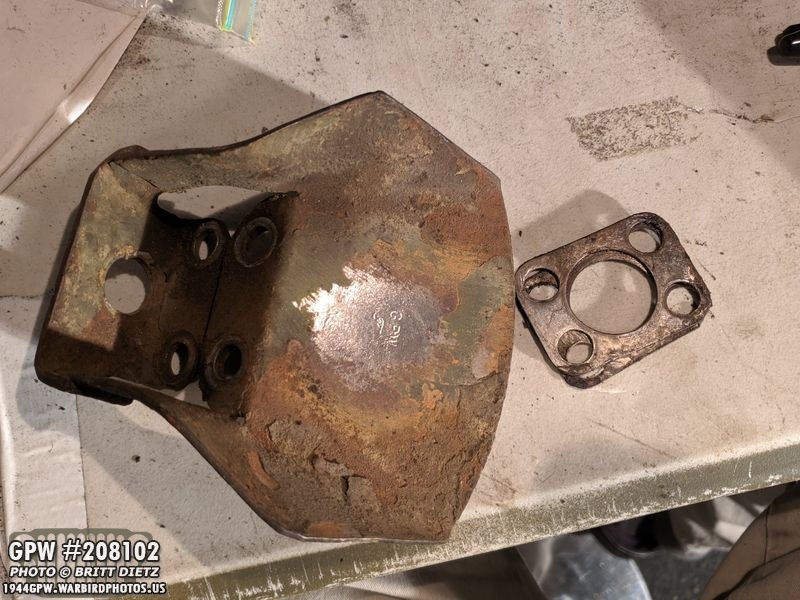
With the steering arm removed and the bottom king pin cap removed, I can then get access to the brake back plate bolts to remove it.
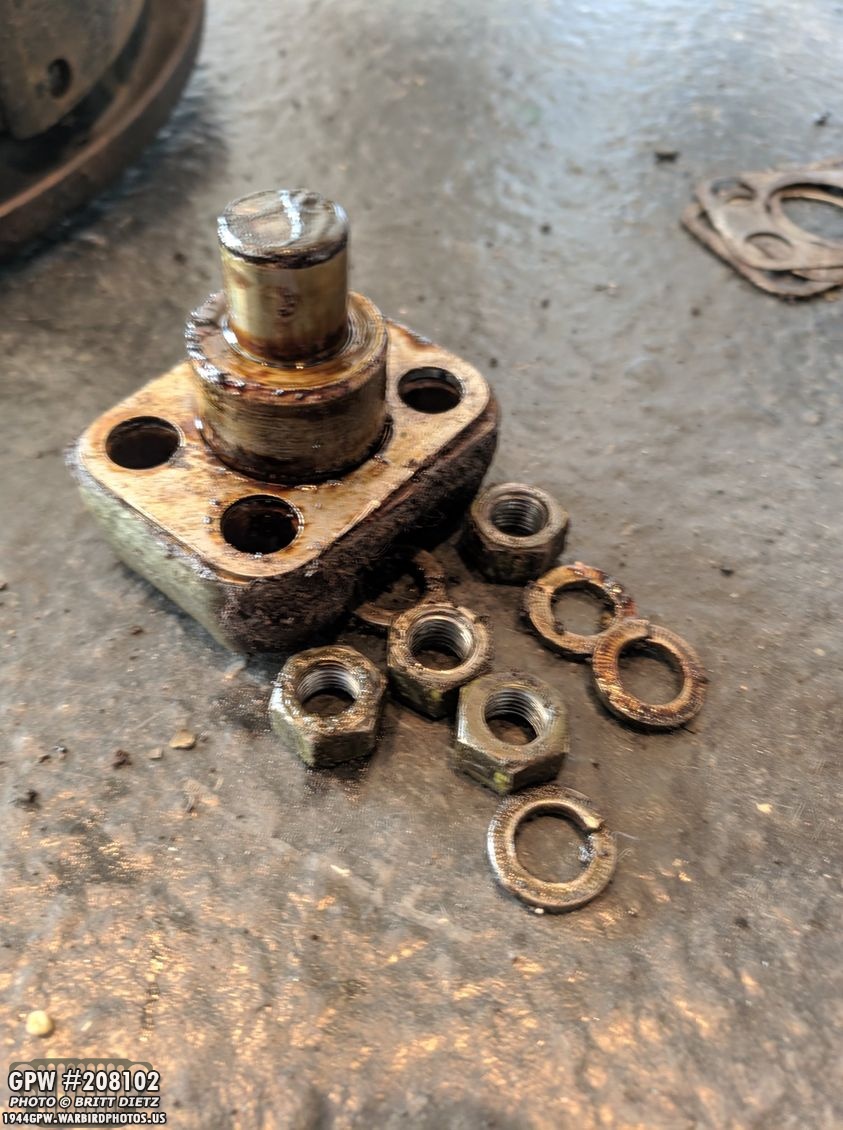
Here is the king pin cap (with the king pin sticking out) and the washers/lock washers.

Back to the spindle, I’ve removed the dried grease and have begun to slowly wiggle it off. I used some PB blast to help slick the path better.

With that bearing removed, I could then remove the brake plate, and here’s what I’m left with. So much grime on the knuckle!

Here’s a look at the front axle so far. I decided to take apart the brake backing plate on the bench vs while it’s on the axle as it’ll be easier.

Here’s a closer look at the brake backing plate… and look what I happened to find on the brake shoe… an F stamp! Original Ford brake shoes!
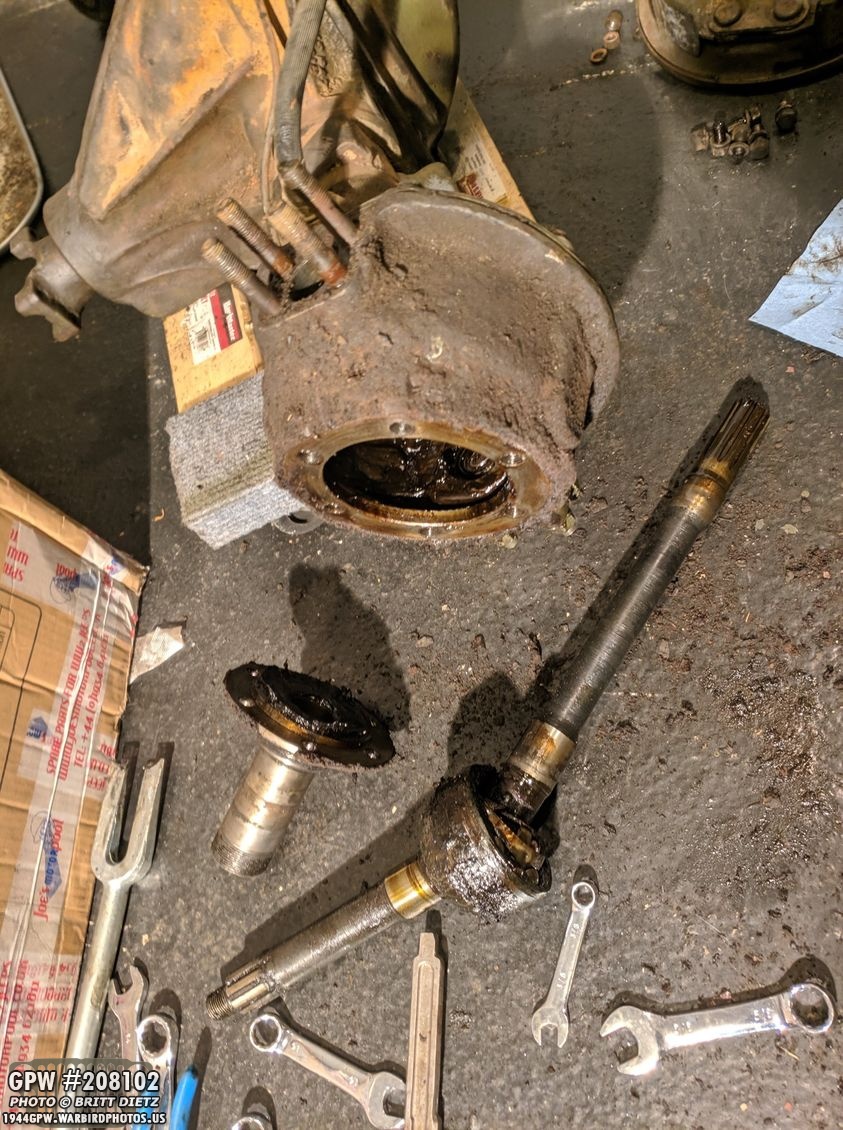
With the plate removed, I was able to take off the spindle and pull out the Rzeppa joint. Now to remove the knuckle!
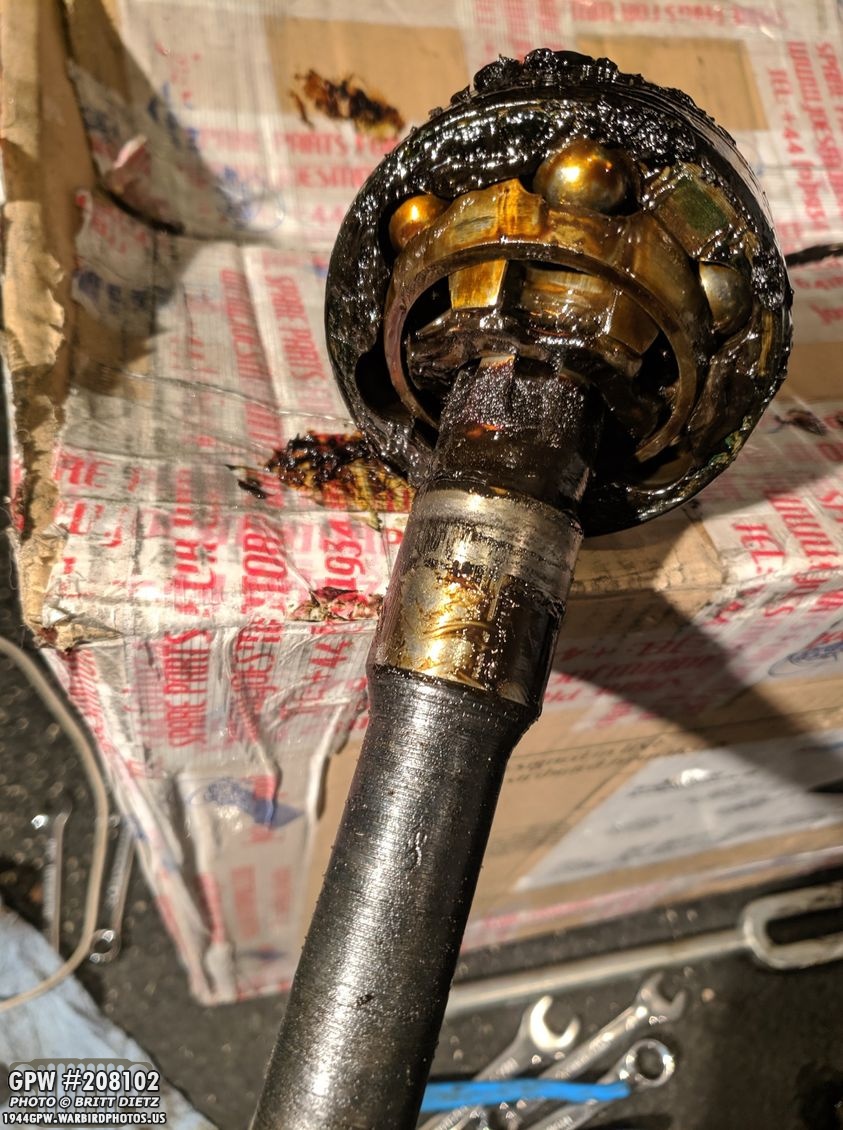
Here’s a look at the grease caked Rzeppa joint. Notice the F stamp on the shaft.

Here is the spindle, caked with grease as well. Is there an F stamp on this?

Yup! On the rear side plain as day!

Here’s the knuckle removed, with so so much grease.

The knuckle before cleaning. I decided to see how well my ‘bucket-o-gasoline’ would clean this in a few hours.
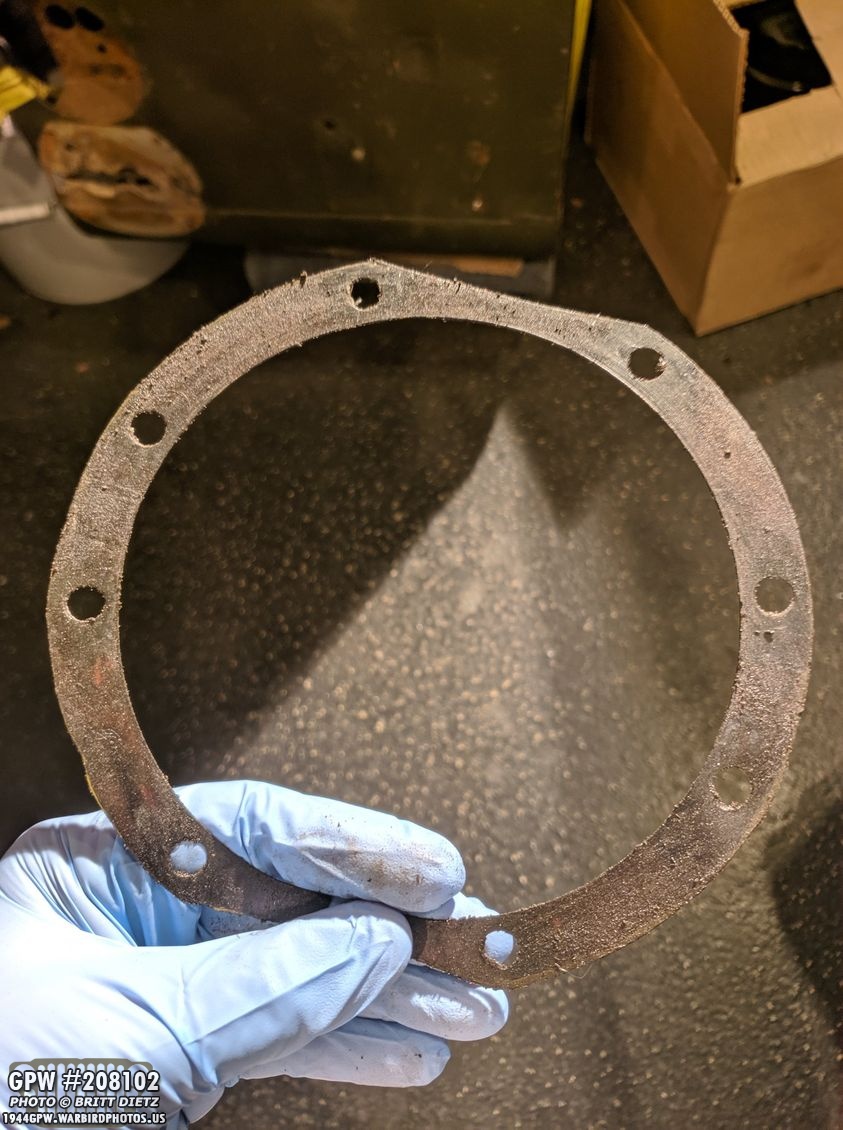
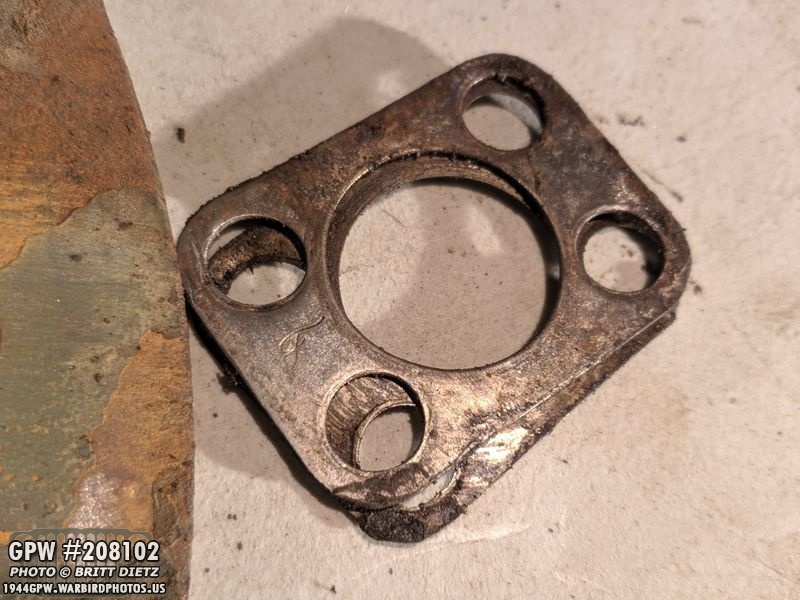
While it was in the fuel cleaning, I took a closer look at the gasket for the knuckle. It’s in great shape. And even better…

… it has an F stamp as well!
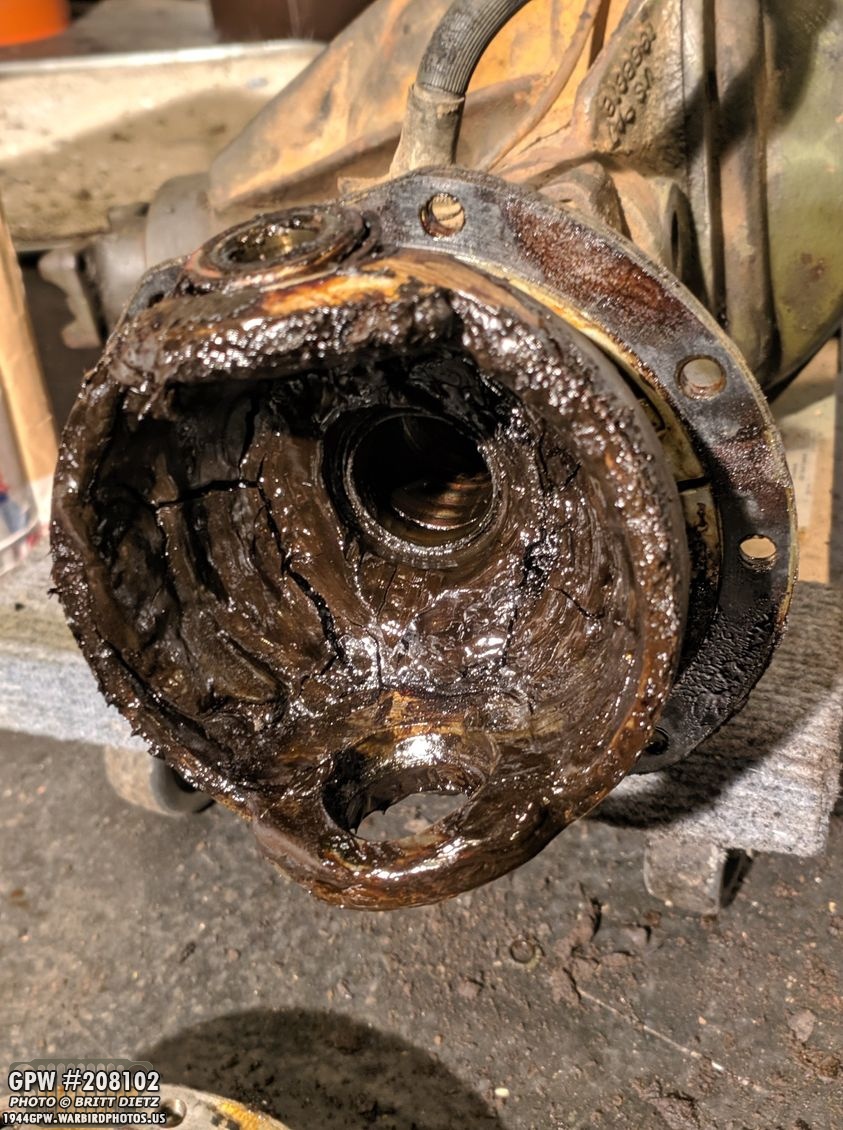
Looking back at the housing, I’m going to have a heck of a time cleaning this. That’s THICK dried and gooey grease.

The last thing I could remove on this side of the front axle was the knuckle seal. I also removed the two smaller bearings in the knuckle where the king pins go in.

On the knuckle seals was this awesome GPW F stamped Axle id plate. No doubt its RZEPPA!

Here are the two nuts, two washers, and two bearings with a seal for the driver’s side after I soaked them in the gasoline. Nice and clean! It allows me to inspect them better. Sadly, just like the rear axle, the nuts are beaten up from someone tightening them without that special socket. I’ll replace those.

The bearing seal has ‘VICTOR 49530’ stamped on it.

The smaller bearing nut lock washer has an F stamp on it! It’s in good enough shape that I’ll reuse it.

Here are the two wheel bearing cones, in pretty good shape. Both spin well, so I might be able to re-use them. They are made by TIMKEN with 06581 stamped on them.

I soaked the knuckle seal parts in fuel as well for a short time just to remove the grease. I will probably have to replace the felt interior, but they are reusable overall. I will sandblast the paint off of them.

A better view of the RZEPPA Joint axle ID tag.

The king pin bearings look to also be made by TIMKEN 11530 (which is wartime). The markings on the right one are so faint they are hard to see.

The two knuckle seal parts have 17131 and 17132 with a logo I can’t decipher.

After soaking the knuckle in the fuel, it came out almost totally oil free! I will give it a really good cleaning and inspection. Here’s the before and after fuel soaking.

On the other side of the knuckle, I hunted for the F stamp and spotted it immediatly. Can you see it?

There it is! What’s funny is that when the spindle is attached to the knuckle, this F stamp is totally hidden.

On the outside of the knuckle, I see GP3148 along with some other various markings. Once I sandblast this, these markings will be easier to read.
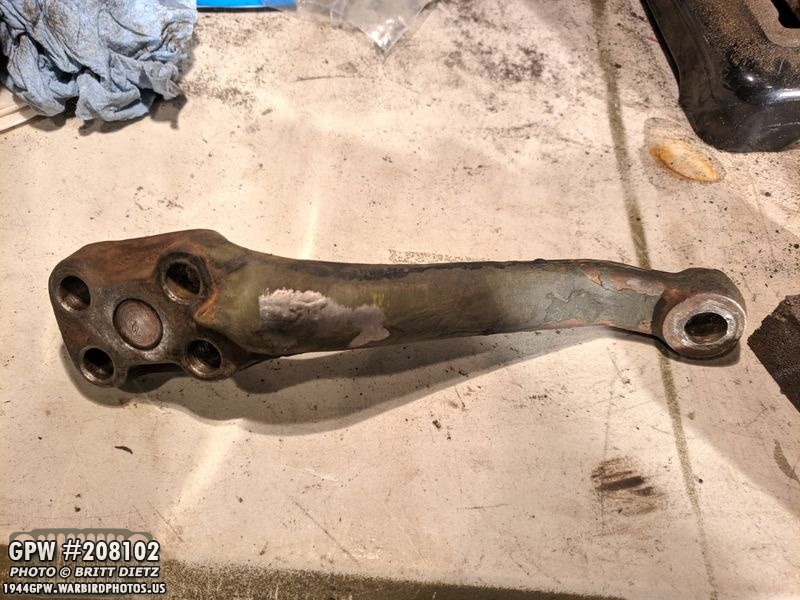
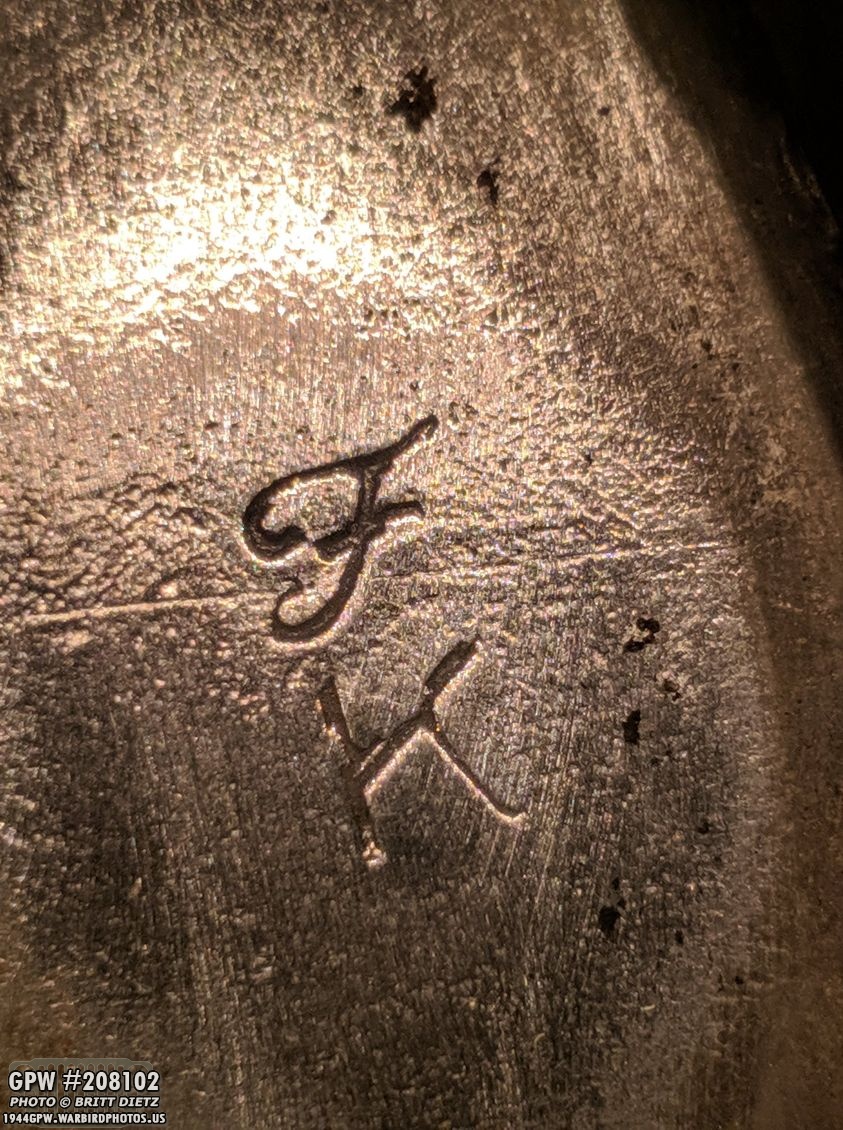
Time to shift the attention to hunting for F stamps on the other items! Here is the steering arm I took off. Knowing where the F stamp was on the other arm, I used the wire wheel to remove the paint…

And while it’s faint and almost worn away, there is indeed a F stamp there with what looks to be a number 5.

The king pin, however, has a plain as day F stamp.

Next it was time to find the F stamps on the RZEPPA joint. I had already seen that one on the shaft. Note the lack of grease after soaking for just 30 minutes in the fuel.

Found the F stamp on the other half of the joint next to TC.

And here’s a close up of that F stamp on the other shaft.

There’s also a F stamp on the end of the shaft with the gear end.

I also noticed a Z (or N?) stamped on the shaft.

Turning my attention to the brake plate, it was time to take it all apart! Not a quick task, it takes time to remove everything, especially the spring holding the two brake shoes.

K VP markings on the two anchor pins.

After about a half hour, here are all the items removed from the plate. All of them look to be in great condition. I will be replacing the brake shoes, cylinder, and brake lines. While I could restore the F marked brake shoes, I’d rather start fresh with new ones for safety concerns. I can actually get F marked reproduction ones.
Here’s a close up of the F stamp on the brake shoe.
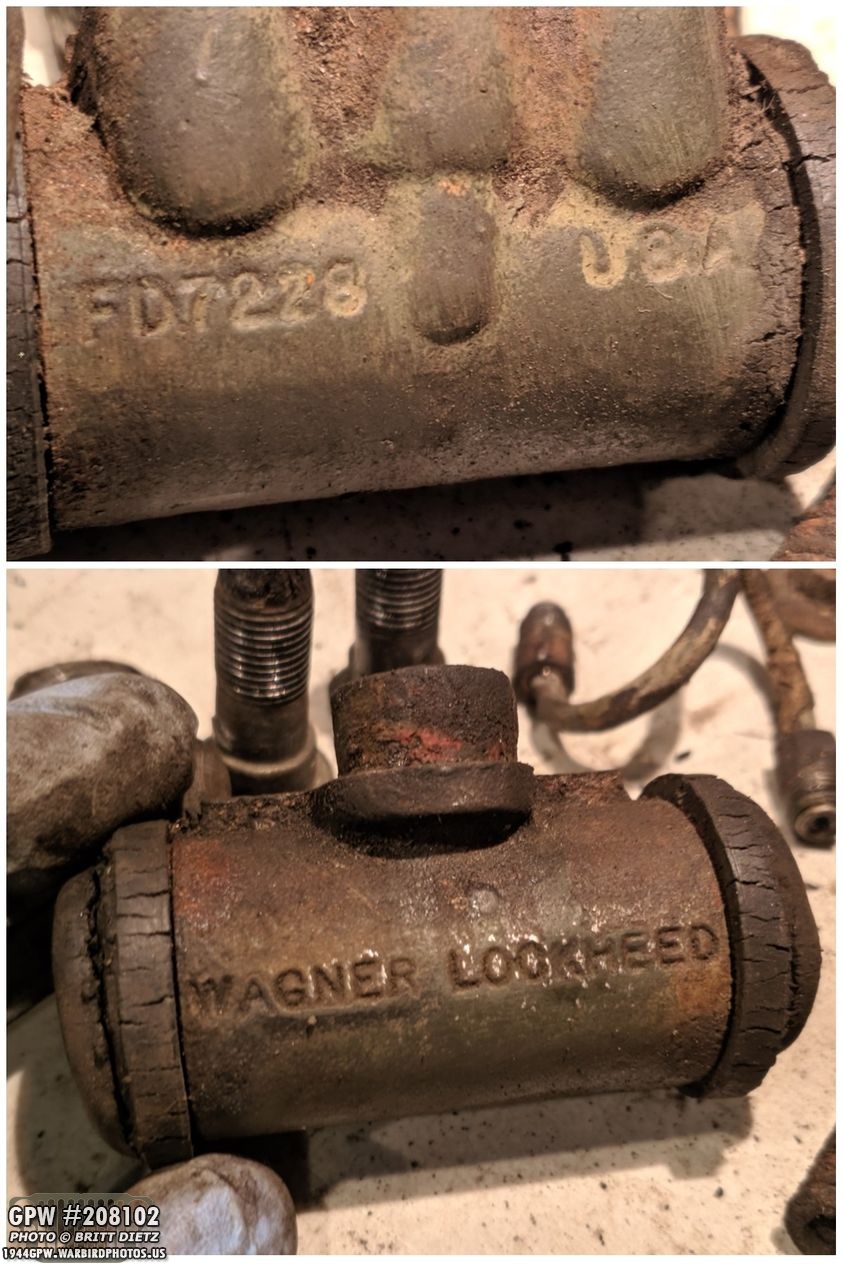
The markings I found on the cylinder. Looks like FD7228 USA and Wagner Lockheed.

And the markings on the boot, with 5994 and 85.
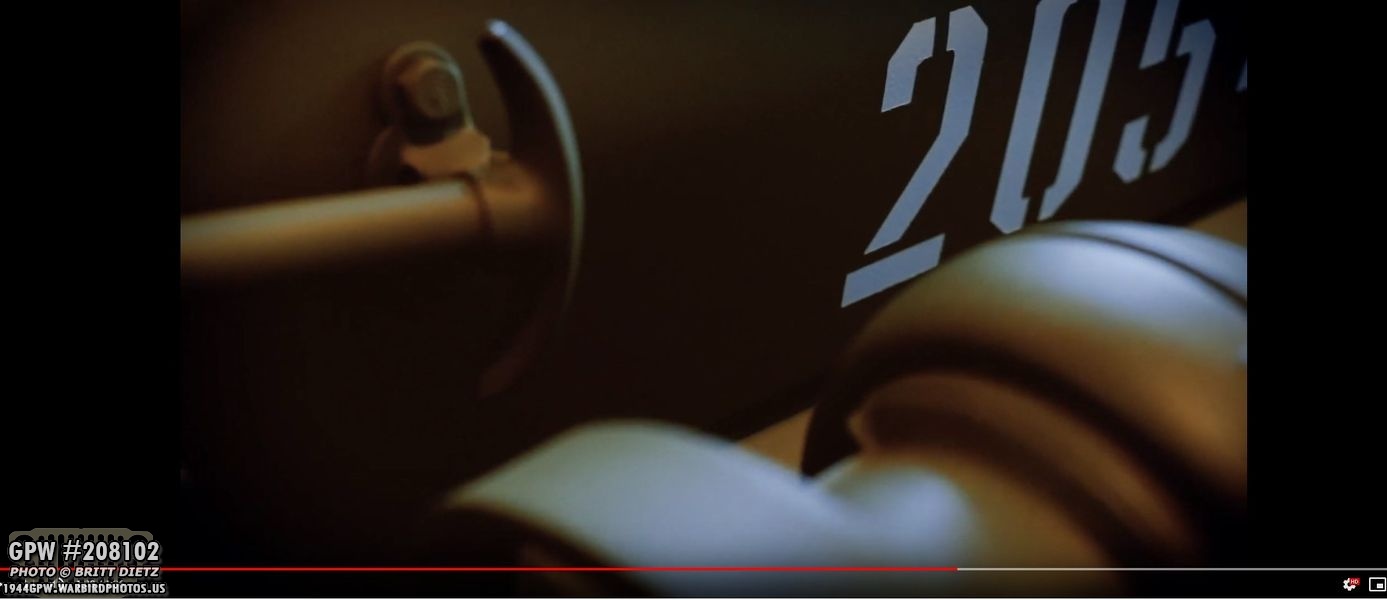
And that’s it for this large update! This coming weekend I’ll be doing the same process to the passenger side of the front axle, so look for that break-down next week. I hope to also begin work on mounting the tire pump brackets to the rear seat. I’ve also begun filming a very detailed video tour of the Jeep. It’s going to take some time to film and edit, but I hope to have a comprehensive tour of everything with narration. Here’s a screengrab from a test video I did. So that’s it for now… see you next week!