 Electrical Work and Engine Rebuild

This past week has had a lot of activity on the Jeep with more small projects as I wait for good non-windy weather to paint the frame. Lots of electrical items have arrived for the Jeep, and I was able to test most of them with the battery. Some fun surprises! Work is about done on the engine with the oil pan reinstalled, just needs to be put back on the frame once the frame is painted.

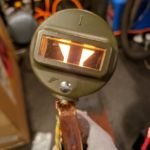
Testing one of the taillights… more on that in a few photos!
If you read the last update, I cleaned up my take-off Voltage Regulator I got off eBay and opened it up to find it was perfect inside…

After sanding the top cover and base, it was time for the special black ‘wrinkle’ paint.

On a rather warm day (80 degrees, first warm day of the year), I hit it with the special paint. This paint is made to go over the metal directly, you can’t primer the items. It leaves a textured appearance after baking in the sun.

Close up of the texture. I have to rehit the cover with more of it as there’s a section that didn’t wrinkle well, but that will have to wait till the weather gets back to being hot again.

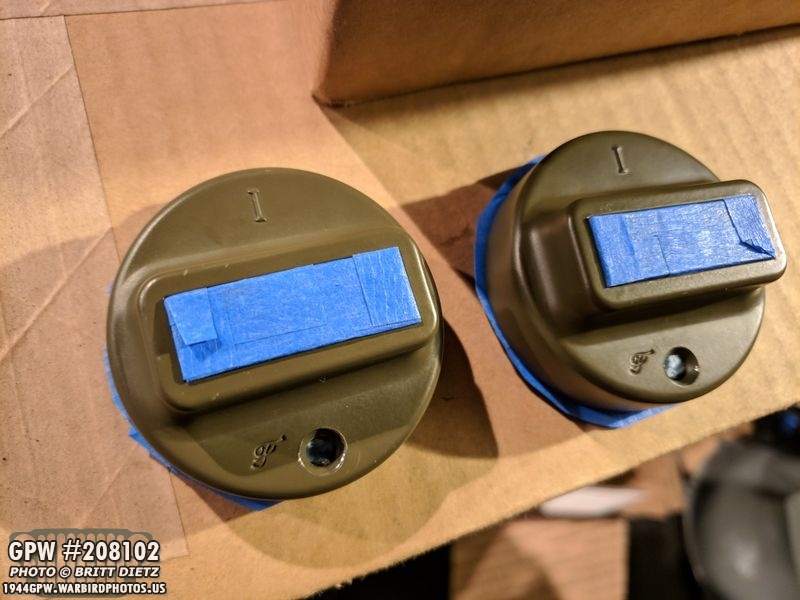
The base of the Voltage Regulator, however, cured great and is ready for reinstall. (the blue painter’s tape is there to protect the screw threads when I was painting it).

The electronic guts have been put back on the base, and the two reproduction cork gaskets under the three terminals added.

Finally, the main cork gasket added. This will be the last step until I can finish the cover.

During that same day as the warm weather, I decided to try and paint some more of the various parts needing their other side hit with OD Green. It was a lightly breezy day, so I felt it was better to do small parts rather than the frame (in red). Here’s the table with all the parts hit with the OD Green. Yes, some have been painted already and are getting a second coat.

If you go back a few updates, I had spent some time fixing the thin brittle copper fins on the radiator with pliers and a screwdriver. This is before I had fixed them. After I got them all straight again, I noticed some of the paint had worn off the copper, so I hit the radiator with some more OD Green paint.
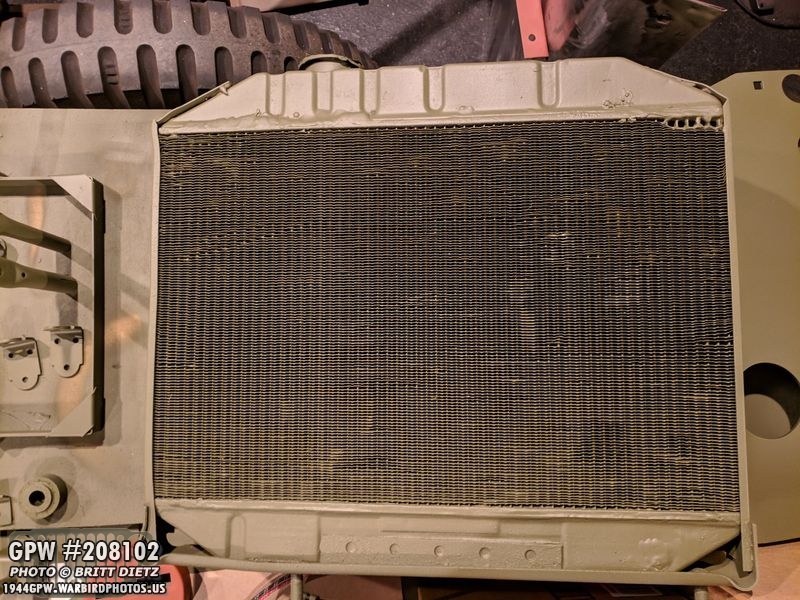
Boom! Look how much better it looks now!
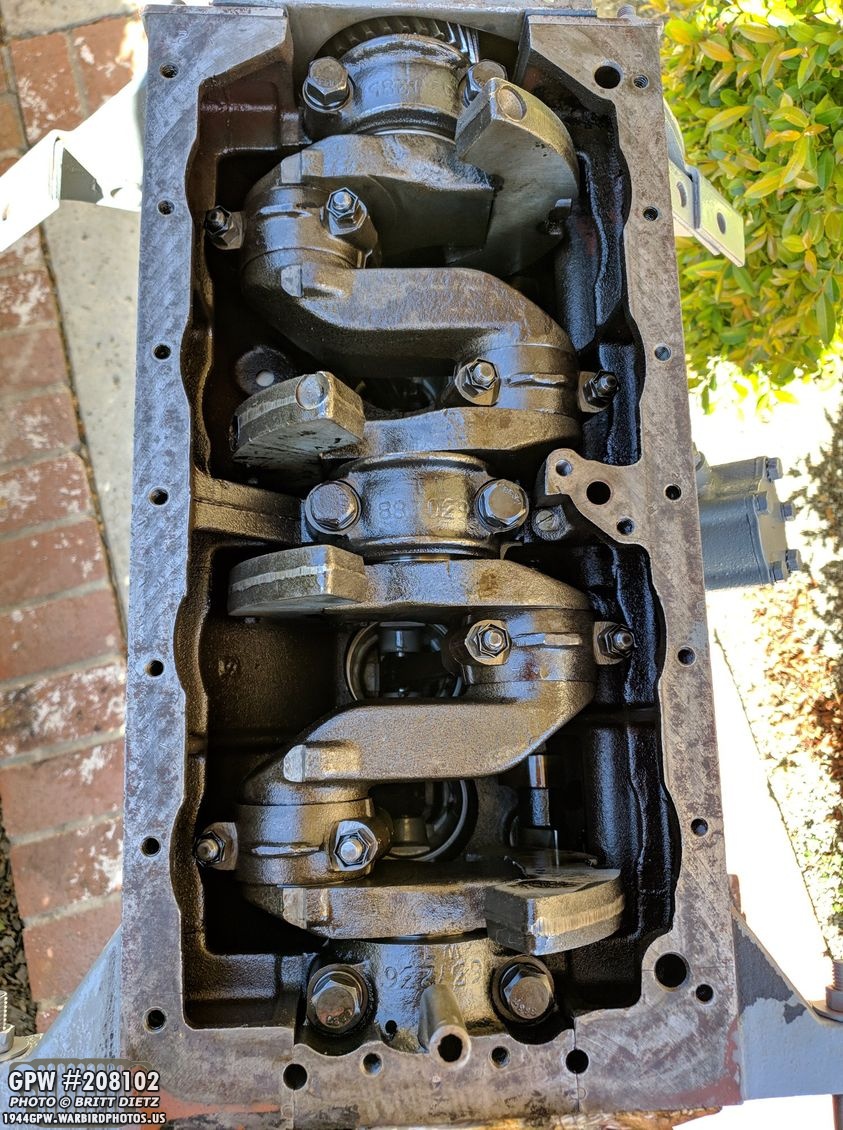
In prep for re-adding the oil drip pan back on the engine, I used my engine mount and rotated the engine upside down. This gave me a good look inside the engine.

The oil sump filter has been reinstalled (it sucks up the oil from the oil pan through a filter) and the large gasket has been installed. This took a while as I had to add a very thin layer of Permatex gasket sealer all the way around the bottom of the engine and around each screw hole before putting on the gasket. I added another thin layer on this side of the gasket as well (forgot to take a photo) before installing the oil pan.
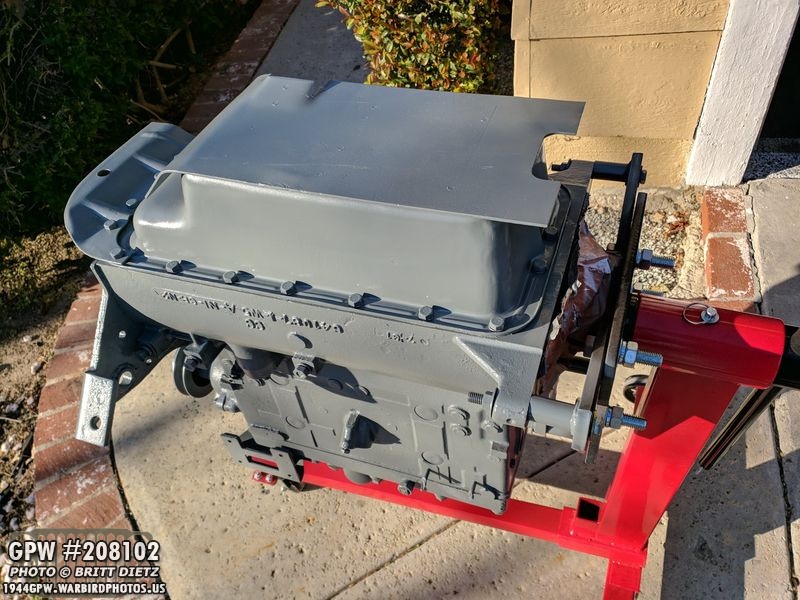
Oil pan is installed! Each screw was tightened, but not overly tightened as that can cause warping and oil leaks. I also reinstalled the oil drip pan on the front of the engine. It’s amazing how much different it all looks from how it started.

Another look at the oil pan and the front drip shield.

Rotated the engine back around to be upwards, and it’s looking really nice. All that’s left to do is basically take it off the engine mount and onto a dolly so I can reinstall the flywheel, clutch, and pressure wheel. Then it’s ready to be reinstalled on the frame.

Another look at the front of the engine with the water pump, oil filter bracket, thermostat elbow, and timing cover all nice and neatly installed.

I hit the oil filter bracket (left) with another coat of paint since torquing the bolts down caused them to get a little scratched up.
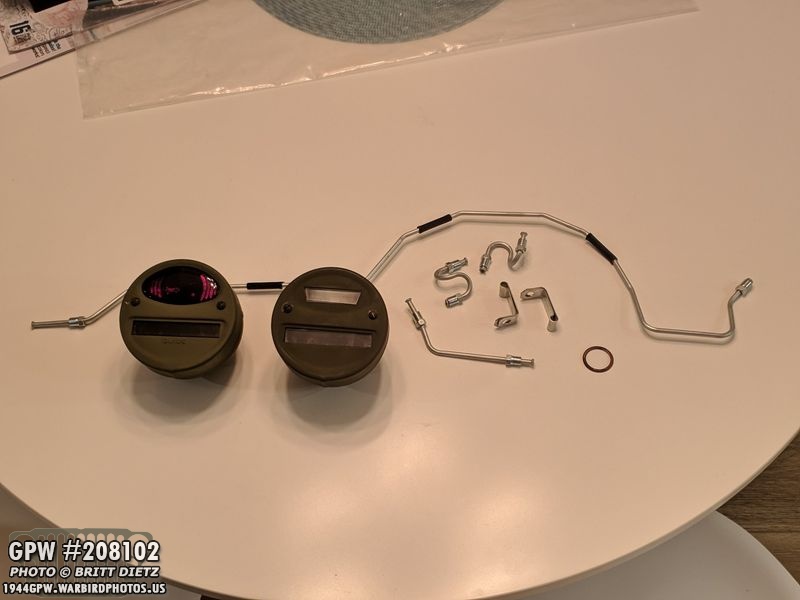
Now on to the electronics and some new items! A new shipment of things came from eBay which included two (what I thought were reproduction) taillight assemblies, a new brake line for the front axle with assorted clips, and a copper gasket for the engine oil pan drain screw.
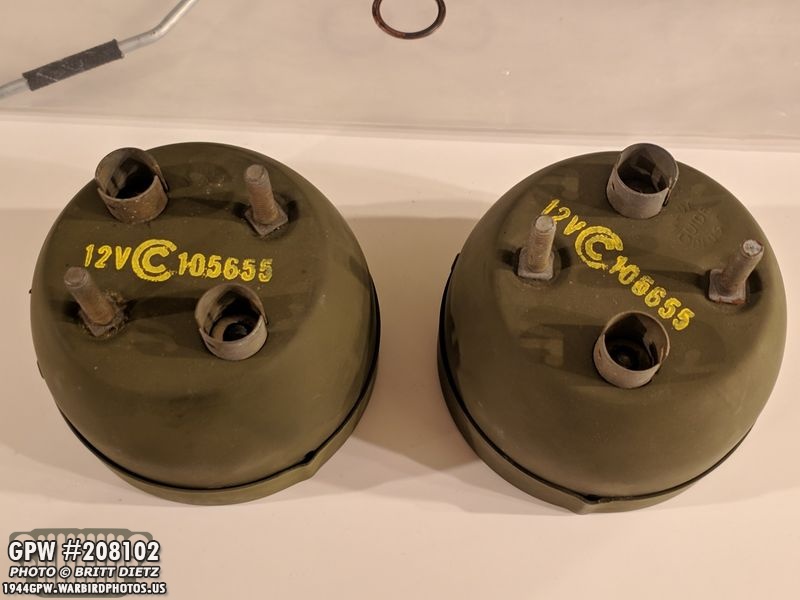
The two taillights are correct for the Jeep. I see a lot of people using two of the driver’s side taillights since only the driver’s side has a stop light, but I’m going for authentic. Here’s the backside of, again, what I thought was two reproduction taillights. They are 12 volt, which my Jeep (and most now-a-days) has been converted to. Technically 12v tail lights were used on Dodge trucks during WW2 since they were 12v and Jeeps were 6v, but the only difference is the voltage, nothing else.

After opening the taillights I discovered they are actually New Old Stock taillights (meaning actual WW2) and two of the lights are dated January 1943!
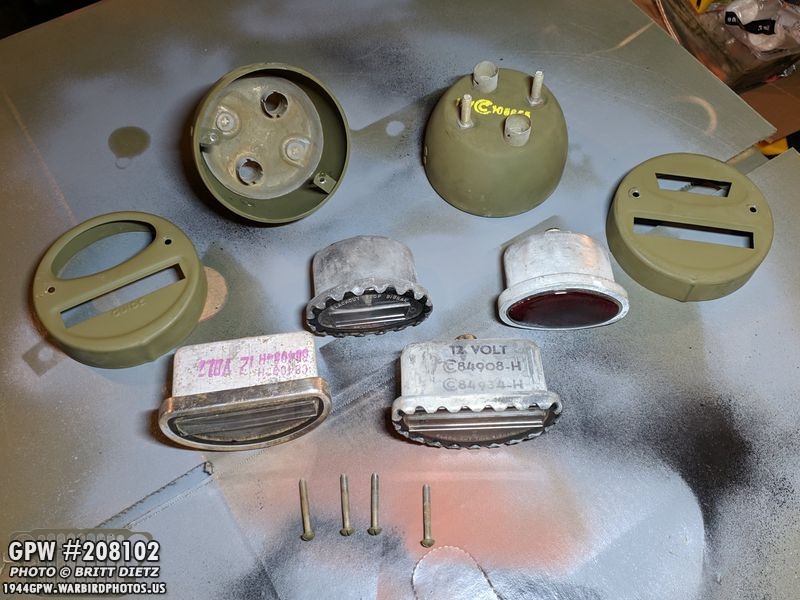
Here are all the pieces to both tail lights when disassembled. Sadly, the Green paint isn’t the same shade as my Jeep, so I’ll have to strip down them to the metal, prime them, and paint them.
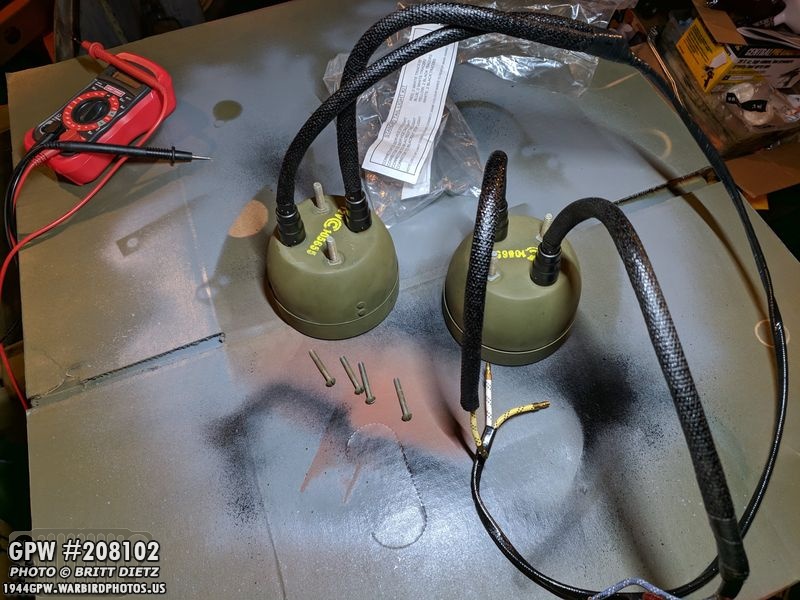
But before I strip them down, I tested continuity on them to make sure they work with the correct wires from my Jeep wiring harness. I can’t wait to start wiring the Jeep when I get the body ready.
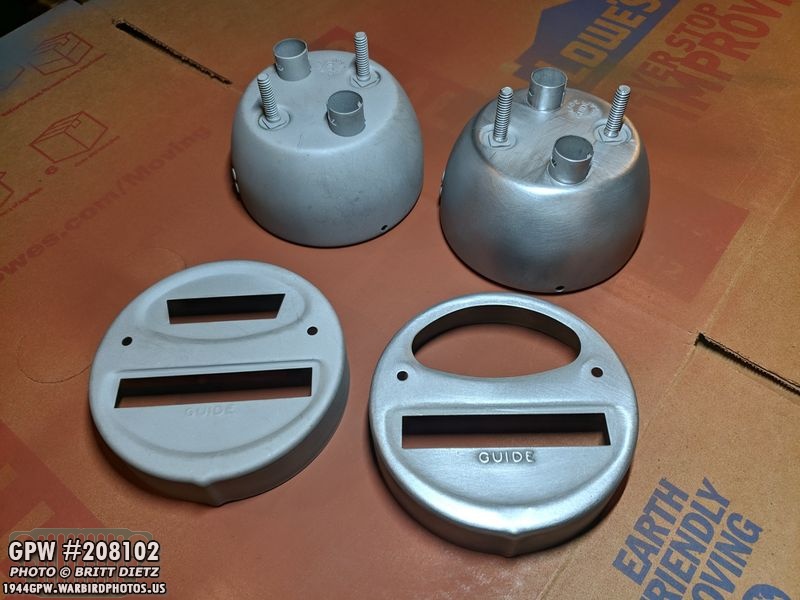
After sandblasting (left) and after sandblasting and sanding by hand (right).
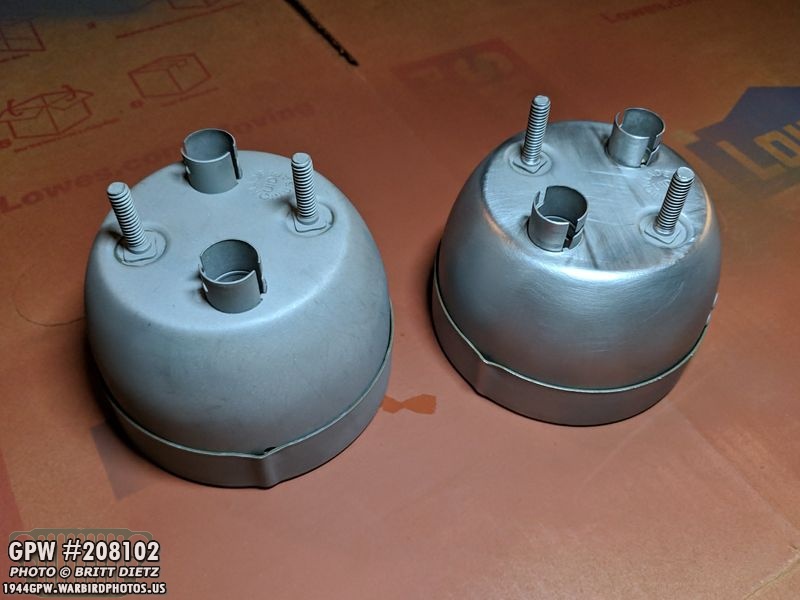
Sandblasting does a great job, but it can leave a matte surface. I prefer to sand it afterwards to open the pores of the metal.

Before priming, I talked to someone who mentioned I could hook all the lights in the Jeep up to the battery and test them to make sure they work. So I put the tail lights back together and tried each bulb with the battery… and they all worked PERFECT!

Now that the testing is done, time to paint them with primer! I masked off the screws and plug ports with painters tape.

All painted with Red Oxide primer! I’ll have to wait for a sunny day to paint them with the OD Green.

Next up, I tested the headlights with the battery, and they work! Right now each of the bulbs are different… the one on the left is a new one I got on eBay since the one that was there was a post-war style. Now that I know it works well, I’ll be replacing the one on the right so the pattern matches on both.

Another shipment arrived, this time from M.V. Spares and MidWestMilitary containing two correct style GPW (Ford) maker lights (one of the last ones possibly to get them due to issues with Ford!), and a 3 post terminal to go with a 12 volt to 6 volt resistor. I also went and got 12v bulbs to replace the 6v ones in the marker lights. I sold the two Weasel marker lights that were incorrect for the Jeep and used that money to buy these repro ones.
Tested the marker lights with the battery, they work great with the 12v bulbs!

But, again, the Green paint is wrong so I’ll have to repaint them as well.

I did throw them onto the grill (still undergoing work) and tested them, the marker lights work great!
Next up will be to paint them. since the paint is ‘close’ to my 33070 shade of green, I’ll just hit them with the paint instead of starting all the way over from the metal. They are now masked off and ready for paint.
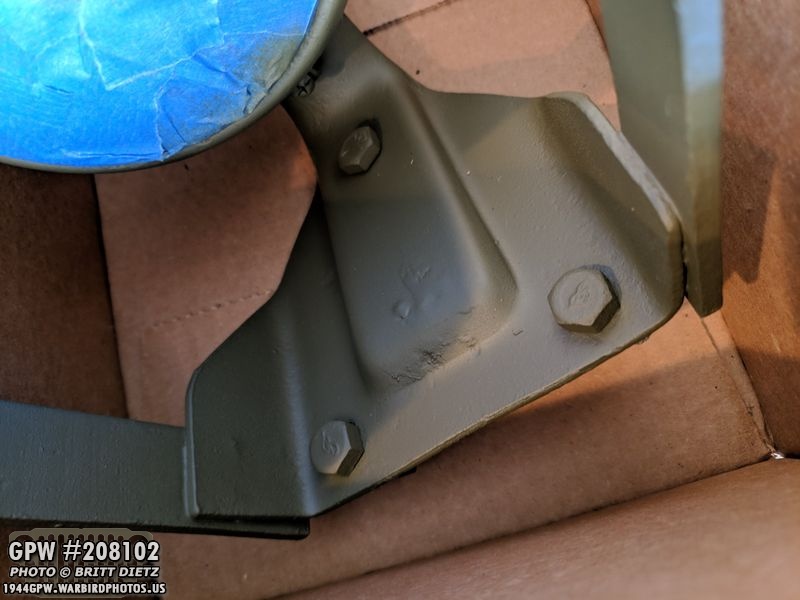
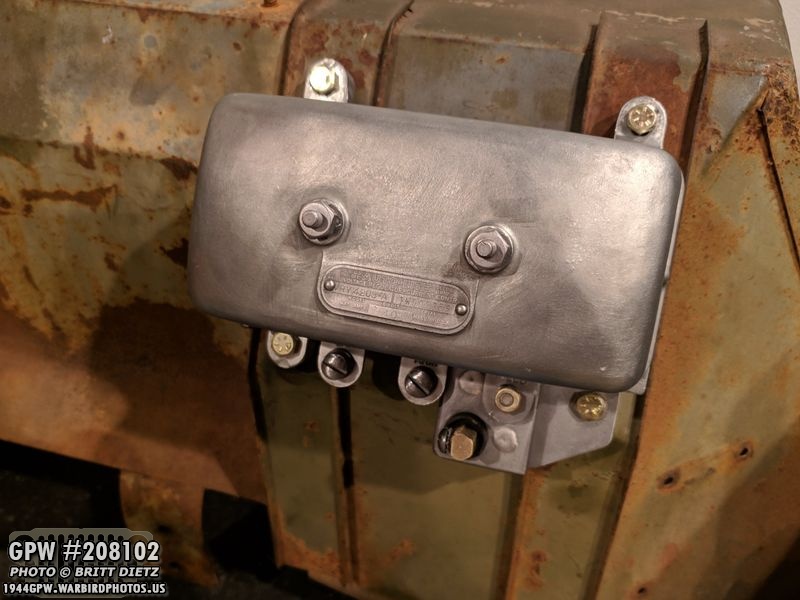
Almost done with the Blackout Drive Lamp for the driver’s fender, with some touch up paint on the original Ford stamped bolts that mount it to the fender.
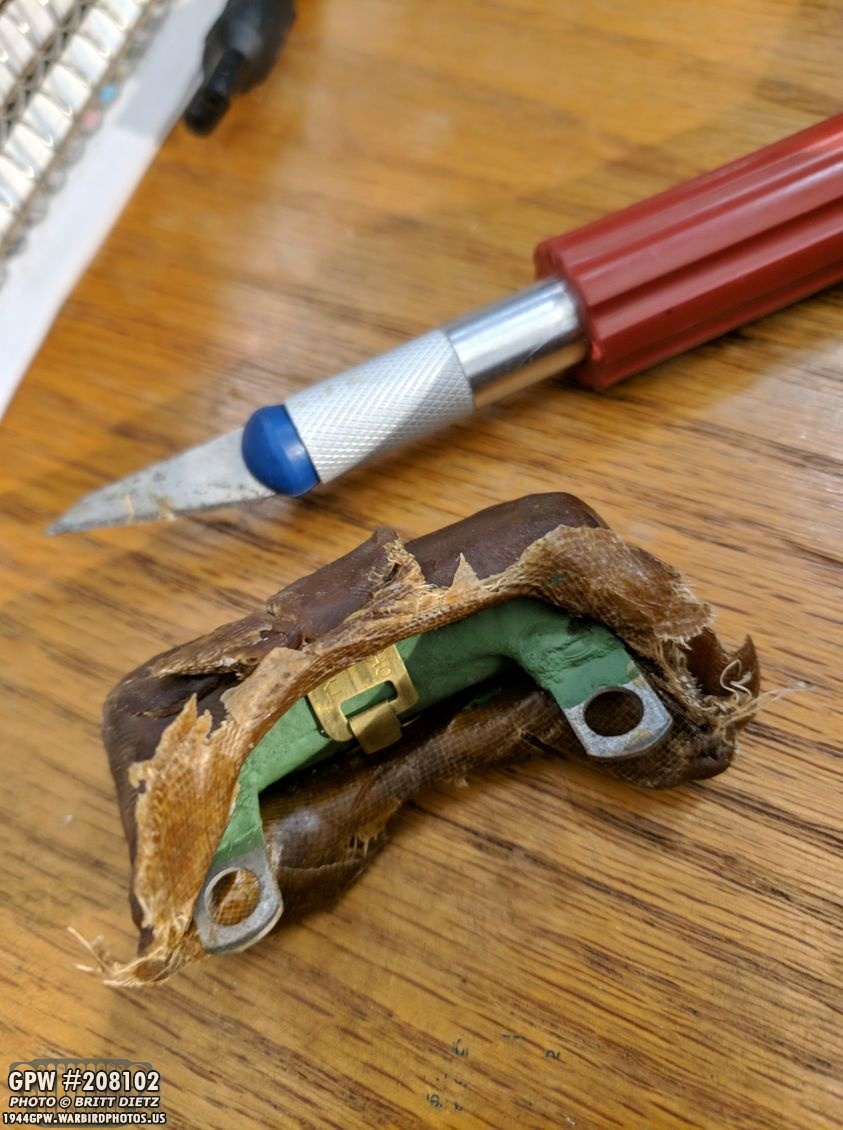
The blackout light is 6 volts, but my Jeep is 12 volts. So I did a lot of research on how to make the light work. Aside from trying to purchase a halftrack 12v blackout bulb for it instead, I decided to go the route of WW2 dodge trucks that had the 6v blackout lights but had a 12v system… they used a 12v to 6 v resistor. After WW2, jeeps were converted to 12v, so they used these large green resistors, like the Dodge, so they could continue using the 6v lights. I found a resistor online and the correct 3 post terminal. The resistor arrived in original WW2 wax-sealed paper!

Using the wiring harness wires, I ‘mock’ hooked up the resistor to the battery and the blackout light to see if it works…

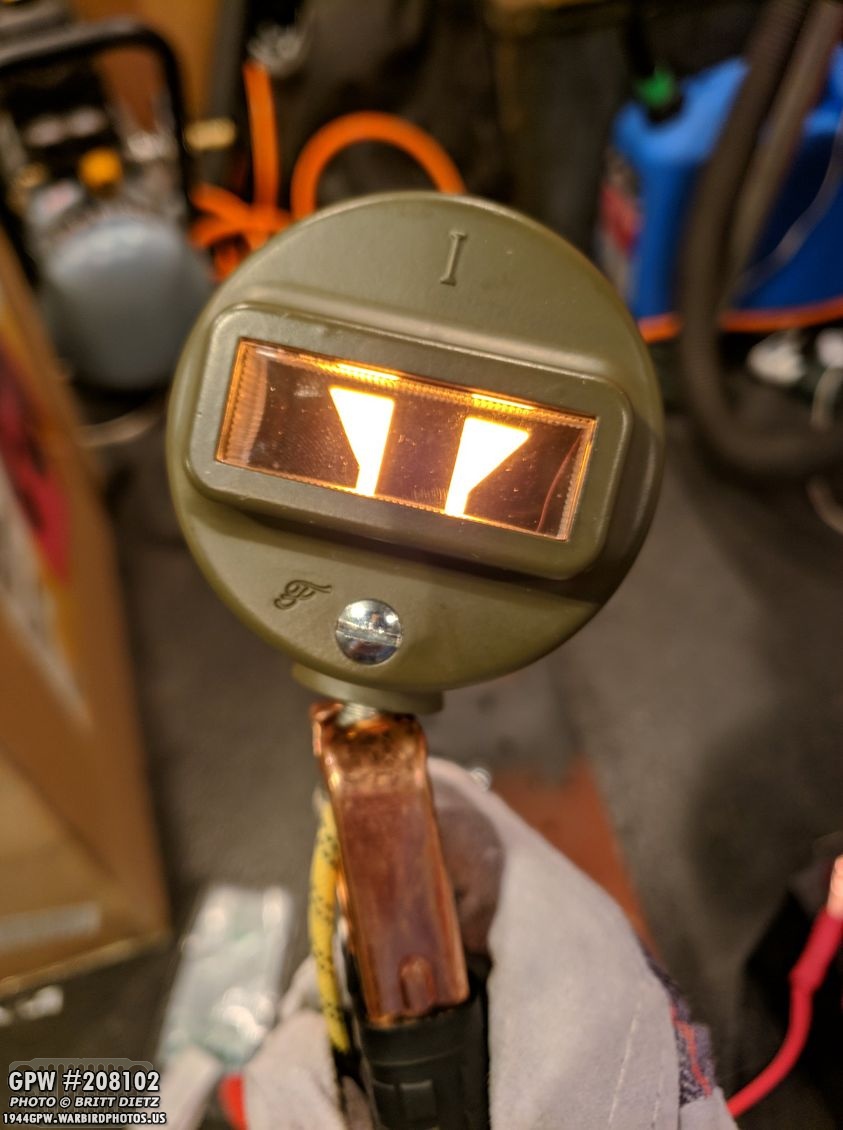
And it does! This light hasn’t had power going through it for who knows how long (when I got the Jeep the wire for this light had long since been severed). I was afraid the bulb would be bad, but it was so exciting to see it come to life! (painters tape still on there from when I was touching up the paint).

Here’s a look at how it works… positive 12v battery goes to the first wire that goes onto the terminal. The 12v is reduced to 6v by the resistor and the next wire goes directly onto the bulb inside the assembly. It’s then grounded (negative) through the metal in the assembly and I have the grounded screw connected to the negative on the battery. I love this stuff, can’t wait to do more.

Put back together the first part of the side mirror arm after painting it all.

Finally, work continues (seems never-ending) on the oil filter. It’s now painted nicely but needs a final coat of semi-gloss sealer, then I’ll be finally done with this blasted thing!