 COMBAT RIMS & TIRES!
This week’s update is an exciting one… COMBAT RIMS! I finally have a complete set of Combat Rims to replace the CJ rims on my Jeep, along with the correct Firestone tires! In this update I’ll take you through the entire prepping, painting, and installing Combat Rims on tires! I also added a spare tire lock for the spare tire!
It’s been a busy week! So busy, I actually didn’t get to drive the Jeep at all. But that’s alright, as there was lots of great things to do!

The usual recap… so my Jeep has CJ rims and CJ axles. I’ve been slowly restoring 1943 GPW axles to replace the CJ ones in the next few months. The tires that are on my Jeep are generic ‘Specialty Tires of America’ and I wanted them all to be Firestone NDT tires.
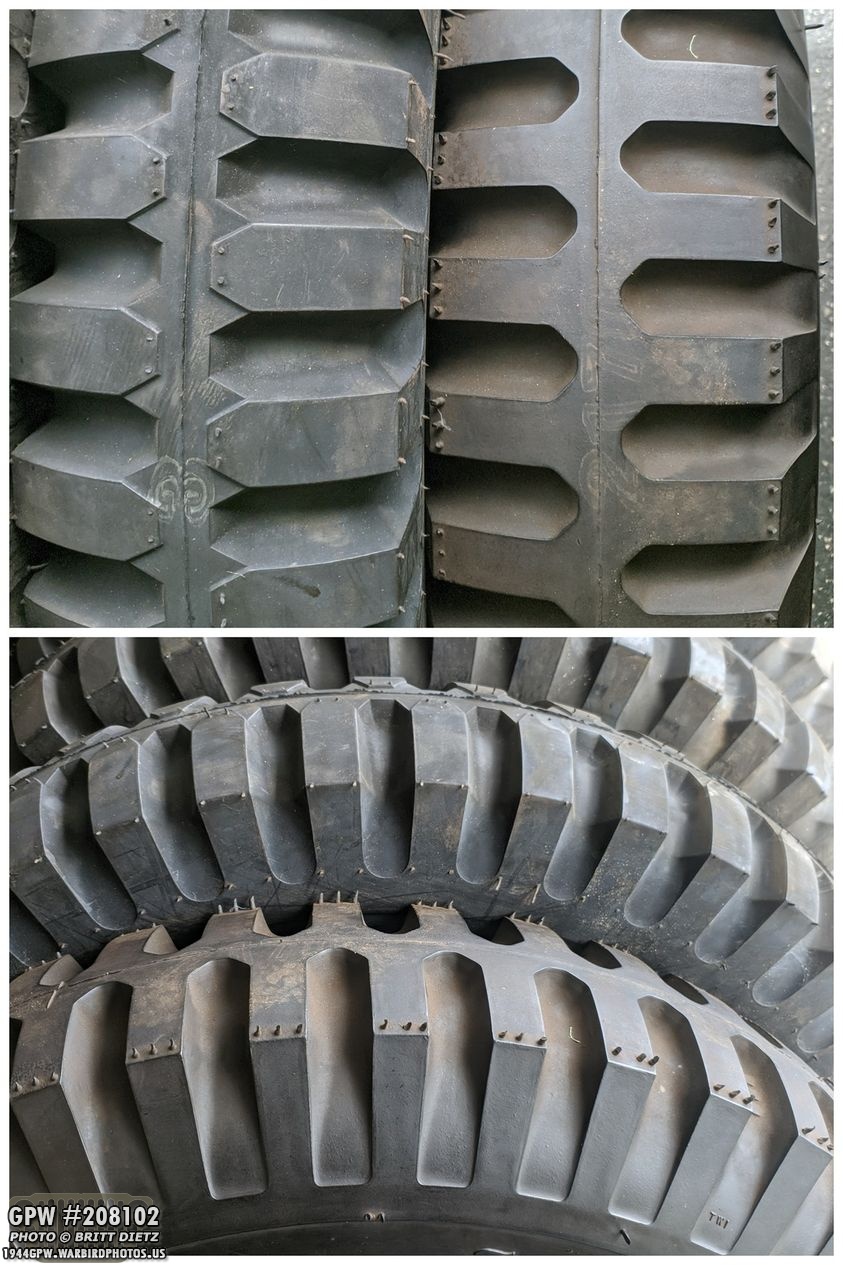
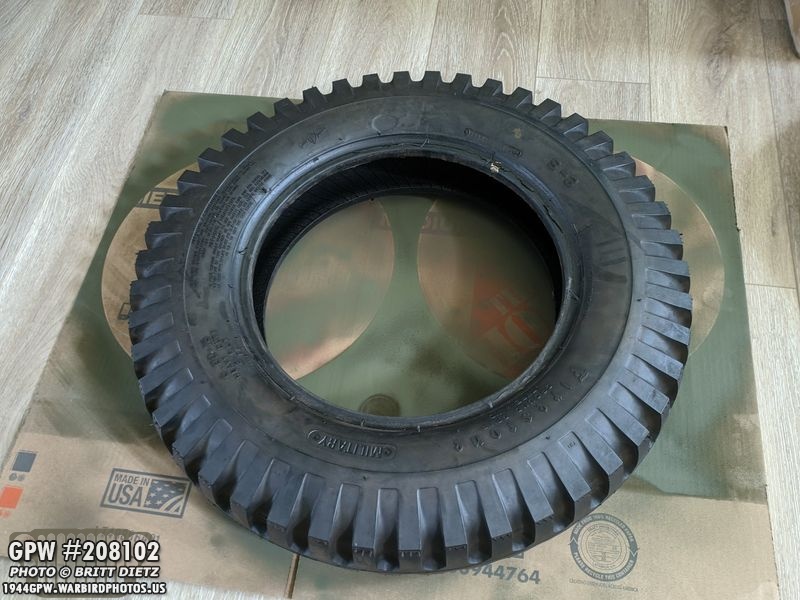
Last week, I picked up Coker Tire Company’s new version 2.0 Firestone 600-16 NDT (Non-Directional Tire) tires. My spare tire has a version 1.0 tire, so I documented the differences between the version 1 and 2 tires. Basically, the version 2 tire is pretty much an exact WW2 replica. Top photo: Left version 2, right version 1.Bottom photo: Top version 2, bottom version 1.

I didn’t feel I needed to replace the tire on my spare tire, since it is at least a version 1 Firestone. But I did need to get the post-war Kaiser rim off of it, which I can’t do without special tools. So I took it to a America’s Tire store.

They did a great job separating the tire from the rim, and even gave me back the tube (which I expected them to destroy. Now it’s ready to join the four version 2 tires!

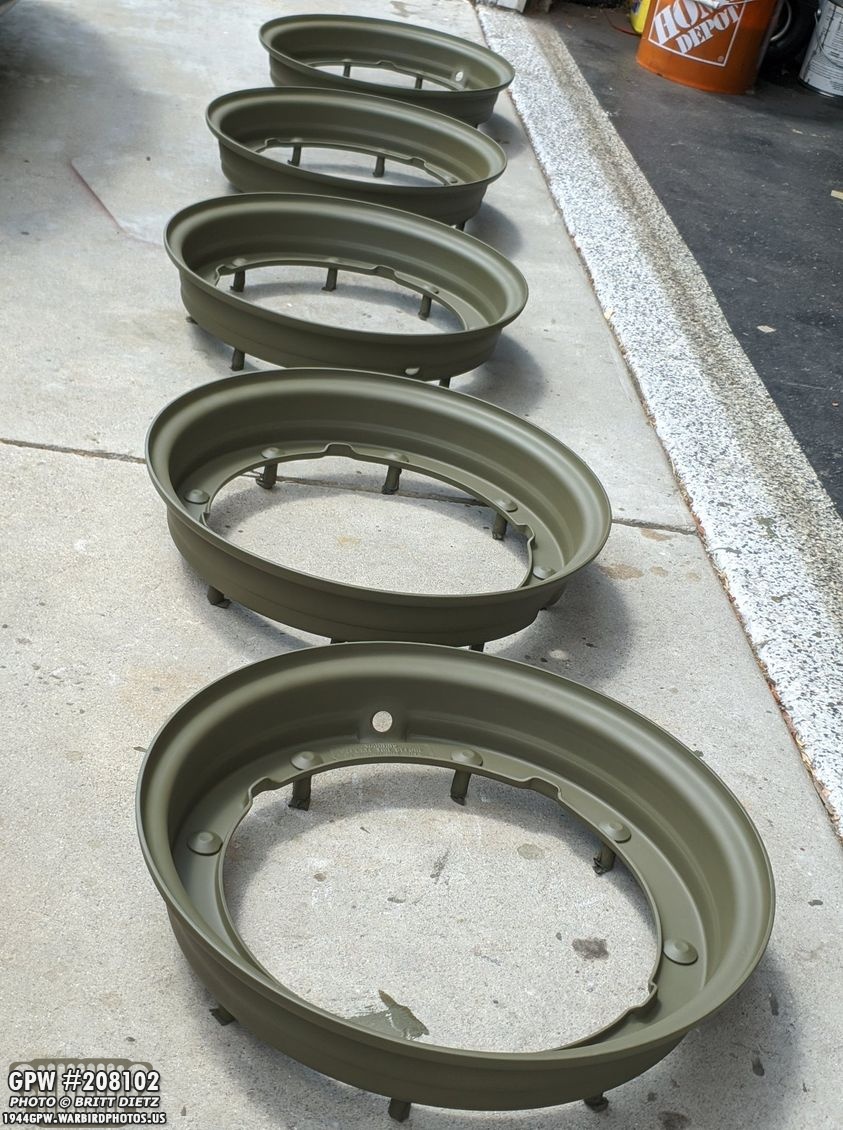
And here they are, five gorgeous looking combat rims ready to go! These are not original, but high-quality replicas. I decided to go with replicas as 1) most original combat rims can be $50-$200 more than replicas, 2) many originals are worn out and could have problems, 3) they are getting harder to find. So in the name of safety, and me not wanting to have to really deal with them in the future, I went replica. These came in a great bundle deal from Peter Debella Jeep parts.

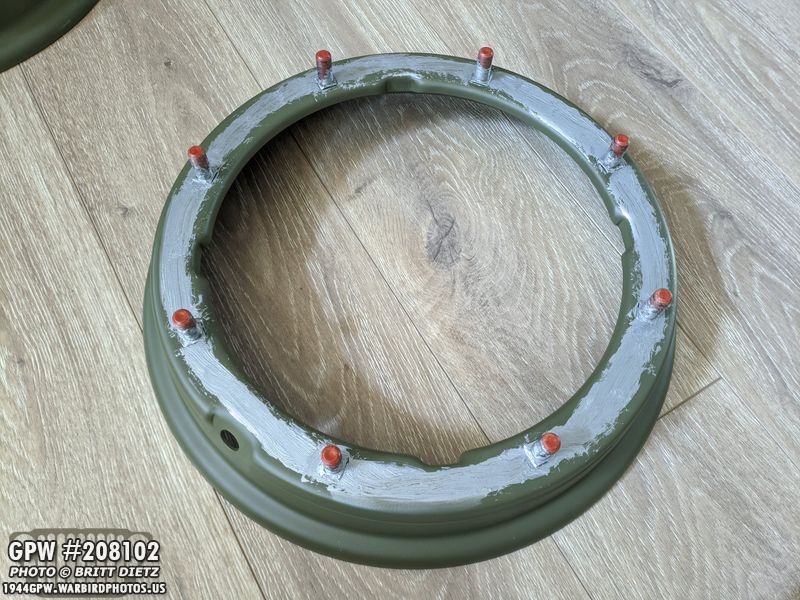
The rims look really great, with the warning plates welded on. It’s time to get to painting the rims!

First step is to separate them! A 3/4 deep socket is needed to get them off. It wasn’t easy, those nuts were on there pretty good, and the two halves were stuck together because of the primer paint. I ended up having to take a screwdriver and slowly wedge it between the halves, move the rim 1/4 around, wedge again, 1/4 around, wedge again, etc until they finally split.
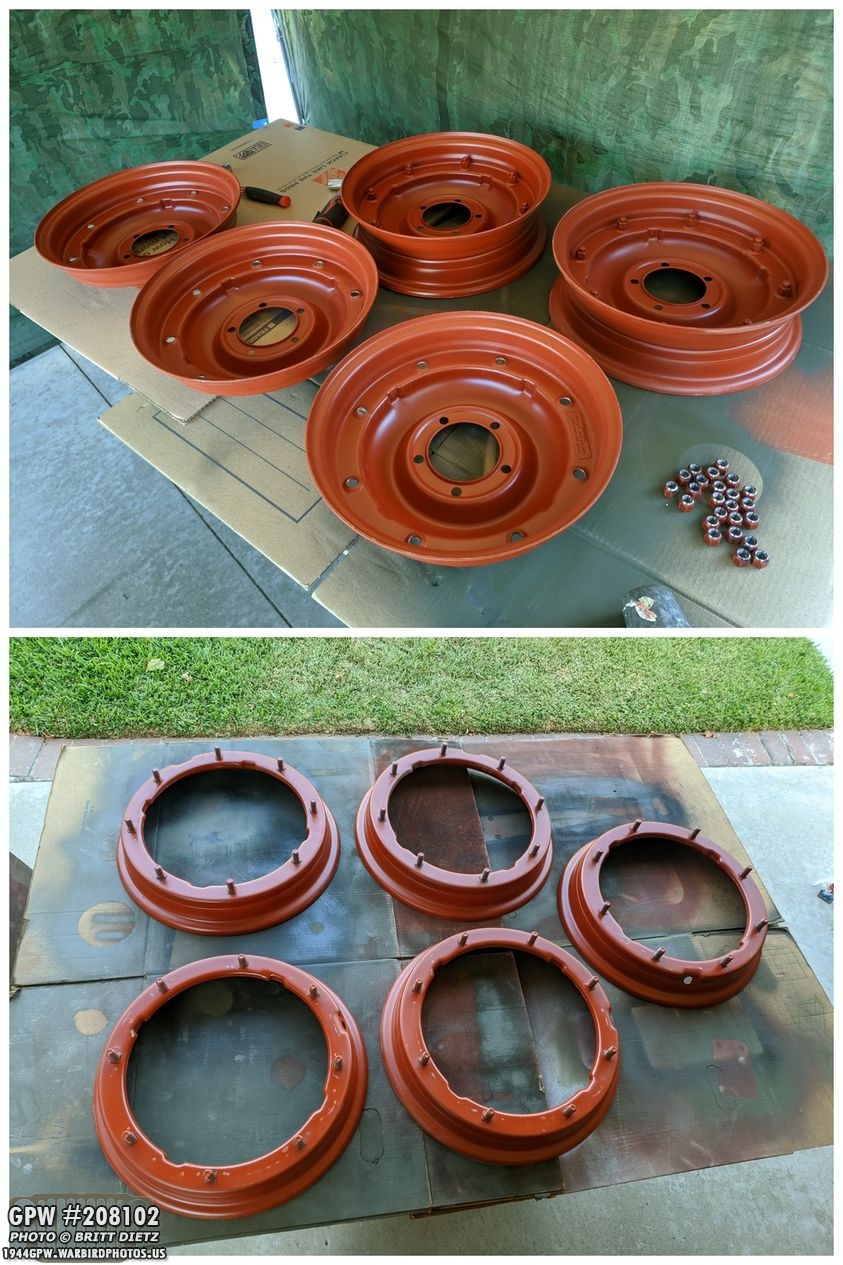
Top photo shows three of the rims separated, while the right two are still together. The bottom shows all five bolt/valve halves of the rim all apart!
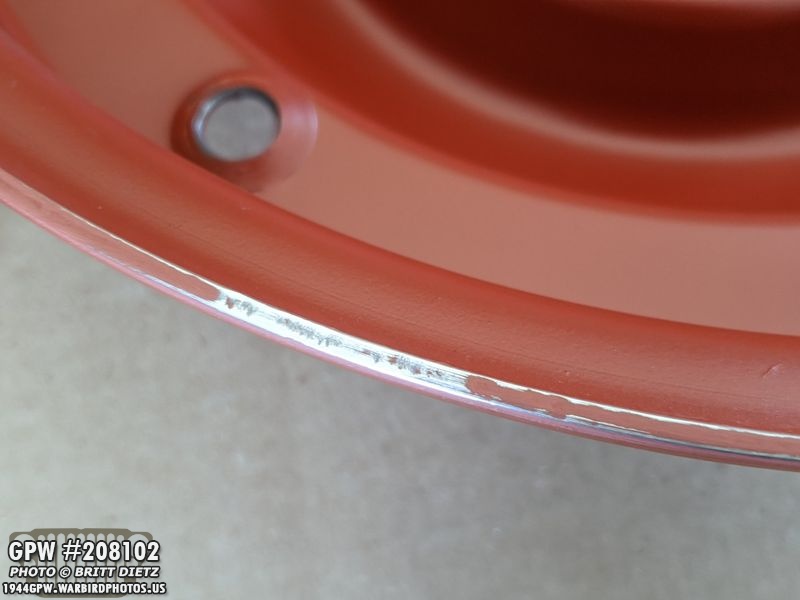
Before I could get to painting them OD Green, I realized I need to touch up the Red Oxide Primer. There was all sorts of scuffs on both sides of each rim that needed some touch-ups, like the lips (shown here).
I carefully sanded any areas where the primer was worn away or buckled from the two halves coming together. I then painted the sanded areas with Ron Fitzpatrick Jeep Parts. Ron’s primer is the darker red while the brighter red is the factory primer. After that, I used a scotch pad (bottom middle) to scuff up the primer so the OD Green paint I’d be spraying on would adhere better.

Same with the other rim halves, they had several marks (as you can see from the top photo) where the paint peeled off where it contacted the other half. I also used painter’s tape to cover all the bolt threads so they don’t get painted. After sanding areas on all these rim halves, I used the RFJP Red Oxide Primer spray again. After that, I used a scotch pad to again scuff up the primer for the OD Green to adhere better.

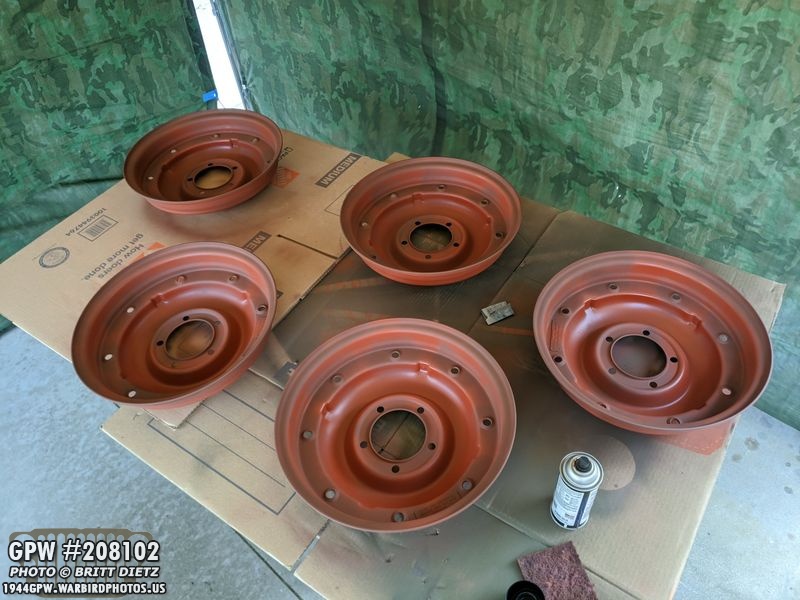
The Red Oxide Primer dries fast, especially with this past weekend’s 100 degree weather. So it wasn’t that much later I was able to get out the trusty Harbor Freight HVLP sprayer and loaded it with 33070 OD Green (gallon form from Ron Fitzpatrick Jeep Parts) along with Xylene thinner (3-1 ratio) and put two coats on this side of these rim halves…
Here’s a look at my setup, along with the 100 degree weather (which even at night it was 90 degrees!) it was windy, so setting up a make-shift paint booth to shade from direct sunlight during the day and the all-day/night long winds helped.

I painted 2 coats on the other rim halves and then painted a few other smaller items (I’ll show more later).

The Xylene thinner is amazing, with the heat it would be totally dry to the touch in 10 minutes, and totally dry in a few hours. So by the afternoon the next day, they were ready to flip and paint the other side!

Same as before, I sanded the issues with paint and hit it with Red Oxide Primer. After that dried, I once again used a scotch pad to rough up all the primer for better paint adhesion.

The other rim halves are ready to go with Red Oxide Primer touch-ups and the scotch pad rough up.
Same with these halves, ready to go for OD Green!

And it was again over 100 degrees, so putting two coats of 33070 OD Green on with the air gun was a breeze. The paint went on really well and dried very quick!
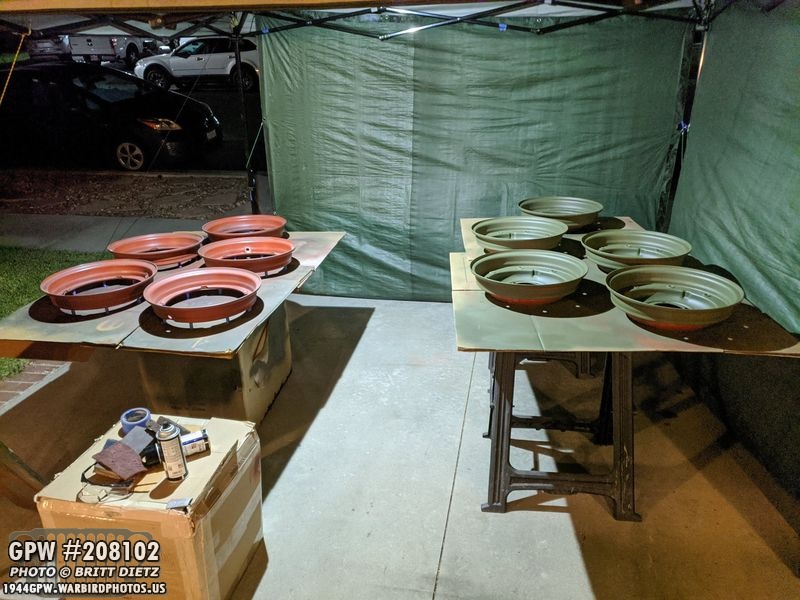
All halves of the combat rims have now been painted, I let them sit out in the hot sun the rest of the day to dry.

Things are getting crowded in the garage! Those rims take up a lot of room really quick. I wanted to let them dry for 2 days, so finding room was tough. Thankfully, I wouldn’t be driving the Jeep this past week, so I could put them underneath.

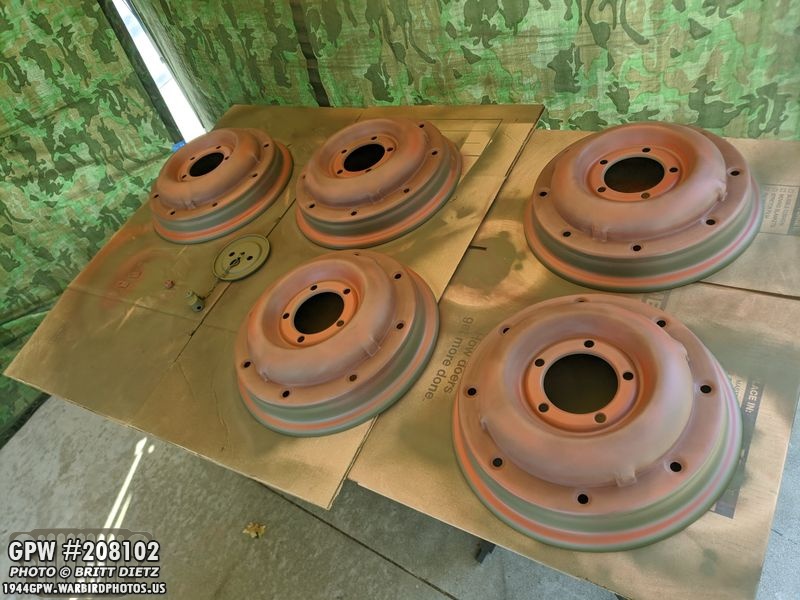
The combat rim nuts needed some work as well. The primer was messed up in them after using the socket and ratchet to remove them, so I went to work with some sandpaper to clean up the paint. I also found the factory painted the nuts once they were installed, so on all the nuts one side of them were missing paint. I’d make sure to fix that. I then stuffed them with paper towel pieces to protect the threads from paint.
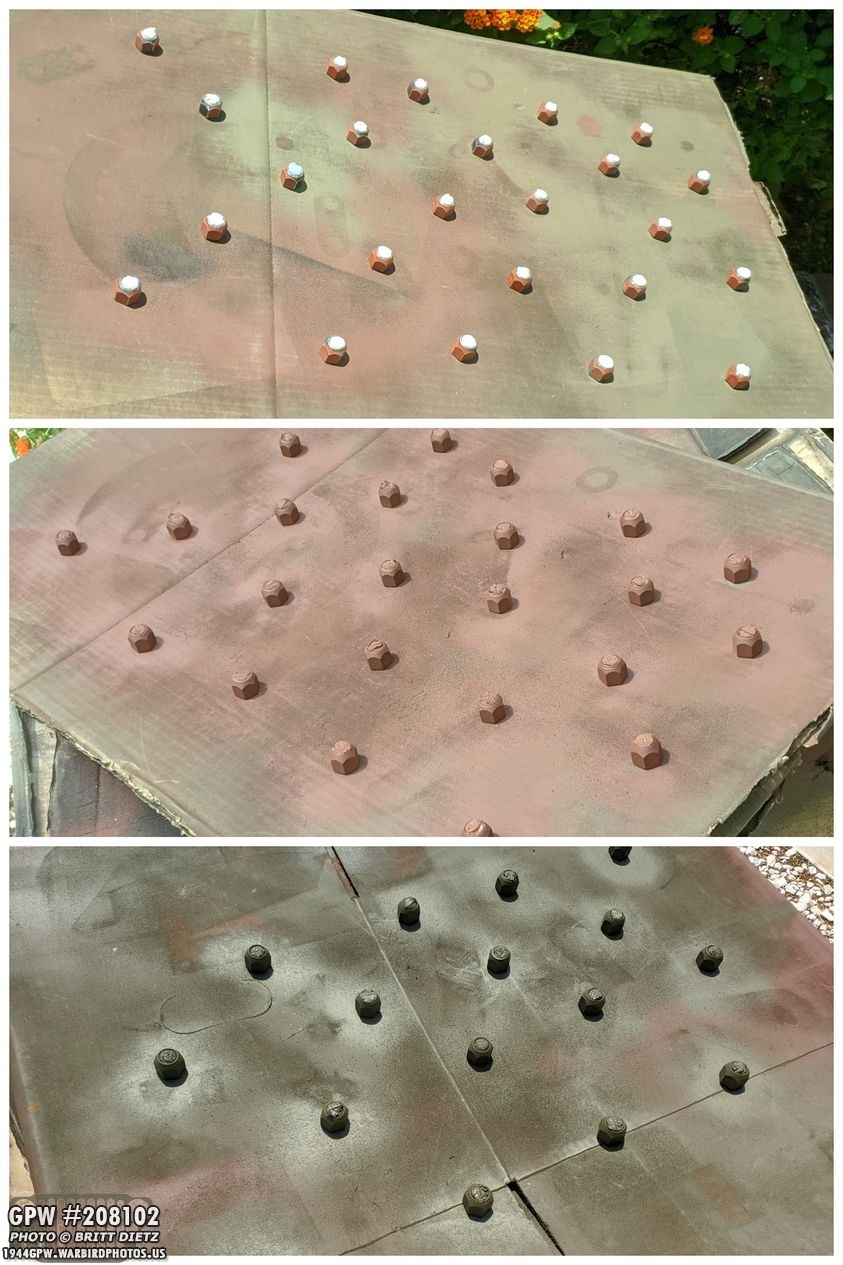
Two day’s worth of painting… middle image is after the red oxide primer touch-up, then I only painted OD Green on the side of the nut that touches the rim, as I would not be able to reach those tight areas once they are installed. With the rims dry and the nuts dry… it’s time to install a combat rim!

Let’s get started on installing a Combat Rim on a tire! Here’s my complete setup for the Combat Rims!- Tire Pump – Any will do, I used a bike tire pump. As long as it fits on a standard tire valve stem. – Either a rachet with Torque addon (like I have, a digital torque add-on) or a torque ratchet. And also a 3/4 deep socket, same on your used to take off the nuts.- Cardboard & Blanket – To protect the tire and rim halves from getting scratched, I used a flattened moving box and a blanket to protect the paint (and because I did all this inside the house due to the heat)- Firestone NDT 600-16 Tire- Tire Flap – The style that has the offset hole for the valve. – TR-15 Tube – The style that has the valve stem offset from center. – Large Box – To not make a mess with the baby powder, I used a large box.- Dish Soap – Dish Soap in a small bowl with water (to make soapy water to help the tire fit better on the rim.- Permatex Anti-Seize – I got the 8oz bottle that comes with a built-in brush. – Baby Powder – To help ‘lube’ the tube- 8x Combat Rim nuts- Schrader Valve Cap (or standard Valve cap if you don’t have them)- And the valve Stem Protector.

Let’s get started! First step is to take a close look at the flap. A lot of the modern flaps are made a bit too thick where the valve stem goes through the flap hole. This is due to how they attach one side to the other. This can cause the valve stem not to fit through far enough, and you won’t be able to get the valve protector shield on. In my case, they were indeed a bit too thick.
Pushing the stem through, you can see there’s not much that went through.

The solution is to take a Dremel and slowly concave the hole thinner towards the hole and gradually to the original height in about a 3-inch circumference.

After grounding down the flap, I used one of my punches to help open the hole just a bit more.

I then tested it by pulling the valve through the flap and screwing on the valve stem protector. You want to have a little bit of a gap between it and the flap when it’s screwed all the way in.

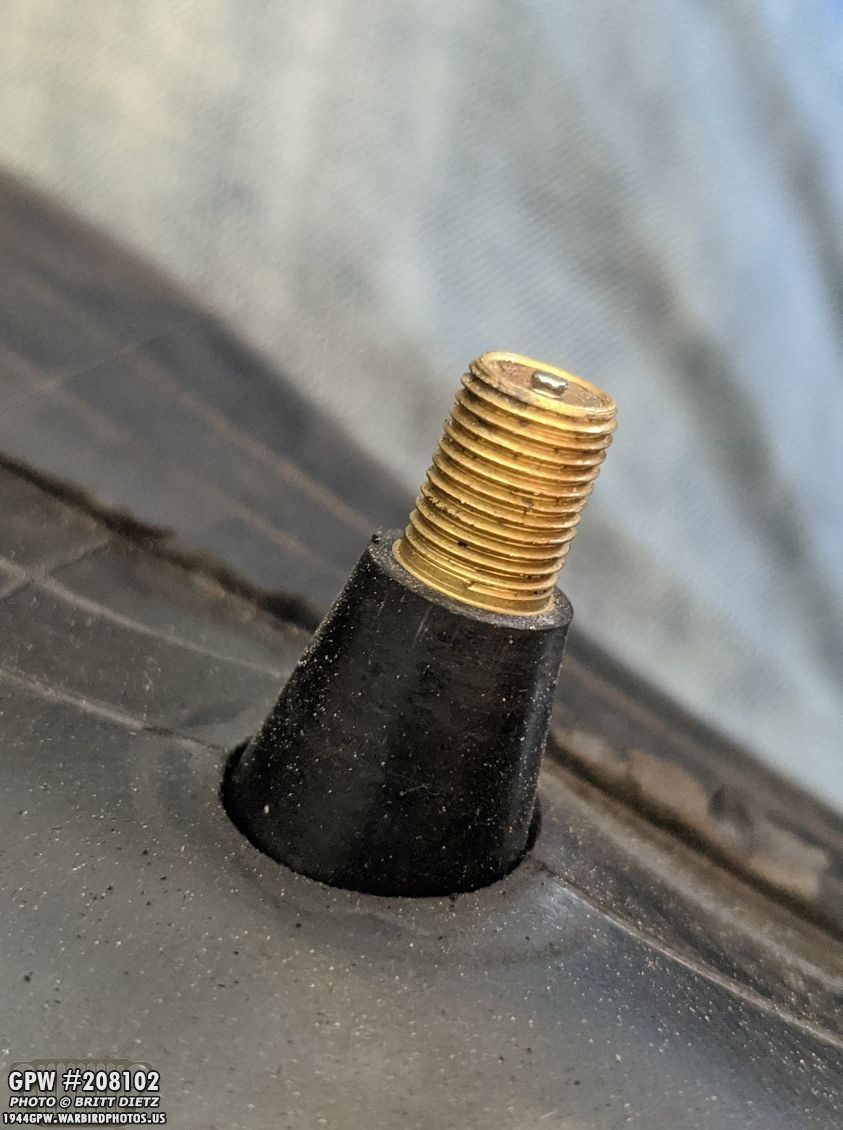
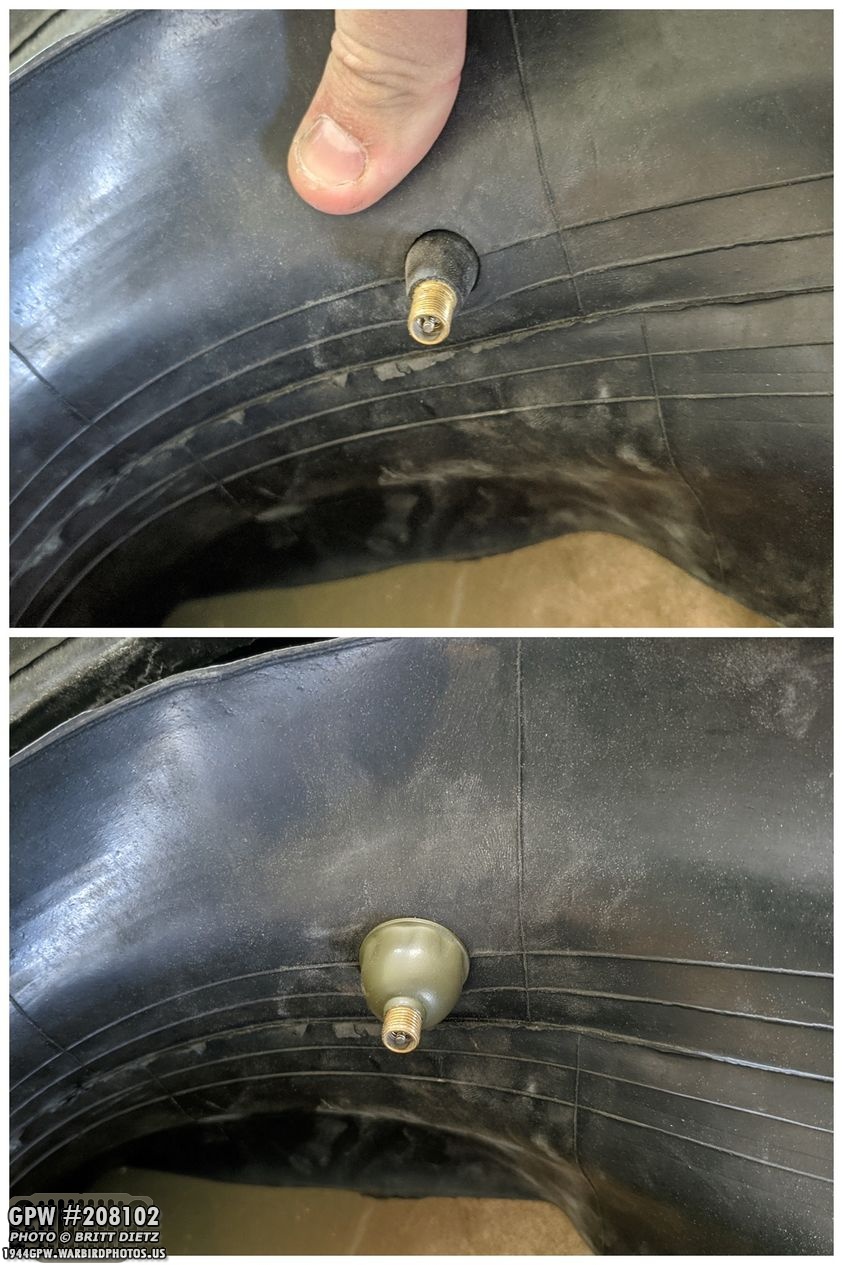
Removing the valve stem protector, it’s time to install the tube! As you can see here, the valve on the tube is off center. This will be important when installing the tube.
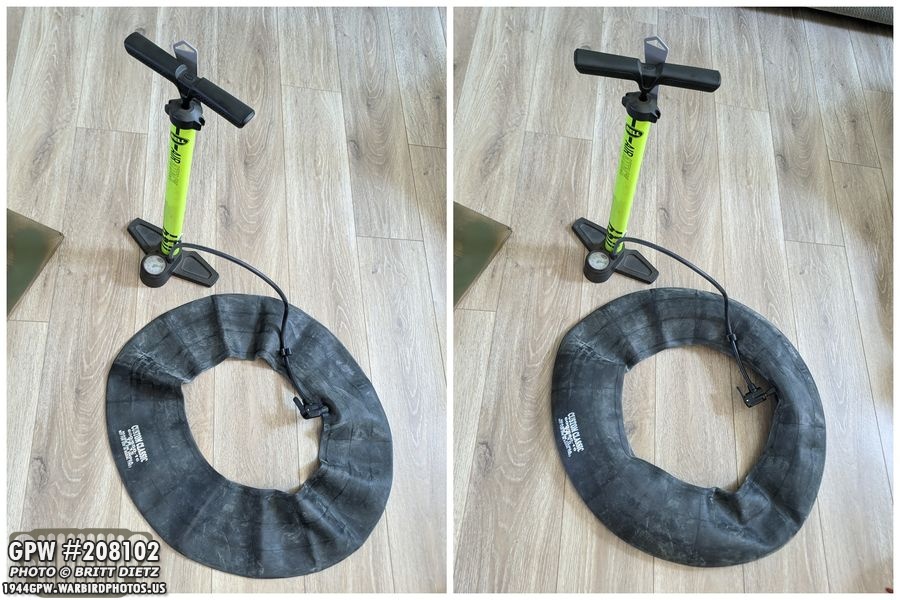
As we continue with the process, I want to point out that these photos will be from two different Combat Rim installs I did. Before installing the tub, it’s a good idea to fill the tube up with a bit of air to help keep it from kinking it when installing it in the tire. I did about 8 pumps. You want it to just start to expand the tube, but still be very floppy.

Next, I threw the tube into the box and gave it a coating of baby powder.
Now it’s time to stuff the tube into the tire! But first, there is technically a back and front to the tire, mainly appearance-wise…

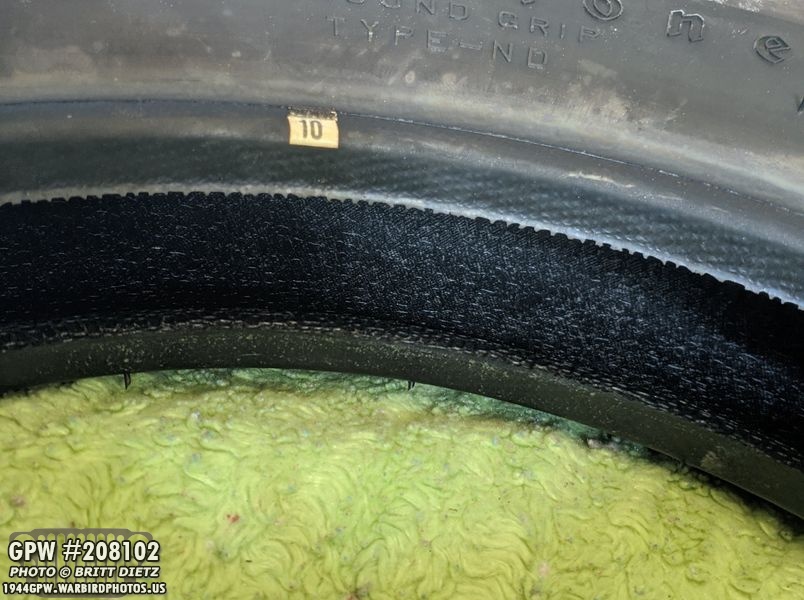
On both Version 1 and 2 tires, there are modern warnings. You want to hide those on the inside so they are not seen. On the Version 1 (top) Firestone Tire, there’s a large warning paragraph that’s not so subtle. Version 2 (bottom) has a small thin line of text that goes around about half of the tire. It doesn’t show as much, but still good to put on the inside.

Here’s a look showing how the Version 2 tire has a smaller line of warnings.

Now that you know which side you want facing inside the Jeep, flip the tire over so that side is on the ground. Now take the tube and lay it on top of the tire.
One trick I read about online was to line up the valve with the F logo on the tire. This isn’t something critical or factory done, it’s a personal preference so you can easily find the valve stem in a hurry, and it was pointed out to me that if you ever get a flat from something in your tire, you can quickly find where the leak is in the tube. Also note that the valve stem is closer to the top of the tire than the bottom. That is important as the tube is offset to one side on purpose.

Start with the valve stem and slowly work the tube into the tire. It may shift around a bit as you tuck it in, so you can rotate it back so the stem is back lined up with the F. I also found running my hand along the tube to make sure it wasn’t kinked helped.

Next, it’s time to install the flap. This takes a bit of patience, as the flap will fight you the whole way. Take the flap and look for the side you drilled the area thinner for the stem. That will go against the tube. Also, you can see how the hole is offset just like the tube valve stem. You want to make sure that the hole is closer to the top edge than the bottom edge.

On the other side of the flap (for this particular brand of flaps I got), they have grooved lines to help to rest against the rim. That made it easy to see what was the inner and outer part of the flap. You can also see the flap is thicker in the middle, and the outer ‘flap edges’ are somewhat already bent inward.
To get started on the flap, pull the valve stem through the flap hole, and to prevent it from coming back out, go ahead and put the valve stem protector on.

Like I mentioned, it’s a process getting that flap in. It will fight you because it needs to be fully in the tire in order for it to expand and not fold. If you’re using tires that have already had a tube in it, it helps as the tire will be open more for you to tuck it in. Just start at the valve stem and slowly work your way around tucking in the flap to make a U shape.
On the flip side, the new version 2 tire was a pain. The opening of the tire was much smaller than the used version 1, so it required a lot more work.

For that, I had to start by tucking in only the top half of the flap, then I was able to tuck in the bottom half. It would pop out constantly so it was a bit frustrating. This part I’m not looking forward to with the 3 other version 2 tires I need to put combat rims in.

Here’s a look at the difference… it may not seem like much, but it is. The top is the version 1 tire that had a tube in it already, and the bottom is the brand new version 2 tire. The tire openings are different.

So, now that you have the tube and flap in place, release all the air you pumped into the tube. That will allow the tube to settle and relax. Then pump back in 8-10 pumps of air. That will allow it to expand and fill in space along with expanding working out any kinks that might be left.

Time for the combat rims! I removed the blue painter’s tape off all the bolt threads.

Here’s where the peramatex anti-seize goop comes in! You want to apply a very thin coat all around the mating surface of the combat rim and at the base of the threads. This will prevent the two combat rim halves from sticking together (they shouldn’t because they have primer and paint on them, but just in case) and it will help the nuts to not get stuck. This is more future-proofing the Combat Rim.
All done! A nice thin layer. This stuff gets everywhere, so be very careful handling the rim.

Now place this half of the rim on the tire making sure to pull the valve stem through (make sure you remove the valve stem protector).
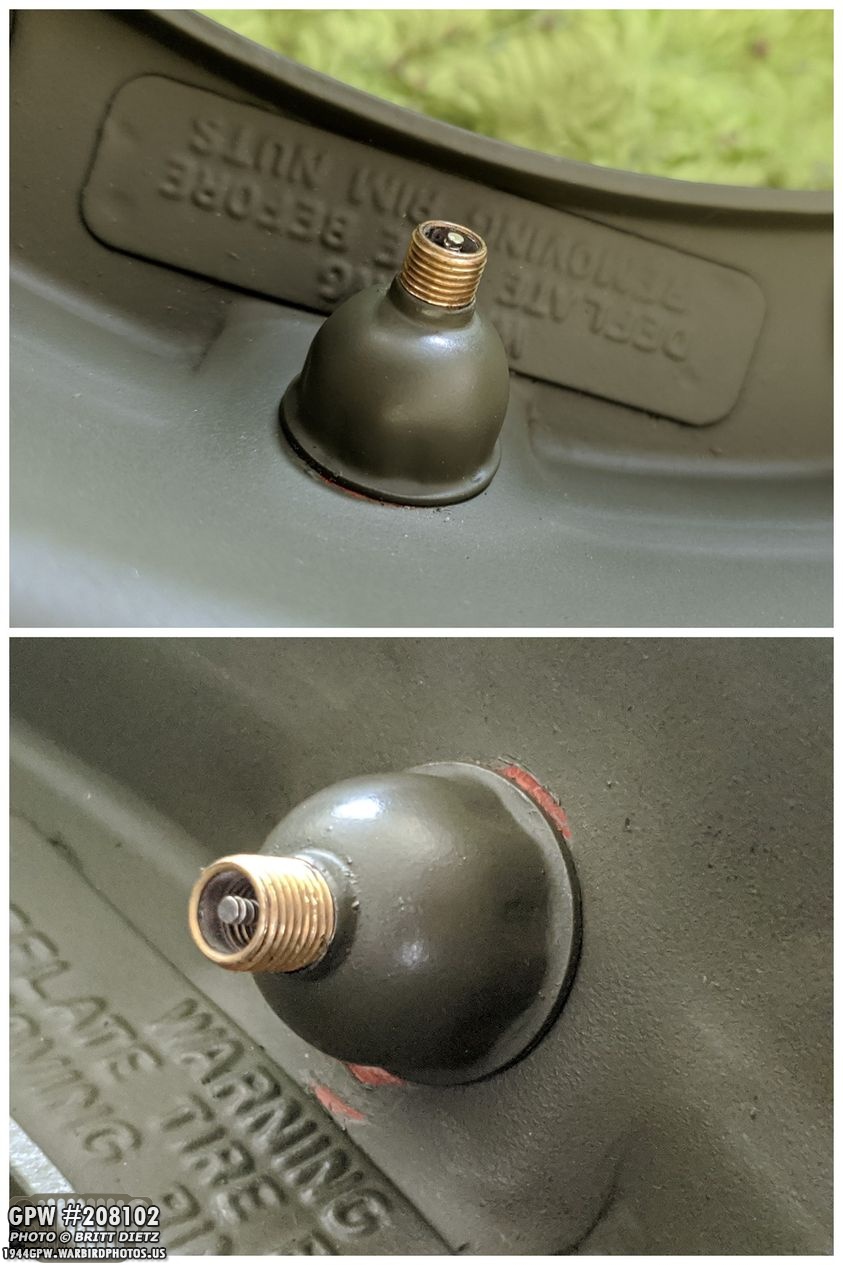
Once the valve stem is through, you should put the protector back on to keep it from slipping out of the rim. This is important. I went ahead and screwed it in as far as it would go, which was a perfect length since I’d done the Dremel work on the flap. Screwing it in and tight did scratch up the rim, so be prepared to have to sand and touch that up.

When I first did this, I was concerned about how high up the rim was out of the tire. It would not seat further than this. That’s mainly because these new tires haven’t expanded to the shape of the rim, and while it seems cause for concern, it’s actually normal and will be fixed at the end.

Now, take the other half of the rim and do another light coat of the permatex anti-seize.

I then carefully sat it down on the other half of the rim making sure the bolt studs go through the holes and the four inner notches in the two rims line up (important). What I ended up doing was lining up the warning tags on both sides just to make it easier. Before I started to put the nuts on, I took the dish soap and made some soapy water to coat the inside of the rim (as you can see here). This will help the rubber conform to the rim in a little bit.

I cleaned up the excess soapy water with a towel, and then put all eight of the combat rim nuts on. I just started the threads with a few turns. Some went on easily able to grab several threads right away. The opposite side I had to manually push on the rim a bit to get it to catch the first few threads.

The trick to tightening the nuts correctly is to apply a cross pattern equal pressure on the rims. That means starting at one bolt, then doing the opposite one straight across, then diagonally across, then that one straight across, etc. I would turn all the nuts to certain points, then start again. Example, I would turn the bolts till they were all half way through the nut threads. Then all of them till they just barely were at the end of the nut threads. When it comes time to torgue the nuts, I found very little info on torque values, but some have said between 65-70 foot pounds. So used by digital torque attachment and got them all to around 66-67 foot pounds.

For reference, I couldn’t really find many photos showing the inside of the combat rim and how far the studs will stick out of the nuts. The top is when I hit the end of the nut thread, and the bottom is after they were all torqued down. They stick out another 1/4 the nut length.

So, now that it’s all torqued, it’s time to flip the tire back over, let out the air another time, and fill it back up. You can also see in this photo, that the mating of the two rims caused some paint scrapes (bottom of the photo to the right of the warning tag above the bolt head). There were scrapes in that area all around the rim.

Here it is now that I’ve added some air back in after deflating… notice that already the rubber is starting to conform better to the rim! But, you can only do so much with a small tire pump, so it’s time to head outside and use the air compressor.

As you can see, there’s still a large gap between the tire and the rim lip. But, I was only able to pump up the tube around 10psi before the heat was taking a toll on me.

So here’s after I used the air compressor to fill it up to the 35psi recommended level! The rubber conformed perfectly and it’s a nice perfect fit now! No space between the tire and the lip.

Time to fix the paint! This includes touching up the paint on the nuts (I did some light sanding on areas where the paint scraped). I also touched up some of the lip areas of the rim where it got nicked. I know, I’m talking way more time making these perfect than ANY GI or factory worker would have in WW2!

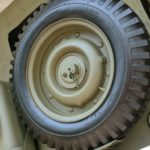
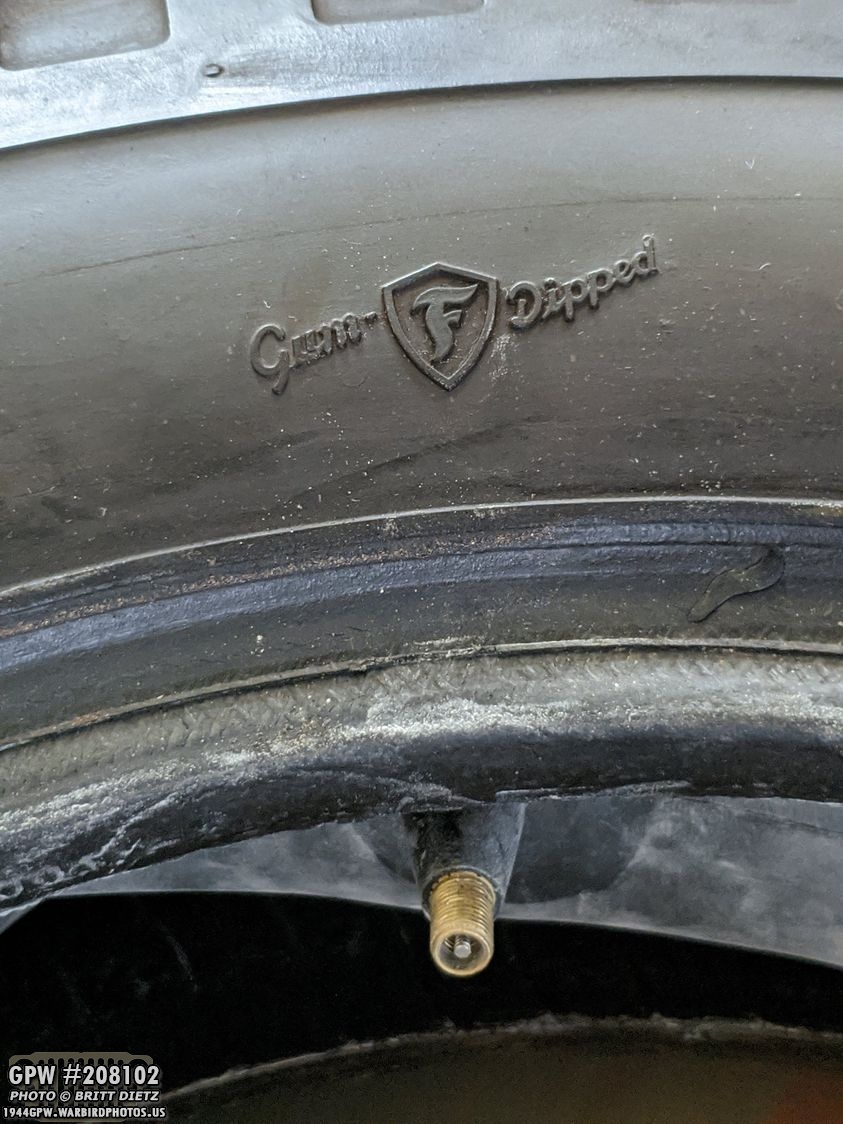
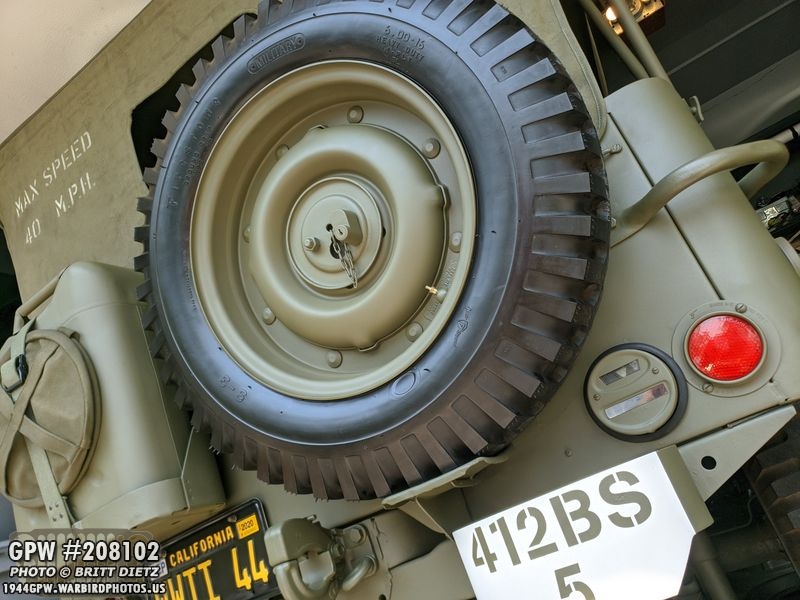
Here’s a look at the completed and painted version 1 tire and combat rim (this will be my spare tire on the back of the Jeep)! I used a modern-day valve cap to cover the valve stem threads from being painted. I didn’t care if that got paint on it, which it did.

And here’s a look at the first version 2 tire with combat rim with all the paint touched up! It also has the modern valve cap on it while I touch up the paint.

And that’s the last step, removing the modern valve cap and putting the Schrader ‘screw-type’ valve cap on! (I covered these wartime accurate style valve caps a few months ago in an update).

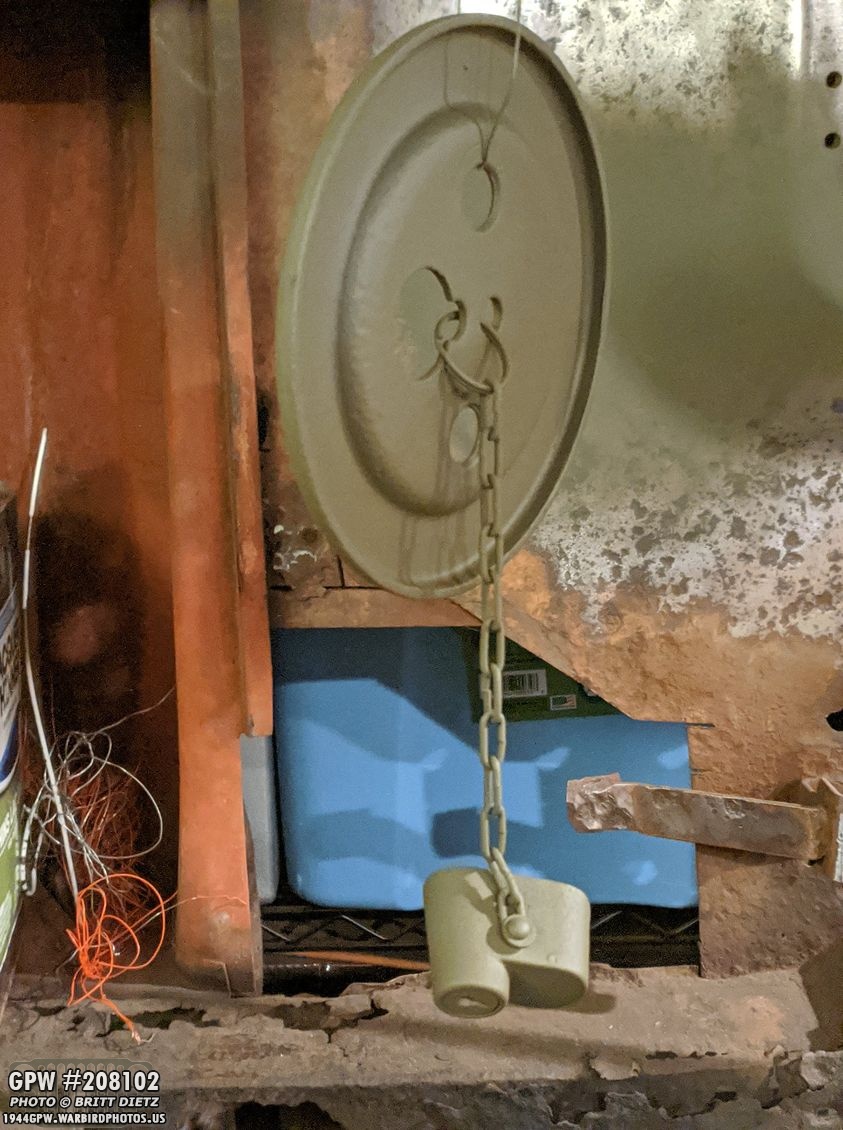
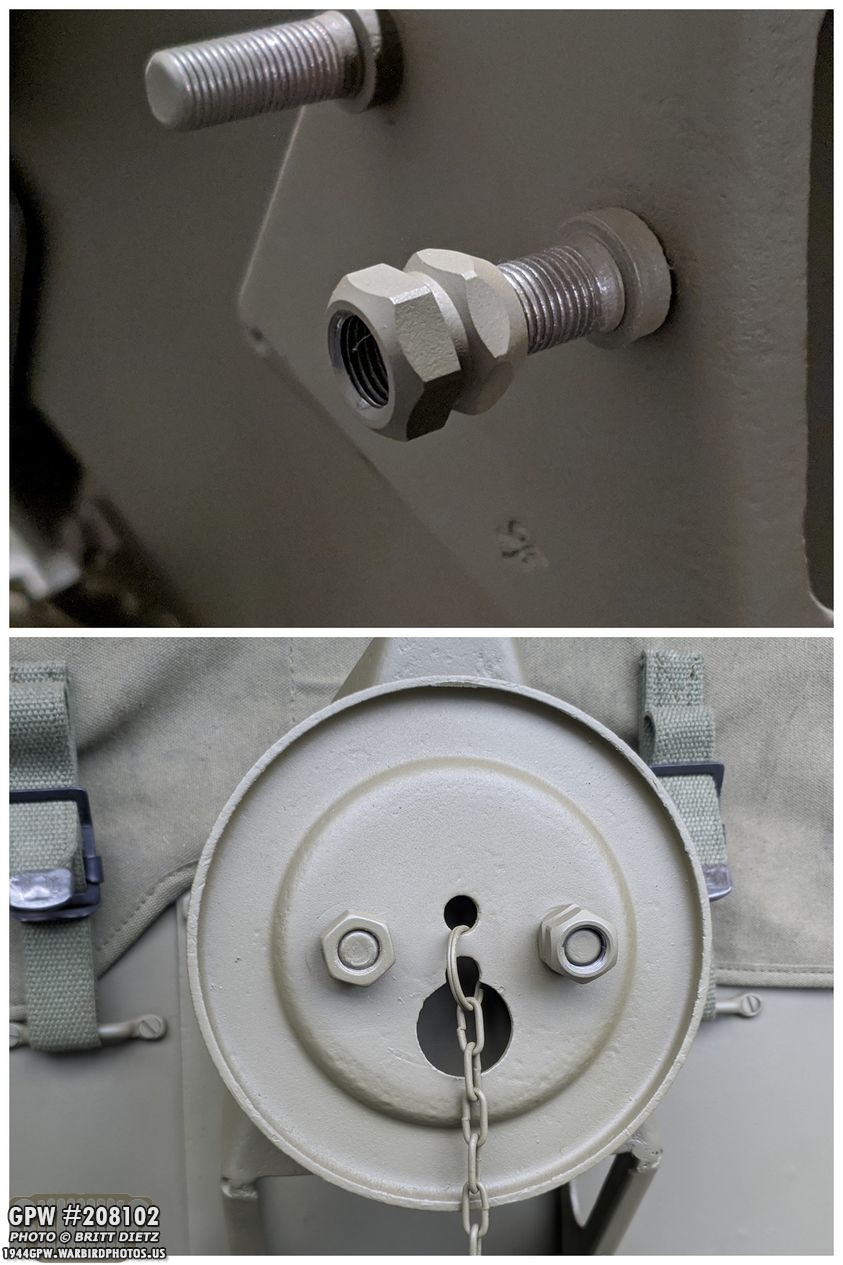
Now that the spare tire was finished, it’s time to remount it to the Jeep! But first, I had some other things I needed to do. The plate that holds the spare tire to the spare tire bracket needed a refresher paint job as it was scraped up from the last install. I also realized I’ve had it on backwards this whole time (whoops). This is the correct side to face outward with the lip.
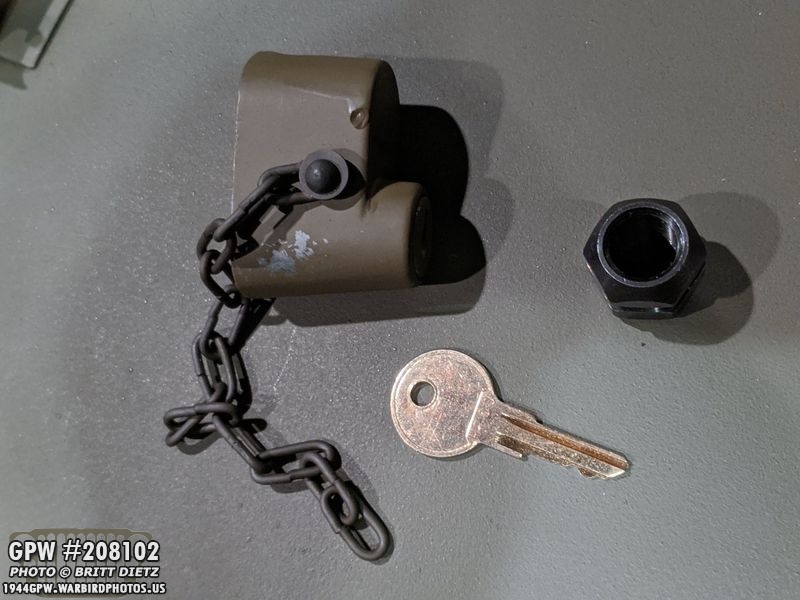
And since I have nice combat rims on the tire, I decided to get myself a spare tire lock to help (at least somewhat) prevent someone from stealing the tire. Here’s the museum-quality replica from M.V. Spares. It comes with the lock (and a chain), the special lug nut, and a standard H700 key (which all my keys in my Jeep use).

I sanded the lock as it had some paint runs on it (not to mention the wrong shade of OD Green), then hit it, the spare tire plate, and the special lug nut with 33070 Green (this was when I was painting the combat rims as well).

I did some research on how the spare tire lock chain attaches to the plate. Some people just remove the chain, but the idea is that it would be attached to the two center holes in the plate so that if you take the lock off, it doesn’t just fall to the ground. On G503, I commonly read to use a keyring style ring to attach it. So, I did just that, finding a perfect sized ring. I attached it to the plate (which scuffed up the paint again) and then attached the chain.
Now that it was installed, I touched p the paint on the plate and also painted the keyring.
I wanted to make sure the special lug nut fit as some people had said the repro ones had issues… but mine had no problem screwing on my original spare tire bracket. The bottom photo shows how the normal lug nut and the special lug nut go on with the plate.

So how this spare tire lock works is very simple… the special lug nut is longer than a normal lug nut, and it has a large groove in the center of it. The backside of the lock has a hole with a tapered pin and spring. You push the lock onto the lug nut while turning the key which pulls down the tapered pin allowing the lug nut to go fully in. Then you release the key (it’s spring loaded) and the tapered pin will raise back up into that groove of the lug nut preventing the lock from coming off. The opening on the back is slightly larger than the lug nut width, so even if you spin the lock, the lug nut won’t spin at all.

So I took the plate back off and loaded the spare tire on! I then put the plate back on and tightened both the lug nut and the special lug nut.

After that, I went ahead and put the lock on! Looks good and feels good to have a little extra security.

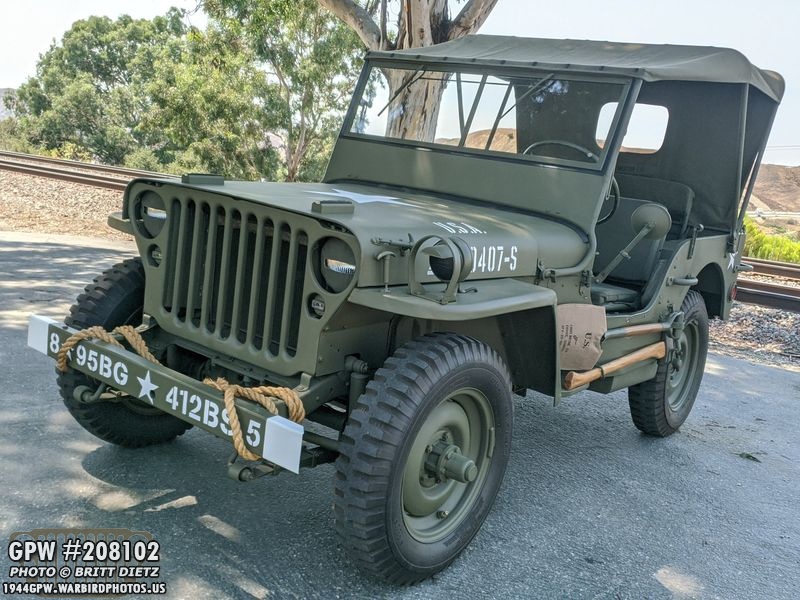
So the spare tire is DONE, and it is the first tire to have a Combat Rim on the Jeep! WOOHOO! Here’s a look at the before (bottom) and after (top). You can see how I had the plate on backward on the bottom photo.

And here’s a look at the version 2 tire, the first of four that will eventually replace the ones on the Jeep axles… but that will have to wait because the 1943 GPW axles are not finished yet. As I wait for those to be finished with their restoration, I’ll do the other three tires this weekend and store them away until it’s time to do the big swap, hopefully in the near future!

One more thing I wanted to note, there’s a lot of discussion on how in the factories, the warning plates on combat rims had white lettering on the tags. They would often paint the tags white, then paint over them with OD Green paint. As the OD Green paint was still wet, they’d take a cloth and wipe off the top of the letters revealing the white. There are wartime photos with and without this. A lot of guys say it looks weird with the white lettering, and I think I agree, but I’m still on the fence. Thankfully, it’s easy to just take a paintbrush and paint the top of the letters later if I want.

Another thing that arrived this week was two NOS axle ratio tags! The axles are 39/8 ratio for the ring and pinion, and mine were missing these tags (but have the RZeppa identification tags). They were a bit rusty, so I cleaned them up and painted the backside only. I’ll wait to paint the front side OD Green until I paint the axles OD Green as they were normally unpainted and then hit with overspray. I painted the backside as I didn’t want any trapped water to get behind there and rust.
And now we’ve reached the end of this week’s update! It’s been an exciting few days with these combat rims, and I’m overjoyed to have the spare tire sporting one along with the spare tire lock. I can’t wait to get the others on the Jeep along with the GPW axles! Next week I’ll be doing the rest of the combat rims, working on a fire extinguisher, and hopefully some more progress on those axles! Till next week…