 Painting and metal work
Not as much done this week as I was hoping, but still, little victories here and there getting closer and closer. Waiting on calm wind so I can really hit the painting now that I have another gallon of OD Green paint. Also, hope to order the reproduction body tub in the next day or two.
Work on the tire continues… more on that in a little bit.

If you’ve been following along, you know how my 1944 GPW has post-war CJ (Civilian Jeep) axles and steering arms. It was mounted to the crossmember on the front of the frame via a thick mounting plate. Also attached to that plate is a C channel bracket that went from the crossmember to the front bumper, presumably to attach a safety chain when flat towing the Jeep (all circled in yellow). I wanted to get rid of that as much as I could without compromising the steering system, to make it look more like a correct Jeep. Eventually, I’ll get the correct axles and steering, but for now I’m going to make due with what I have.
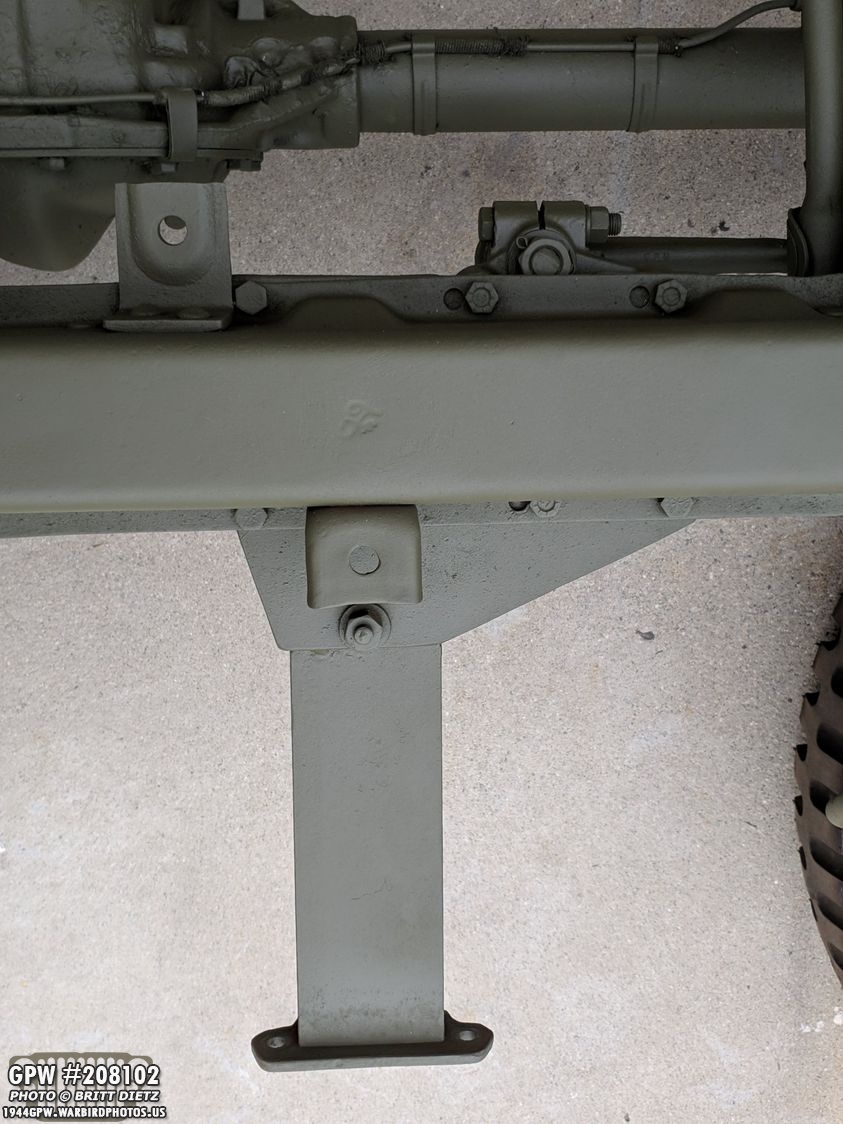
Here’s a look at that bracket and mounting plate under the crossmember on the frame. The front bumper is removed.

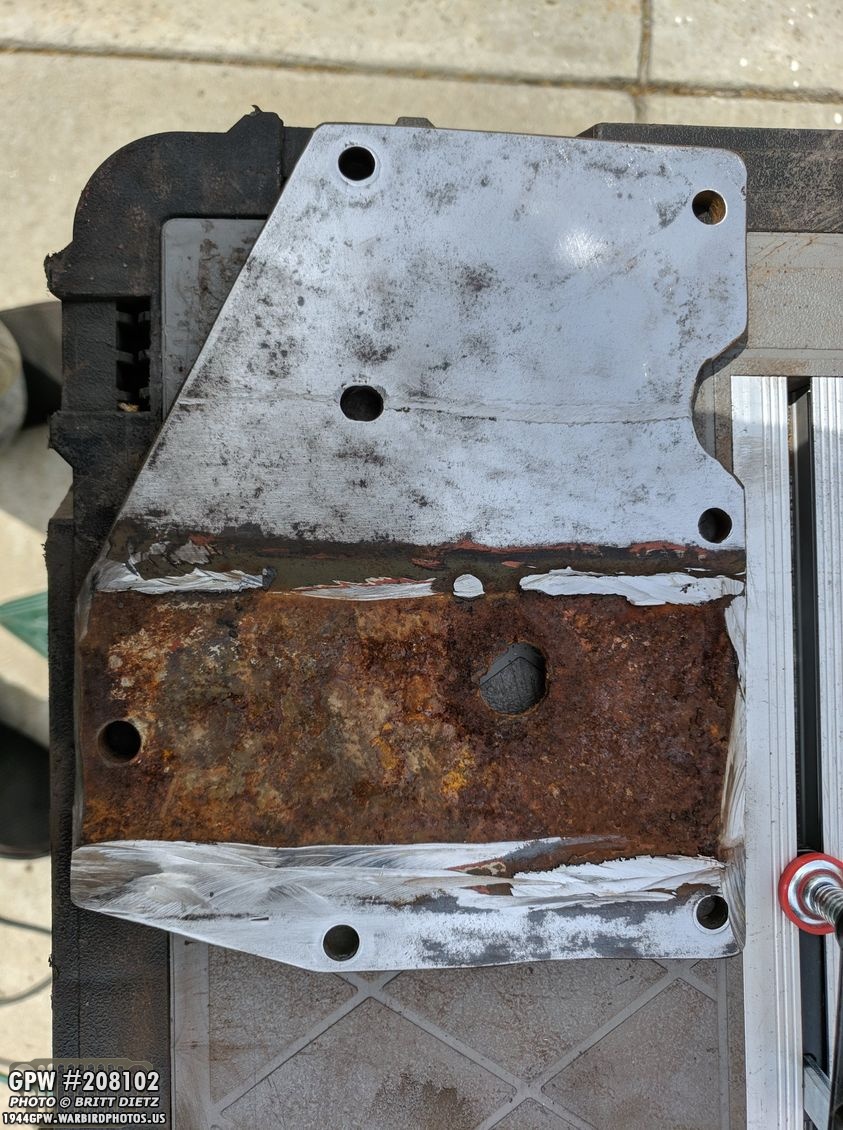
Here is the bracket and mounting plate (which are welded together) removed from the crossmember and steering (this is the underside). That triangle shape is where the steering system attaches, so I can safely remove that C channel bracket that’s vertical and trim down that mounting plate so it’s perfectly the size of the crossmember (so it’s hidden).
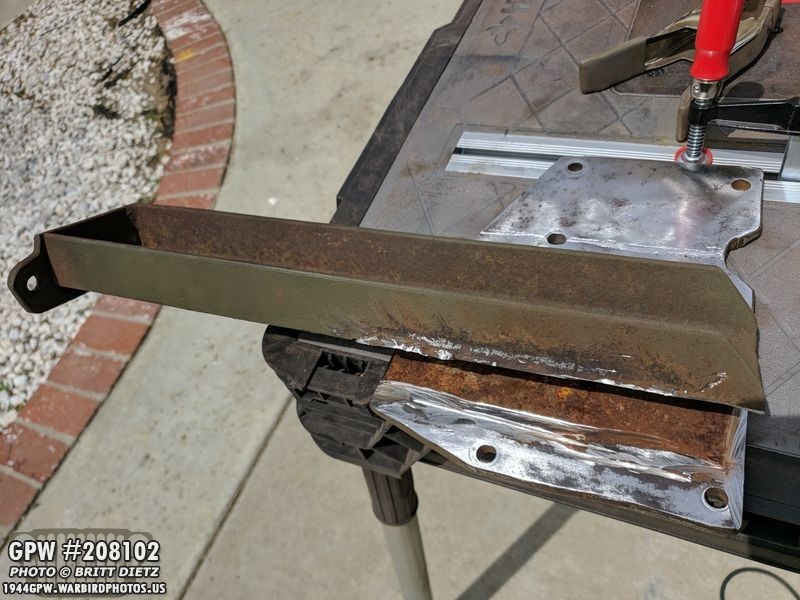
It took a while using the angle grinder and cutting disks, but finally I was able to cut through the welds. Here is when I was first able to lift up one side of the C channel bracket.
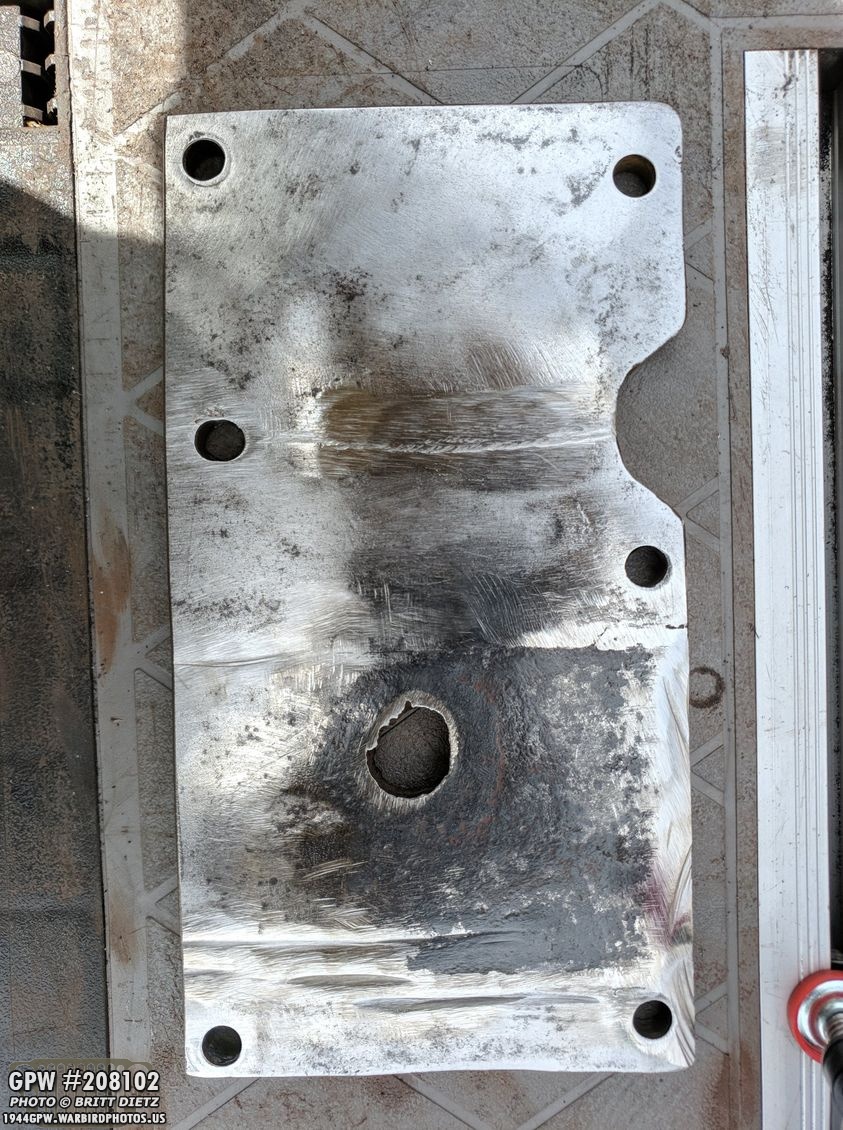
And now it’s gone! You can see the rust where it was. Sadly, I dug into the mounting bracket a little bit with the cutting wheels, so I’ll need to fill them. Also, there’s a large hole that either was accidentally cut or rust went through. I’ll fill that as well. I’ll also have to grind down the welding which is raised and jagged from being cut. Flap wheel to the rescue!
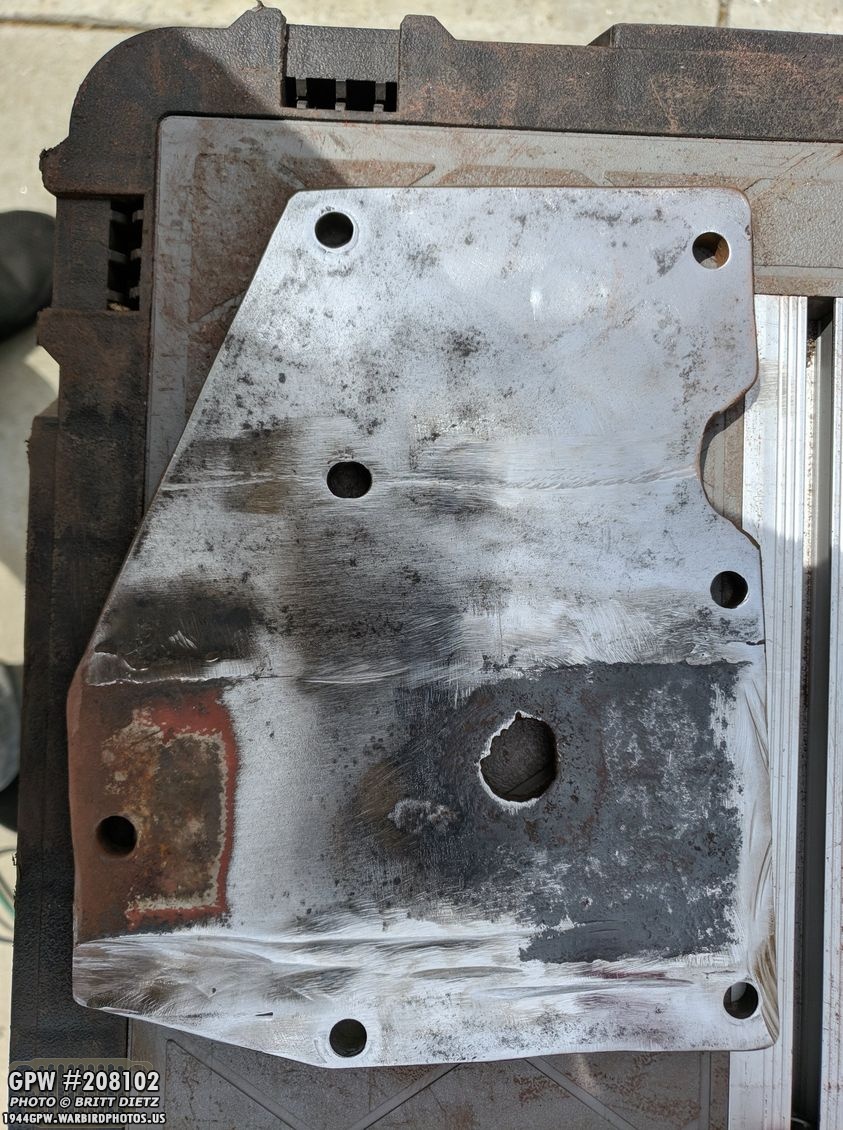
It’s amazing what a little sandpaper flap wheeling and wire wheeling can do! Most of the surface rust is gone. Now I need to cut a straight line on the left side to make it the prefect width of the crossmember.
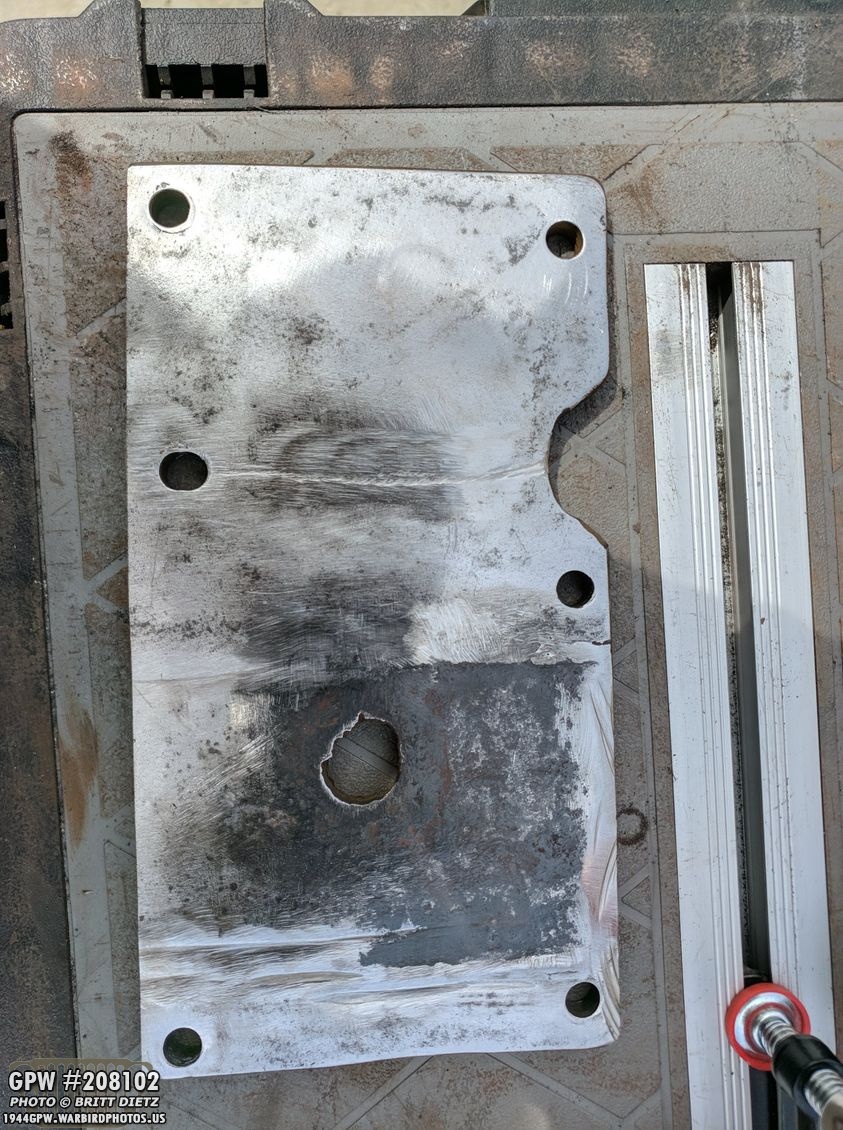
Bam! All cut to size thanks to the angle grinder and cutting wheel! Now to continue cleaning up the metal.
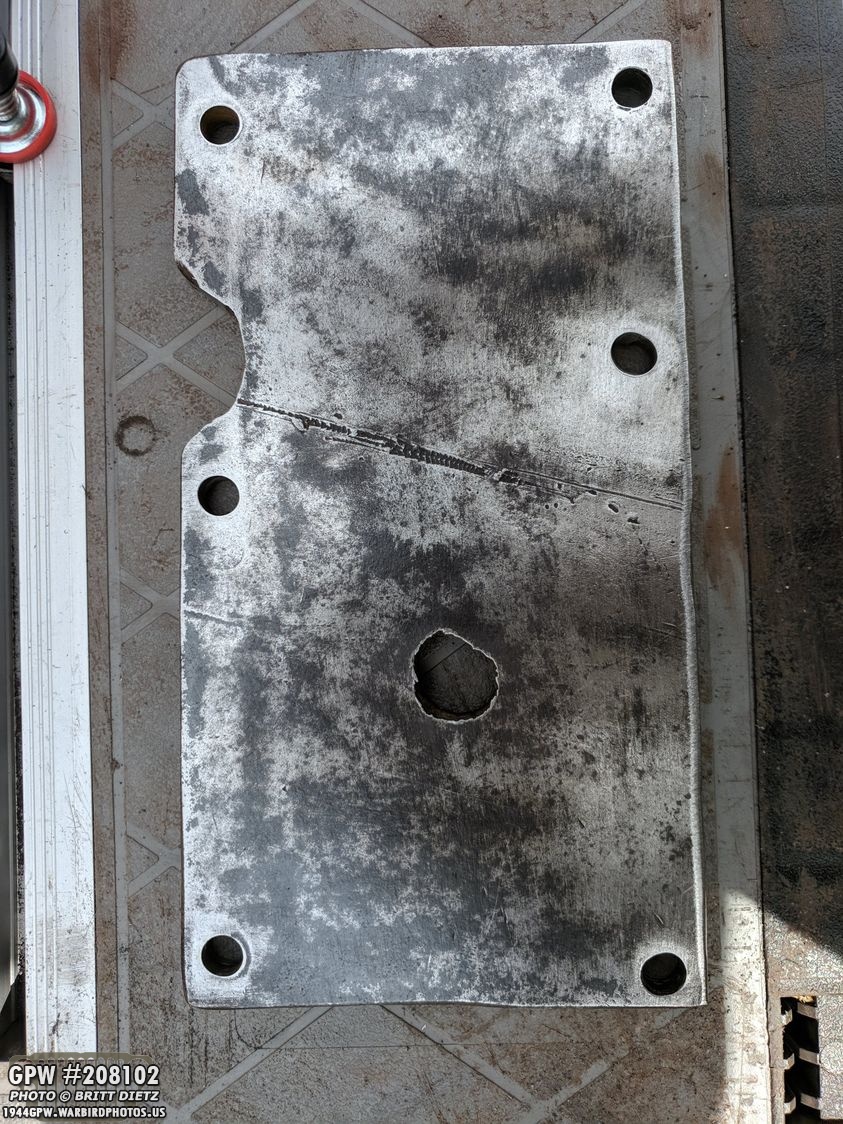
Here’s the other side, which will need some work as well. This is the side that goes against the bottom of the crossmember.
Back to the other side, I’ve smoothed the edge I cut off and am continuing to remove rust. I’ll sandblast it once I get most of the hard to remove rust off.
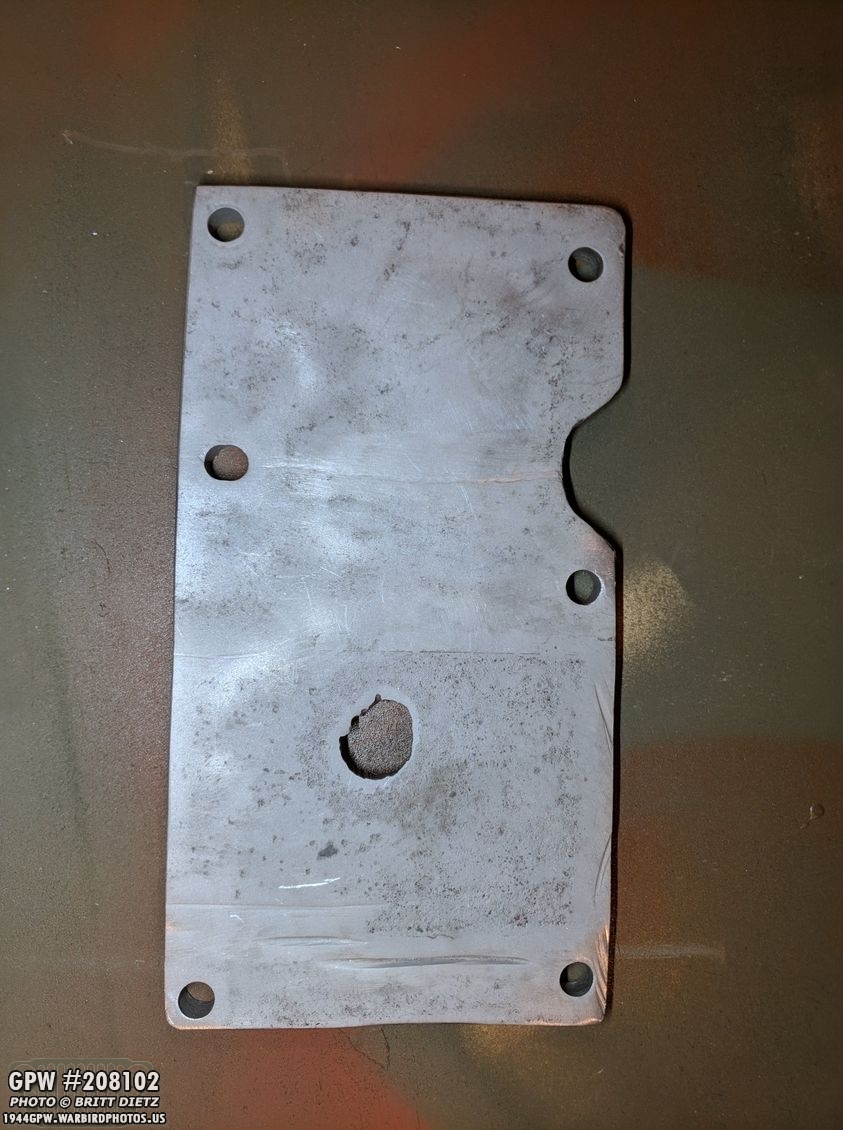
After sandblasting, what a difference! Time to fill in the hole and cuts…
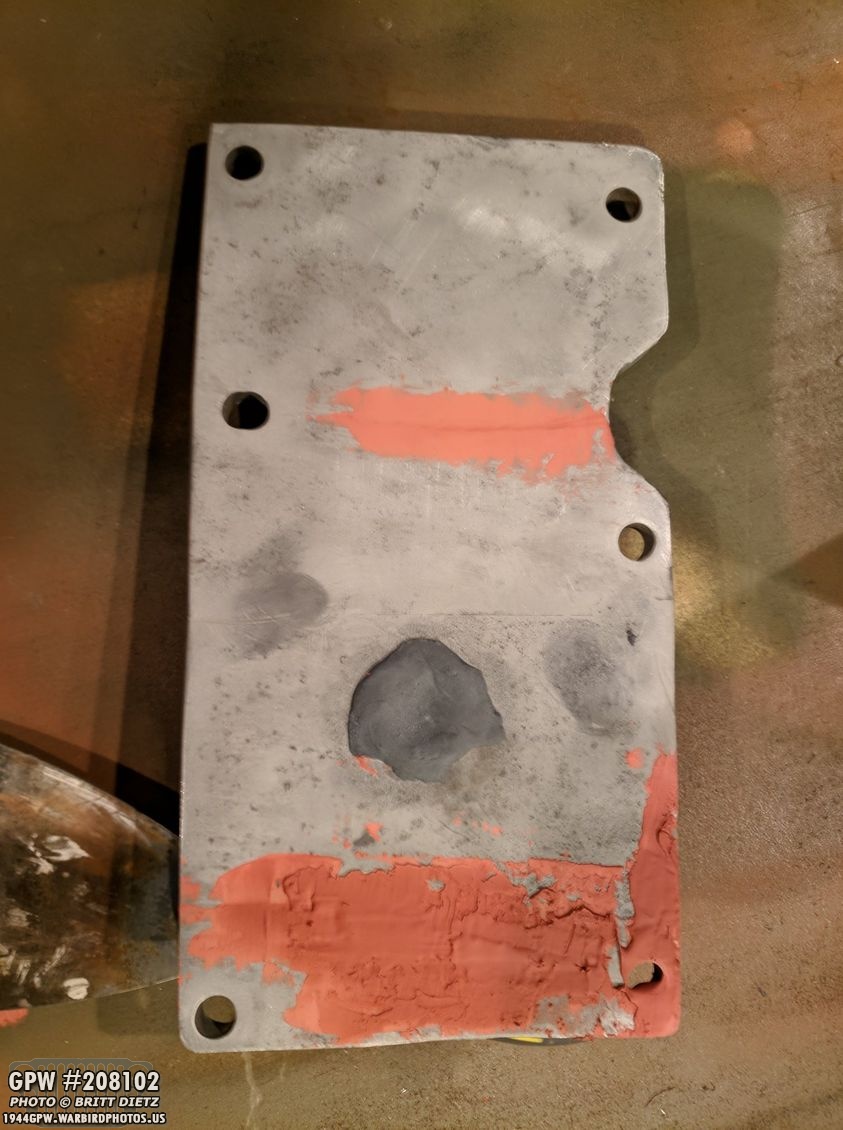
I used spot filler for the cuts, and JB Weld with metal for the large hole. This is a very thick piece of metal, so I it would be easier than welding that hole (plus it’s really only temporary until I replace the axles and steering).

After filling the holes and cuts, I then sanded them and hit it with filler primer to give it a smooth finish!
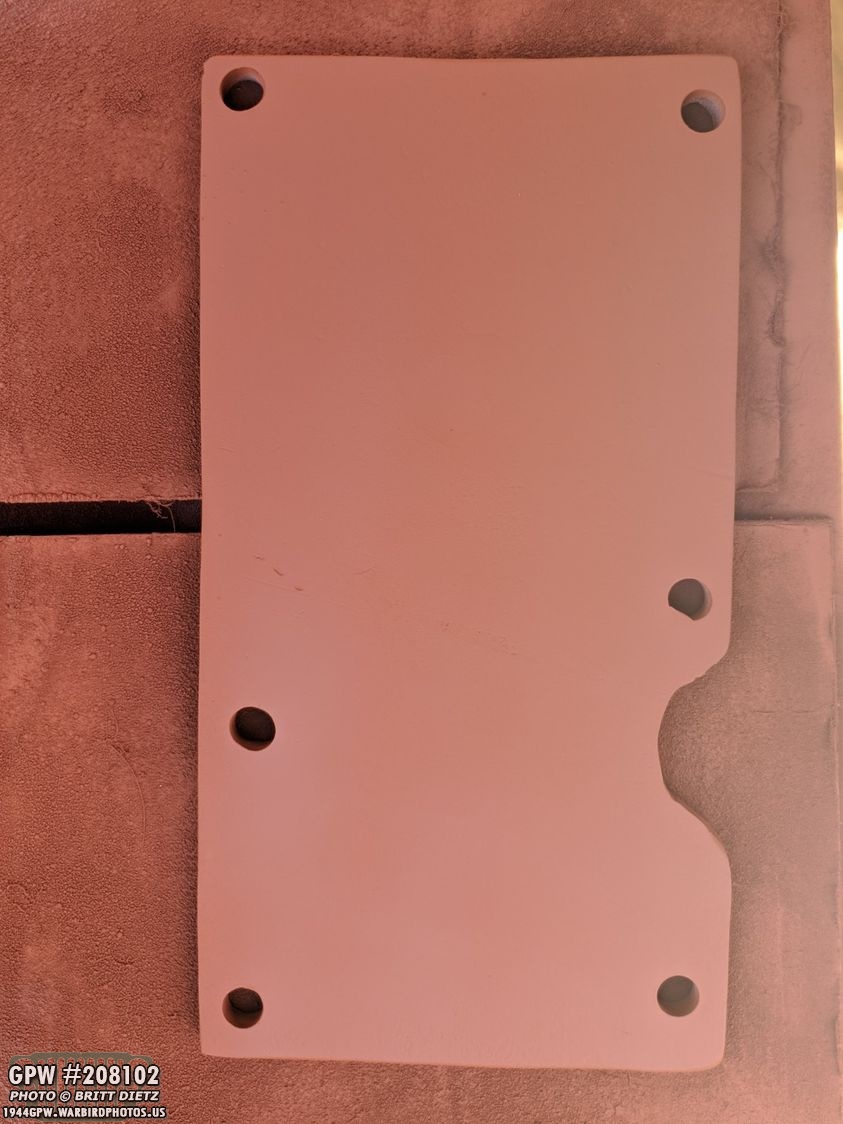
Finally, red oxide primer! I didn’t really need to hit it with red oxide since I primed it with the filler, but I figured if it gets scratched I want it to show red under the OD Green instead of gray.
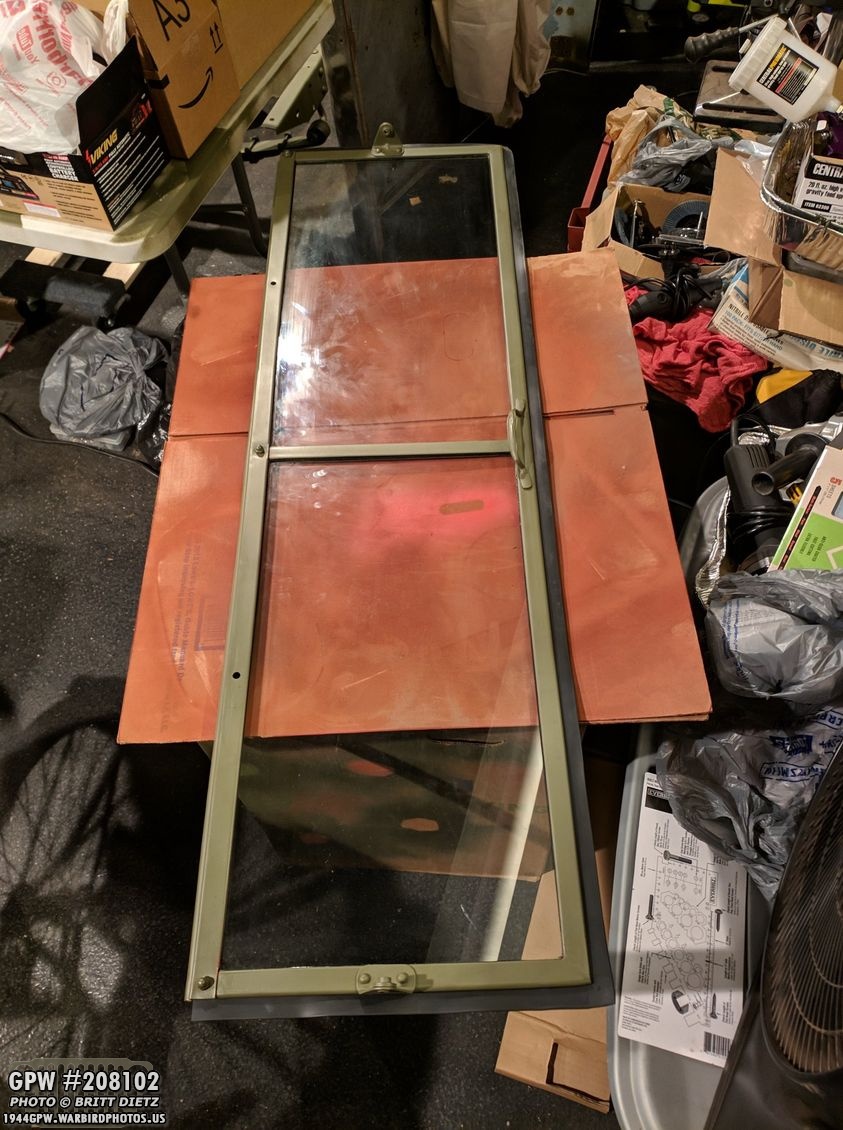
Next up, after waiting several months to get my inner windshield fixed after the glass guys installed the top bracket the wrong way, it’s back!!! It was scratched up pretty good as they fixed it, though, so it’ll need some more OD green…
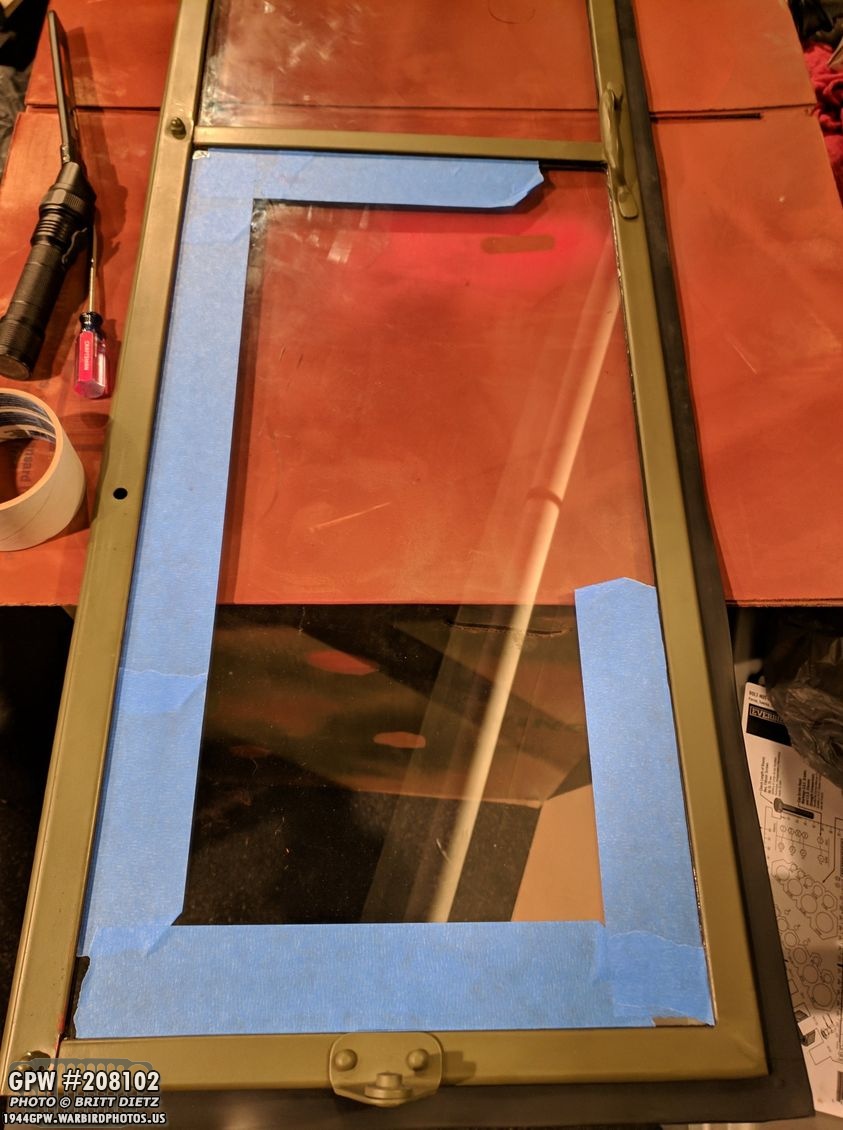
Starting to mask the windows…

Windows all makes along with the outer weatherseal.
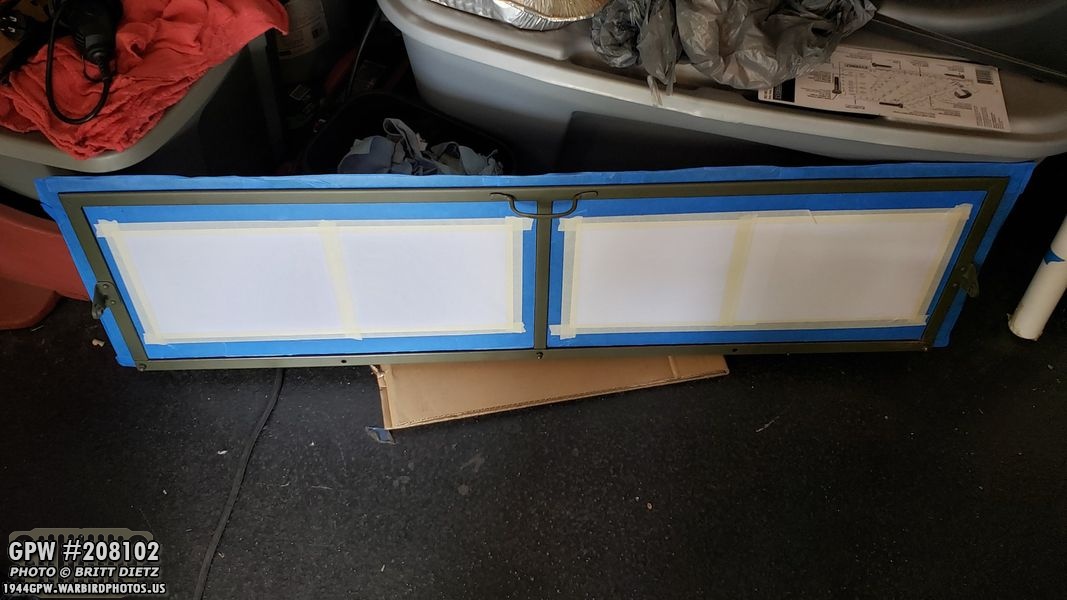
I added some paper sheets with tape to mask the rest of the glass, and it’s now ready for when I next spray OD Green!
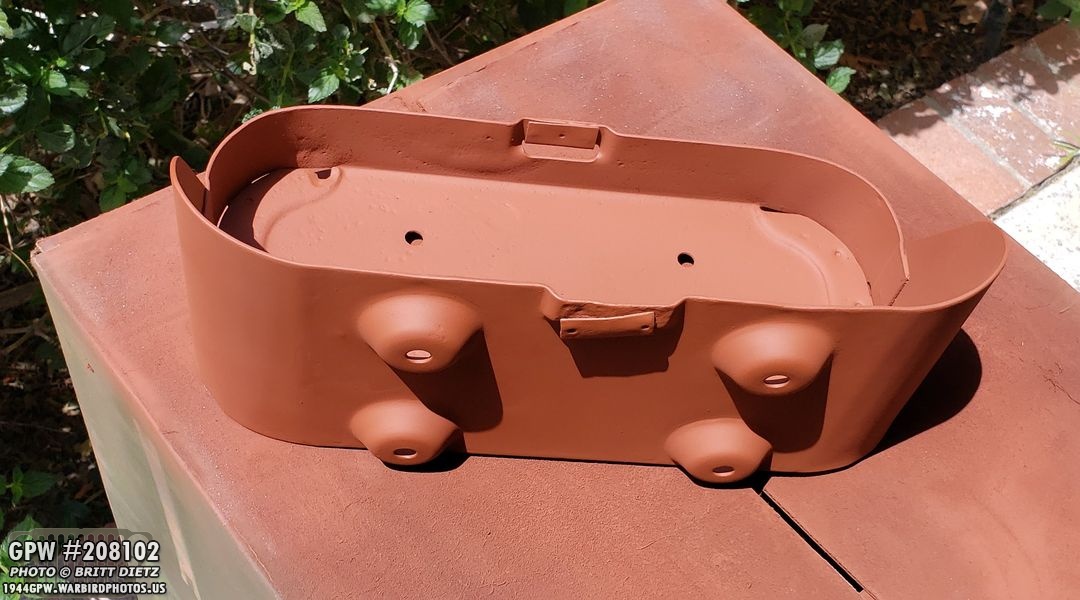
After struggling to get the jerry can holder primed after that incident with the rustoleum red oxide primer gallon that I spray that went on badly, I finally got it sanded smooth and primed nicely.
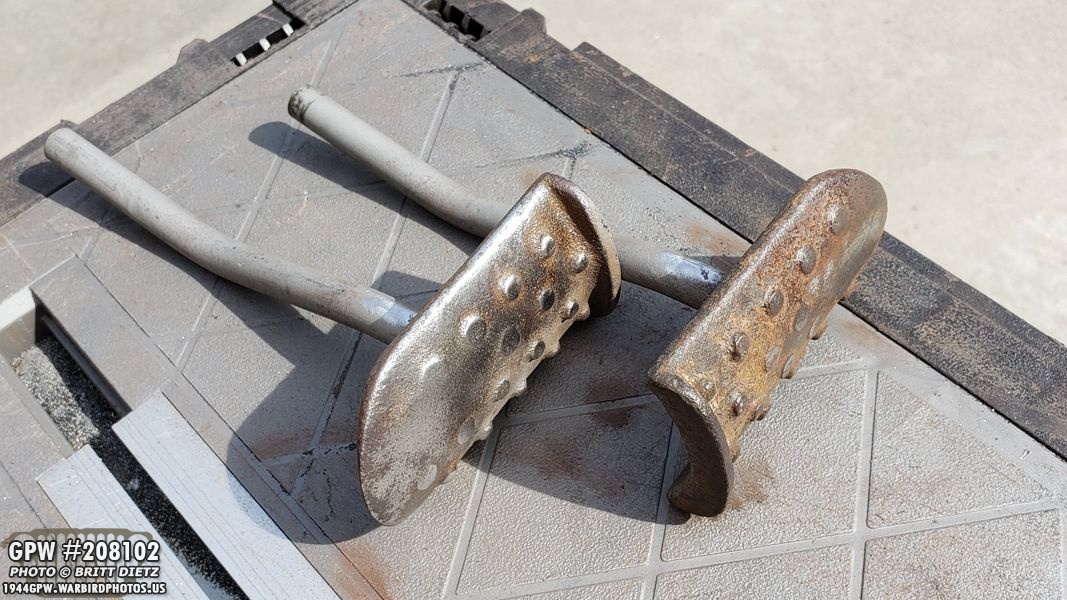
Originally, I was going to go and get new pedals for the Jeep, since these had worn down a bit. I didn’t think they were original to the jeep since I never saw F stamps…
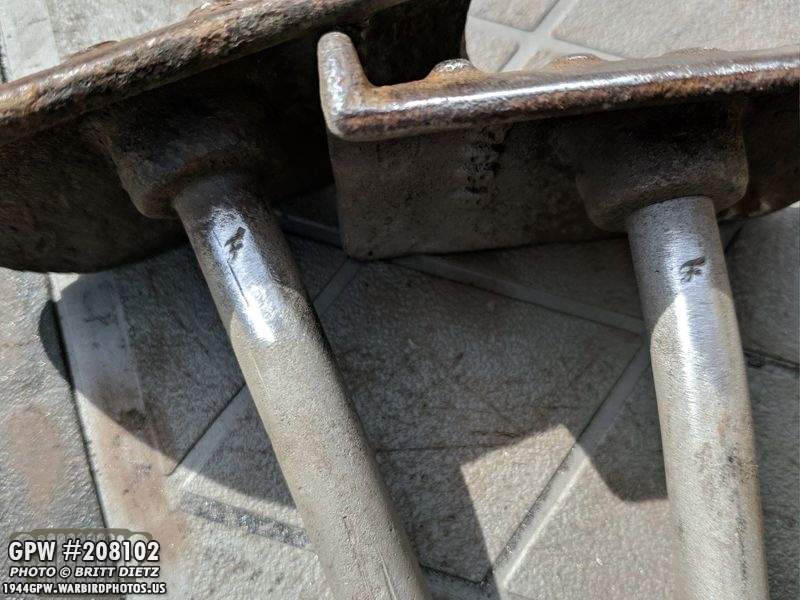
Turns out, I was looking in the wrong spot and the sand blasting made them look more like dings than Ford F Stamps. After using the wire wheel, sure enough, both have F stamps. They are original to the Jeep! So I’ll clean these up and continue using them.
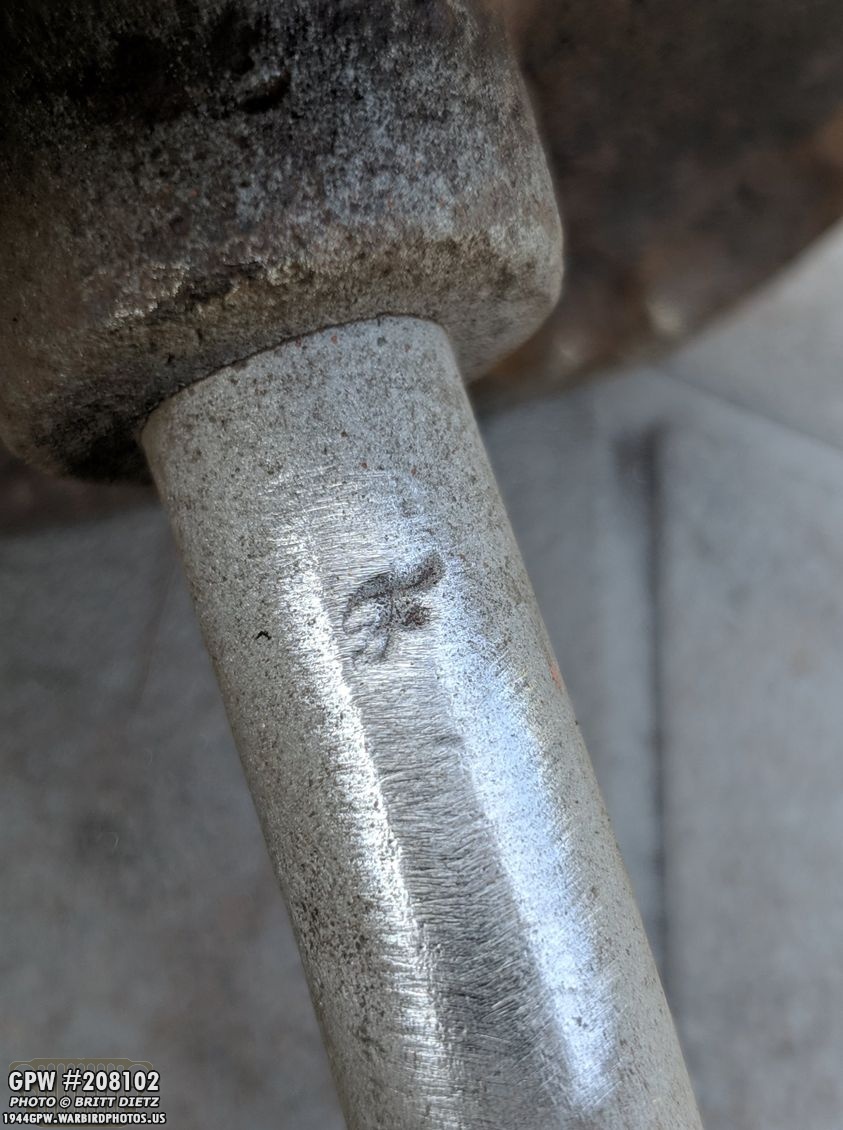
Close up of the better looking Ford F stamp of the two.
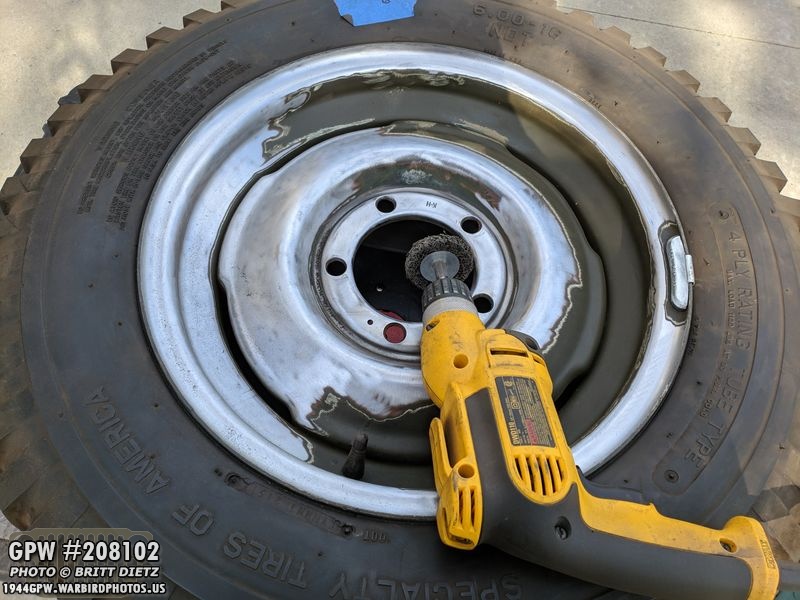
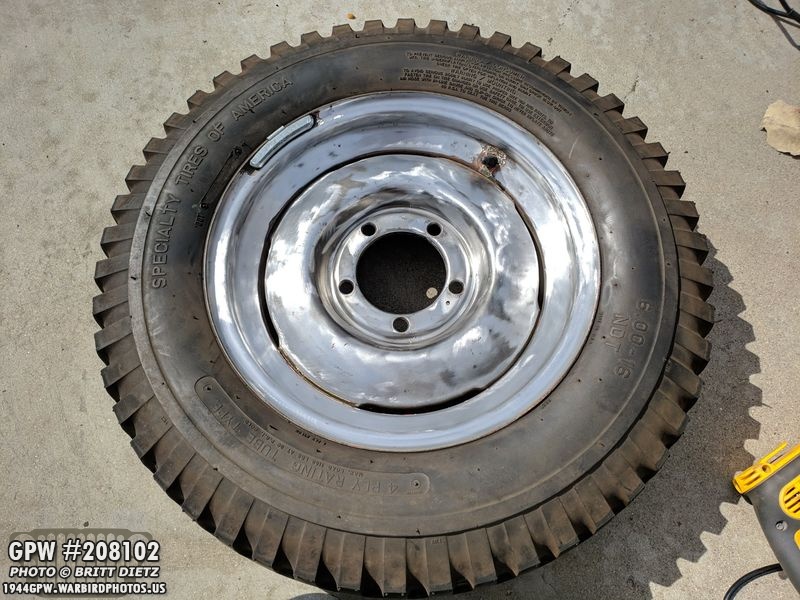
Work continues on the tires! It’s a slow tedious process, and you might be asking ‘why don’t you just remove the rims and get them sandblaster?’ Short answer: the rims are post-war M38 rims, and I’ll eventually replace them with correct combat rims. For now, though, I’m going to just clean them up (making the outside down to the metal and the inside just lightly cleaned up of dirt and debris), prime them, and paint them without spending a bunch of money.
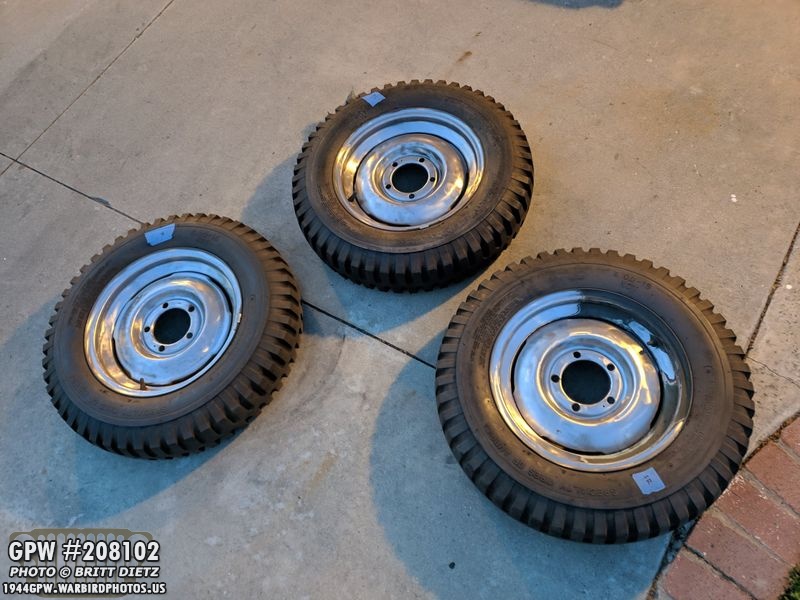
Nearly three tires done! I’ll do the 4 tires and get them finished first as they need to be put back on the Jeep frame asap so I can put the engine back on. The 5th spare wheel I can do anytime.
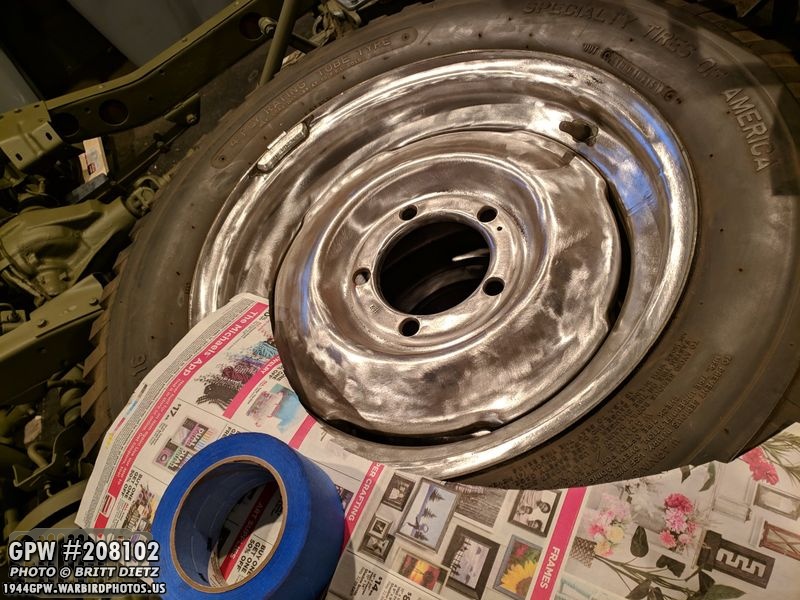
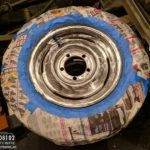
I decided to take one of the wheels and get started painting it. I decided to do the long and difficult way of using masking tape and newspaper to mask off the rubber.
Outside is done… Took a long time. But I did catch up on some TV as I worked.
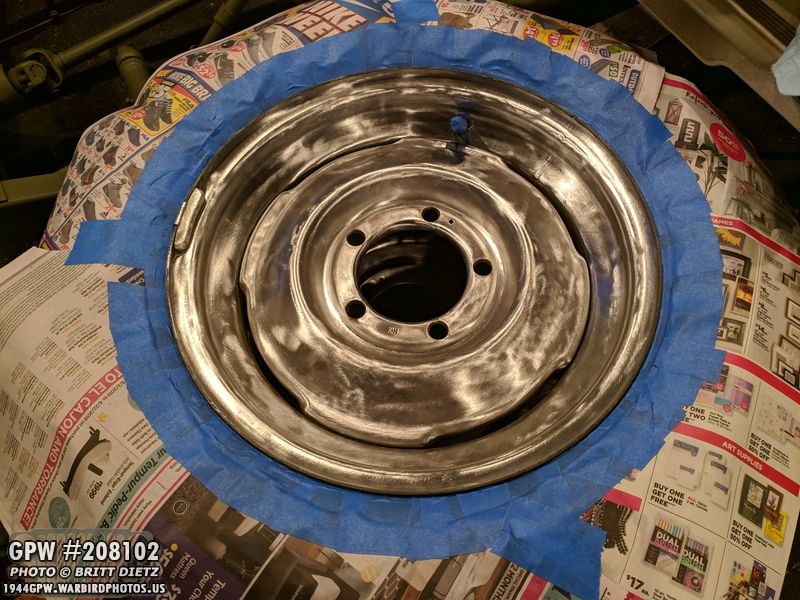
First tire totally masked off on both sides! Almost looks like a Christmas present. I’m going to try vasoline on the next tire, I’m hearing it’s easier to use since the paint doesn’t stick to the vasoline.
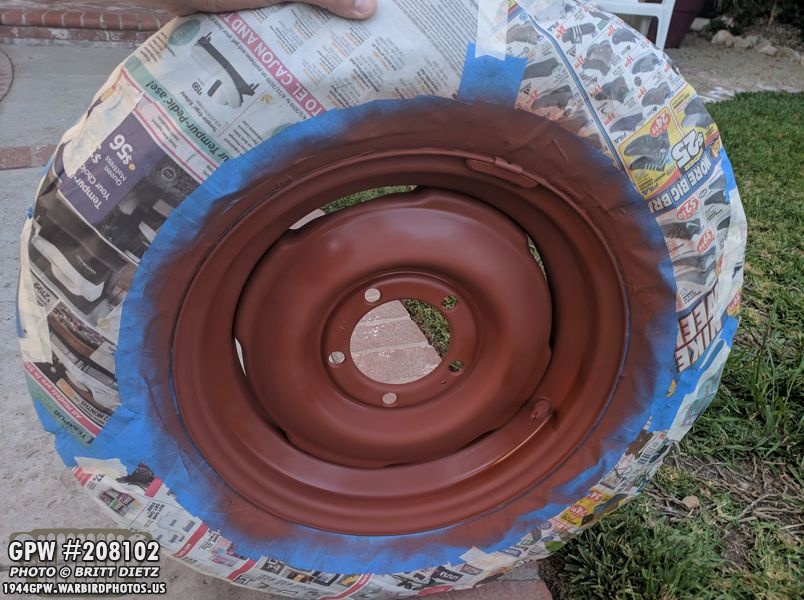
Had some extra time, so I hit both sides with the first coat of Red Oxide primer! I decided to also paint the tire weight maker (which is engraved with the numbers, don’t worry) instead of keeping it silver.
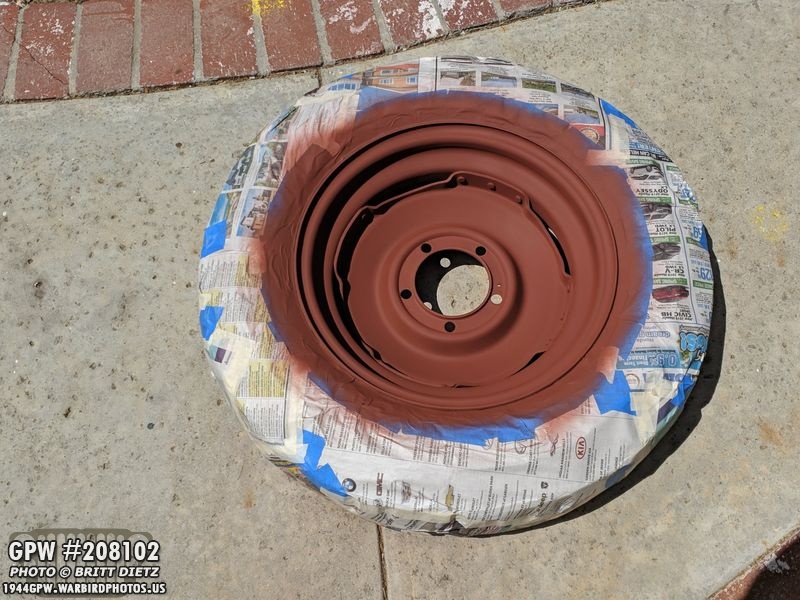
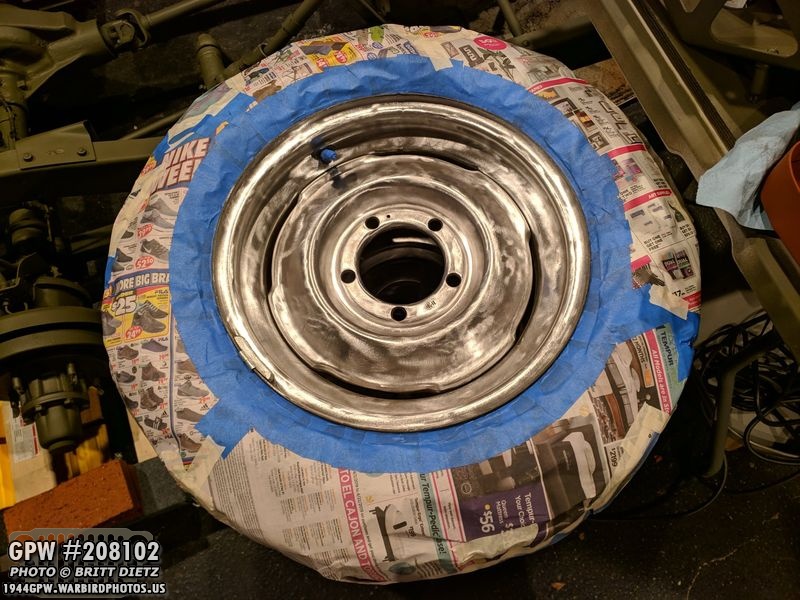
Next day, the backside getting a second coat of primer! Ready for OD Green! And that concludes this week’s updates. Hopefully, if the wind is calmer and I get some more time on the weekend, I can get much more done by next update!