 Painting and Grill Work
Finally was able to get some more painting in, mainly due to setting up a paint booth because I was so fed up with the wind! Progress is coming along, as most things get painted the closer I get to putting them back on the Jeep!

The Grill comes to life! More on this in a few…

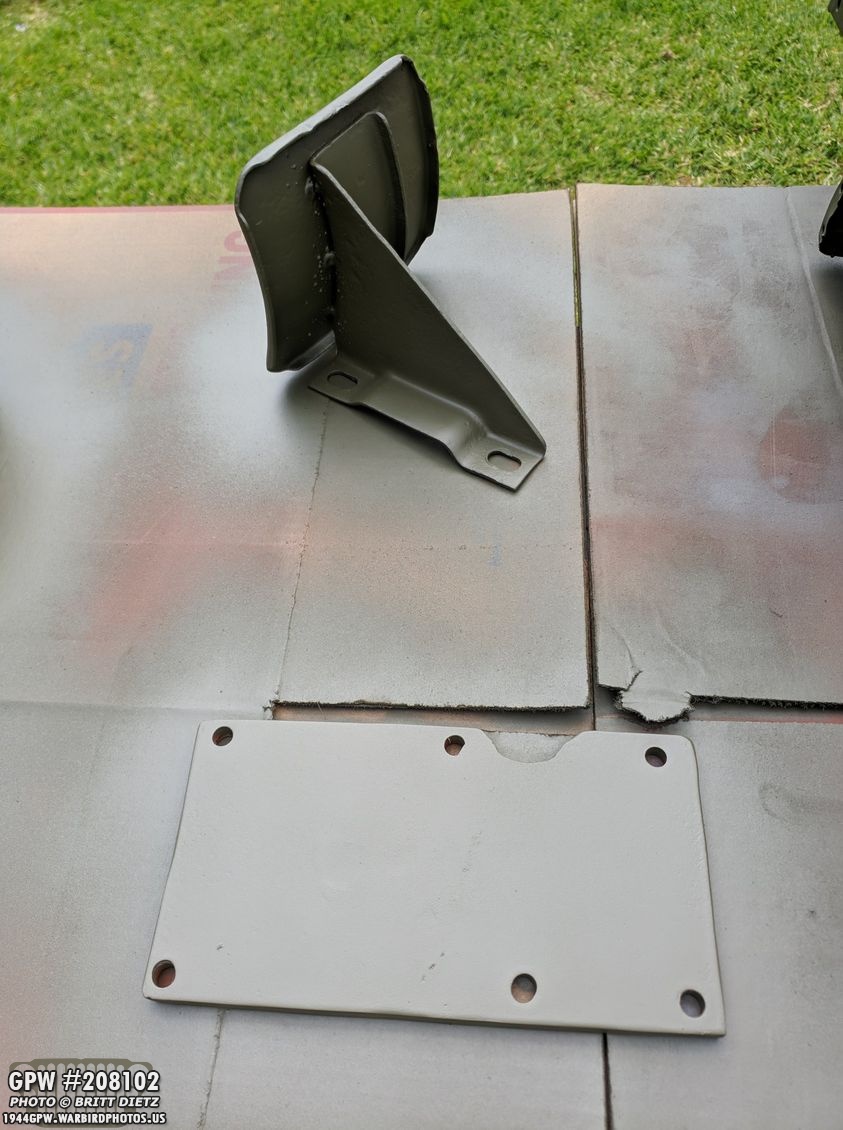
If you remember from the last update, this is the mounting plate for the post-war CJ steering system that connects to the crossmember. It’s been painted with red oxide primer, just needs OD Green and can be put back on! (I removed the C channel bracket that was welded on it and cut this plate to perfectly be the width of the crossmember).

I decided to do some research into my gauges that were on the Jeep. Turns out, the Temp, Oil Temp, Fuel, and Amp gauges are WW2 original for a GPW. That being said, as you can see, they are not in the best of shape. They work (the fuel is untested because it’s 6v, but it probably works), but need cleaning. Sadly, to clean them myself would be an impossible task with me most likely ruining them in the process (easy to do and some of them are also slightly radioactive). So I talked with some people, and they all agreed these would stand out like a sore thumb with a nice restoration. So I decided to go ahead and get new perfect reproduction ones, including the Speedometer (which is post-war). What am I going to do with these? I’m going to make a display that I can bring with the Jeep that has these original gauges with the original unrestored glove box door with original data plates.
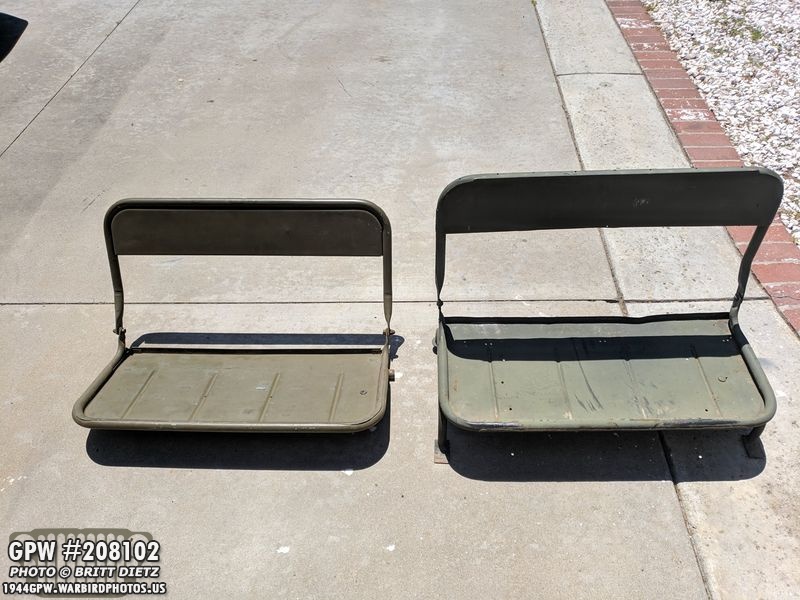
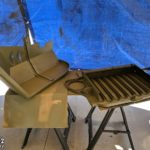
Mike, who I bought the Jeep from, stopped by during the week to check on the Jeep’s progress and bring by some goodies he found for the Jeep when he was moving. One thing we’ve been meaning to swap are back seats. His post-war Jeep (right) has the correct F stamped GPW seat back, while mine (left) is a MB/Willys type of back. His post-war one also has attaching feet, which makes it stand taller. So the idea was to swap the seat backs so all 3 of my seats are GPW Ford. Problem is, his seat back was riveted on, so I’d have to cut that rivet.

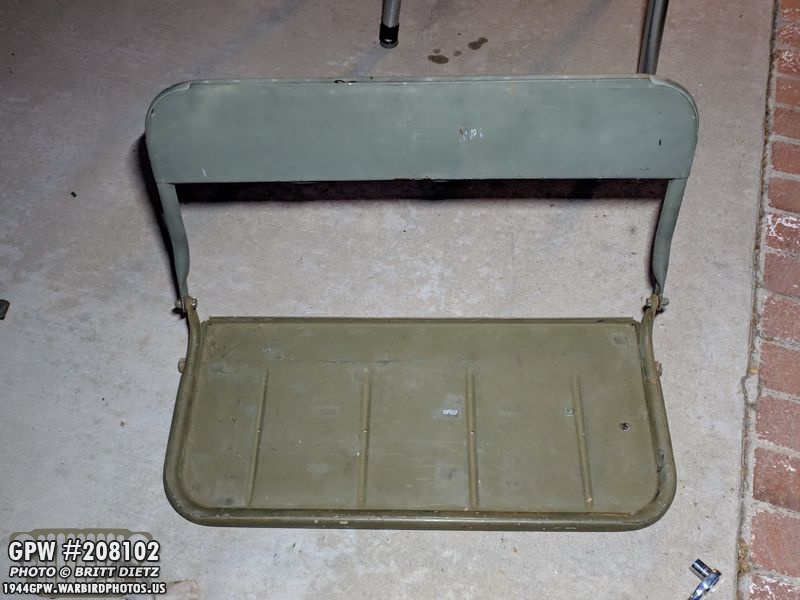
Here’s a look at the F stamp on the back seat rest that mine will get.

It took about an hour of flap wheeling, grinding, and hammering… but I managed to remove the rivets. The MB version on the left, the Ford GPW version on the right.
And here the Ford GPW version is bolted to my seat bottom! Obviously I’ll get them both sandblasted and painted, and since there’s no real issues I won’t need to weld anything! Now I have 3 Ford seats!

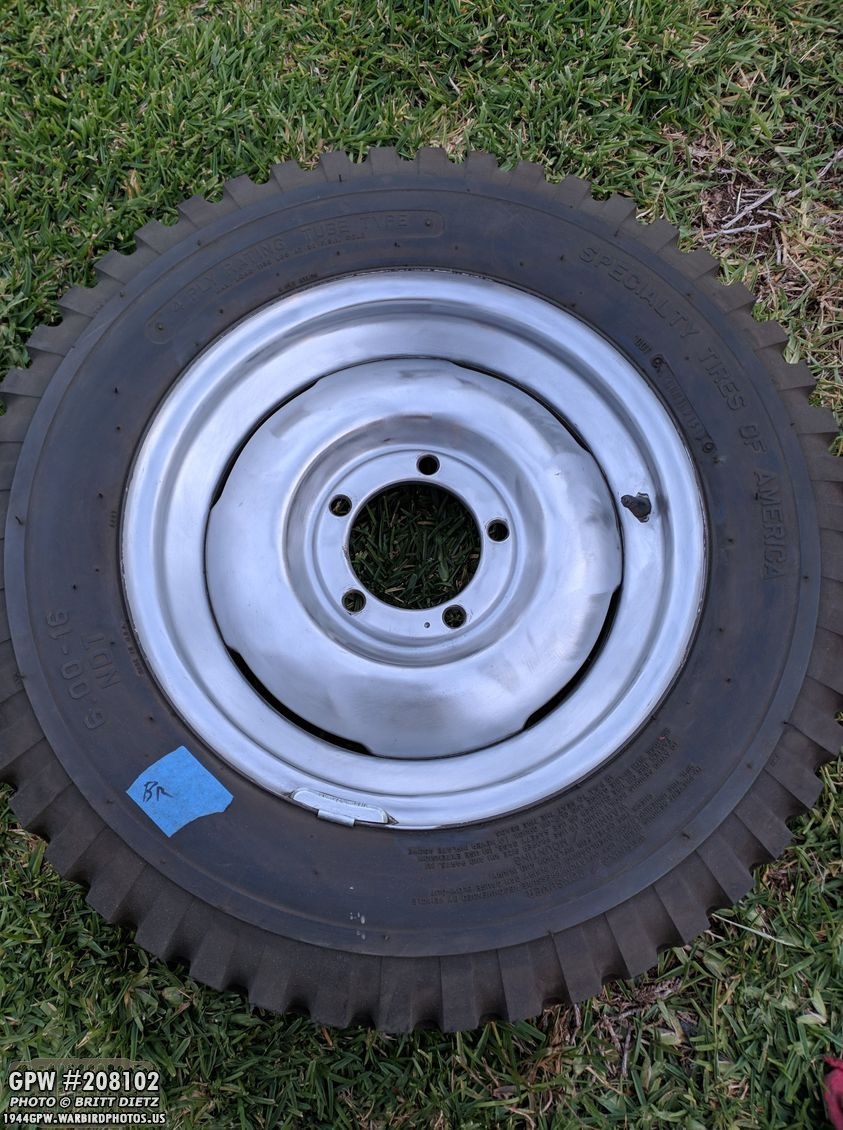
Final coat of OD Green was applied to the first wheel’s rim! Looks really nice.

Here’s the inside. I didn’t remove all the paint on the inside since 1) I’ll eventually replace these with combat rims, and 2) it’s on the inside and hard to see… so there’s some imperfections. I also got paint runs, which I’ll sand down a little. Whoops.

If you recall previous updates, I had 3 of the 4 tires wire wheeled (and of course the first one now painted). Here’s the last of the 4 main tires getting nylon wire wheeled!
All clean! Now to paint this and the other 2 wheels and all 4 wheels can go back on the Jeep! I have tire cleaner as well to make the tires themselves look nice after everything is painted.
I had a day of light wind, so I brought out the paint spray gun and hit some items! First up is the final coats of paint on the bumperettes. They look really nice in Green! Though, they will be getting white paint on the front for the AAF markings.
Here’s the spare tire holder bracket getting paint and the post-war steering mounting plate (from earlier) getting OD Green.

The grill is getting the second to last coat of paint!

The windshield, now masked, is getting touch up paint!
Driver’s side Fender is getting a second coat of paint!

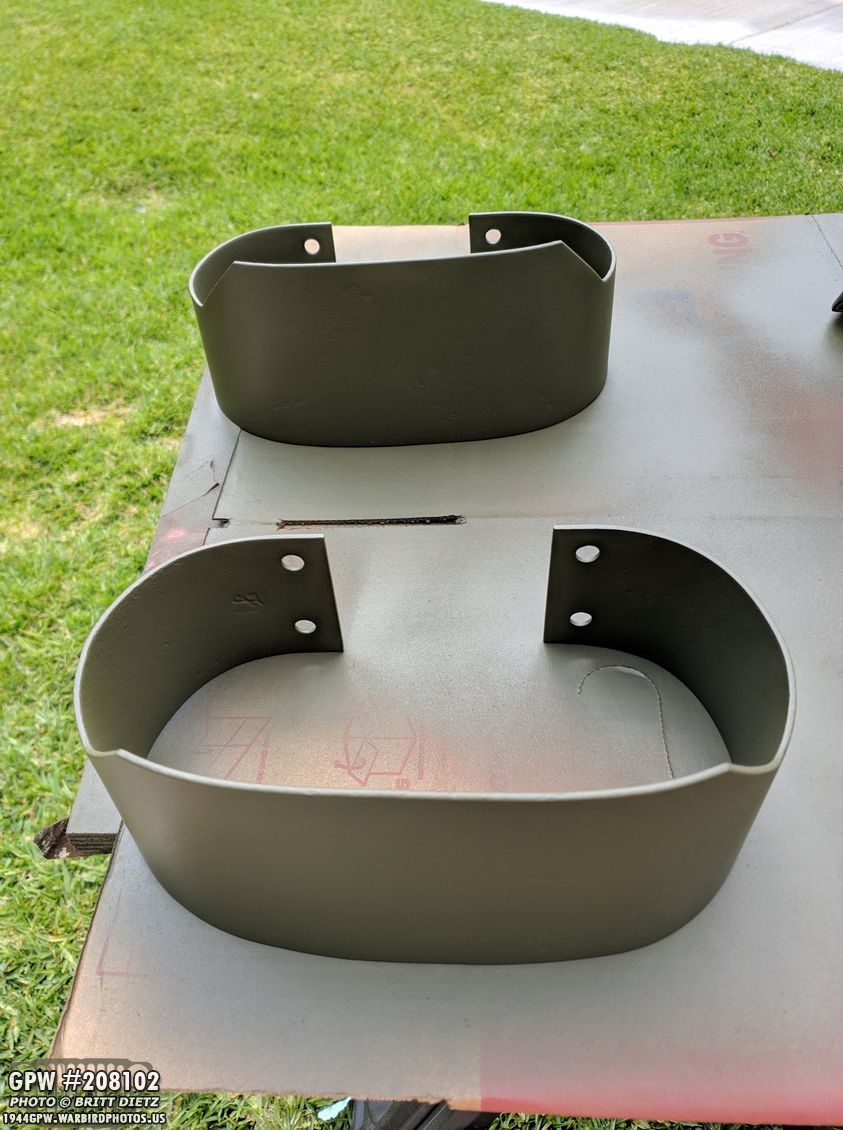
Also hit the Jerry Can holder with the first coat of paint.

The driver’s side seat was in the best condition between the two front seats and didn’t require any welding, so after cleaning it up from the sandblasting a few weeks ago, I hit it with red oxide paint primer. If you’ve been following along with these updates closely, you might be saying ‘wait, that doesn’t look like the normal red oxide paint!’…

That’s because Lowe’s is phasing out the Krylon Pro Red Oxide Primer paint! Sad day 🙁 I got pretty much the last of the stock at all the local Lowes that I could. What it’s being replaced with is Rust-Oleum primer… which is supposed to be a ‘superior product’ but, after trying it on the seat, I wasn’t a huge fan. It does go on thicker, but it leaves a darker, more glossy finish. I like the Krylon matte finish, and I’m sad that I now have to conserve the last 5 cans of it I have for the rest of the Jeep. If I have to, I’ll use the Rust-Oleum one if I run out.

Here’s a look a the gorgeous raised Ford F stamp on the driver’s side seat. (backwards)

I did the bottom of the seat with the Krylon red oxide. See how much more smoother and matte the finish looks? I’ll apply a coat of the Krylon over the top of the seat as a second layer.
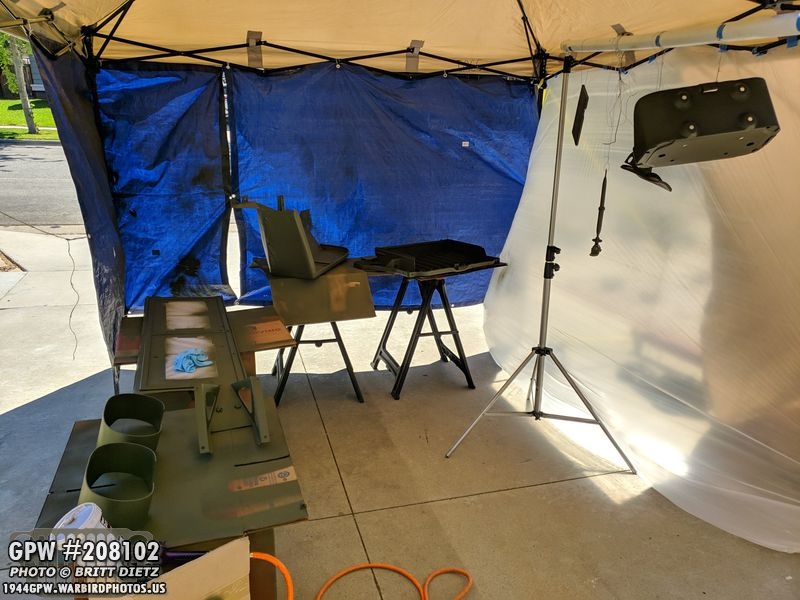
The next day I was going to hit even more things with the paint sprayer, but the wind decided to have other plans. It was SUPER windy. Ugh! So what to do? Well… let’s make a paint booth because I HAVE to get these pieces painted. Thankfully I have a 10×10 canopy.

Paint booth worked well! Here’s the fender and the grill getting final coats of paint.

Other side of the windshield is getting a final touch-up coat of paint.

A second coat for the spare tire holder and final coats for the bumperettes. You can see the Harbor Freight Tools HVLP sprayer to the left.

Also painted with final coats were the post-war steering mounting plate, the army assembly for the driver’s side mirror, the spare tire support bracket, and the jerry can holder. These were hung so I could spray everything.
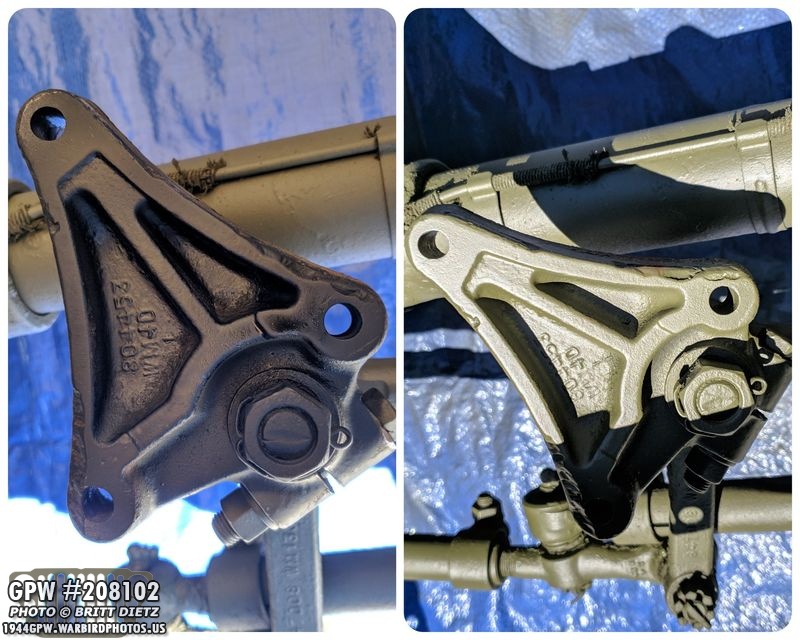
The inside of the steering holder that mounts to that mounting plate was really rusted on the inside where it mounted to the plate. I went and wire wheeled it as best as I could, then hit it with black rust converting paint (left). After it dried, I hit it with the OD Green paint (right).
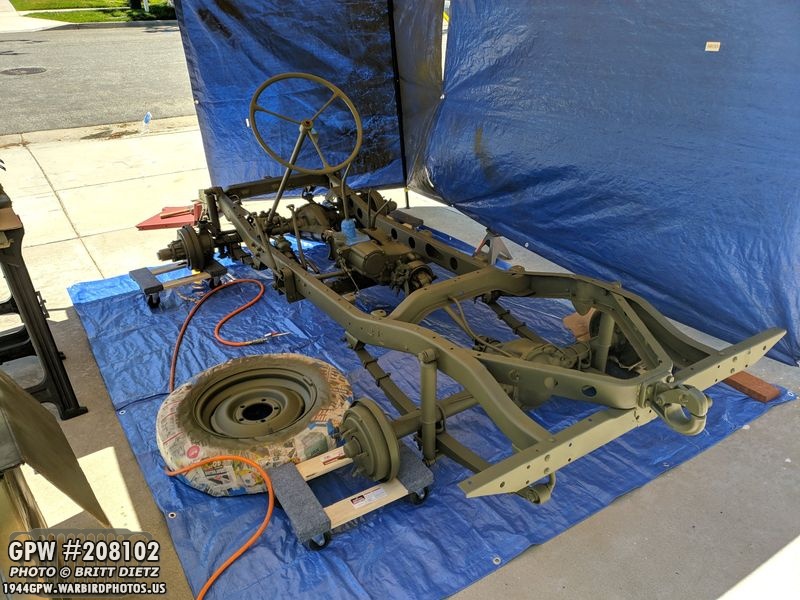
The next day, still super windy. Doh! So I rebuilt my paint booth since I needed to hit the frame with a final coat of paint (and the first tire!)

After the final coat was applied, I took down the canopy so the frame could bake in the sun for a while.

Looks nice! Can’t wait to get the wheels and engine back on it, might start looking like a Jeep again!

Fender is baking in the sun with the final coat of paint!
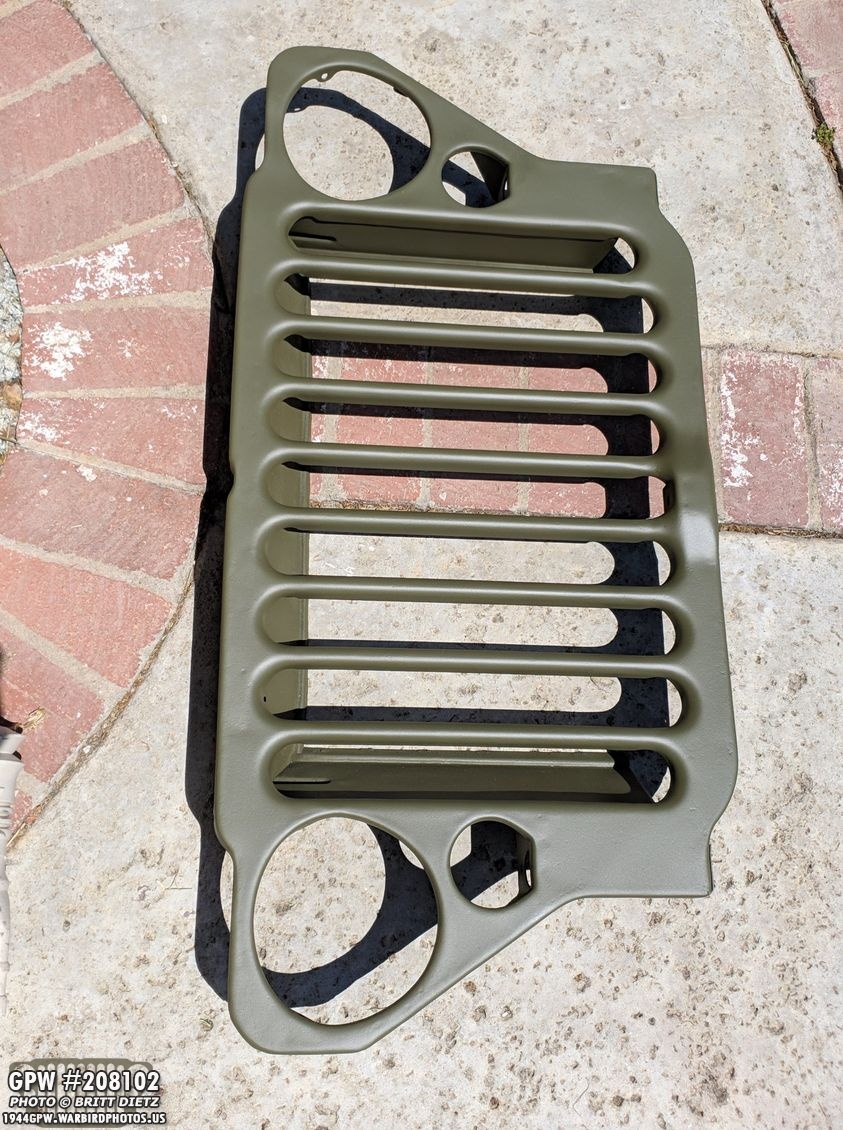
Grill is also baking in the sun with its final coat!

The next day after 24 hours, I decided it was time to start putting together the Grill. I’ve been excited to do this, and so I was antsy!
I started with installing the right side marker light, the black asphalt loom wire will be clipped to the bottom of the grill. Space was getting tight in the garage, so after sanding off some metal contact points for grounding, I decided to move indoors.
Here’s a look at one of the ground wires that go from the headlight to the grill sending the electricity going through the headlight into the grill, which will then be fed to the fender, and in turn into the frame which will go back to the battery.
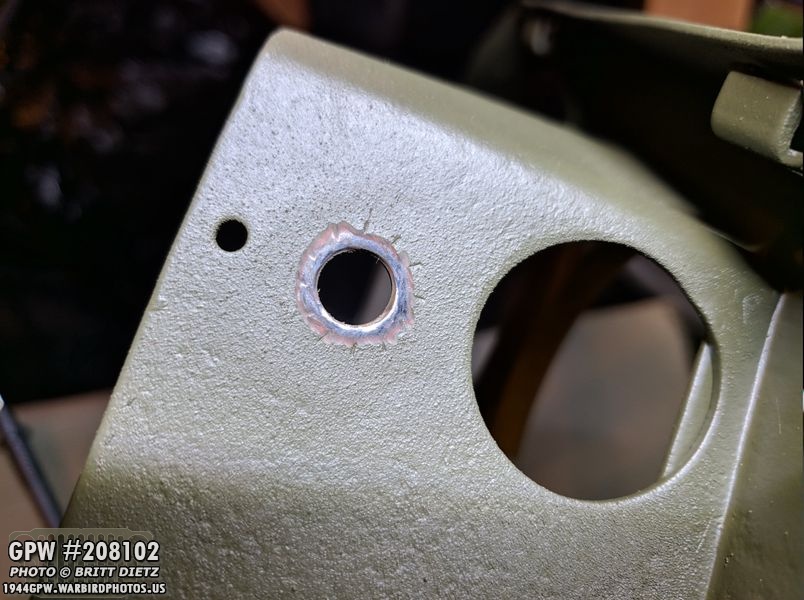
The bottom of the marker light mount hole, also with some paint removed showing metal for grounding… at the time I didn’t realize I’d have to solder/tin these areas, but more on that later.

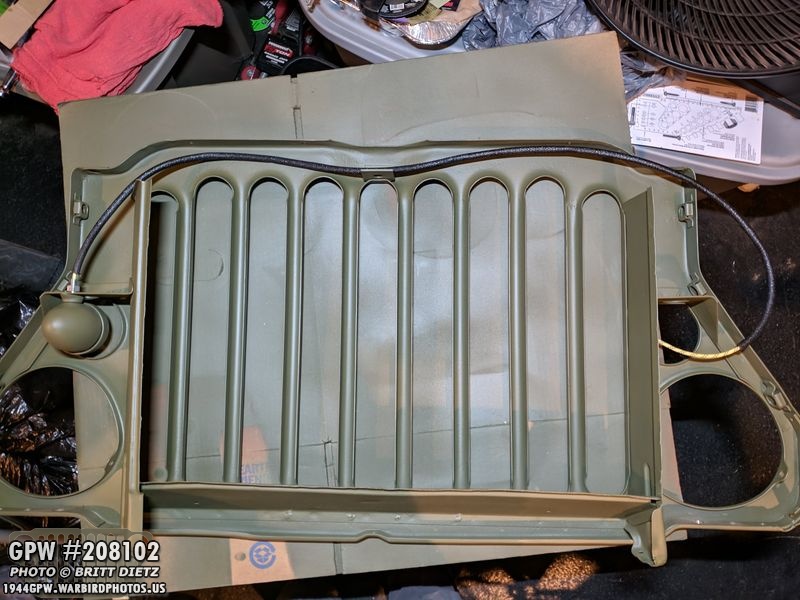
Grill inside now, and all clipped up! I like the silver clips, vs painting them… but I realize now they will rust so I will have to figure something out. I will either paint them OD Green or perhaps hit them with silver anti-rust paint.

A look at how the headlight rotates upward and how the wiring goes long the inside of the grill.

Now that it’s all wired, time to check and make sure it all works!

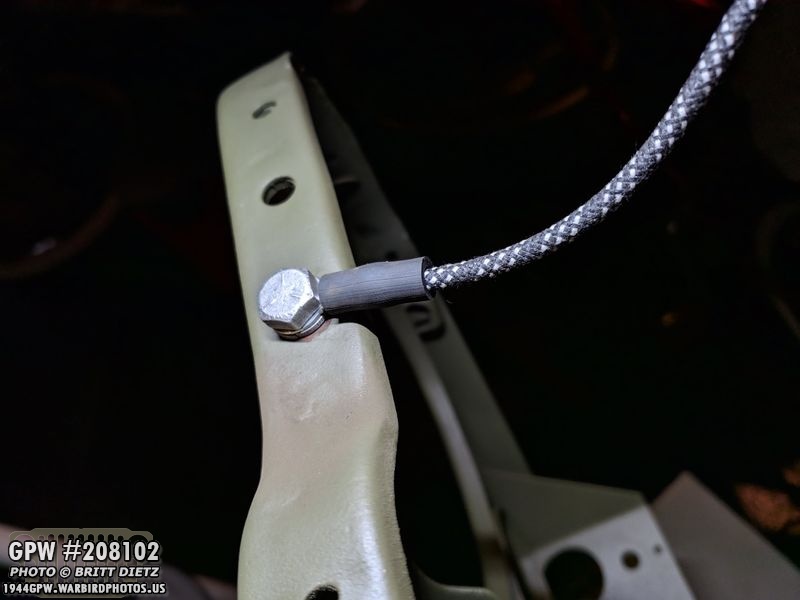
I will have a video of this soon, but I hooked up the headlights and marker lights using my wiring harness actually hooking it all up as it will be in the Jeep. I hooked up the push/pull switch and the headlight dimmer. I used a bolt in the side of the grill (bottom right in both shots) to return the power back to the battery. I tested the 3 modes of the push/pull switch… and it works! Marker lights came on in mode 1, headlights in mode 2! BUT, as I mentioned before, the little bit of metal I sanded off for grounding 1) isn’t enough for stable connection, and 2) needs to be tinned so it won’t rust. So I’ll remove everything from the grill so I can work on this in two weeks after the Planes of Fame Airshow.

Finally, I ended up purchasing these allen head bolts to attach the top gussets to the front of the frame rather than riveting them. 1) I will fill in those allen holes and make them a round head once tightened and you’ll be hard-pressed to know, 2) they torque just as well as rivets and you’ll only see it if you get up super close to the bottom and see the nut and washers, and 3) if I ever have to remove the gussets, I dig out the filler in the heads and can unscrew them.That’s it for now! Next week I’ll be busy with the airshow, so there may not be another update until two weeks!