 Planes of Fame Air Museum event, Air Field History, & more!
Despite the ongoing issue with the rear axle sound, I took the Jeep out to the Planes of Fame Air Museum for their Live Demo event. The museum is located at Chino Airport, formerly a US Army Air Force training base called ‘Cal Aero Field’. After the event I took a Jeep tour around the airport. I also did some minor cosmetic work on the Jeep this week, used a tachometer to dial in the RPMs, cleaned up some tools, etc!
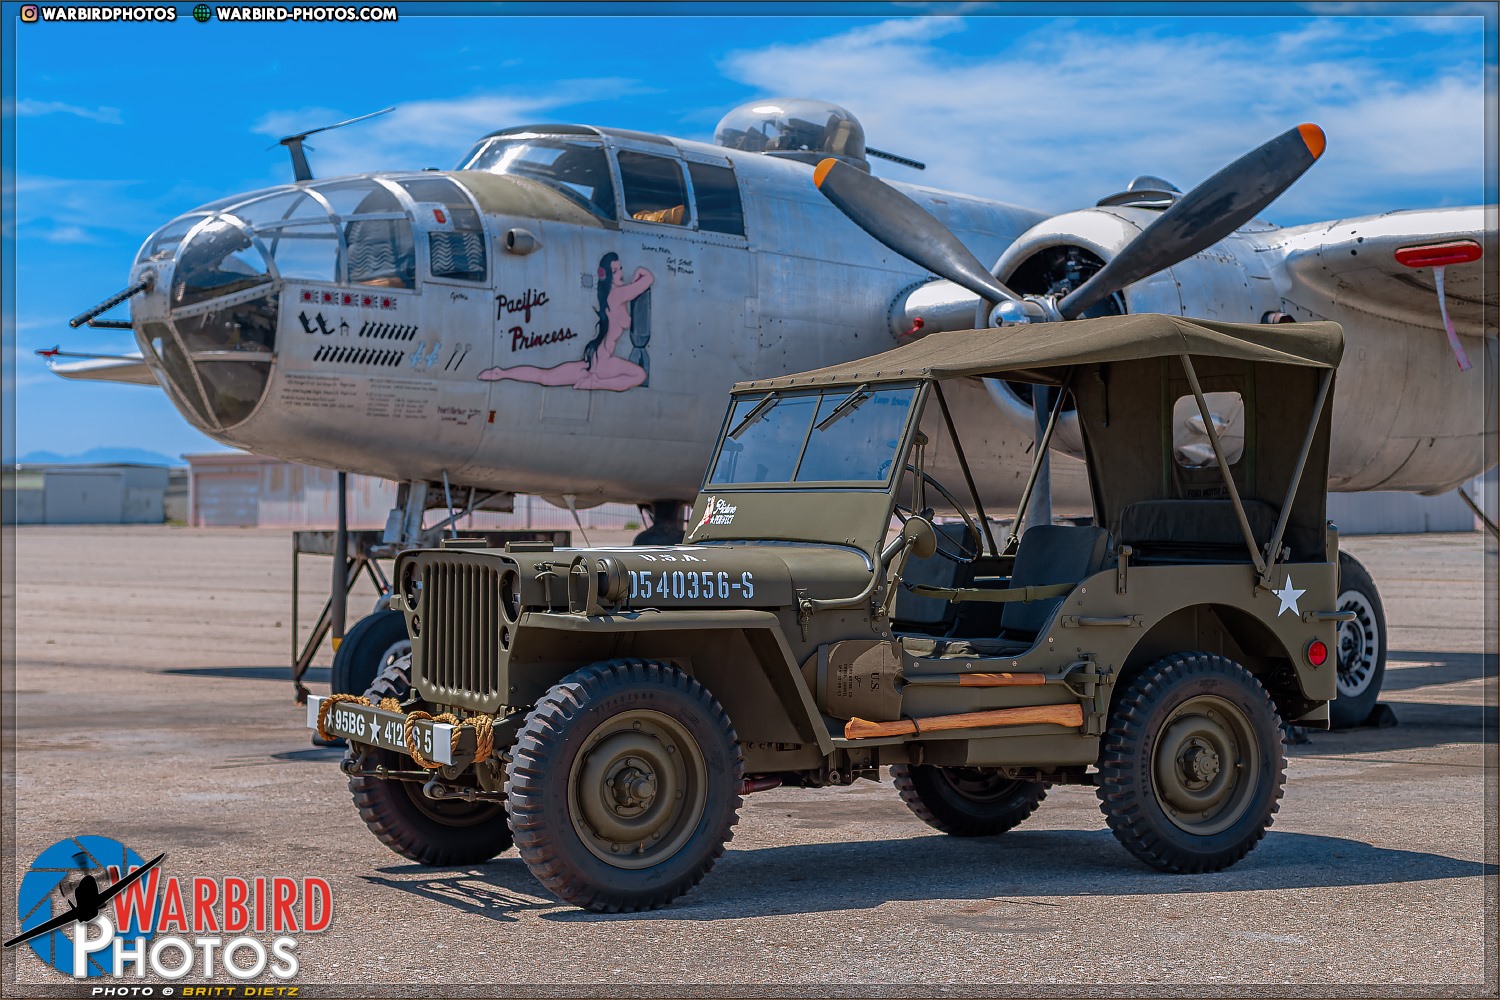
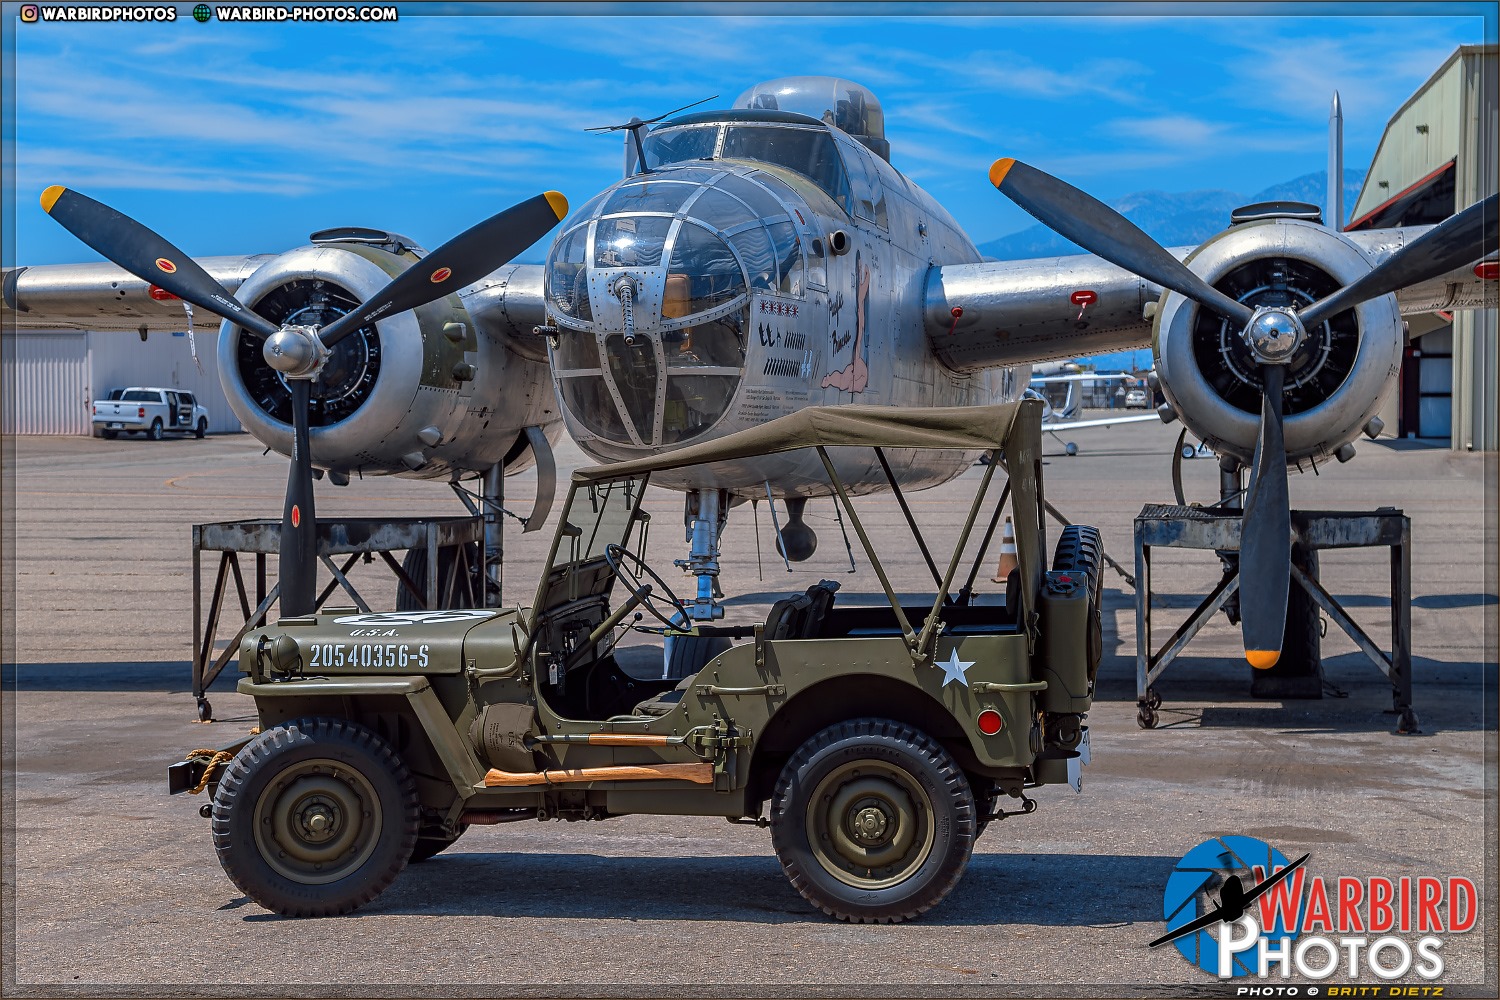
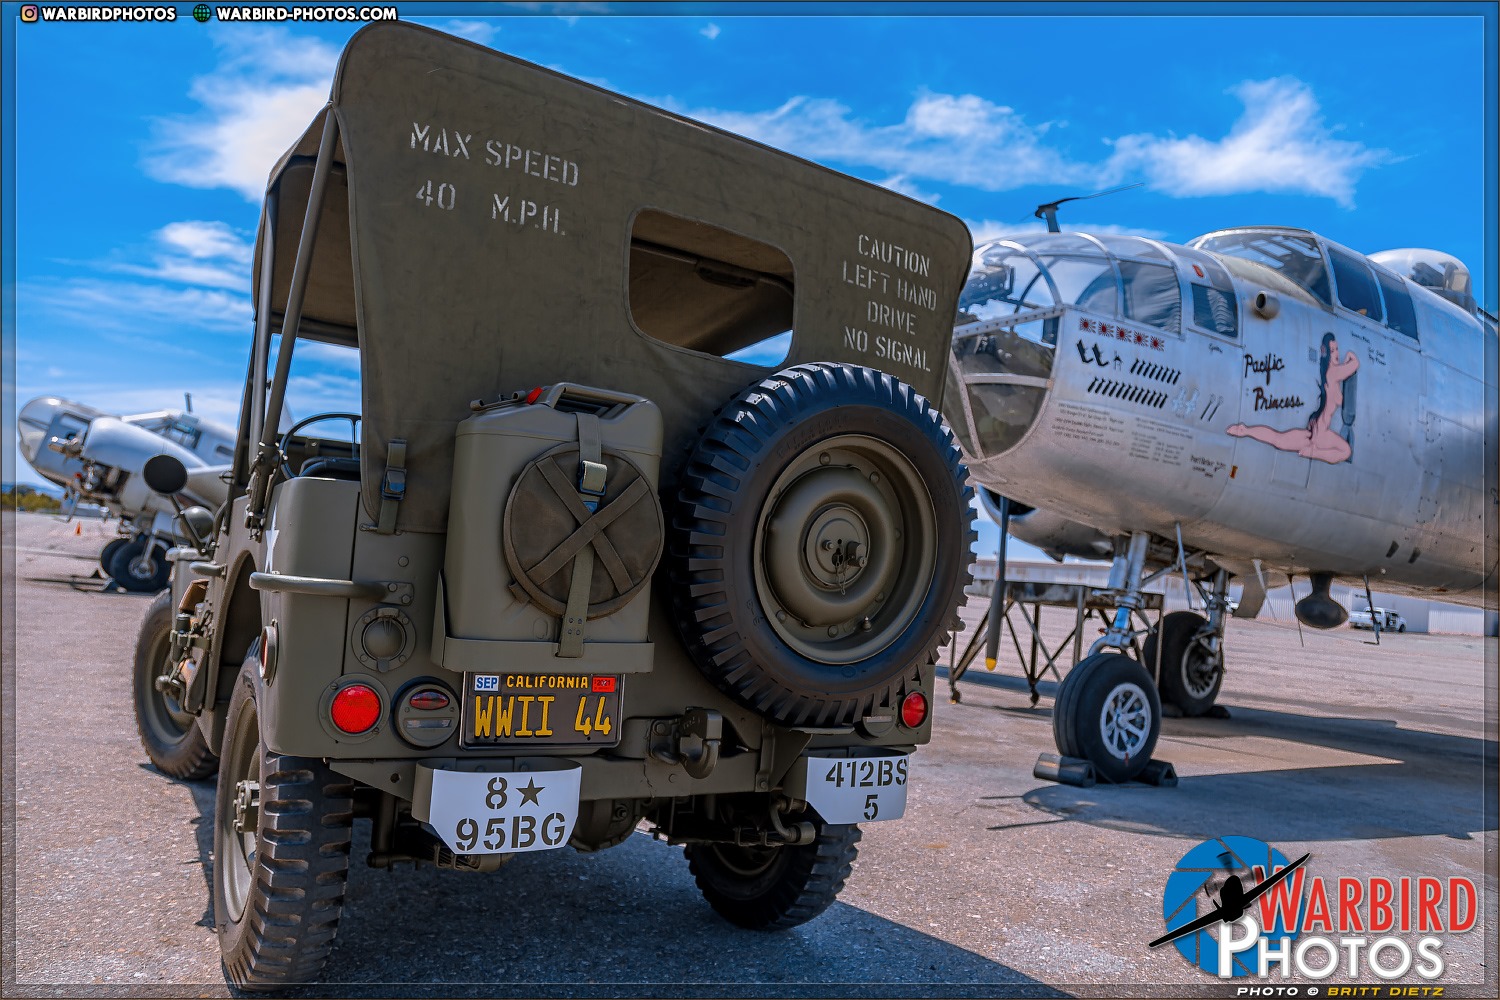
GPW #208102 with B-25J Mitchell #43-28204 at Chino Airport, CA. More on how these two very different vehicles share something in common later in the post! But first, let’s get to how the Jeep got out there this past weekend.
Last week, I attempted to solve the rear axle ‘clackity’ saga with the latest test, axle wedges. This, sadly, did not change anything with the sound much to many people’s surprise.
I also, just to check off the boxes, put on my ‘out of spec’ drums on the rear axle just in case the replacement GPW drums were causing the issue. This did not change anything either, but that wasn’t much of a surprise.
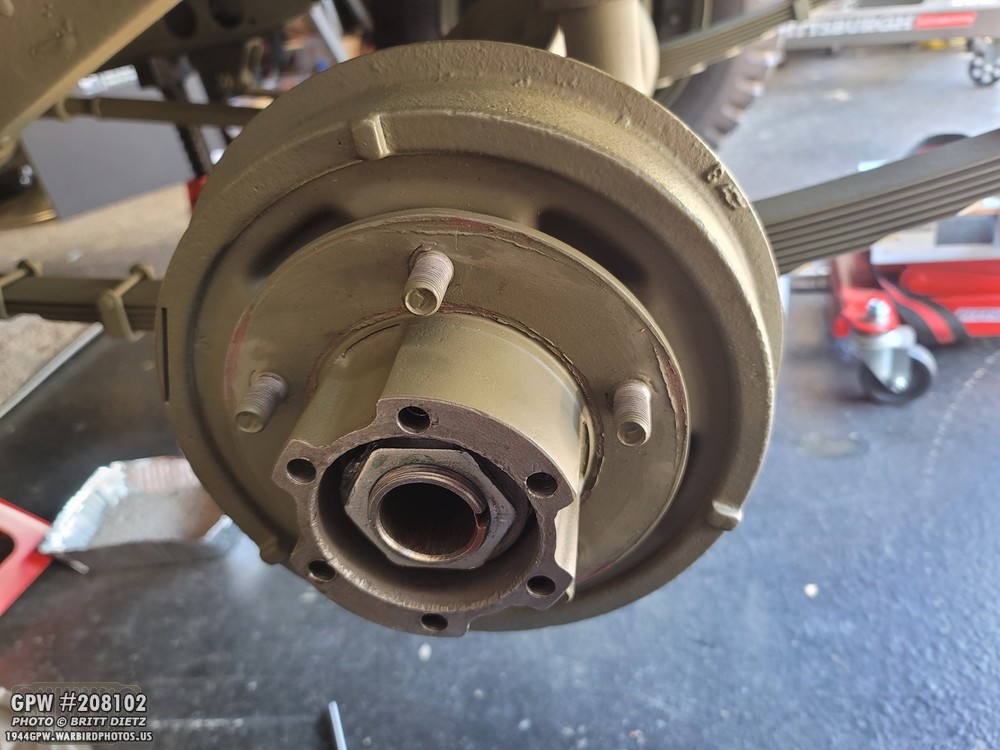
With an even coming up at the Planes of Fame Museum, I had already set in my mind that I wanted to take the Jeep out there. It’s been over a YEAR since the Jeep has been to the museum, but it still needed some work. First, I had to put the good drums back on the rear axle. That started with taking out the axle shafts.
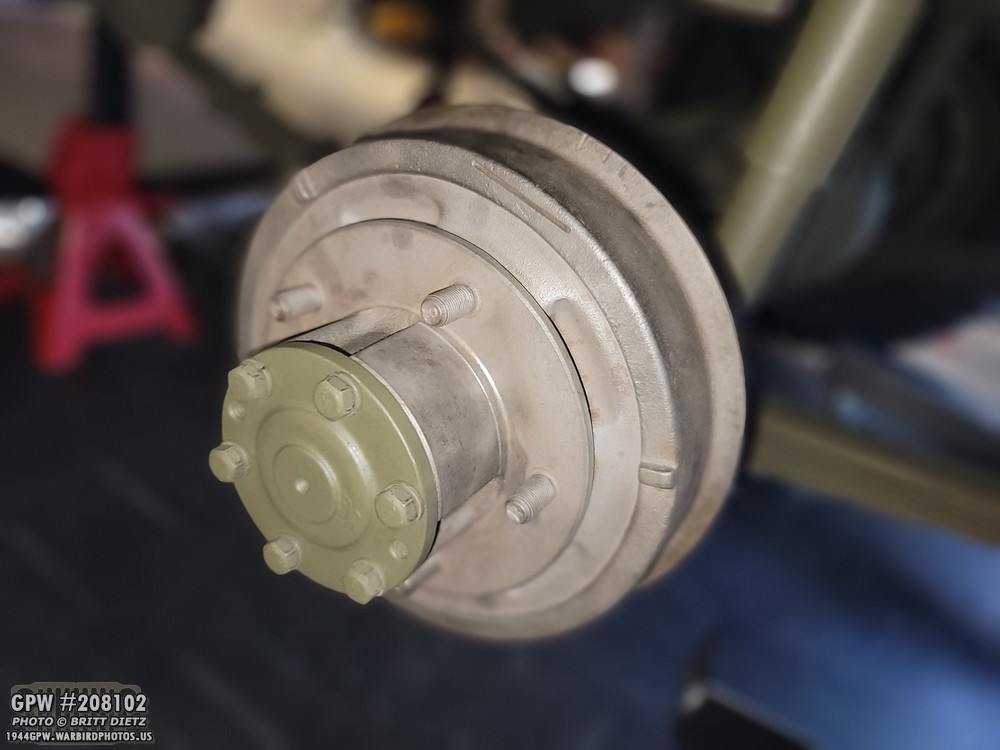
And here I’ve put the good drum back on. I also readjusted the brakes.
And now the axle shaft is back on and the bolts are back. This side is ready for the wheel again.
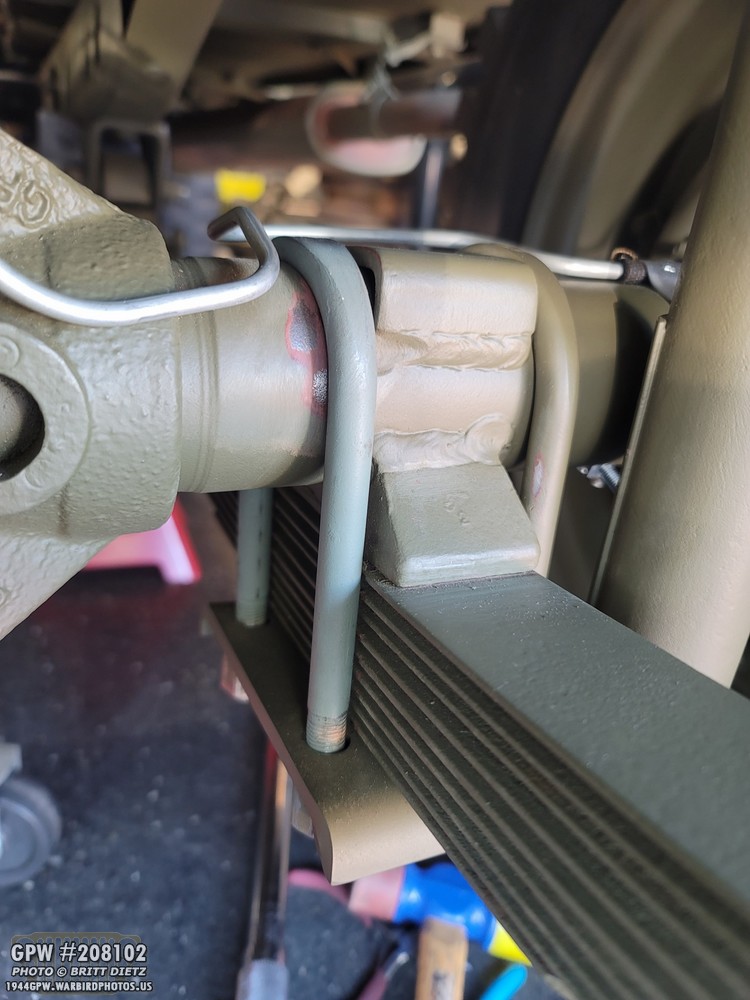
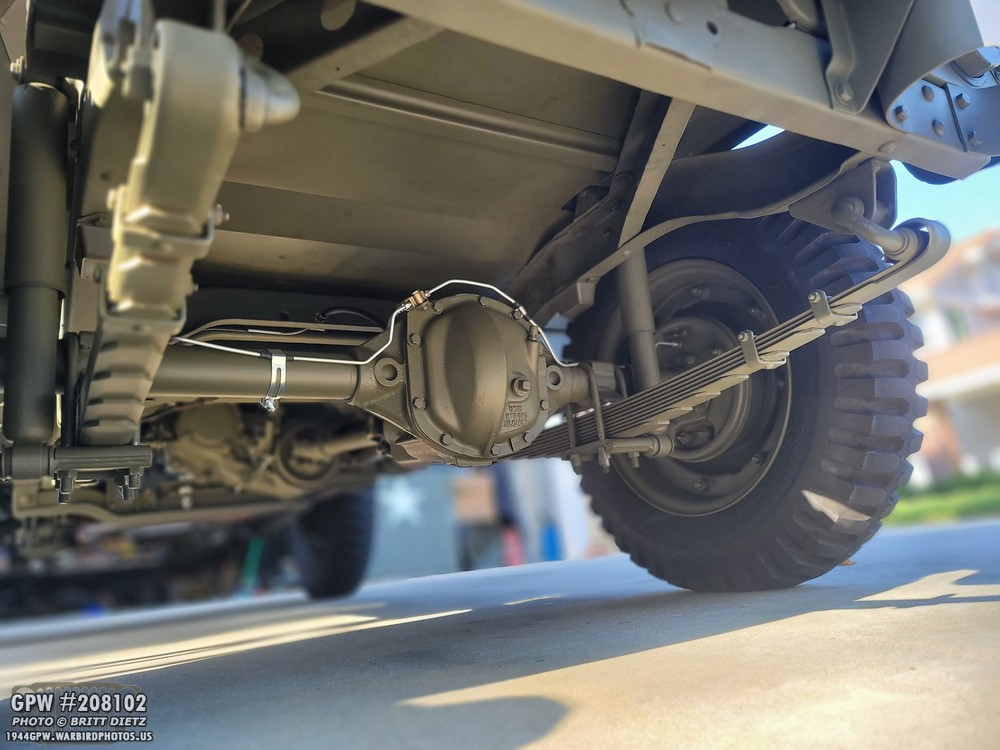
To take out the axle shafts without fully removing the axle from the springs, I just loosened the nuts on the U-Bolts and gently hammered up on the end of the bolt so the axle would come off the spring just enough for me to get the wedges out.
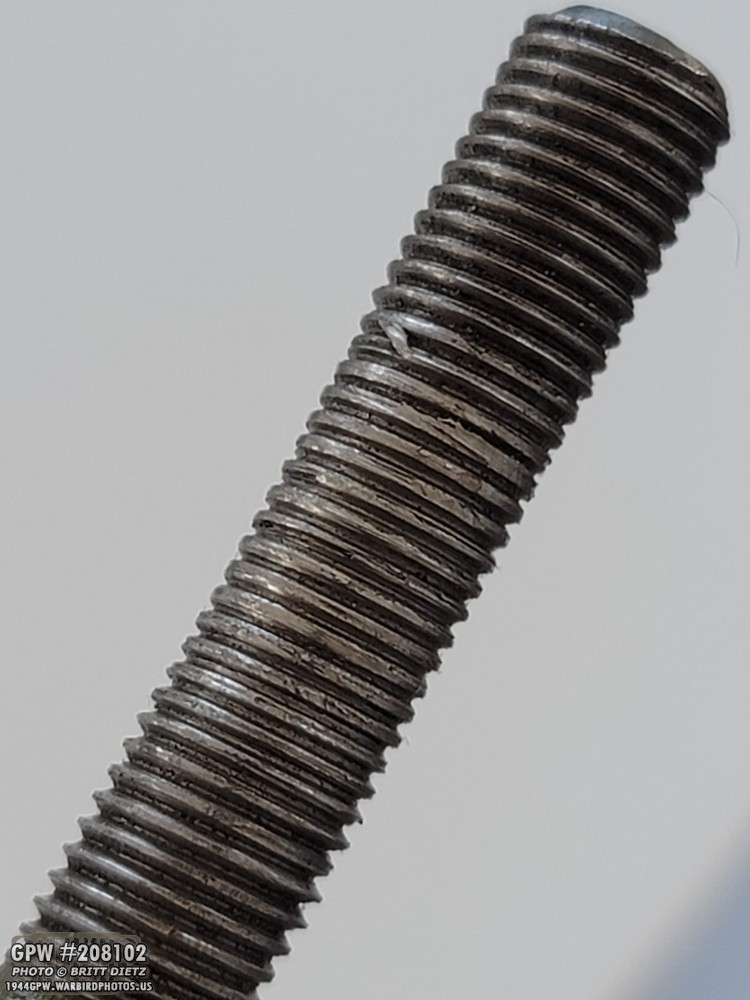
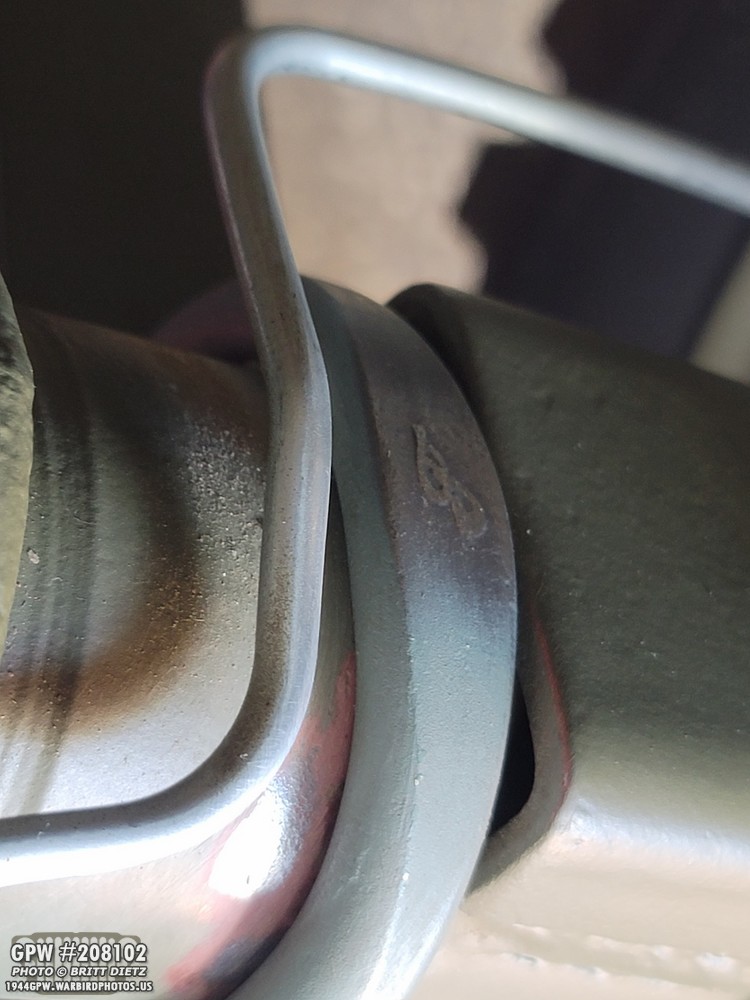
When I was putting the U-Bolts back on and torquing them, I ran into a serious issue… one side of one of the right rear U-Bolts completely stripped the threads to the point I couldn’t tighten the nut. UGH!
Thankfully, Roger Smith had given me two wartime GPW U-Bolts, so after using my die to clean up the threads, I was able to use that.
It’s nearly the same as the repro ones from Ron… same F stamp, same thickness, etc… but there’s one big difference.
It’s not nearly as long as the ones from Ron! On the left is the wartime GPW U-Bolt, and on the right is the repro GPW U-Bolt. I’ll probably grind down the other three U-Bolts to match the wartime one in the coming weeks.
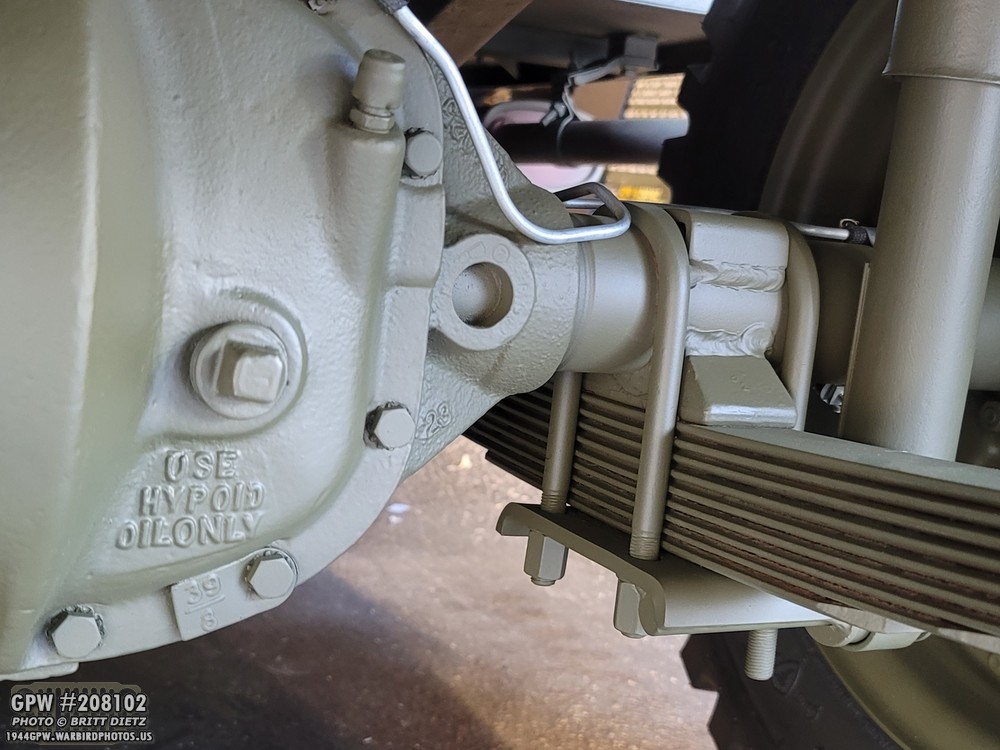
After some very careful masking, I was able to get everything painted again.
It took careful planning to make sure I didn’t hit any of the brake lines with paint. But looks nice and fresh now!
All done! Everything is torqued, locked, and ready to roll.
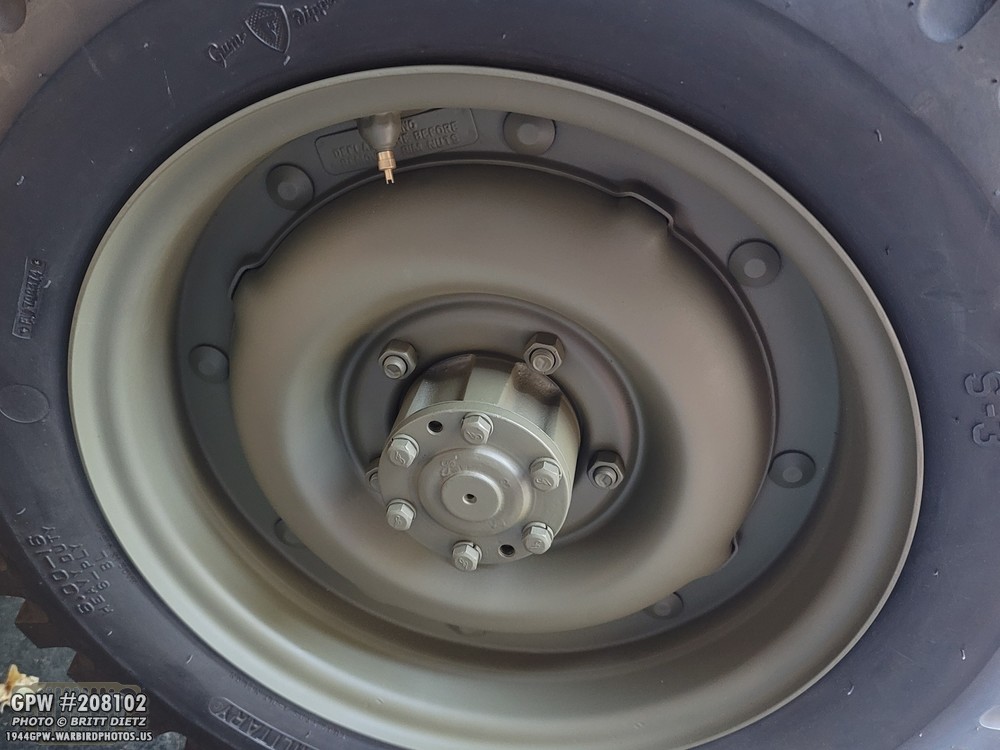
I also touched up the paint on the drums/bolts/lug nuts. Jeep has to be show ready!
And something I’ve not done in almost 6 months, I put the original GPW skid plate back on finally! Since I’ve been doing so much testing with the Jeep the last few months, I haven’t bothered to put it back on since I removed it originally when replacing the CJ axles with the GPW ones in December.
After polishing the outside walls of the tires, she’s ready for the spotlight, and the longest drive she’d be on since getting the GPW axles.
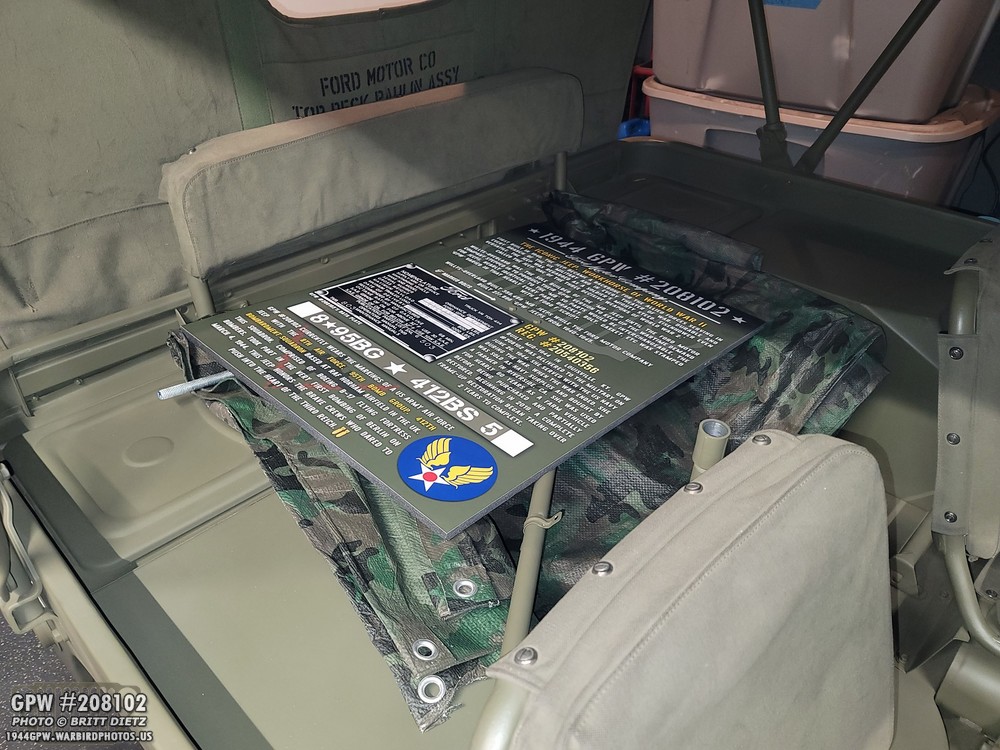
I also packed up my custom display sign and ammo box stand I made since she’d be on display during the event for the public to see. Note to self, find a better way to transport the sign! It wanted to fly out the entire drive there and made the drive not-so-fun.
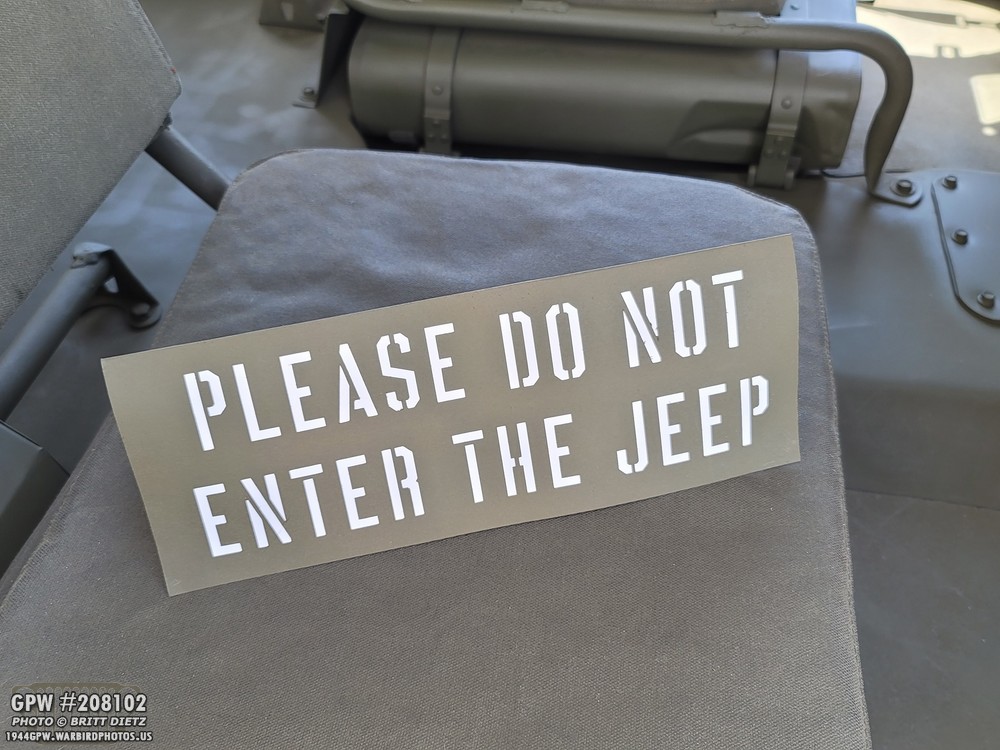
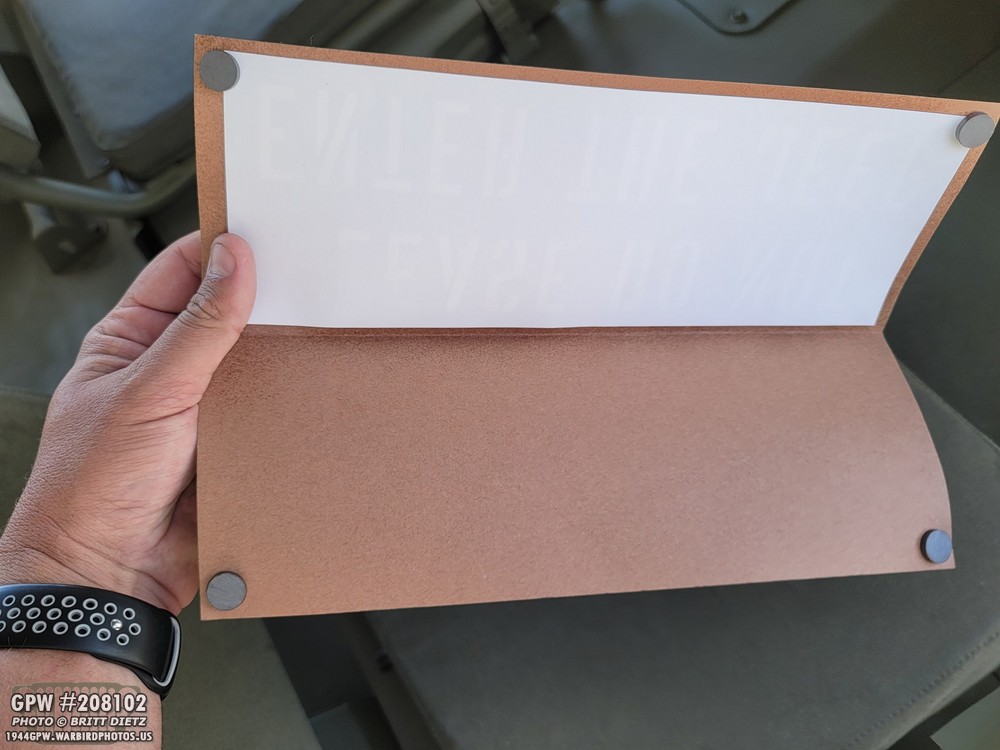
Before I left, I made these signs to keep people from getting in the Jeep since I would have to leave it alone as I was taking photos of the demo aircraft. I didn’t have a color printer available at the time, so I took some construction paper (brown), and used my Cricut Explore Air 2 to cut out these stencil letters (same font as my Hood numbers). I then spray-painted the paper with the same 33070 OD Green as my Jeep. I then, once dry, put a white piece of construction paper behind the cut out letters (using spray adhesive).
Here’s how it looks inside (not sprayed with the OD Green) and the white piece glued on. I then glued on two matching magnets on each corner.
That way, I could use the magnets to ‘clasp’ the safety strap as shown.
Or, if I wanted, I could just put the signs here since the magnets would hold it. Pretty simple and small solution. They both fit perfectly in the toll box, so I’ll always have them with the Jeep!
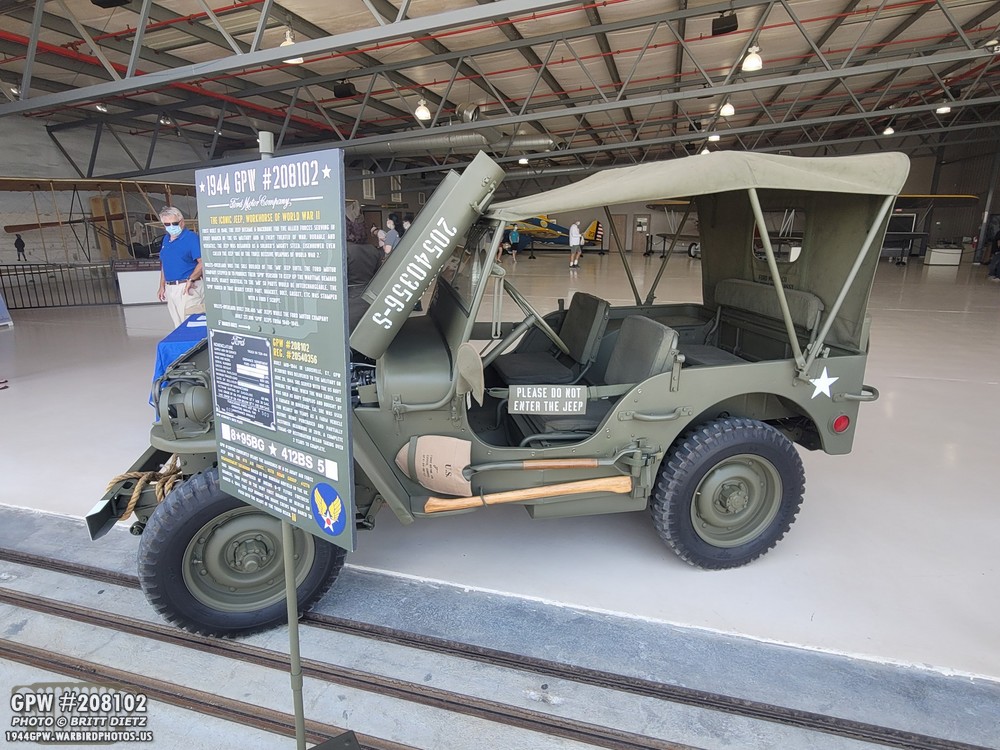
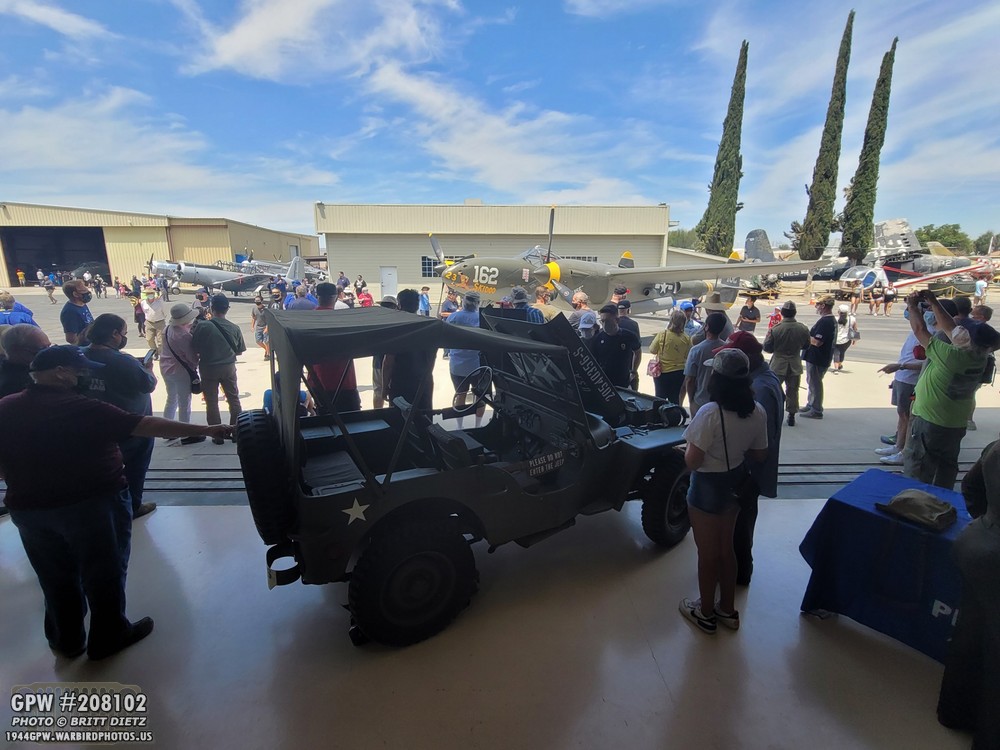
And here she is at the Planes of Fame Air Museum for the June ‘Live Demo’ event on display with my custom display sign & ammo stand!
I opted to open the hood so people could get a look inside. Here you can see the sign on the doorway safety strap.
She was parked right next to the ‘star’ aircraft for the day, the Lockheed P-38J Lightning. People had to pass the Jeep in order to get to the Lightning.
She was a hit, lots of people looking at her, taking photos, asking me questions, etc. It’s times like these that I know all of us who work on military vehicles feel proud of our work and make us so happy to share it with the world. If I didn’t have to photograph the aircraft flights, I would have stayed with the Jeep all day and just answered questions!
As the event wrapped up and they were pushing the P-38 Lightning back to the hangar, I decided to take the Jeep on a tour of Chino Airport, rich with World War 2 history. I did this last year briefly during the first time I took it to the museum for an event, but at the time I still had the CJ axles (among many other things that have been changed since then), so I wanted to do it again now that my Jeep looks how it should!
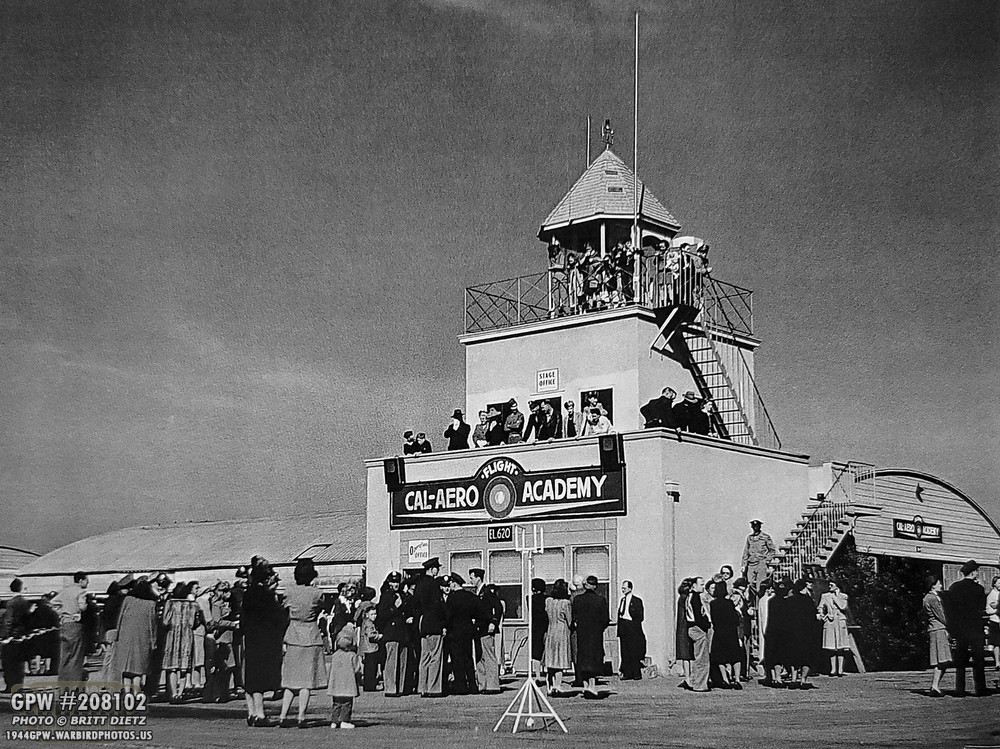
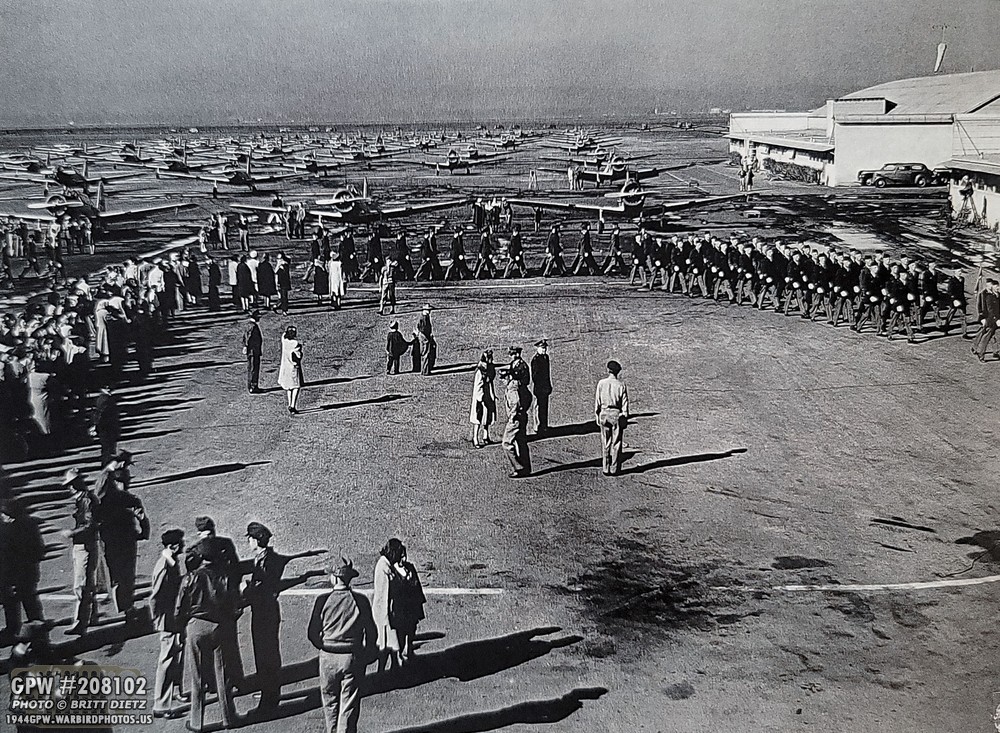
So, let’s dive into the military history of Chino Airport. Built in the 1930s, Chino Airport was known as Cal Aero Field. When WW2 broke out, the US Army Air Force contracted the Cal-Aero Academy to train pilots for war. The entire airport became, essentially, a contracted military base training pilots in BT and PT aircraft. Here’s a look at the former tower during military service.
And here’s an aerial photo, showing all the military training aircraft on the ramp. See those four hangars on the top right? They still exist today at the airport along with several of those long rectangular barracks/office buildings. The runways are mostly the same, though an additional parallel one was added.
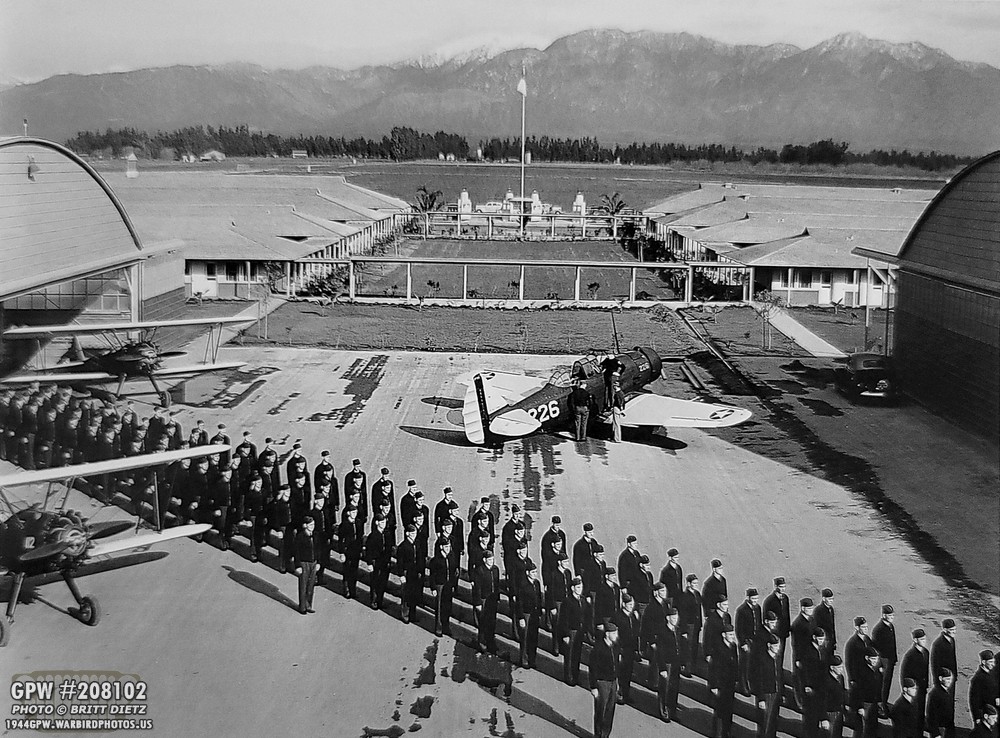
And here’s a look at the main entrance to the airport with two Stearmans and a T-6 Texan. On either side of this photo you can see two of the four hangars from the previous photo. Study those details…
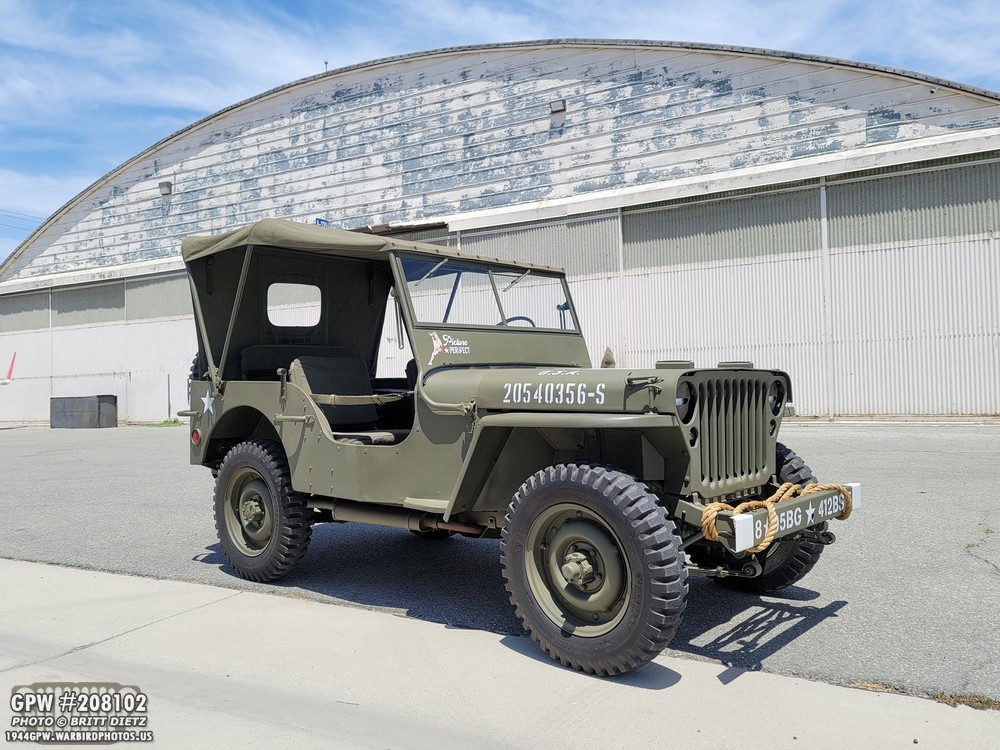
Here’s how those hangars look today. All four still stand and look pretty much as they did in the early 1940s. Here’s my Jeep parked in front of one of them (this one would have been the other side of the hangar on the left of the previous image).
A little close up. It’s neat to see these buildings still standing, and being used by various flight schools/aircraft repair companies.
These hangars were also famously used in the Abbott and Costello movie ‘Keep ‘Em Flying’, which was almost entirely filmed at Cal Aero Field during WW2. There’s a famous scene where Lou Costello, shown here, is on top of a torpedo that has activated and he’s riding it as it rolls through all four of the hangars. There are several buildings that still exist that can be seen in the movie, including the barracks/offices where outside Abbott and Costello are soaked from sprinklers.
Here’s another look at the ramp with TONS of PT aircraft and on the right are two of the hour hangars. Take a look at the windows and doors on the sides of the hangars.
That’s still pretty much how they all look today. Not a lot has been updated, at least externally. So, technically this could be a ‘WW2 photo’ since nothing has changed much! I think the Jeep looks right at home here.
And that brings us to this pretty lady with the Jeep. She isn’t part of the Planes of Fame Air Museum but is actually with Aero Trader. It is B-25J Mitchell ‘Pacific Princess’ (43-28204). There are actually three B-25s on the airport, one owned by Planes of Fame (‘Photo Fanny’), this one with Aero Trader, and one owned by Yanks Air Museum.
What makes these photos special, I found out not too long ago, is that both the B-25 and my GPW share something in common… a birthday. ‘Pacific Princess’ was built on June 12, 1944. My Jeep has a DOD of June 26, 1944… which means it could have been build around June 12 (since the DOD, or Date of Delivery’ is when the Jeep was accepted into military service… so they were actually built not long before that). At the very least, they share June of 1944 as birthday months!
So naturally, I wanted to get several photos with the two of them together. Aside for the occasional modern car or truck in the background (and modern airplane), this could be a WW2 airfield with the amount of warbirds all over.
It’s amazing to think what these two machines have witnessed in the last 77 years. Both have been down different journies, (AAF with the B-25 and US Navy with my Jeep). But now they both serve in the USAAF.
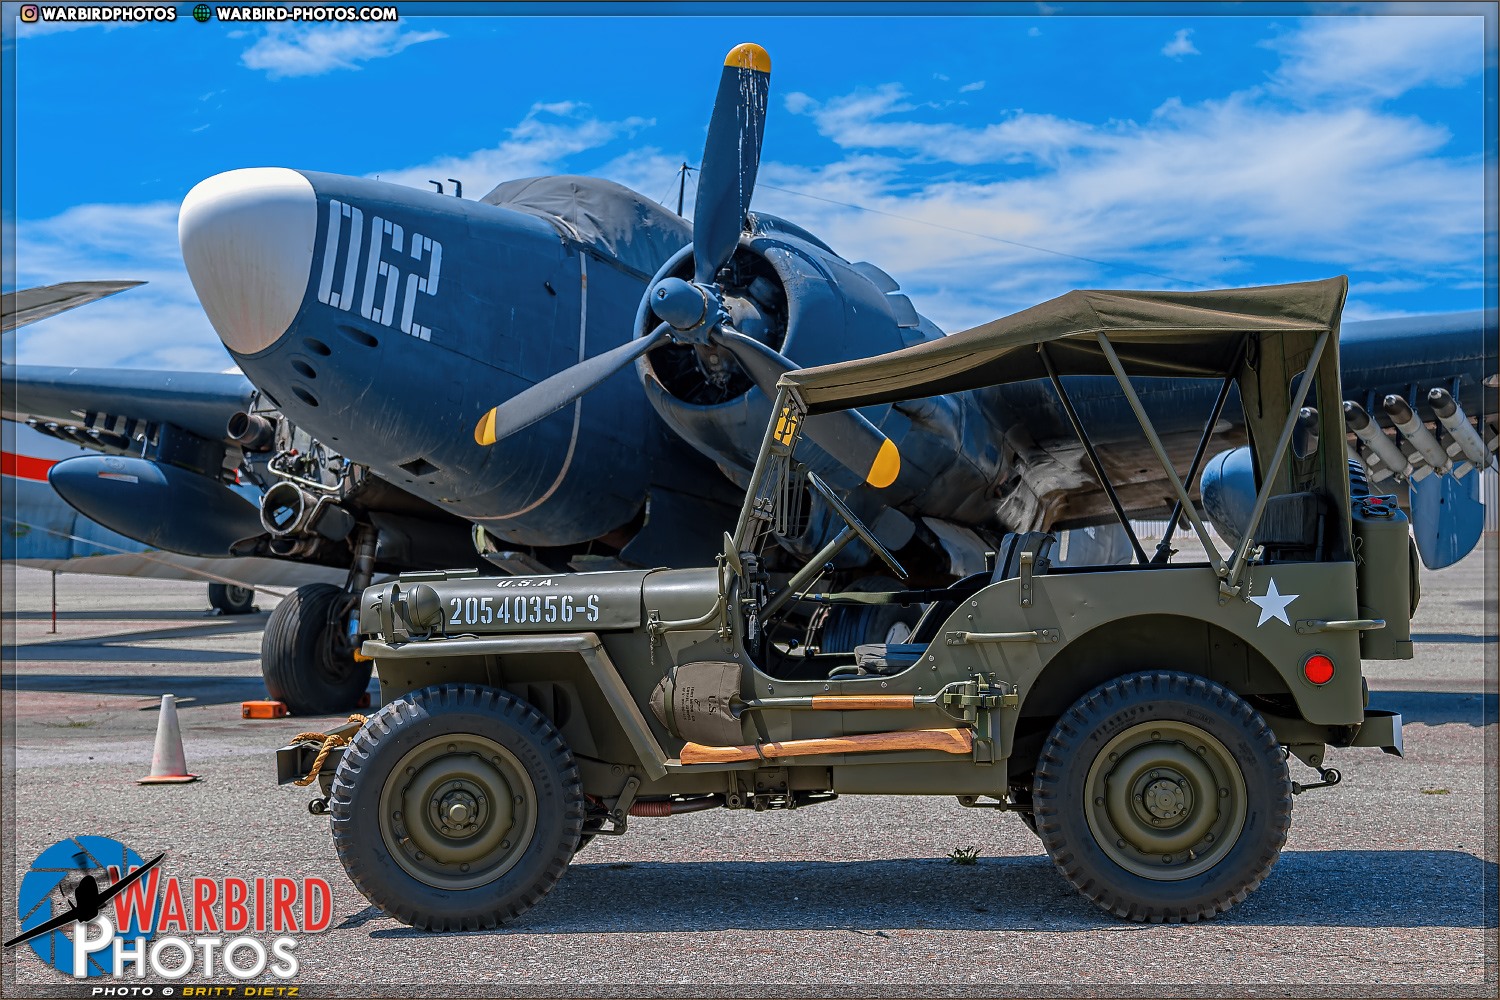
And since my Jeep served in the US Navy, I had to take some photos with US Navy aircraft including this Lockheed PV-2D Harpoon undergoing an engine replacement.
And another US Navy Aircraft (which my Jeep could have been around!), a North American SNJ-6 Texan!
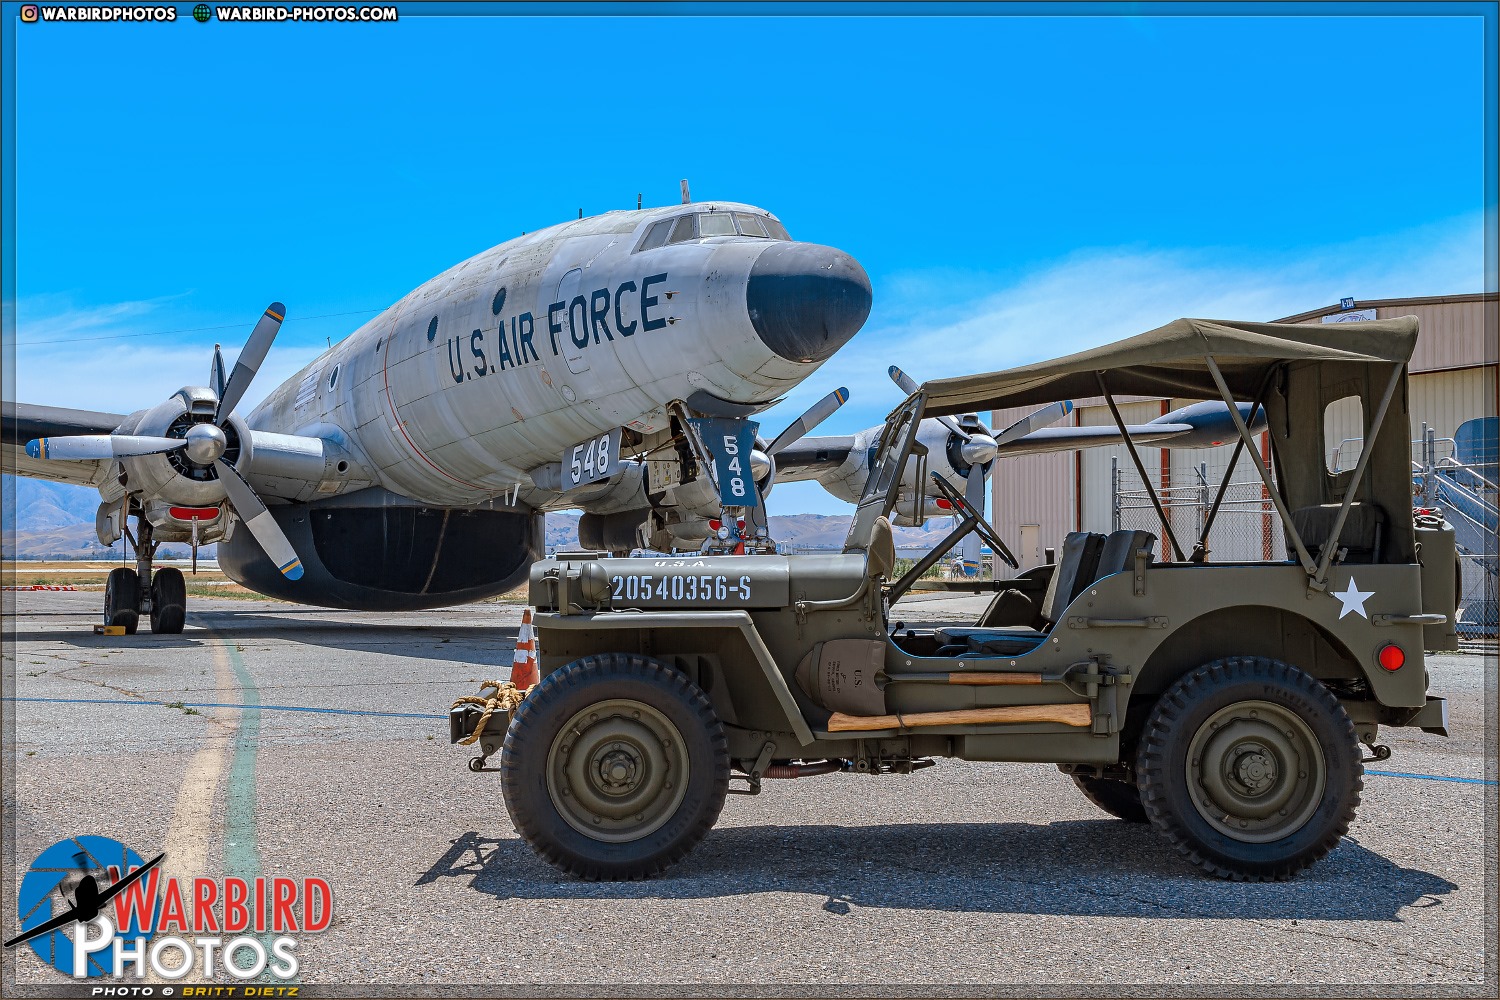
Over at Yanks Air Museum, they have their rare post-war Lockheed EC-121T Super Constellation outside. Had to stop and take a quick snap. I’d love to get a shot of my Jeep with their USN Blue Angel one of these days!
I then headed back to the museum to pack up and head home. But, still some other things to see on the way out. Also, check out the M4A1 Sherman tank in the background!
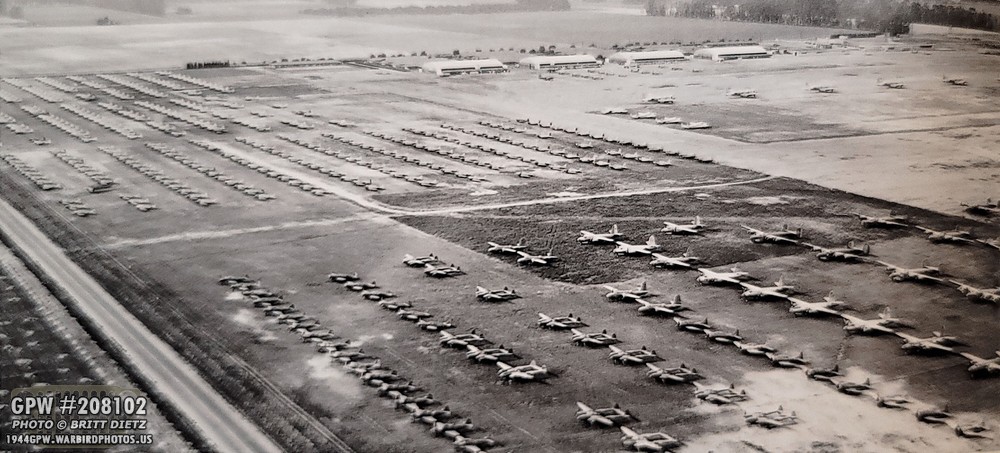
After the war, Cal Aero field became the dumping ground of thousands of WW2 aircraft. This is just one small section of row after row of aircraft ready to be scrapped. B-29s, B-17s, B-24s, B-26s, P-38s, P-51s, SBDs, Corsairs, DC-3s, C-45s, and TONS of other aircraft types lined the airport. Sadly, nearly ALL the aircraft were scrapped following the war. You can see those four hangars at the top. After the aircraft were removed, the airport went back to civilian use and eventually became Chino Airport.
The airport has been used in many movies and TV shows over the years, including the famed TV series ’12 ‘O Clock High’ in the early 1960s. Here’s a screenshot from the first season of the show. That B-17 is actually at the Planes of Fame Museum today. But the purpose of this image is that tree line behind the B-17.
Here’s a better look at that tree line (with some Jeeps) from the same episode.
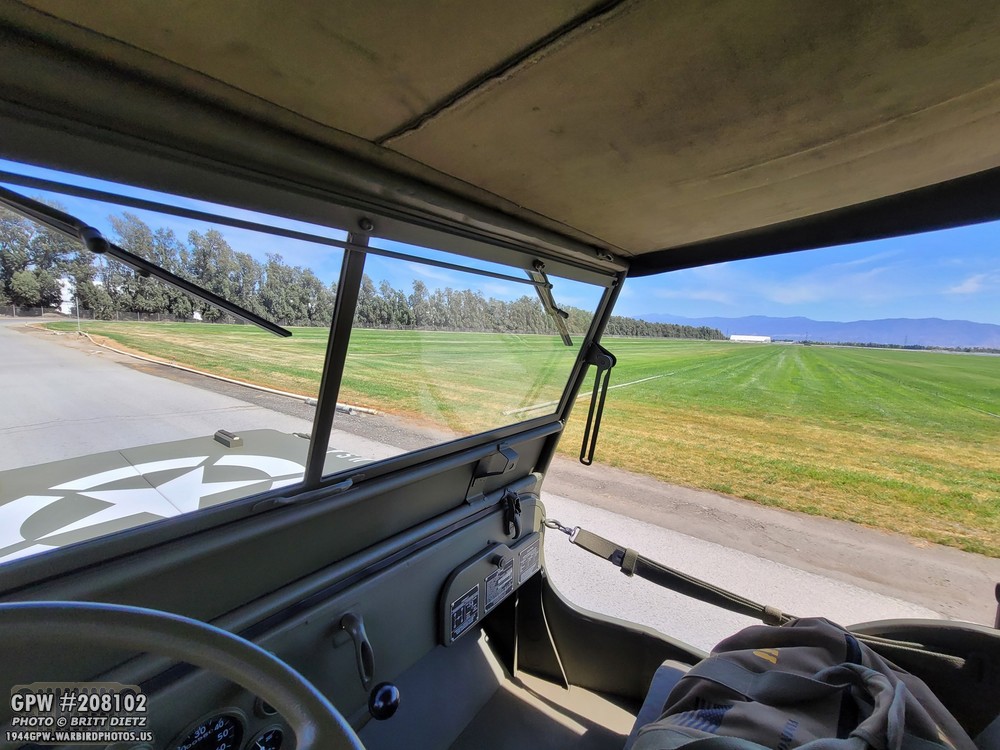
This is that same tree line today! It still exists. As I’m driving my Jeep along the airport perimeter road, you drive right past them. In that field to the right is where that scene was filmed.
Here’s a closer shot as I leave the airport along the perimeter road. Always a cool sight to see these trees!
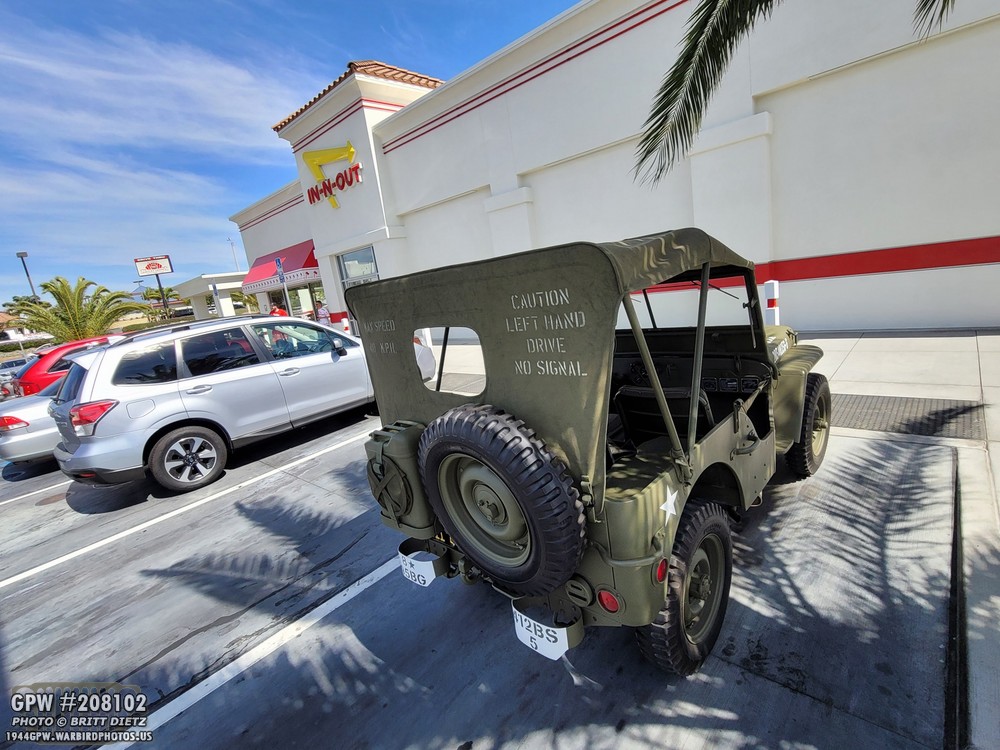
And of course, no day would be complete here in SoCal without stopping at an In-N-Out Burger on the way home for a late lunch!
And finally, she’s back home after a long day! A well earned rest is in order!
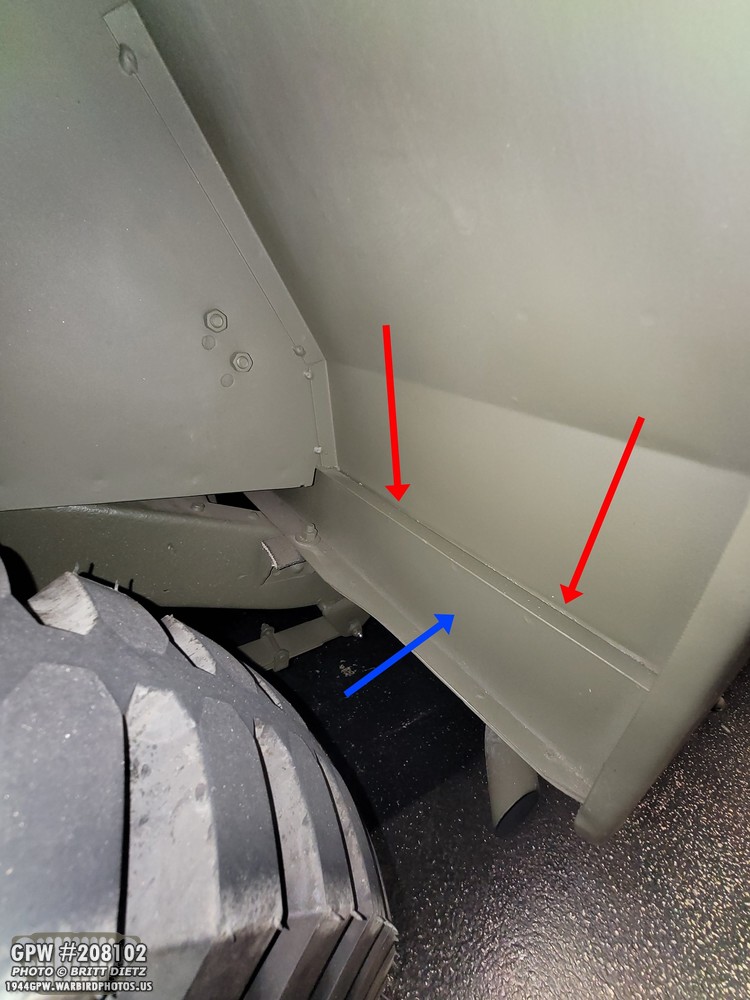
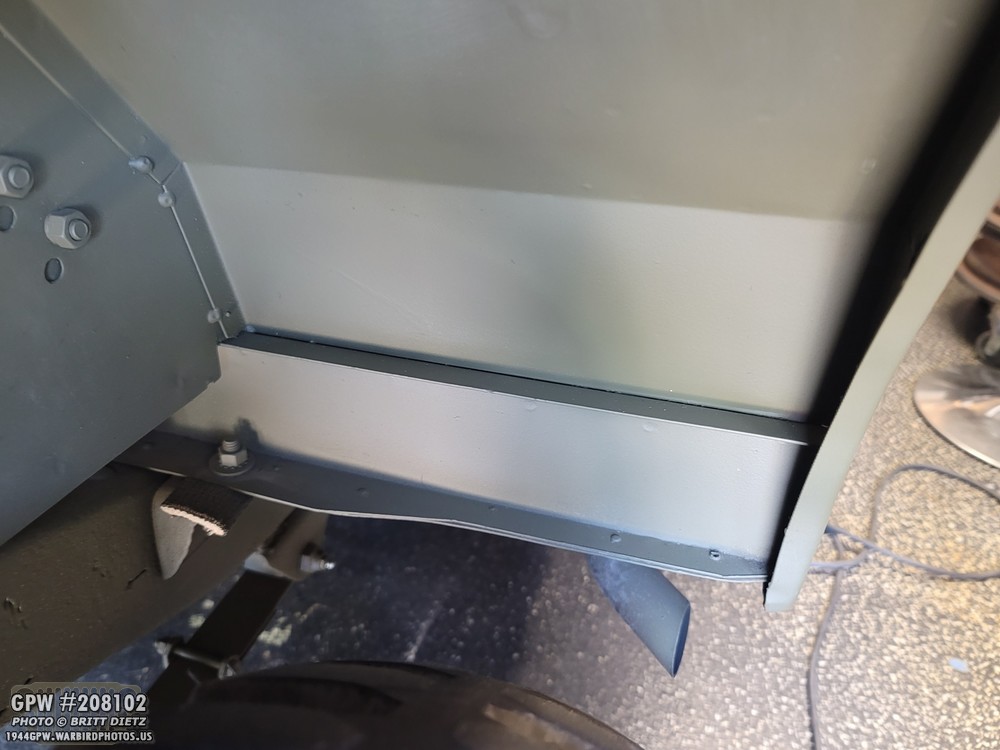
On the way home, I hit some sprinkler water that was in the road. Normally, that’s not a big deal, but when it’s deep enough, there’s a problem with my tub in that the water will fling off the rear passenger wheel and get into the seam on the tub wheel well (red arrows).
It will then leak into the top of the tub and run along the step as shown (I’ve cleaned it up already). It’s annoying to have to clean this every time.
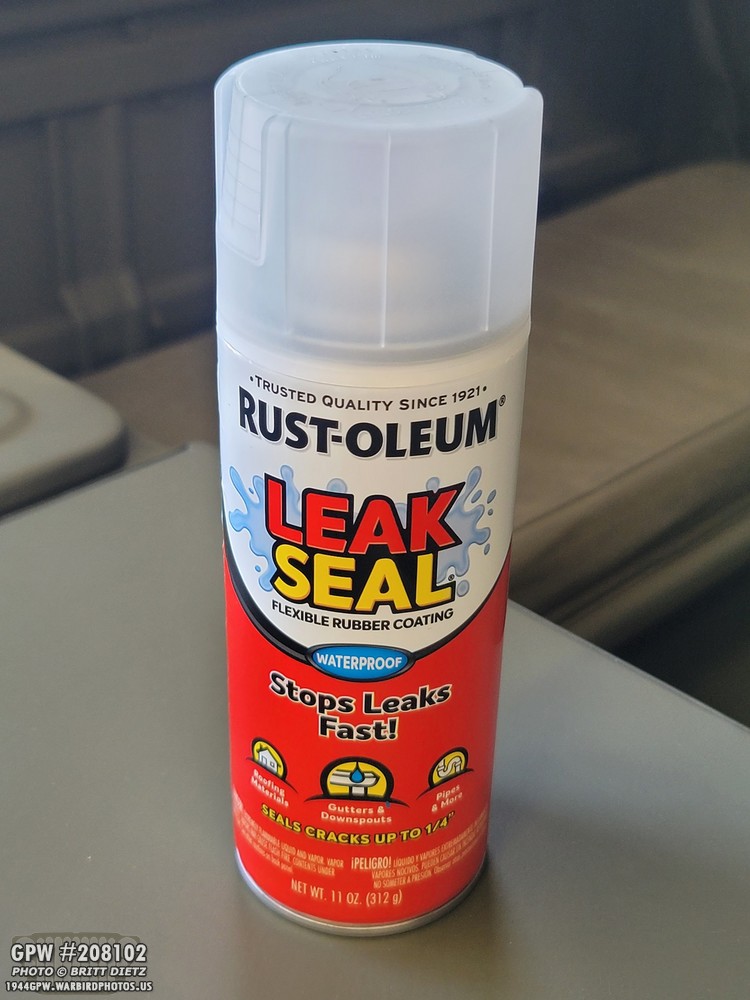
So, at Home Depot a few days ago, I noticed this ‘new product’ that was just released… it’s a flexible rubber coating spray from Rust-Oleum. I thought to myself, since it’s waterproof, that this might work to stop that leak! It was worth a try, at least!
Here’s after I sprayed the area, and then re-coated it with 33070 OD Green after it was dry. Can you tell a difference? I can’t! And the leak is totally sealed! So, since it’s a clear spray (and nonpermanent), I might look into seeing if this works on other smaller leaks on the Jeep. I’ll report back with my findings over the next few weeks. This could be a game-changer for leaks!
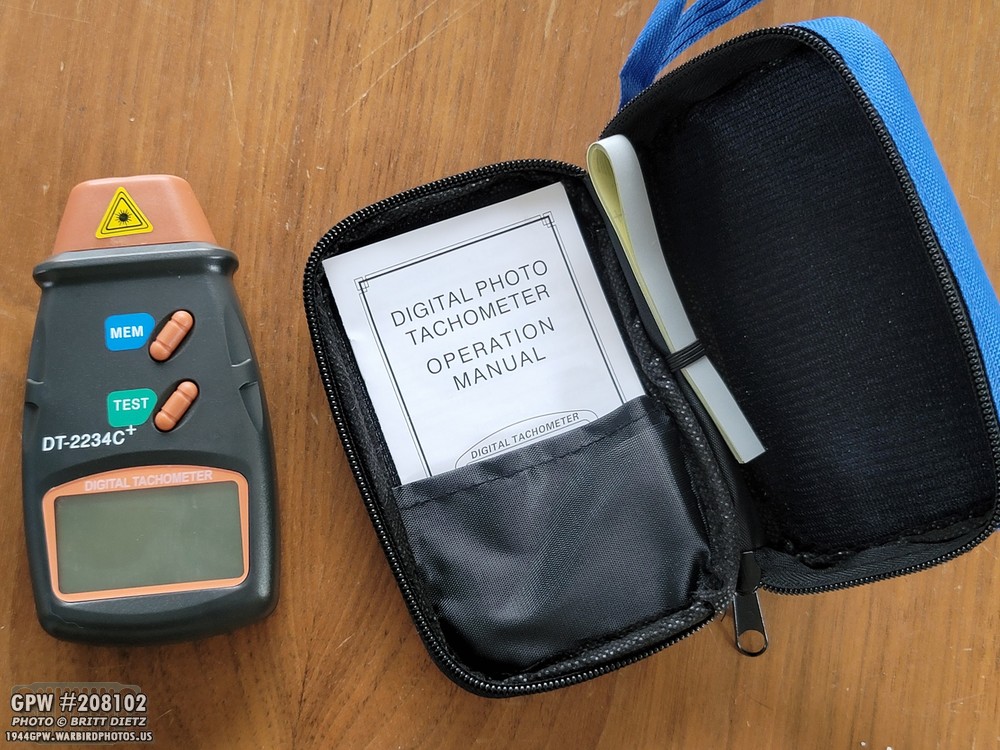
One thing I’ve not done on my Jeep was testing the RPMs on the engine. I’ve only done it by sound… which isn’t really the best way to do it for those who haven’t spent years with Jeep engines. So, I saw someone’s post on G503 about using a digital tachometer to measure RPMs. I always thought these were very expensive, so I never got one. Boy was I wrong, I got this one for $25 on Amazon! It’s a contactless digital tachometer.
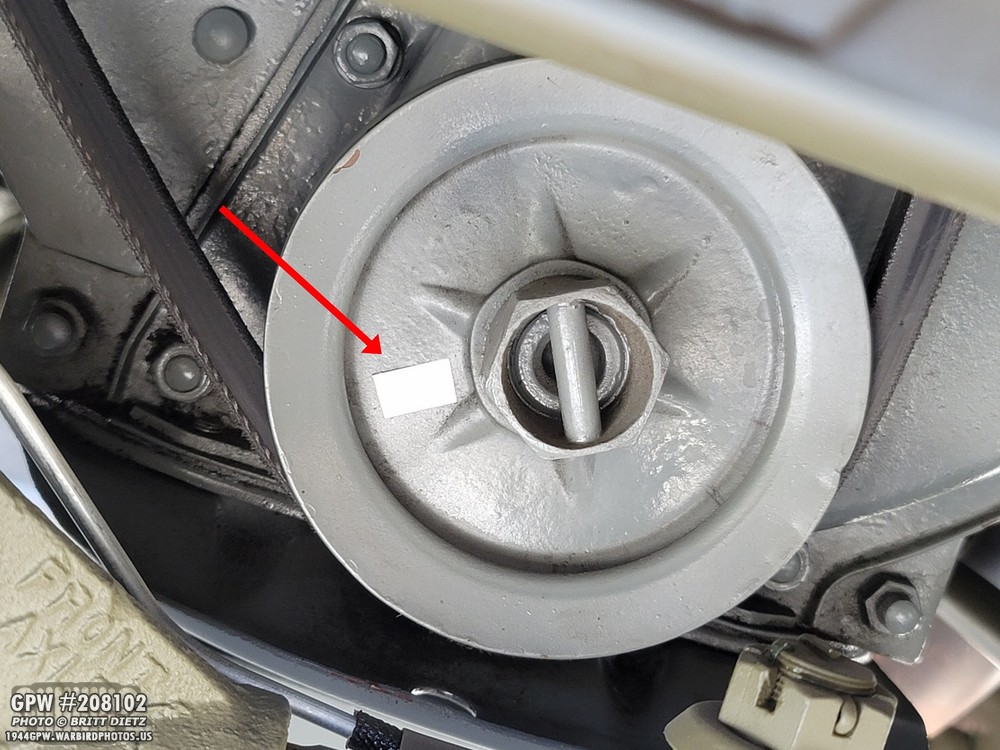
So, how it works is you take some of the super reflective tape it comes with, and you stick that onto something that is spinning. For this, I used the engine pulley. I was afraid, at first, that the Ford Engine grey (which is glossy), would make it difficult to read and I’d need to add black tape to the rest of the pulley.
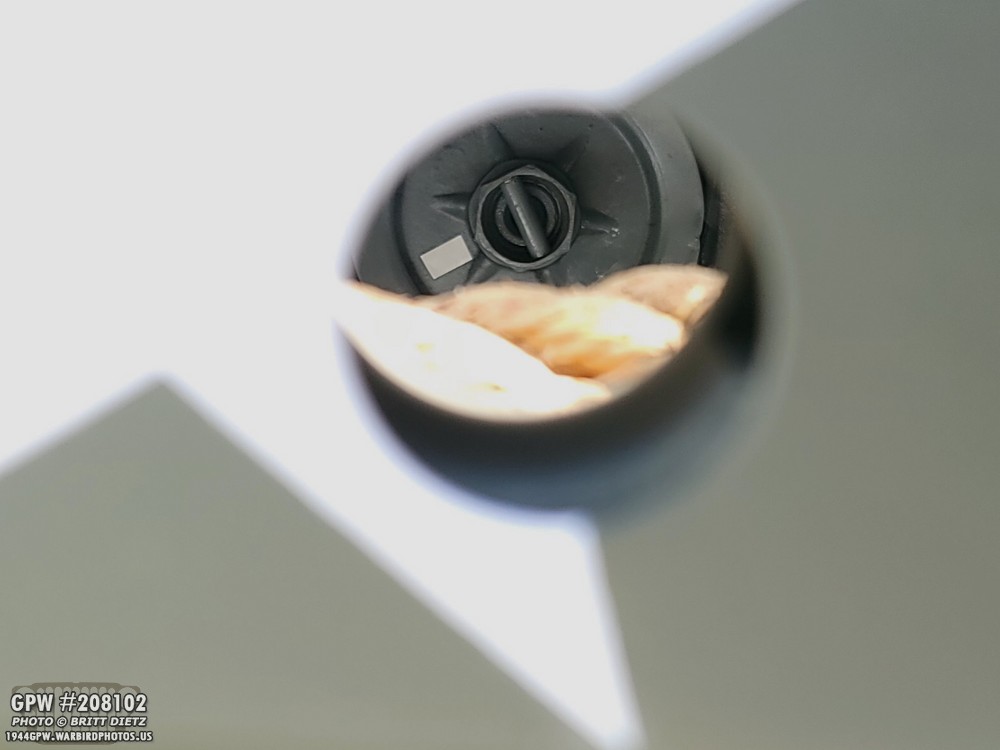
Now, what I read online is to shoot the laser beam from the tachometer through the front bumper manual engine crank hole at the pulley.
The problem is with tow rope, the laser is really hard to get perfect on the pulley.
Basically, as the engine is running (as shown here), you want to shine the laser on the pulley so that reflective tape is hit by the laser as it spins. There’s a photo-sensitive bulb in the tachometer the measures how many times that reflective tape goes by as the laser passes over it and you have your RPMs.
I found putting the tachometer right here easier to aim and read the device. At idle and under operating temps, the Jeep should idle around 600RPM. When I first measured it, it was coming out to over 900RPM! Way too high, and also a waste of gas. Now, you can see I’m getting a reading of 665, which is much much better. This was after I adjusted two things on the carb…
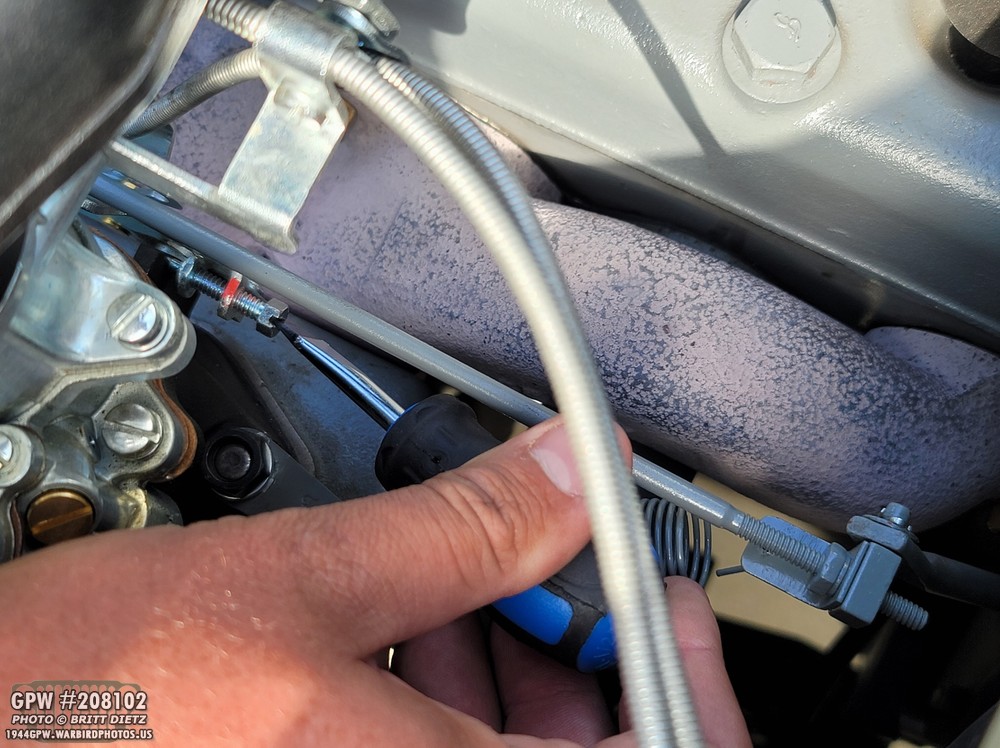
There are two ways to adjust the RPMs. The first is to adjust the idle adjustment screw on the front of the Carter WO carb. What I do for this is screw it in (seat it) until the Jeep engine starts to faulter. Do this gently. Then, turn it back (out) one and a half turns.
The main way that changes the RPMs will be the throttle adjustment screw on the back of the carb. Screwing this in will increase the throttle (more RPMs), unscrewing will decrease the throttle (less RPMs).
That made a BIG difference with the Jeep! Taking her for a test drive, she idled a lot less, the oil pressure was perfect, and when pressing on the gas she’d ease into revving up VS suddenly revving with a higher RPM. Success!
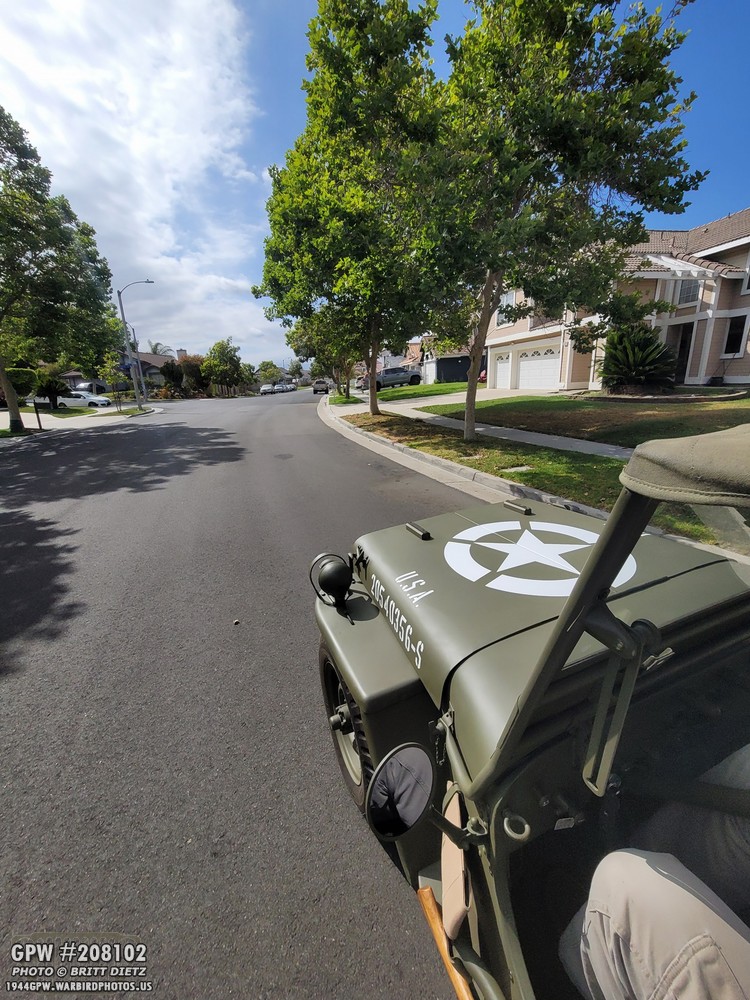
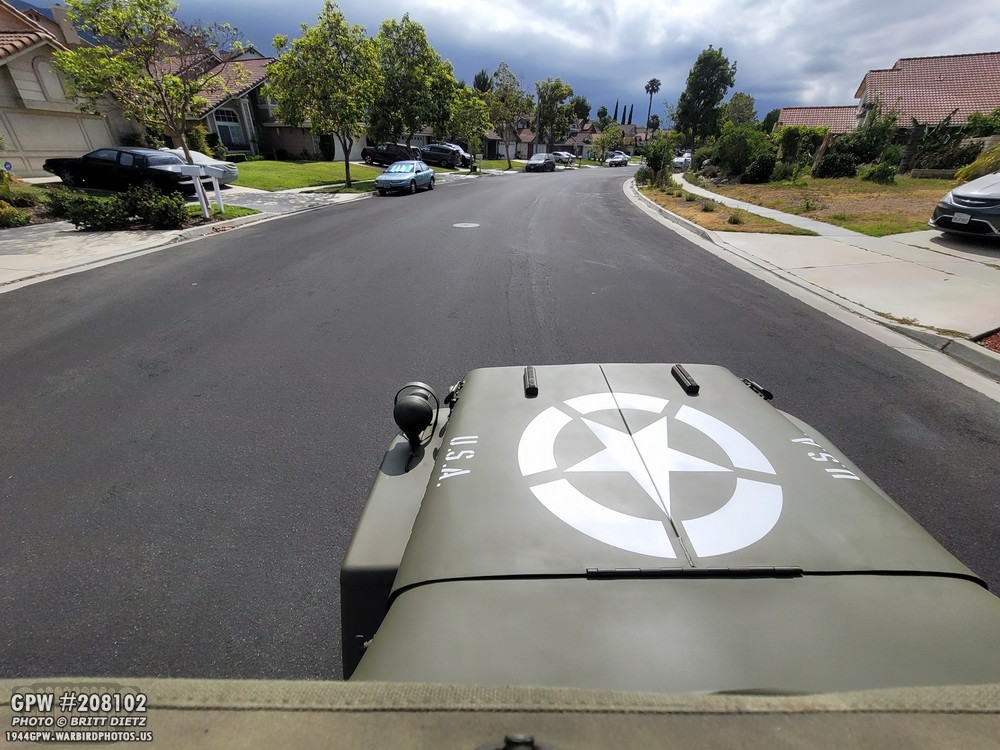
During the test drive, I thought I’d try some unique shots while driving. Something different.
And a view from the top of the canvas top. An angle you don’t see often.
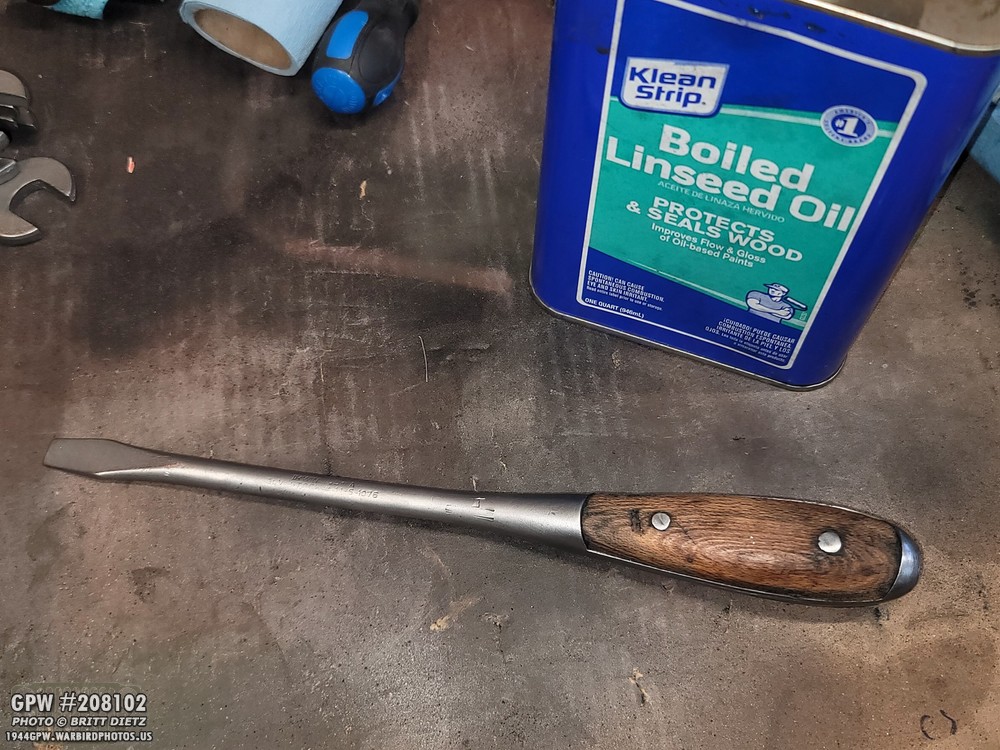
Two weeks ago, I found this Irwin screwdriver which is correct for a Jeep. It needed some work, though.
Whatever the wood was coated with, it was on there thick. Took a lot of sanding, but got it back to mostly wood.
I then took boiled linseed oil and coated it very generously. Much better!
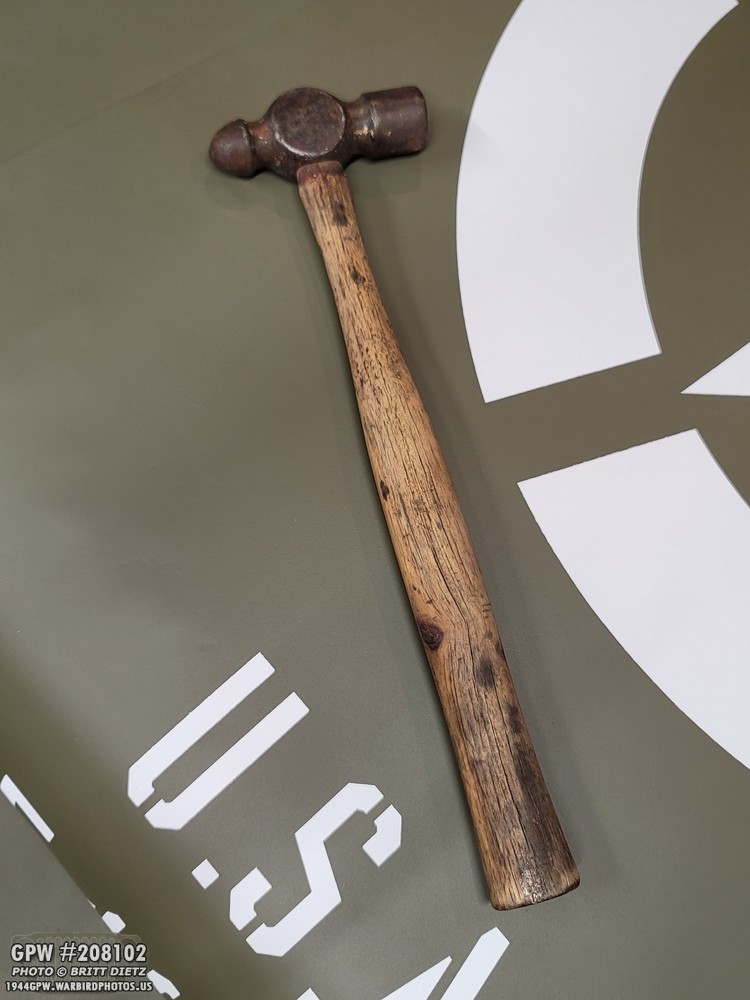
Next up is the Fairmount hammer, also correct for a Jeep.
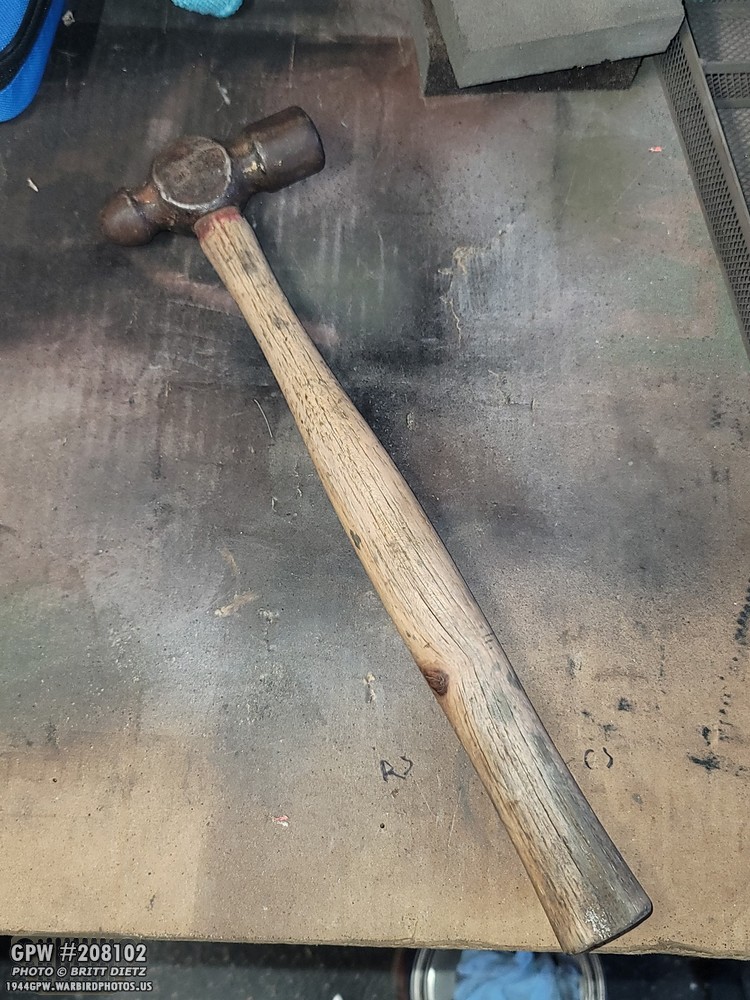
I sanded it as well. It didn’t need as much work, but still wanted to make it a little smoother.
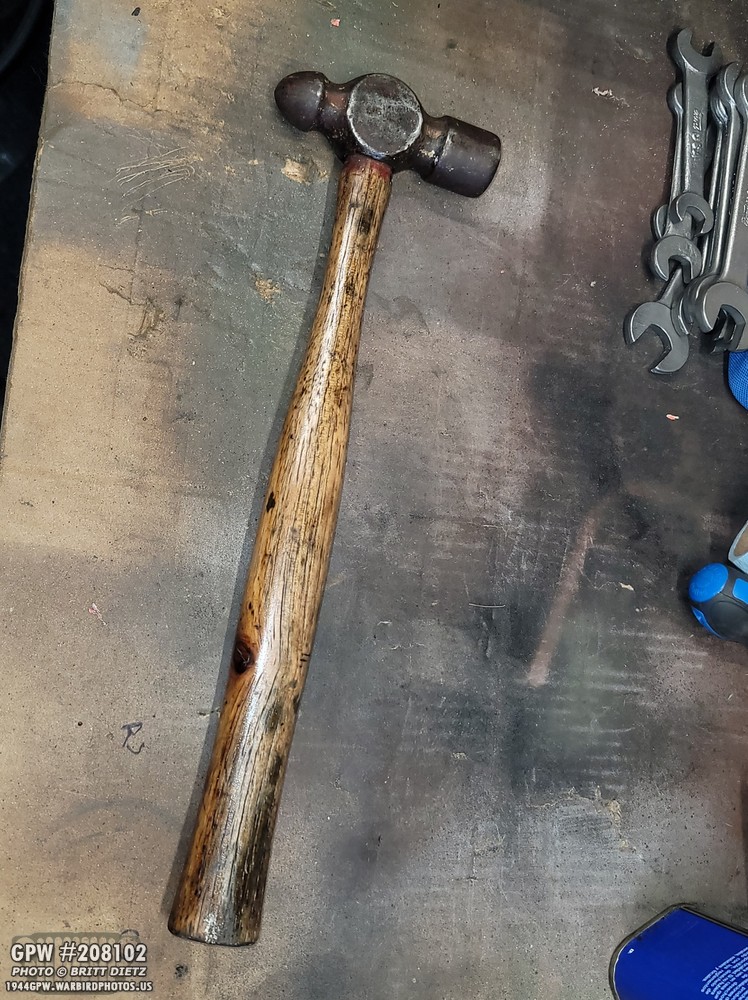
And now sealed with the Boiled Linseed Oil.
Done! I’ll put both of these in my tool bag. Now to start collecting the rest of the items once I find them all at flea markets and antique stores. It’s going to be a long hunt, but worth it in the end.
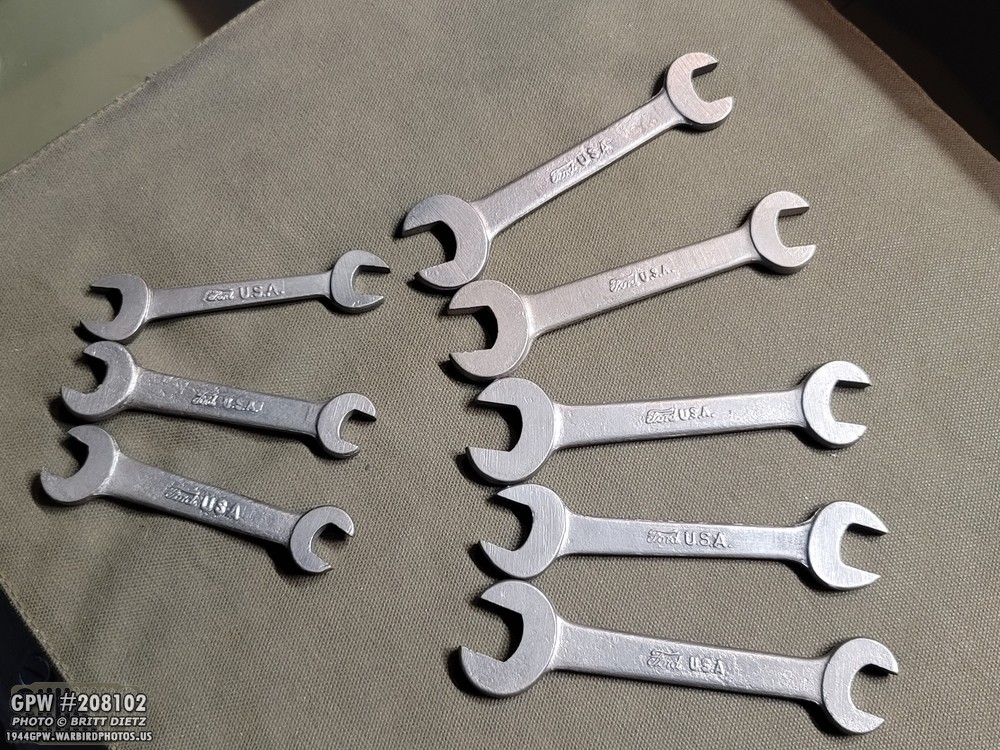
I mentioned Ford marked wrenches that I’d been collecting the last few months. These are for Model T and Model A cars, not Jeeps, but I love how they look so I bought them here and there at flea markets (usually about $1 to $2 apiece, a steal!). I thought there were several varieties, but I realized (after buying this many), that there’s only two different wrenches. Doh. The smaller one is 7/16 and 1/2, while the large wrench is 9/16 and 5/8. Pretty much the four main sizes you’ll need on most projects.
And here all of them are after some sandblasting and wire brushing. Super shiny and nearly new-looking. I’ll put two of them in with my Jeep tool bag until I get the correct wrenches. And I might still keep them in there, just because they are cool looking!
As for the rear axle saga, it’s still ongoing. I haven’t done much lately because, well, there’s not much else I can do at this point.
But, I did get a different rear axle yoke from eBay over the week. This is literally the very last thing to check at this point. Seriously.
While the U bolt and U joint side are in great shape, the shaft side is pretty worn. So I ordered another speedi sleeve to fix it up. Hopefully will be here this weekend. Then I can install this in the rear axle and see if, after all this, it’s the yoke giving me issues. BUT, I’m not holding my breath in the least at this point.
So that’s it for this update. A little bit of fun history the Jeep went on. I envy all those people in the UK and more rural areas of the USA that can take photos and videos of Jeeps down amazing roads and incredible forests… so Chino Airport with all the WW2 history is the best I’m going to get!
Till next week…
