 More axle work
After last week’s excitement, this week was much more calm. This week I continued to clean/disassemble the wartime GPW axles and sandblast various parts documenting F stamps along the way. I also started to restore parts of the emergency brake and checked the PCV valve for carbon/fuel buildup.
A nice March morning to take the Jeep out for a spin! And also touch up the Jeep in prep for another photoshoot this coming weekend with aircraft on a former WW2 training airfield!
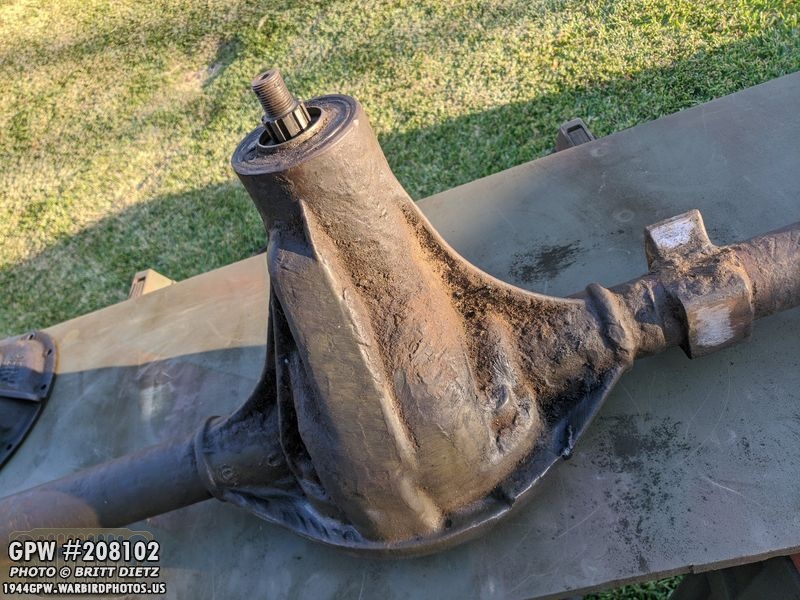
Work continues on the axles. The usual summary… my Jeep currently has post-war CJ2 axles which I’ve wanted to swap out for wartime ones. I received a pair of Ford GPW axles from a fellow Jeep restorer for free and have been doing a complete tear-down restoration on both axles for the last few months. Here is the rear axle, before I took the wire wheel and air scraper to remove the dirt, grime, oil, sludge, etc.
After about an hour’s work, it’s starting to look good! Still a ways to go (mostly because I destroyed my wire wheel)
Another look before… see all that dirt in all the small areas? That’s tough to remove.
And after. Those small areas still have some dirt left, so next time I work on them I’ll use a small brush style wire wheel to get in those tight spots. While it’s a lot more time than getting them sandblasted, it saves a lot of money doing it myself.
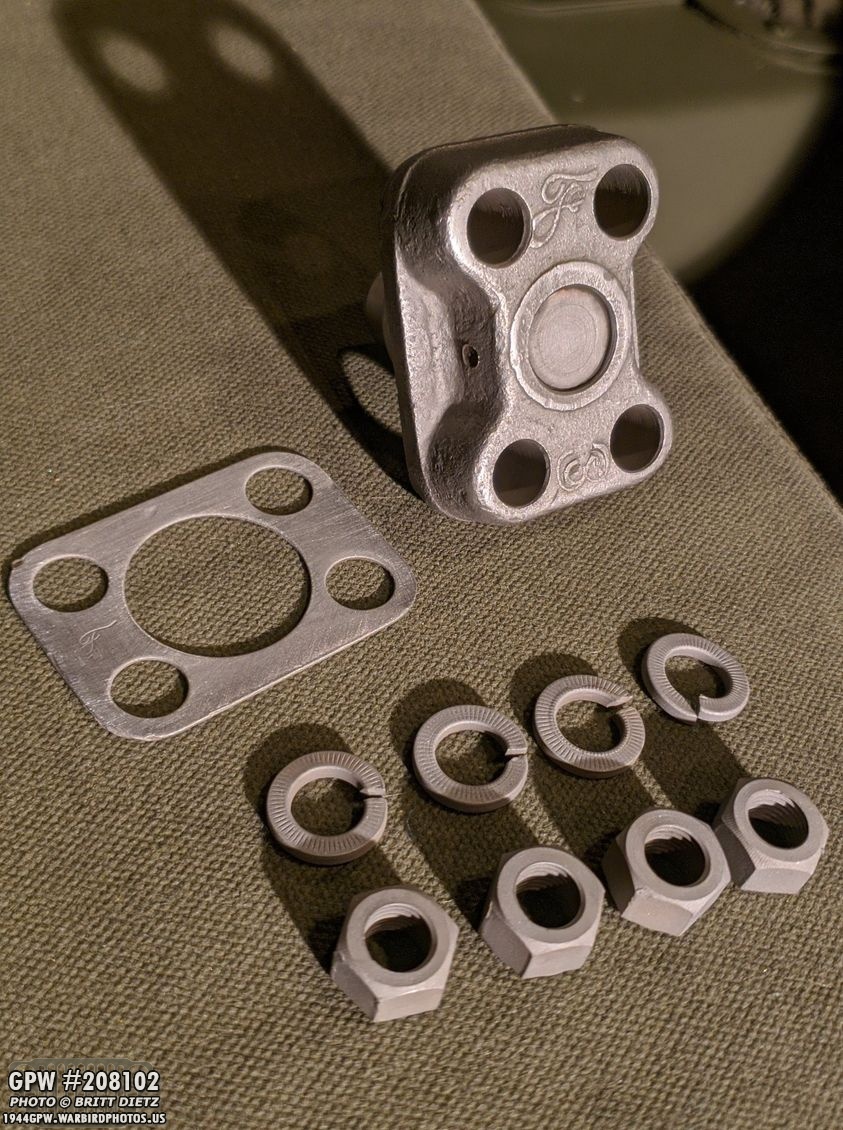
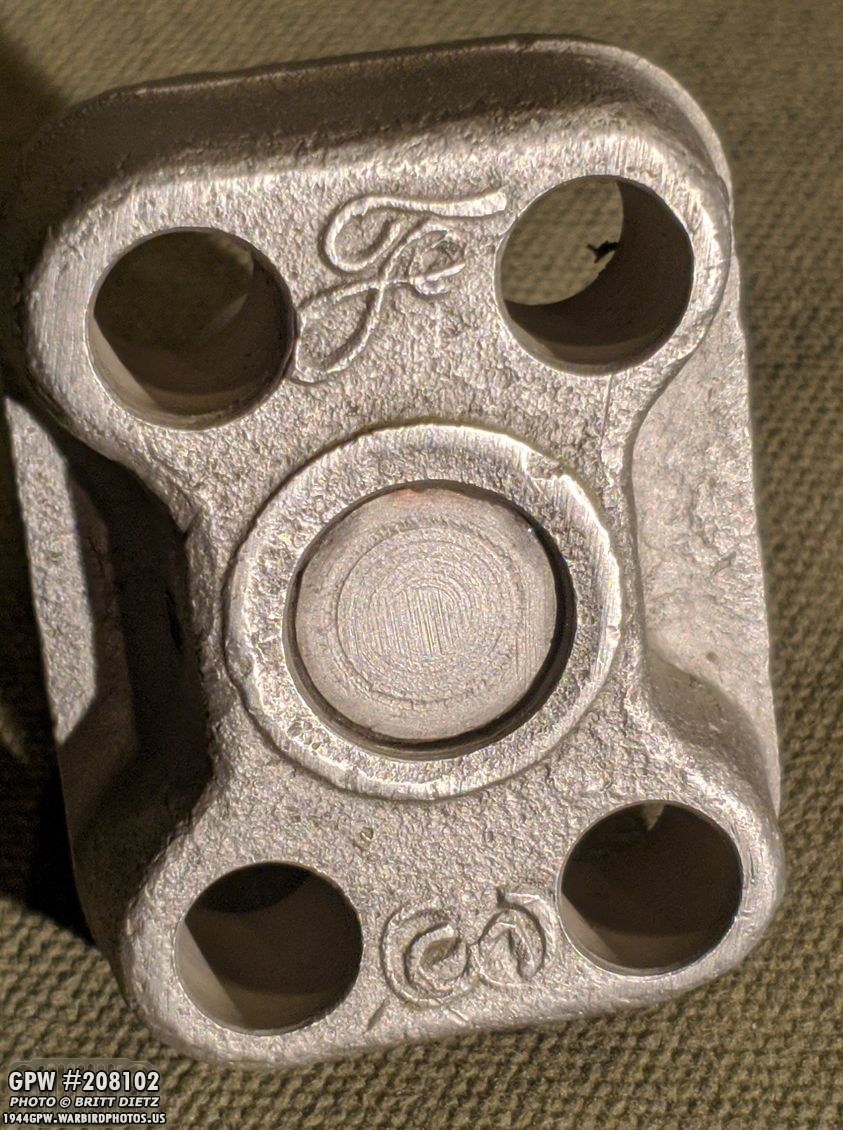
Switching to the ongoing sandblasting of all the various parts on the two axles (there’s a lot!), here’s the driver’s side lower king pin cap from the front axle.
The cap has a large F stamp, and what looks like a 3 and 2 stamped on top of eachother.
On the other side of the cap, the king pin itself has a small F stamp.
Also the thicker shim has a F stamp.
I also sandblasted the front axle brake line protector shield and uncovered a second F stamp where the steering arm/king pin goes. Also the GPW with an F stamp on the shield.
Here’s a better look at the GPW and F stamp on the shield.
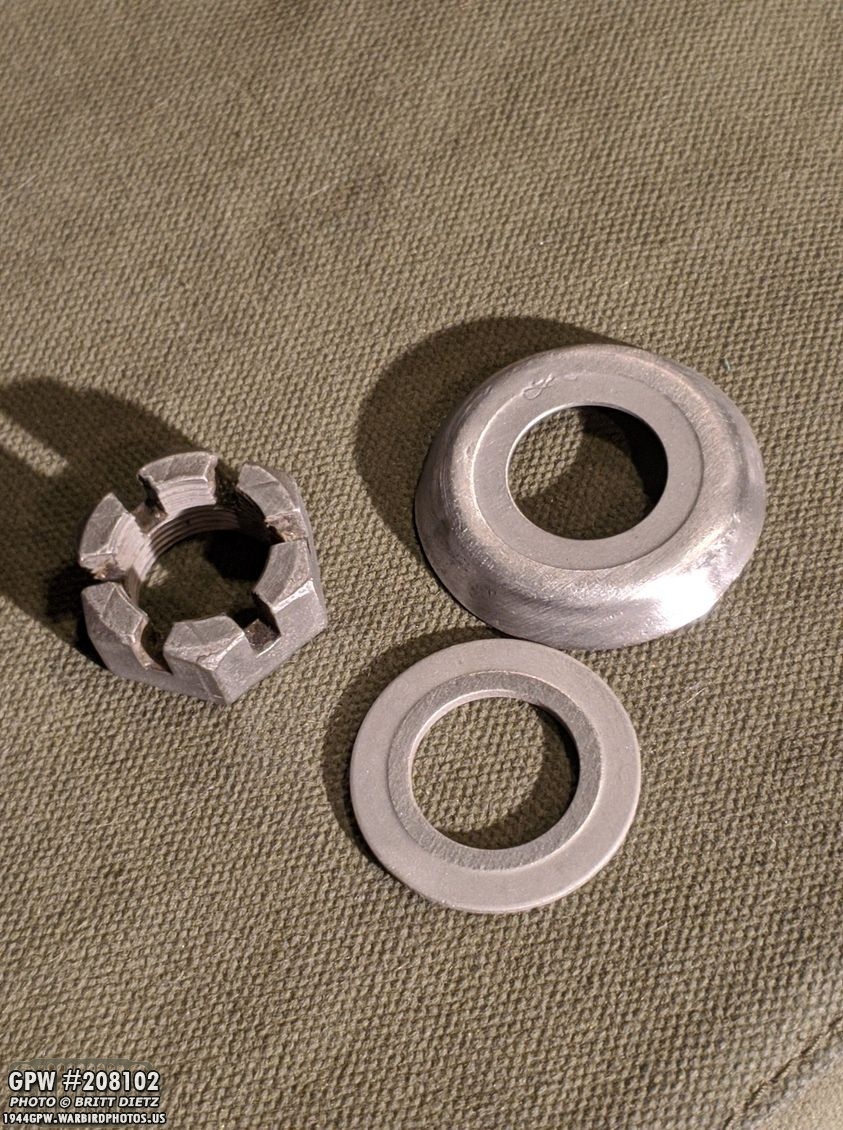
I sandblasted one of the tie rod nuts and shields. I still need to take apart the other ones.
I did find a nice F stamp on the shield! Didn’t think there’d be one there.
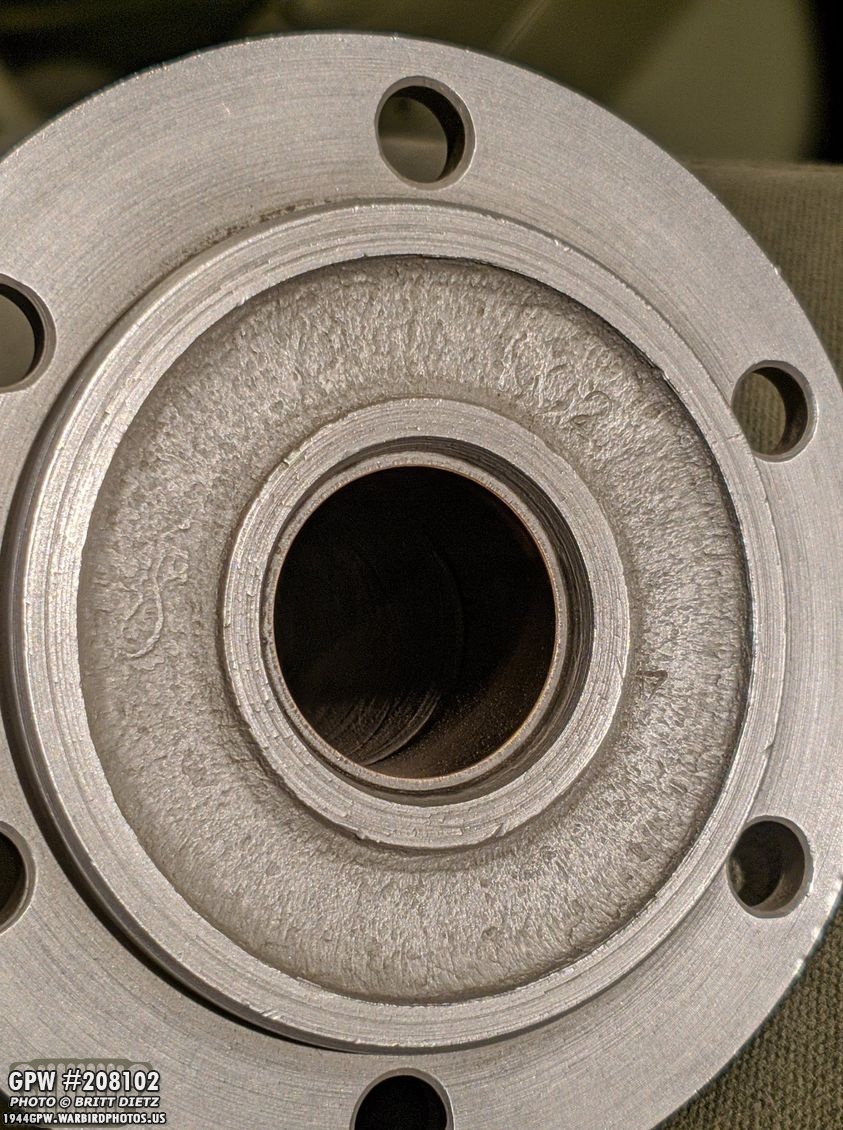
I also sandblasted the other front axle spindle. After sanding, looks nearly brand new!
On the bottom, you can see the starting to fade F stamp on the left of the inner textured surface, and a partial 2 in the 2 o’clock position.
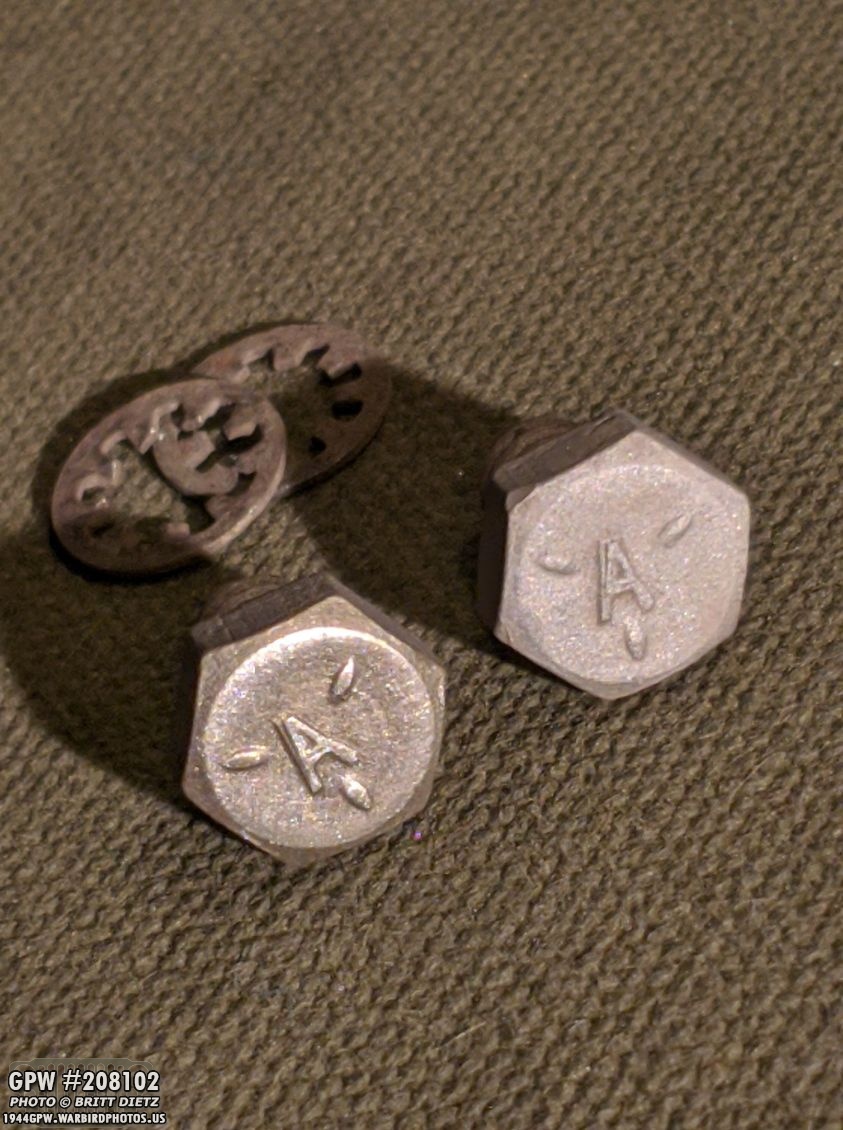
Here are two original bolts that were holding the front axle brake cylinder to the backing plate.
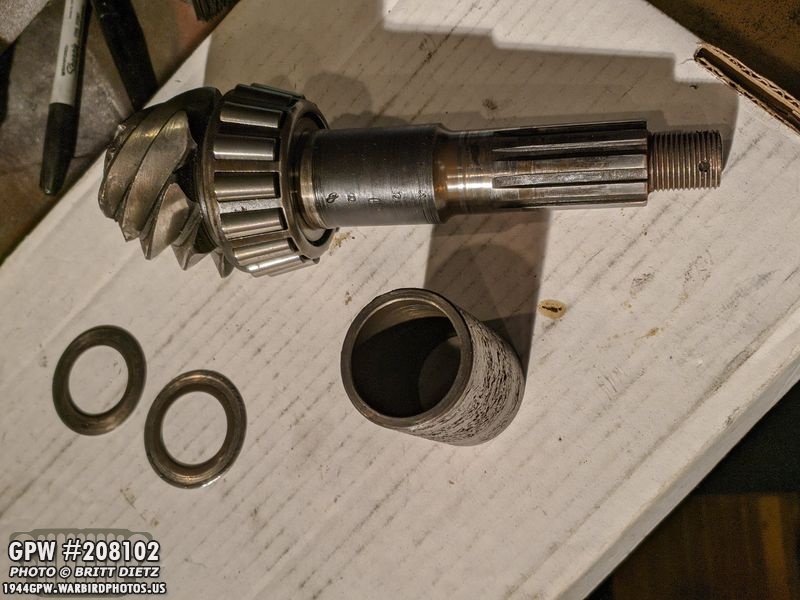
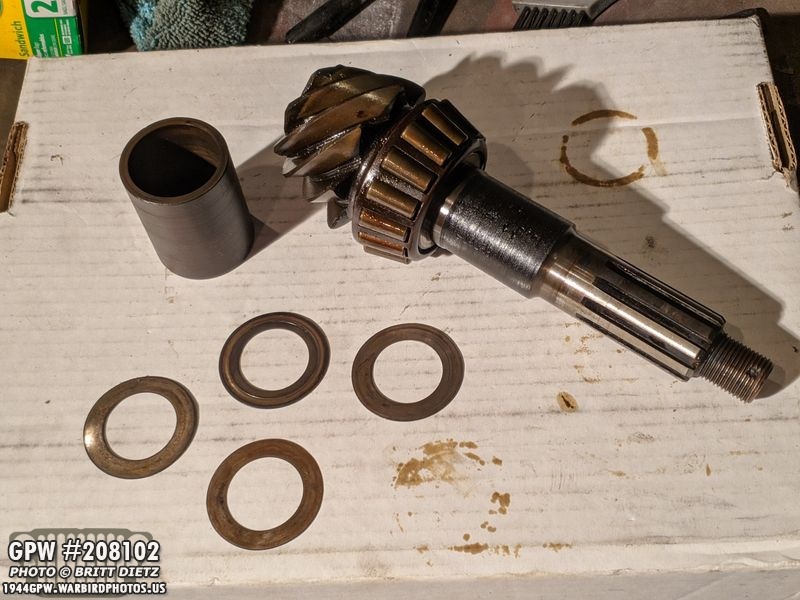
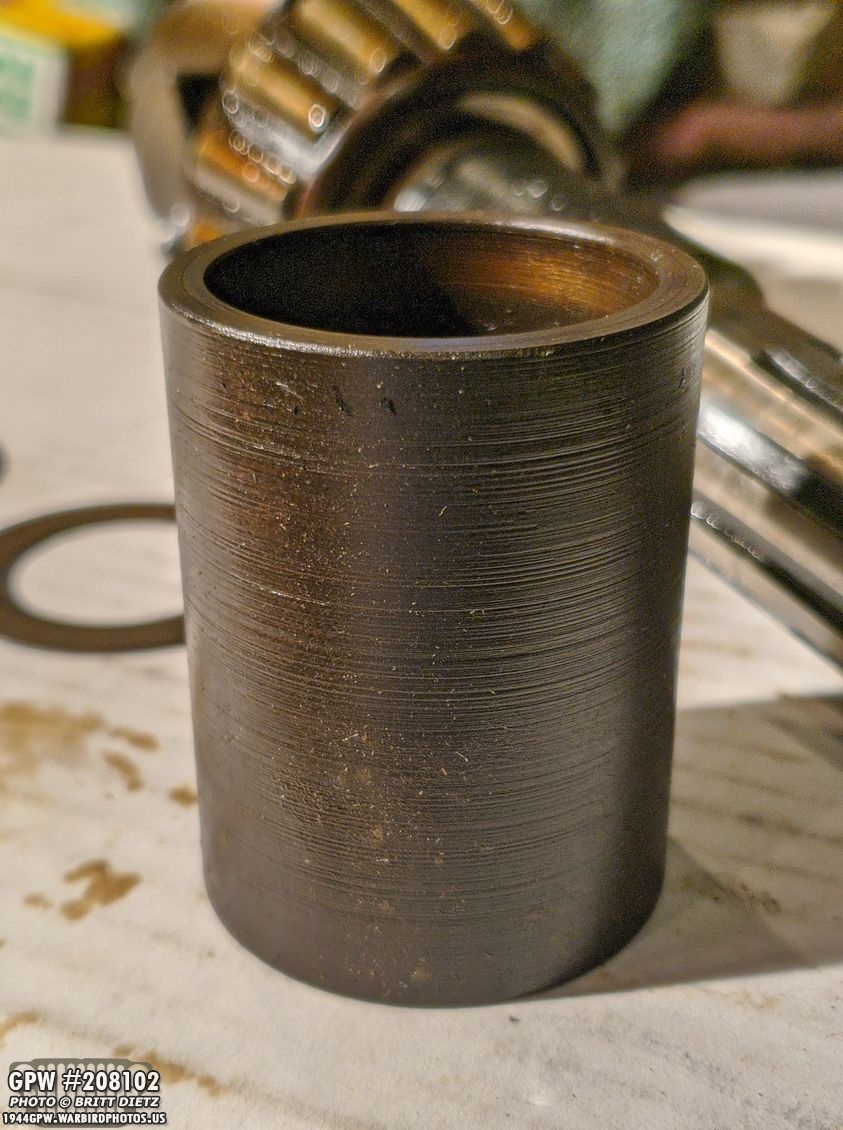
The last things to remove from the axles were the pinion gears. They were in there pretty good and it took a bit to get them to come out. I was hoping for some good news with both axles, but I didn’t get good news with the rear axle pinion. Here’s a look at all the parts. I haven’t removed the bearing from the pinion.
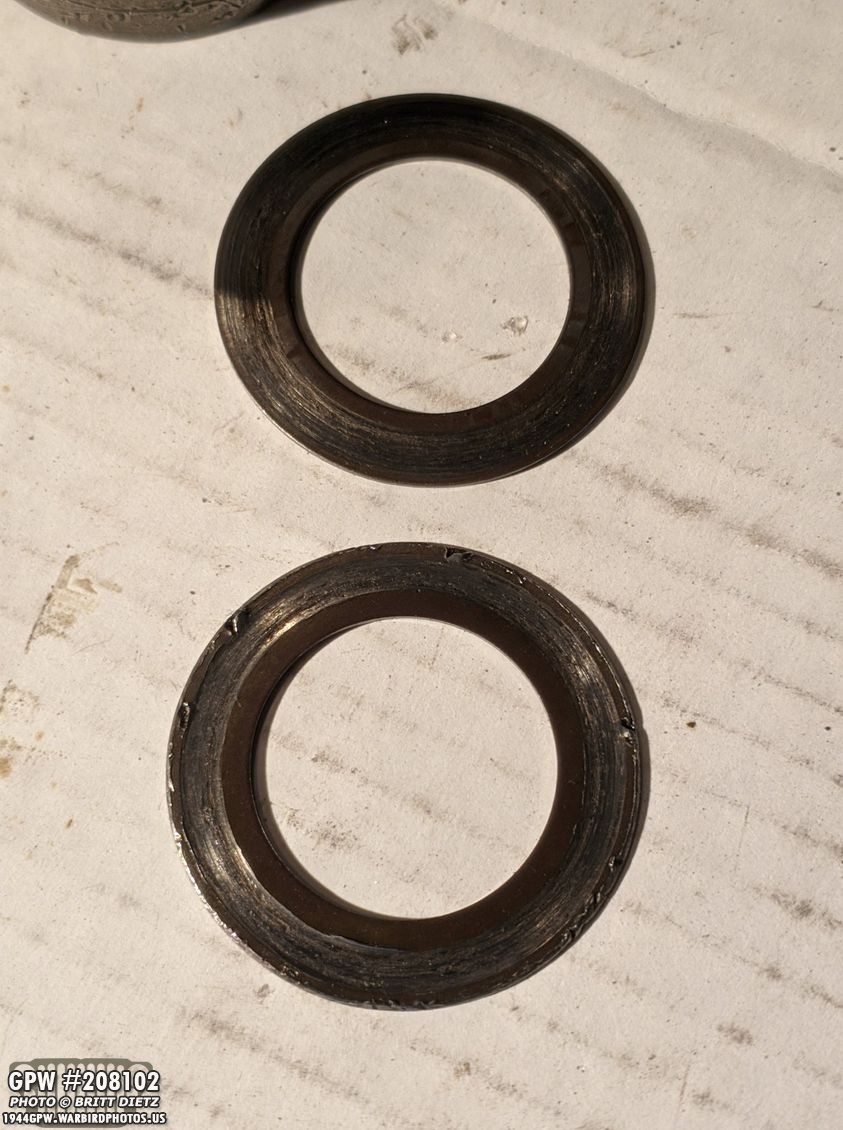
The other ring is scarred to heck and will need replacing.
The shims are in ‘okay’ shape, but I’ll probably replace them as well.
One of the shims has a partial F stamp.
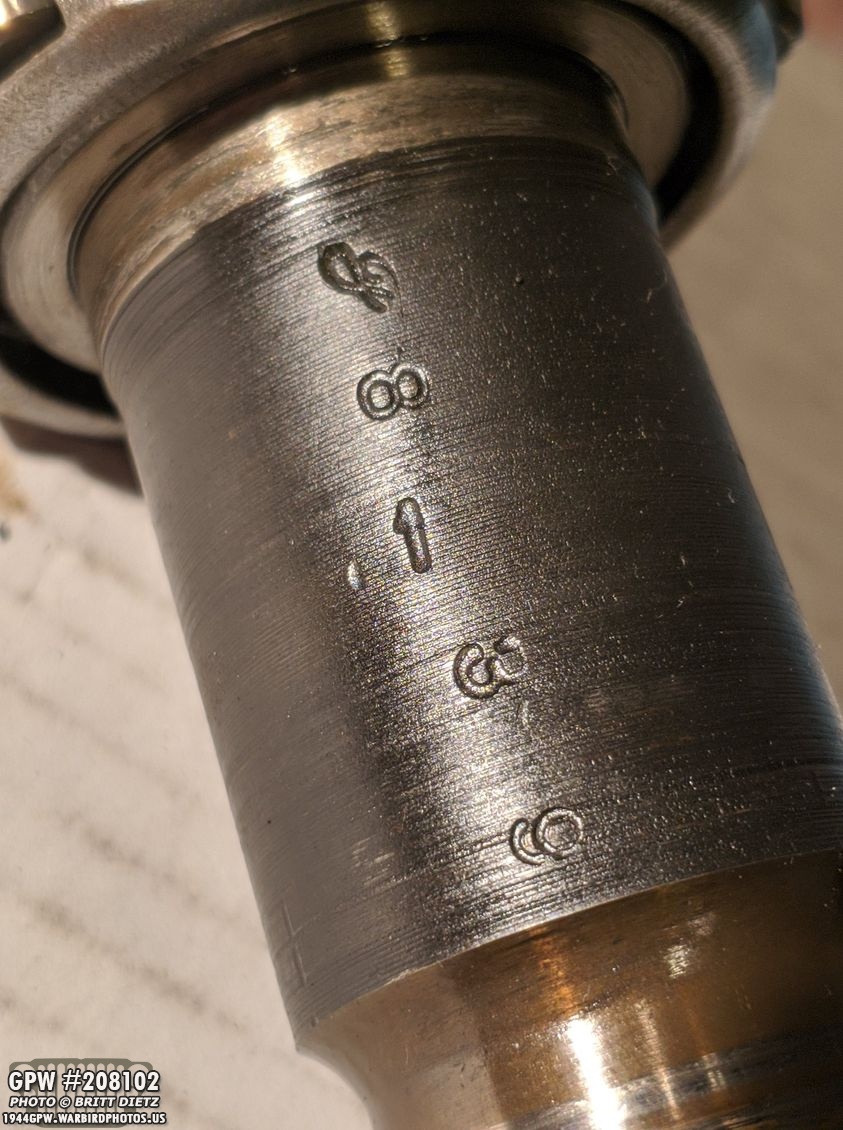
On the pinion itself, a Ford stamp with 8-39 (the axle teeth ratio).
And on the end a 4430 stamp. Part number or Year?
Sadly, the pinion itself is missing some of the grooves that have broken off, so I’ll need a whole new one. Sigh.
But, on the flip side, the front axle pinion was in immaculate shape.
Ring is in great shape!
Shims look really good, and a nice F stamp on this one.
It looks like a normal F with 8-39 if it matches the rear axle pinion. The 8-39 is the ring and pinion teeth ratio. Same thing you’d find on the axle tag
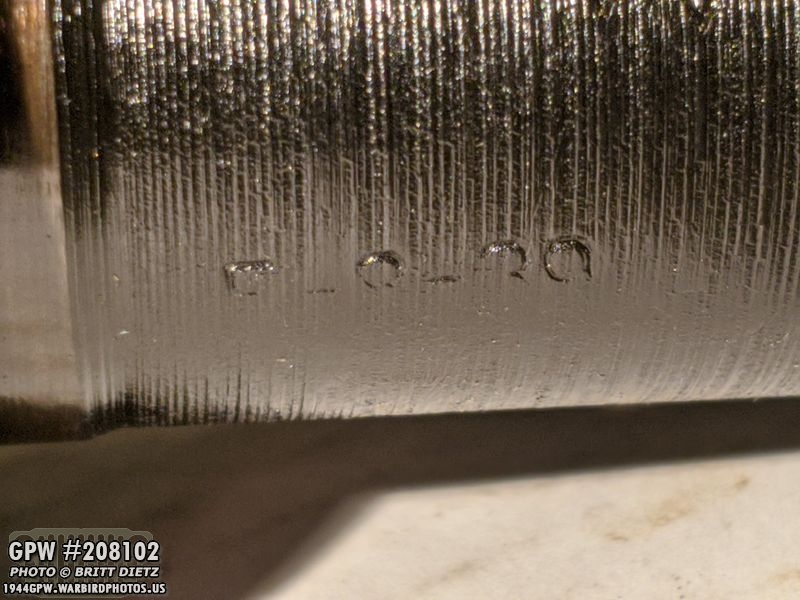
I can’t quite tell what all this stamping says, but there’s a not pressed very well F stamp. Looks more like a scar, but it’s an F stamp.
The front of the pinion has what looks to be either 7604 or 2604.
This pinion is in perfect shape and can be reused!
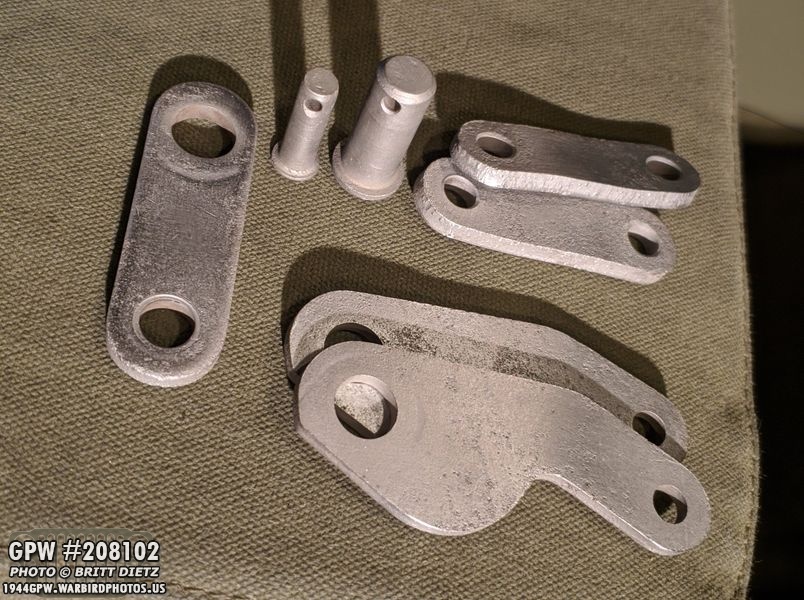
Moving on, I started work cleaning the various parts I took off the emergency brake. The band has been sent out to be relined, so as I’m waiting to get it back, I figured I’ll start cleaning/repainting the various parts. Here’s the main supports after sandblasting.
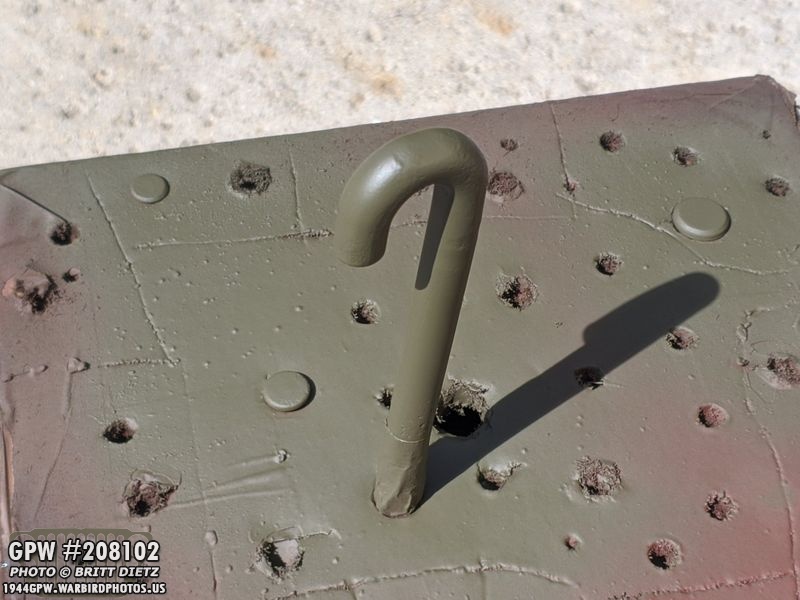
And the pins, the large nut, and the J bolt getting red oxide primer.
And the various arm parts getting primer.
And then 33070 OD Green, thanks to Ron Fitzpatrick Jeep Parts. Love their spray paint!
J hook and pins getting 33070 OD Green. I haven’t painted the bottom of the pins, only the heads. Once I put everything back together, I’ll do another pass of OD Green and get anything not painted that’s showing.
And again, a shout out to Ron Fitzpatrick Jeep Parts 33070 spray paint. It’s a good price, you get a lot of paint out of it, it matches the 33070 RAPCO gallon/spray paints about 95% or more!
In fact, I ordered another can of 33070 from them in the most recent order, which included a new emergency brake drum to replace the damaged one on my Jeep. The drum is painted black, so I might strip the paint off, hit only the inner/sides with primer and OD green, and leave the surface that contacts the outer band metal for better friction.
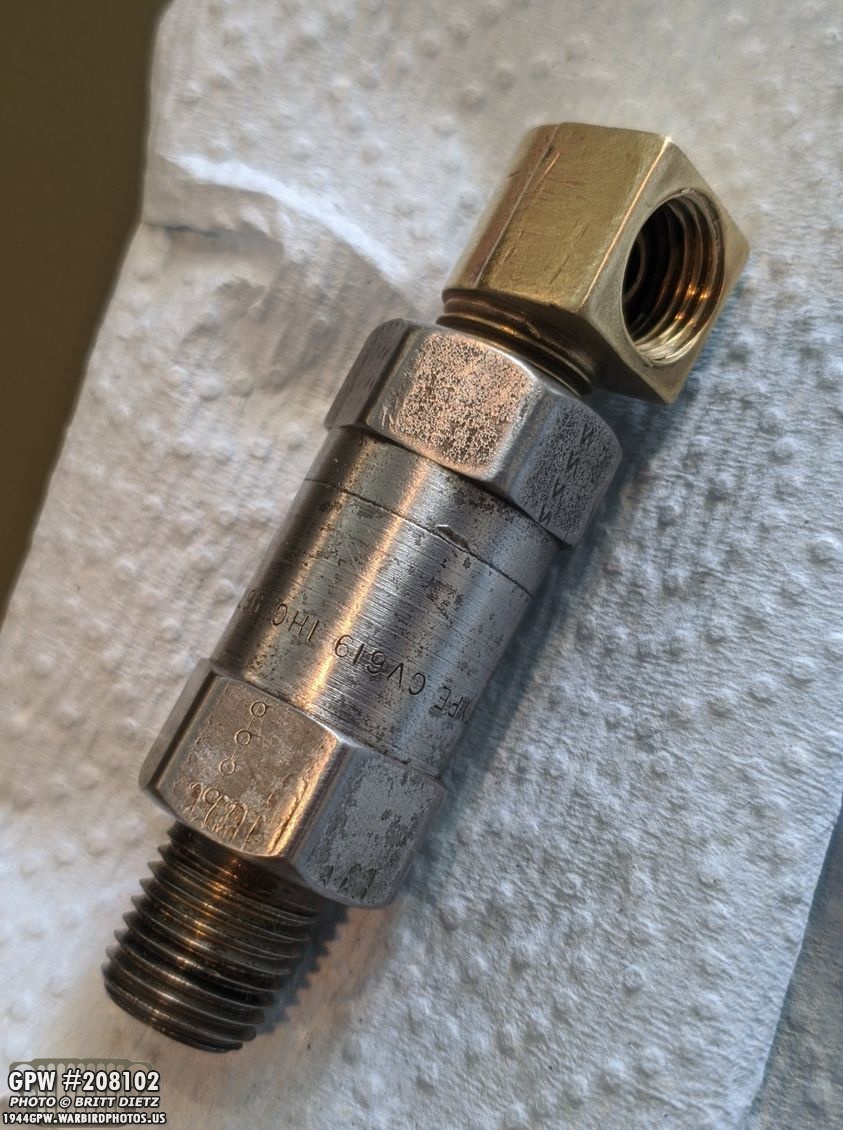
One thing I didn’t really do when restoring my engine was taken apart the PCV valve. In short, this valve brings fuel exhaust back into the carb for re-mixing with the fuel coming in. It’s a long explanation on how it works, but in short, if there are any issues with it you can have some problems and/or a loud engine. So I decided to check it out and see if it needs replacing since my engine has still been pretty loud since I adjusted the valves.
Sadly, no matter what I did, I could NOT get the PCV valve apart. I tried several tricks (including heating it up and immediatly cooling it with WD40/water to ‘break’ the hold of the threads from expansion/contraction with the heat and cooling), but it would not come apart. So, I soaked it overnight in cleaner along with the brass fitting. I then cleaned it out as best as I could, sanded it to get a nice shine, and reinstalled it. The engine sounds slightly better, but this might be something I tackle more in the future. Perhaps get another one just to see if things sound a bit better.
I did manage to clean out the garage a bit and move things around creating a LOT more space for the Jeep. She probably feels less claustrophobic sitting in the garage and gives me a lot more room to work on things.
A few months since I used the Military Stencils By Axholme Signs on my Jeep for the markings, and it still looks good as new! The two coats of Rustoleum Pro white and two coats of matte overcoat are holding up super well.
Taking a look inside after I used the air compressor to blow out all the dust and debris in the Jeep that has gotten in from the heavy winds lately. Looks super clean inside again!
And finally, wrap up this somewhat short update for this week, here’s another look as I took the Jeep out for that drive. There’s just something about seeing that star on the hood as you’re driving along! Look for another photo-heavy post next week with the photoshoot at the airport! Till then…


