 Engine problems!
The restoration has slowed to a crawl as I finish the last little bits. Compared to just a few weeks ago, it seems like not much is getting done. But a major engine issue has plagued me this entire week causing me to stop everything and work on various tests. It’s been frustrating to say the least…

I mentioned in the last update that I’ve had an ongoing engine issue for the last few weeks. In short, the engine won’t run or idle without being choked. This can mean many things but mainly boils down to two possible issues: 1) There is an issue with the carburetor, or 2) there’s an air leak in the manifolds. Either one can mean not enough fuel into the engine, so you have to choke it in order to get more fuel and less air.

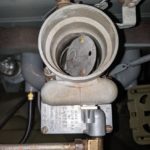
So, what does a choked engine mean? Well, on the carburetor air comes in from the top. Here I’ve taken off the air horn which directs air in from the air filter on the other side of the engine. The blue arrow points to a flapper that can open and close, allowing air in or just enough to go through that small hole. In this shot, the engine is full choked so minimal air gets into the carb to mix with the fuel.

You add choke by pulling a knob on the dash next to the keyed ignition. This is fully choked.

This is 50% choke, or pushing the knob in 50%. This is as far as I have been able to open the choke before the engine struggles. No choke means that flapper is vertical and all air can come in, which is where it should be when running normally.

I’ve gone through many many tests the last week, and talked to several Jeep experts, had an expert mechanic come by and check it out, and also have posted the topic on the world’s largest Jeep forum. So I won’t go into huge detail of all the tests run, but here’s an overview of some of the things I’ve done to figure out this issue. Here I’ve swapped out my carburetor for a wartime one from Tom Read. Same issue as my late/post-war carb. That doesn’t mean that the Carb isn’t the issue per se, it’s possible to have two bad carbs! The Carter WO carbs are fickle beasts.

Here’s my carb, being disassembled for another cleaning. It’s already been taken completely apart, cleaned, placed in carb cleaning dip for 24 hours, cleaned again, then reassembled. While I’m testing with the wartime carb, I’ll do that entire process again just in case.

One of the first tests I did was a vacuum test, to check the vacuum in the intake manifold, where the air and fuel mix and go into the engine. This will tell me if there’s a possible air leak. This kit I got from Harbor Freight Tools.

Here’s the vacuum gauge attached to the intake manifold. Inside the intake manifold is where the vacuum into the engine is the most.

What you do is run the engine, like normal, and watch for the little arrow to stay in the green area. You can follow the arrow as the engine struggles and see how much vacuum is there. If there’s an air leak, you should see the arrow struggle to stay in the green and go into the red.

The test results were inconclusive at best. It would stay in the green until I went with less than 50% choke, then as the engine almost immediatly struggled and died, the gauge would immediatly drop to 0… as would be expected. Other times, I was able to get the engine to almost 0% choke, and it would struggle going into the red and into the green… and other times it would stay more into the green but still couldn’t remove the choke.

The next test was a dry/wet compression test of the cylinders. This would give me a better idea of the life of the engine and how good/bad of shape it is. Bad valves/cylinders could reveal issues that could answer some of the engine questions. This is done by unscrewing the spark plugs, holding the throttle totally open, which is the same as flooring the gas pedal, and cranking the engine without the coil engaged so the engine just turns and doesn’t actually start. This causes the engine to turn over a few times and allows the gauge to catch the maximum amount of pressure from the valves coming up to where the spark plugs are. This is done one at a time for each cylinder (4 total). After that, I do the same thing but add a few CCs of oil in each cylinder (this is the ‘wet’ test).

What this revealed is that the compression is actually really amazing. The dry test revealed about 100+ psi on each cylinder, and the west test was about 110 psi on each one as well. Great pressure! So compression is not an issue.
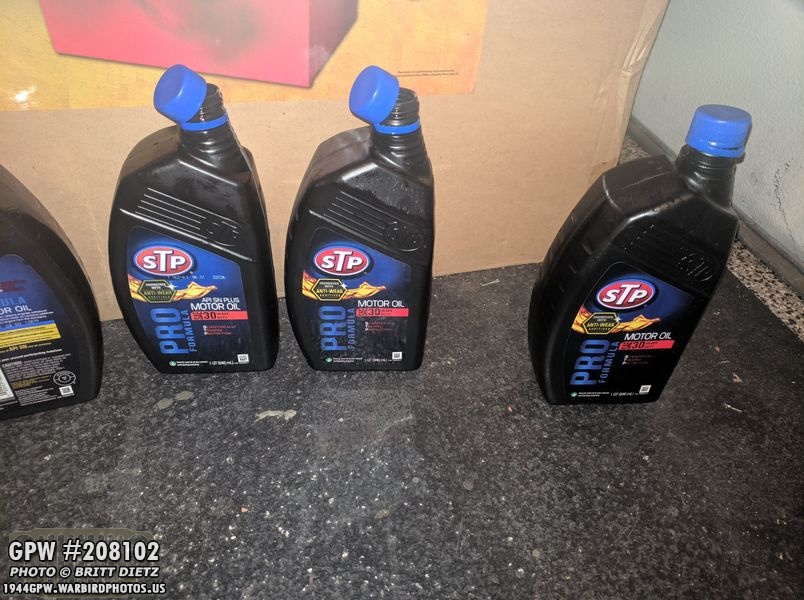
But one issued discovered was that I had put in the wrong oil into the engine. Whoops. Bad information from a forum post when I was originally buying the oil. Not a super difficult thing to change, as I would just need to drain the oil for a bit and then replace it with straight-up SAE 30 weight oil.

After draining all 5 quarts of the wrong oil and letting it drain for 2 hours, I cleaned everything up and put in 5 quarts of the 30w oil. All good now!

On the advice of Roger Smith, I put in some Marvel Mystery Oil, which is known to help engines get some performance boost when added to the oil. It can even be added to fuel for a performance boost! I added just under a dixie cup’s worth to the oil.

As mentioned earlier, I dipped my late/post-war carb once again in carb dip cleaner for 24 hours after taking it all apart. I made sure every passage way, jet, tunnel, etc was clear of any and ALL debris as I put it back together.
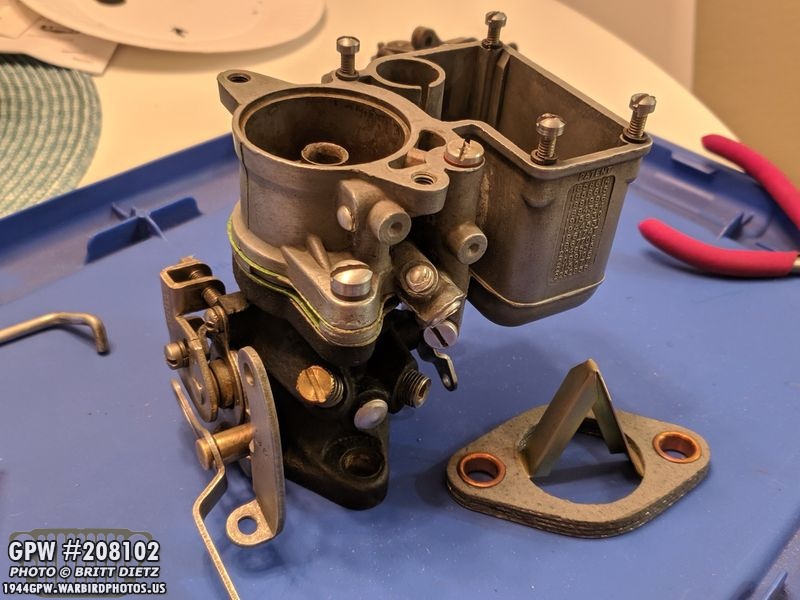
Here it is mostly becak together, along with a brand new carb to manifold gasket with diffuser (that triangle looking thing) to make sure that the one I have isn’t introducing any air from a bad fit. I’ll put this carb back on over the weekend and continue my tests.
Testing it several times a day has revealed some slight leaks spots on the engine. Right now, there’s three coolant leak areas, one from the top of the water pump, and one from the engine head. After torquing the bolts on these items, the leaks have become minimal. Since they are so minimal, I decided to use some liquid gasket maker on the water pump and the one area of the head of the engine. This should stop the leaks. Here’s the gasket marker before painting.

And now after painting. Time will tell in the next few days if this solved the leaks.

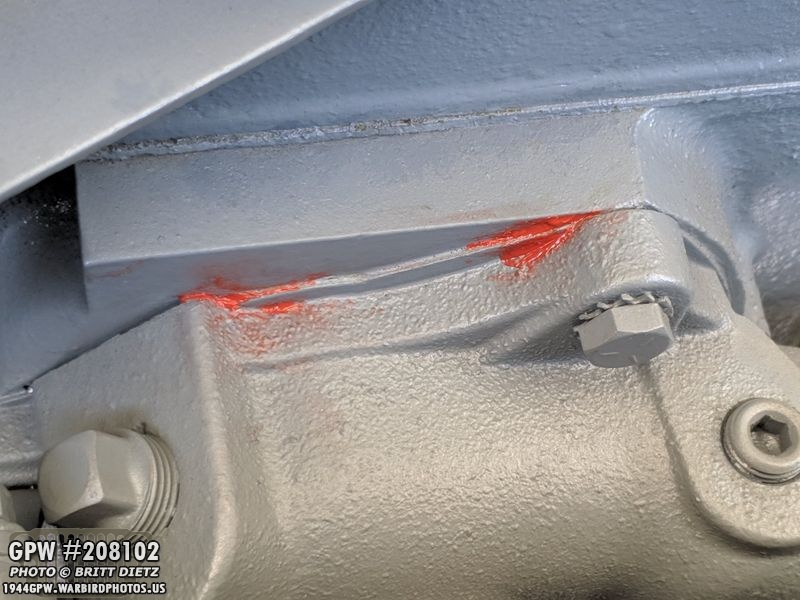
And here’s the area on the engine where the head meets the block that was leaking. This is after some RTV gasket maker and painting over that.

If you remember last week, I was tackling the issue with the glove box doors not latching with the locks because of the very thick weather seals. I originally had a 1-gallon thing of paint and a car battery to weigh it down. Sadly, after a few days, it hadn’t done enough, so I changed it up and put a 5-gallon bucket of paint and the car battery. That’s a LOT of weight. I’ll chime in next week if this did the trick. The idea is that the heavy weight will cause the weather seal to permanently compress and allow the latch to hook.
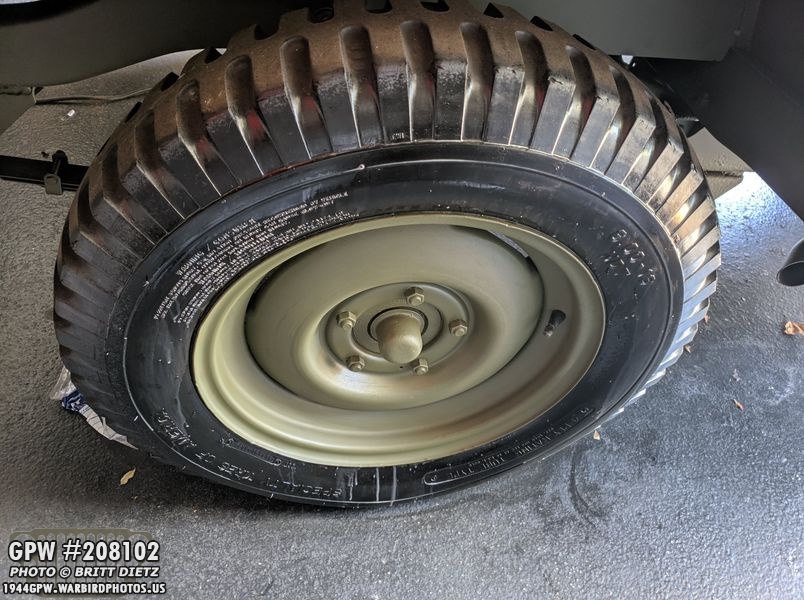
I hadn’t yet put armorall on the rear passenger side tire, so since I had a lot of waiting around this week for things with the engine, I went ahead and coated it. Here’s after coating while letting it dry.
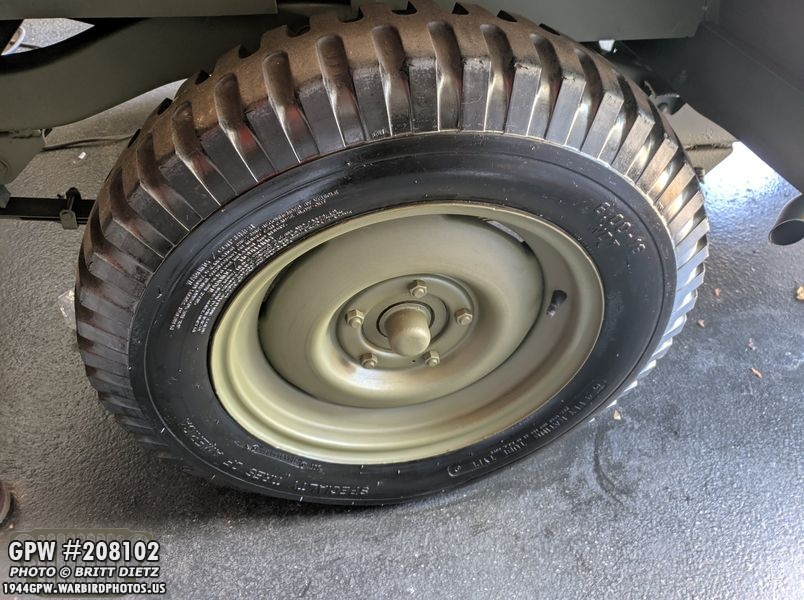
And now mostly dry, it looks so much better! In a day I’ll wipe it down to remove all the lint/dust from the wind coming into the garage. If you’re wondering why I didn’t do the treads, well actually that could be a massive safety hazard. This armorall makes a sort of slipper coat on the tire that resists water. This could cause traction issues if put on the tread.

This is the last shot for this week’s short post, and an interesting turn of events. Yesterday morning (Thursday) I ran the Jeep 50% choked as normal with the same setup of the engine (carb, fuel, oil, etc) as it had been since the previous day where I had to choke the engine to get it alive. After choking the engine and getting it to fire up, I let it idle choked till it got up to temperature, around 160 degrees. I then slowly let off the choke, as I have and got to 50%, still running… 40%, 30%, 20%, still running… whoa. 10%, 0%… still running. Vacuum looks pretty good and the engine is alive and idling with NO choke. What the?! I let it run for a good 10 minutes, and it stayed alive and idled. Okay… so I manually shut the engine off via the key and said ‘I wonder…’ So I put the key back in, made sure there was no choke, pushed the starter button and hit the gas a little… and it STARTED UP! What?! I ended up being able to repeat this 4 times and each time it started up without any choke. Perplexing, especially since I didn’t change anything in the last 24 hours. So, now that it’s Friday morning, I’ll be trying that again to see if the problem worked itself out magically, or the engine just decided it was going to have a good day and today it doesn’t want to cooperate. Crossing my fingers! Till next update!