 Engine Problems Solved!
Work continued this past week to solve the engine issues, and the issue was mostly found! Still some tune-ups needed, but things are progressing. On Sunday, an attempt to drive the Jeep for the first time was made, only for another issue to arise causing another delay.
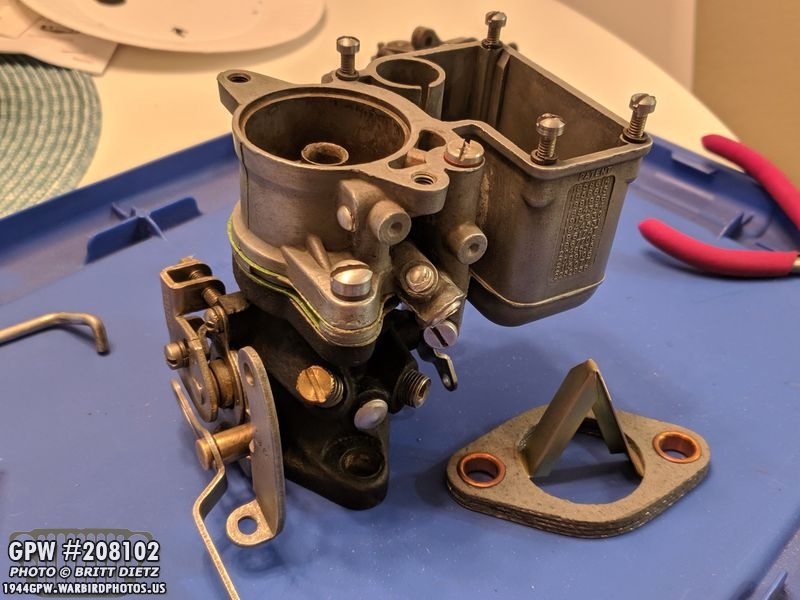
If you read last week’s update, I was having an issue where I couldn’t keep the engine running without choke. This was a perplexing issue that could either mean an air leak or bad carburetor. After borrowing a wartime Carter WO carb to replace my late/post-war Carter WO, I found that the engine started to work as normal without choke. Knowing I couldn’t keep this borrowed carb, I did an extensive cleaning of my carb (pictured) and reinstalled it on the engine. Immediatly the choke issue came back and the engine struggled.
Here’s another look at my carb after it was extensively cleaned, checked for clear jets/passageways for the fuel, and carefully put back together. I also got a brand new gasket with diffuser (bottom right) to replace the one currently on the manifold in case there was a leak. After putting my carb on with the problem returning, I decided to put the borrowed wartime carb back on one final time… if the problem with the choke went away, then we know for SURE that it is an issue with my carb.
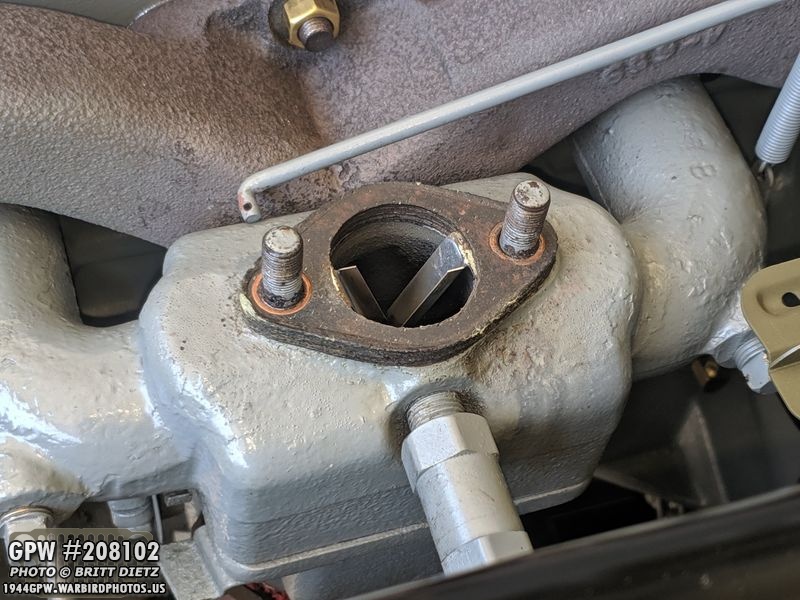
Here’s the old diffuser, which had to be destroyed to remove. After getting it off, I would have to carefully scrape off remnants of the gasket and sand the surface smooth.
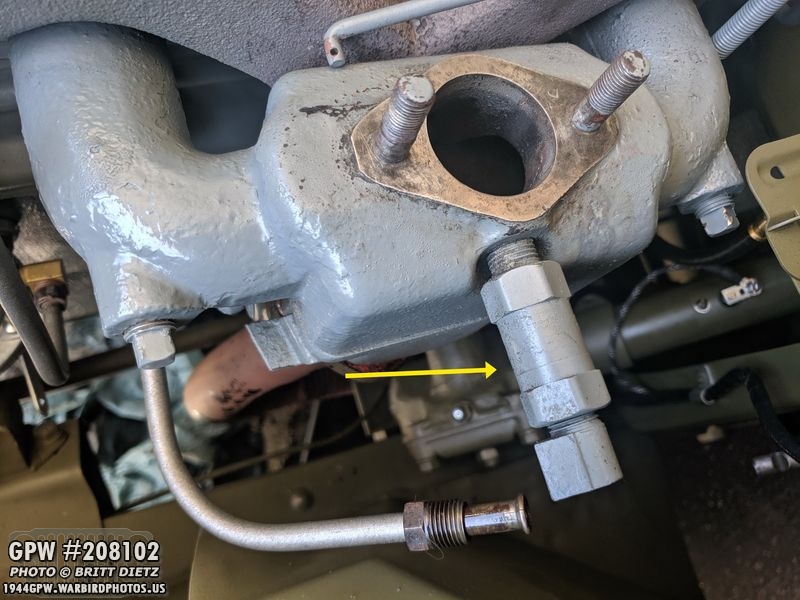
Here it is after making the surface nice and smooth. I used a shoc vac to make sure any debris that fell into the manifold was sucked out. I also removed the PCV valve (yellow arrow) and checked it. This valve helps to prevent the build-up of deposits in the manifolds and also draws leftover fuel vapors back into the manifolds to be burned rather than escape through the exhaust. I took the PCV apart and made sure the ball valve inside wasn’t stuck and cleaned it all off. That could have been a source of the choke issues, but after taking it off and giving it a good cleaning, I was able to confirm it was working as it should.
Here I’ve put back on the wartime carb from Tom Read, and after holding my breath and starting up the engine… it worked just fine once again! So that confirms, I do indeed have a bad carb. The bad news is that means I’ll have to get a new carb, which costs $325. For now, I’m able to borrow this carb for a while longer, so I’ll be using it as I continue to tweak the engine and get it ready for test driving.
Another MAJOR milestone that was done this week was bleeding the brakes! While I thought this would be a quick project, it turned out to take a bit longer than planned due to so much air in the brake system. I got a one-man brake bleeder kit from Amazon, but still needed Crystal’s help. The kit, however, was pretty amazing and prevented me from spilling one drop on the wheels (brake fluid eats away paint instantly). I only got one photo of this process, but it was a lot easier than I thought. Starting with the furthest away wheel (passenger rear), you take the rubber cap off the bleeder valve and push on your hose to the one-way siphon bottle. You then take a wrench, and turn the valve until you see fluid coming out. The person in the driver’s seat, Crystal, in this case, pumps the brakes. That causes pressure in the line and will push out fluid along with bubbles (the air in the lines). The person continues to pump the breaks, carefully, until NO more bubbles come out. you then tighten the valve, remove the hose, and move on to the next wheel (driver’s rear). You have to periodically check the master cylinder to make sure you don’t run out of brake fluid, which we did once. That is a bit of a pain as you had to re-prime the master cylinder. After the first time, we were careful to check the master cylinder to make sure it was always topped off after each wheel. Following the rear wheels, you do the same thing to the passenger front, then passenger driver’s side… and that’s it! I went back and checked each wheel a second time to make sure no bubbles came out, now the brakes are NICE and pressurized. This was one of the major obstacles standing in the way of the Jeep’s first drive!
So the day finally came… Sunday I was going to attempt to drive the Jeep down the driveway, and then reverse it back into the garage. Not a major drive, but the first time the Jeep would move under her own power in about 2+ years… and it would be the first time I’d be able to drive her since I bought it last year. I soon realized a problem… I couldn’t keep my little fuel tank with the Jeep as it drives, it was too large to fit into the engine bay, and I didn’t have a line long enough to put it inside the Jeep by the passenger seat. So, that meant that I would have to go ahead and hook up the fuel lines and connect the fuel tank. This isn’t a simple thing, as I had to prime the system by manually adding fuel through the lines, and into the fuel strainer. Here’s the fuel strainer on the left, which is original from WW2 with the original strainer inside. This was the very first thing I restored on my Jeep, and it was totally bypassed when I got the Jeep. So who knows how long it’s been dry. I soaked the filter in fuel for several days when I was restoring it, and everything was cleaned with new gaskets. In order to prime the fuel lines and the filter, I had to remove the filter bowl and the two lines going to the filter in order to take a syringe of fuel and pump it into each of the fuel lines and into the strainer bowl itself.
The other issue was the flexible line. From the fuel filter, a hard-line goes down to the splash shield then terminates to a flexible line. That flexible line then goes to another hard line that continues over the front of the engine and to the fuel pump. It was this flexible line I haven’t had hooked up, and instead, I had a long flexible line going straight into a 1.5-gallon fuel can. A few guys I know use this flexible line to add an in-line modern fuel filter. Yes, it’s modern, but it allows me to visually see any particles or problems with the fuel line, and it’s a great way to make sure you’re getting a good flow of fuel when the engine is running since my fuel pump doesn’t have a glass bowl. It took me a little bit to find all the parts, but I was able to get all the lines connected with the in-line filter.
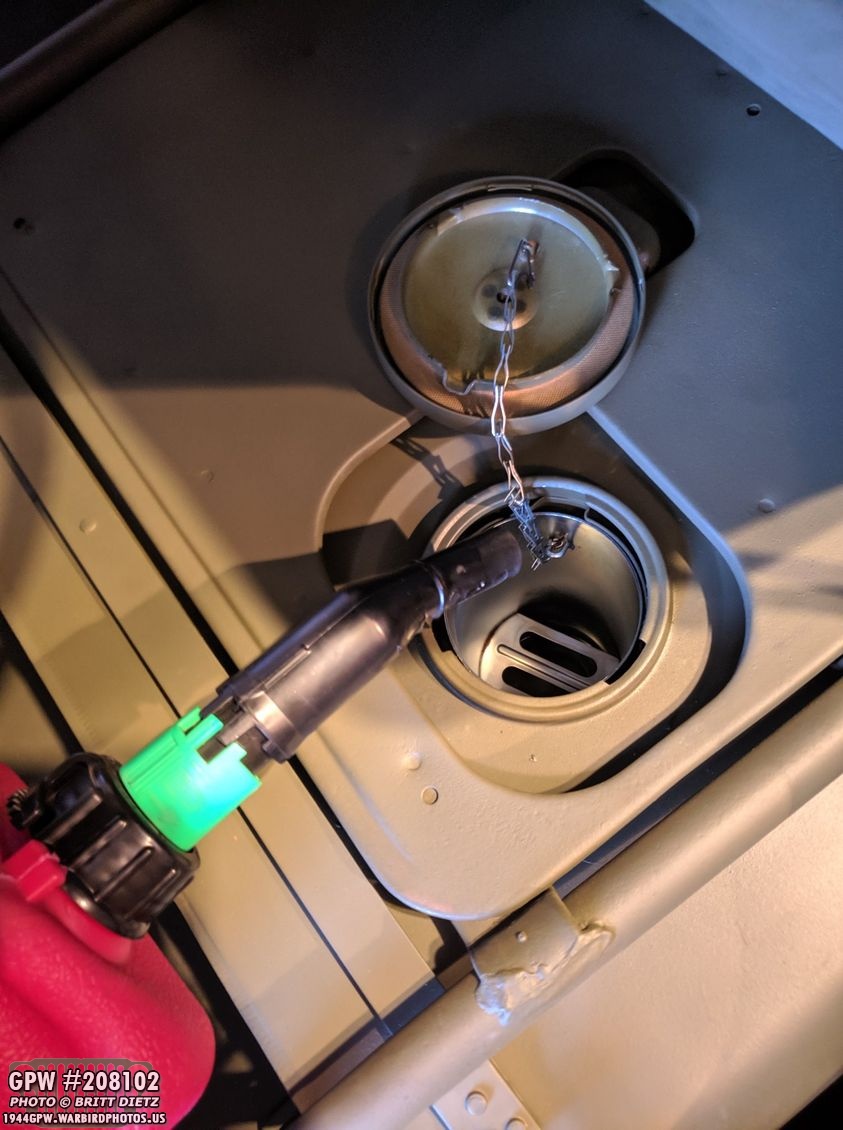
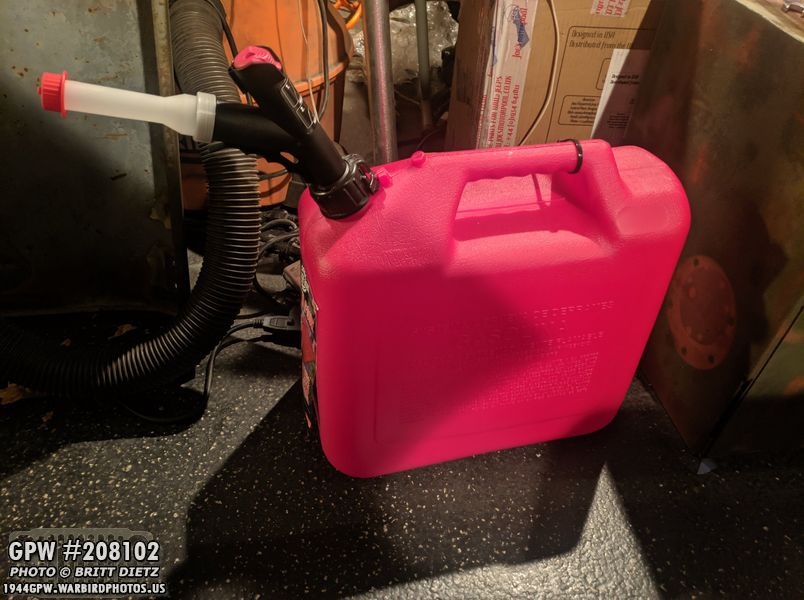
Next step was to add gasoline to the fuel tank. If you remember from July, I had to get a replacement fuel tank because the original fuel tank had several leaks in it. The cost to repair those leaks was about as much as just getting a new fuel tank, and even fixing those leaks on the original doesn’t mean it was still all leaks for good. I heard many stories of people fixing their gas tanks only to have it leak again in a new spot not long after. Here I’ve finished pouring the 1 gallon of gas that was left from my small can.
Even with all the lines primed with fuel, it took a really long time for the fuel to start flowing and LOT of manual pumping on the fuel pump. Eventually, it just suddenly started shooting into the modern in-line fuel filter (again, a great way to make sure fuel is flowing) and I was able to start up the engine and verify I was getting good flow of fuel from the gas tank! That means it’s flowing through the original firewall mounted fuel filter correctly as well! Might be the first time in 20+ years that the fuel filter has been used!
I soon realized that the 1 gallon would not be enough, and I would run out quickly as I continued to tinker with the engine. So I went to Home Depot and got a large 5 gallon can to dump into the fuel tank. Now the tank has about 6 gallons, which is plenty to work with for a while. Sadly, I found out that there is some issue with my fuel sender, and I’m not getting a reading of fuel levels on my fuel gauge on the dash. It worked fine when I put it in, so not sure what that’s about. I may have to take it out to see what’s going on. The other issue is that there’s a slight fuel leak, somewhere. It only started after I put in the 5 gallons, and I can’t pinpoint where it’s coming from yet. I may have to take off the driver’s seat (ugh) and take the fuel tank out to figure out where the fuel is leaking from. It’s possible it’s weeping from the fuel line fitting, but it’s very difficult to tell.
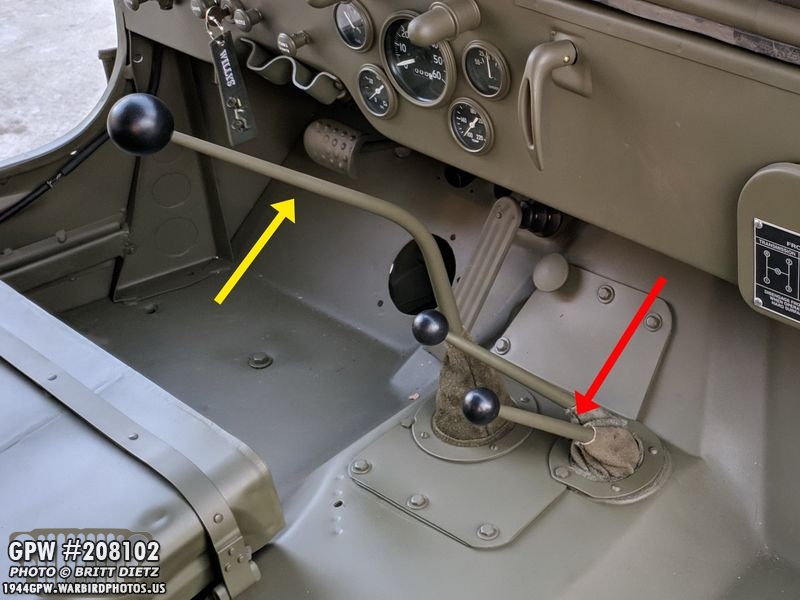
1) Engine running without choke: CHECK2) Fuel lines are good with fuel from the tank: CHECK3) Brakes are bled and ready: CHECKTIME TO DRIVE THE JEEP! So, with Crystal’s help and a neighborhood watching… I hopped into the Jeep, started her up, and prepped to put her in first and drive her down the driveway… only to have nothing happen when I put her into first gear. Hmmm… I put her into second… nothing. Reverse. Nothing. Uh oh. Stopped the Jeep and seeked some help. Roger Smith called me out on a rookie mistake, I left the transfer case lever (red arrow) in neutral… so the transmission was not engaged. Whoops. No matter how I moved the shifter (yellow arrow) nothing would change gears. DOH! Dumb mistake on my part, I’m still learning to drive manual, afterall.
So, started back up the Jeep, and now went into first gear… only to hear a horrible grinding sound. Yikes! I wouldn’t engage into first and just made that sound. Immediatly I went back to neutral. I went to second, GRIND! Reverse, GRIND! Yikes. I shut off the Jeep and consulted help again. Turns out, the RPM on my engine was set way too high. So the gears/bearing were spinning so fast, they couldn’t engage even when pulled away. So I adjusted the throttle screw on the carburetor (shown here), and immediatly I could hear the RPMs go down. YAY!
So I shifted it into first after starting up the Jeep again, and this time it went into first! But, there was still a momentary grinding noise as I’d move through the different gears. Since this was the next day and I didn’t have Crystal to keep watch when I tried to drive the Jeep, I decided to wait till the upcoming weekend. In the meantime, Roger Smith had me go under the Jeep and check out the clutch linkage since there’s a chance the grinding I was still hearing could come from some worn-out items. I took apart the entire clutch system (shown here) since they were not taken apart and cleaned up when restoring the Jeep, as they had worked before I got it. One thing we noticed was someone jerry-rigged a long threaded bolt on the pedal to the Clutch control tube. There should be a rod with cotter pins on each end instead of a threaded bolt with a yoke at the end. I went about to check everything for any wear and clean it all up.
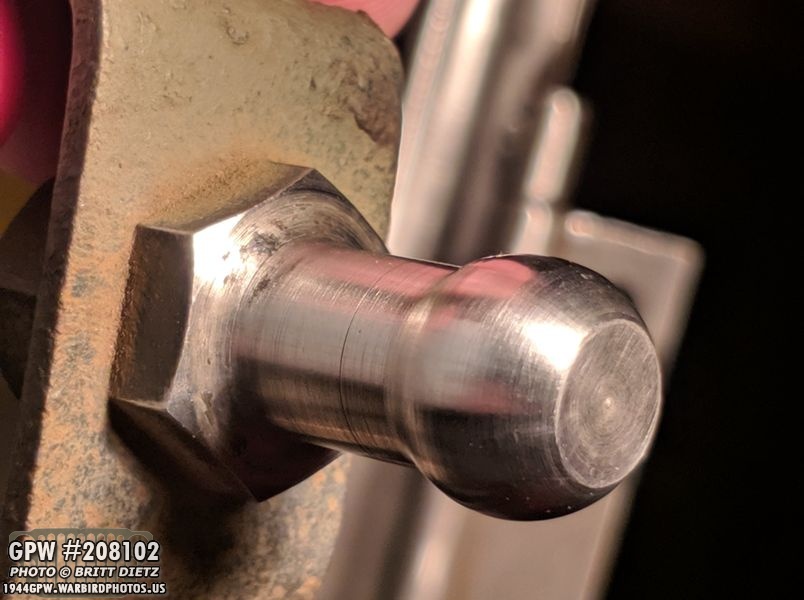
The two clutch tube pivot ball studs were the first to inspect. They can often show signs of wear. The threaded one is screwed into the transmission box, while the one on the bracket is screwed into the frame with two bolts.
The ball stud on the bracket looked in pretty good shape, only some minor marks on the ball itself.
But the ball stud that screws into the transmission box, it had a flat spot starting to develop.
It’s a bit easier to see the flat spot after I sandblasted it. This means that this will have to be replaced.
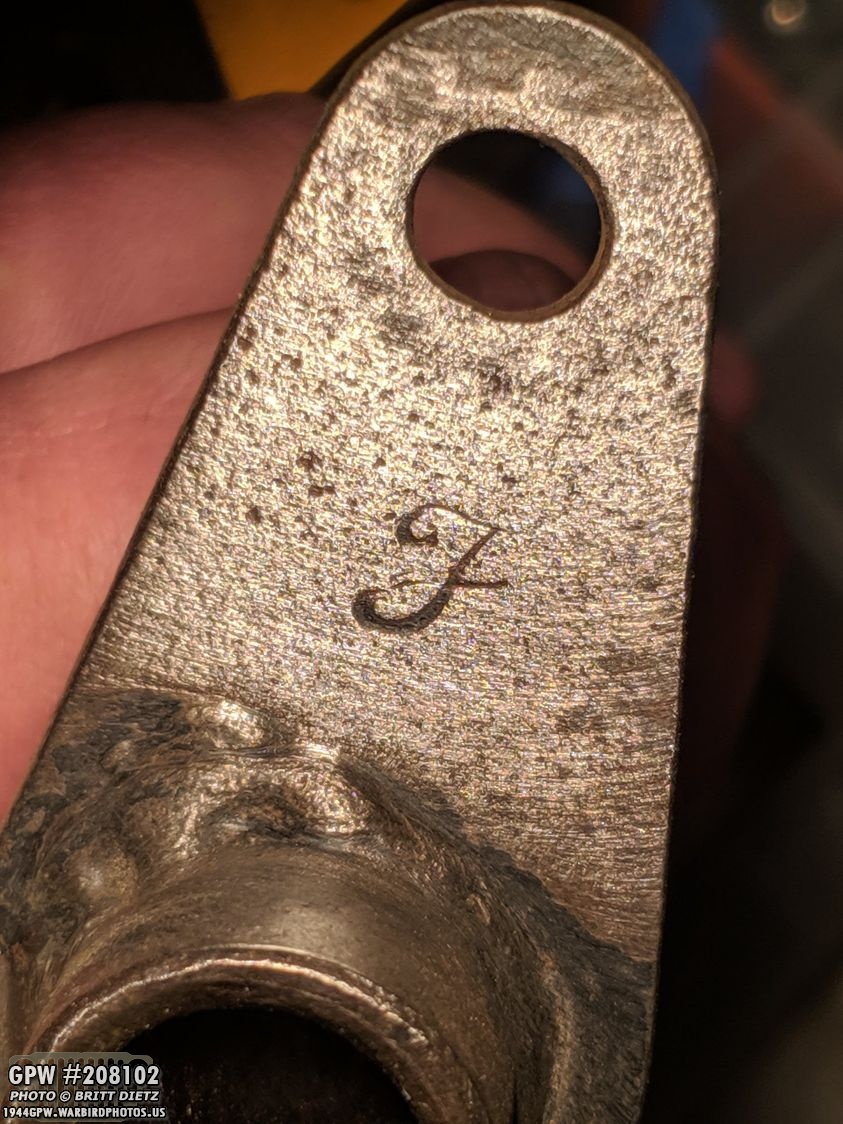
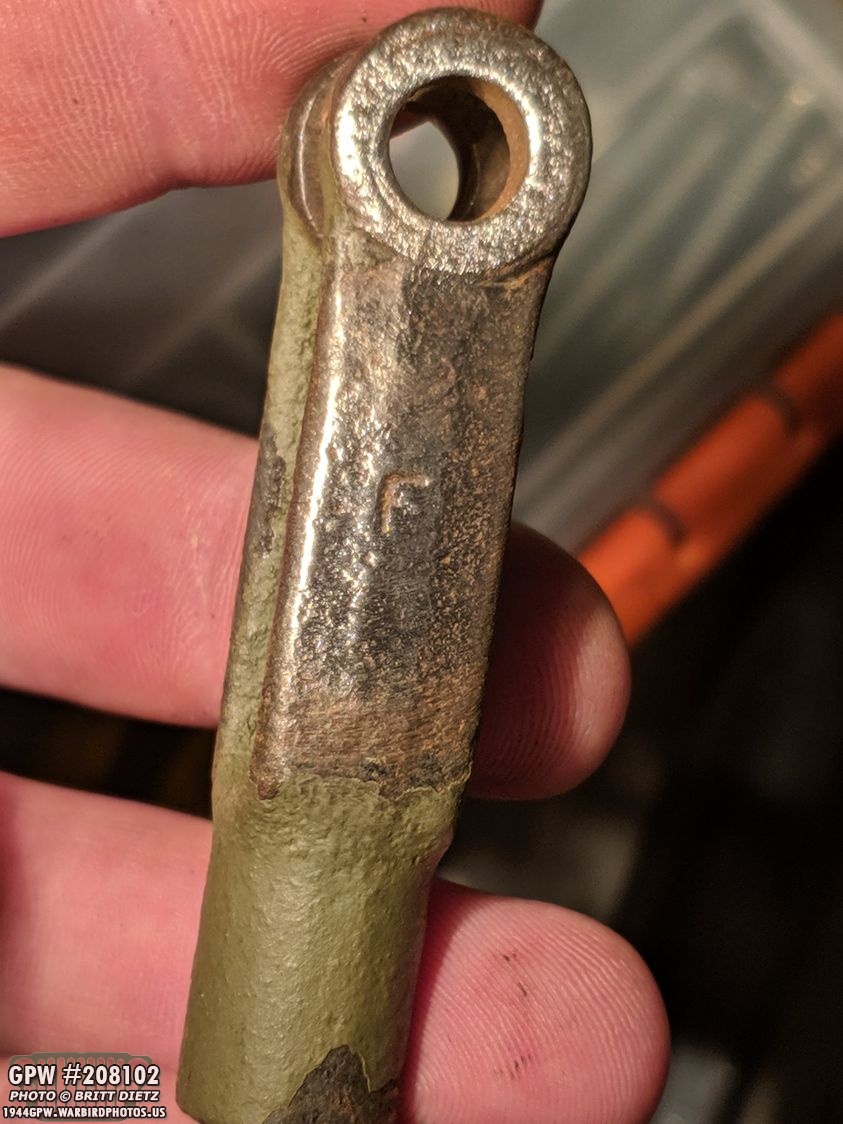
But the cool news is that I’m STILL finding F stamps on things, and it turns out most of my clutch system is original! On the clutch tube, I spotted this F stamp on one of the ears.
After sandblasting and sanding, you can see that f stamp a lot better!
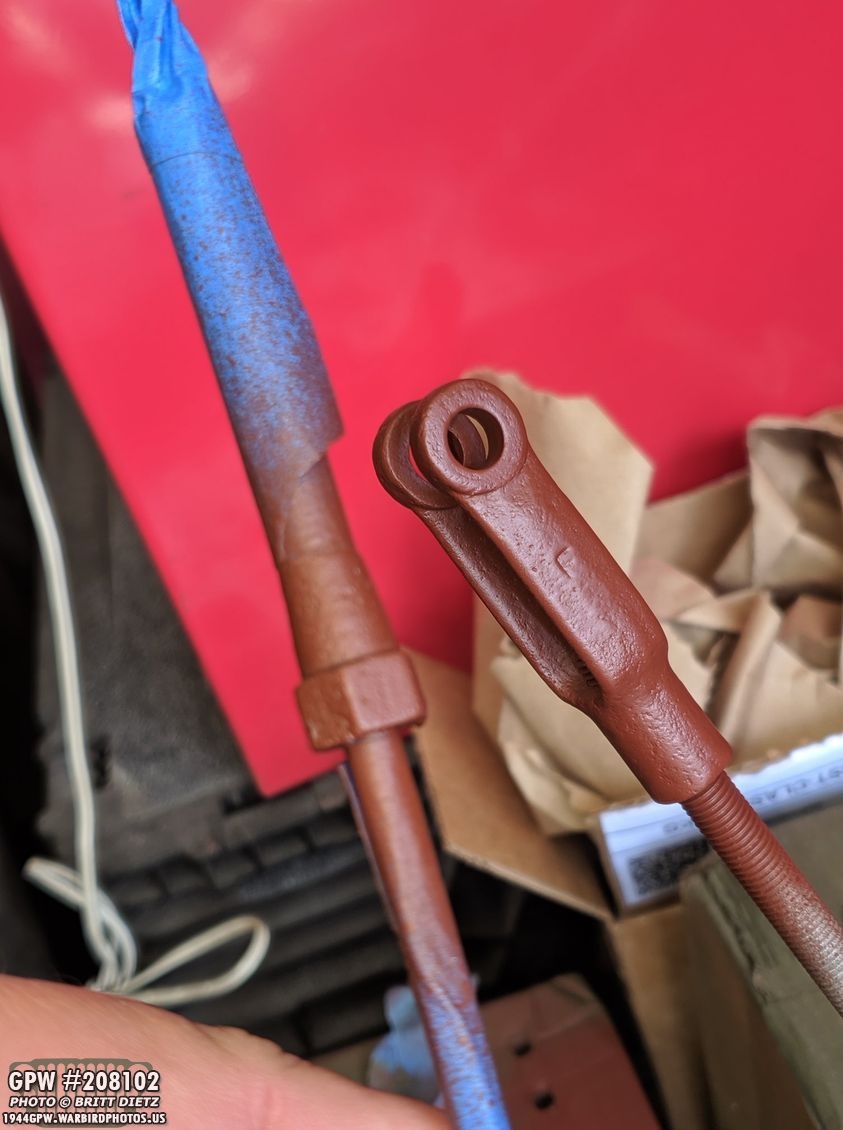
And on the other ear there was another F stamp! Pretty awesome, but the bad news… that hole in the ear has worn and become a bit elongated, so this original part will be replaced. I found a F stamped reproduction Ron Fitzpatrick Jeep Parts, so at least it’ll stay F stamped. I’ll clean up this tube and display it somewhere since it has two really nice F stamps.
The yoke for the clutch control cable has a small non-script F stamp, which is pretty cool. This is in good shape.
And the two bolts that hold the bracket with the ball stud onto the frame have F stamps, they won’t be replaced. One of the bolts has a double stamp as well (left).
Here’s a better look after some sanding of the F stamps on the bolts. The double stamped bolt to the right. I’ll sand blast these, clean it up, re-prime them, and re-paint them.
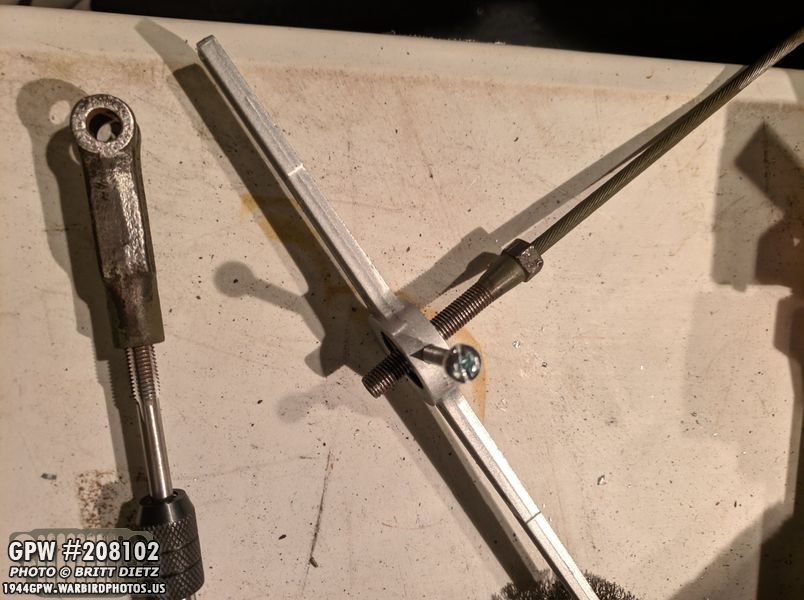
When I was removing the clutch cable, it was quite difficult as the nut and yoke were stuck on the threads. After getting them apart, I used my tap and die set to clean the threads of everything. Now they spin on/off without any resistance!
Here are all the parts, after being sandblasted. I’ll be able to reuse about half of them, the new replacements for the rest will be here Saturday.
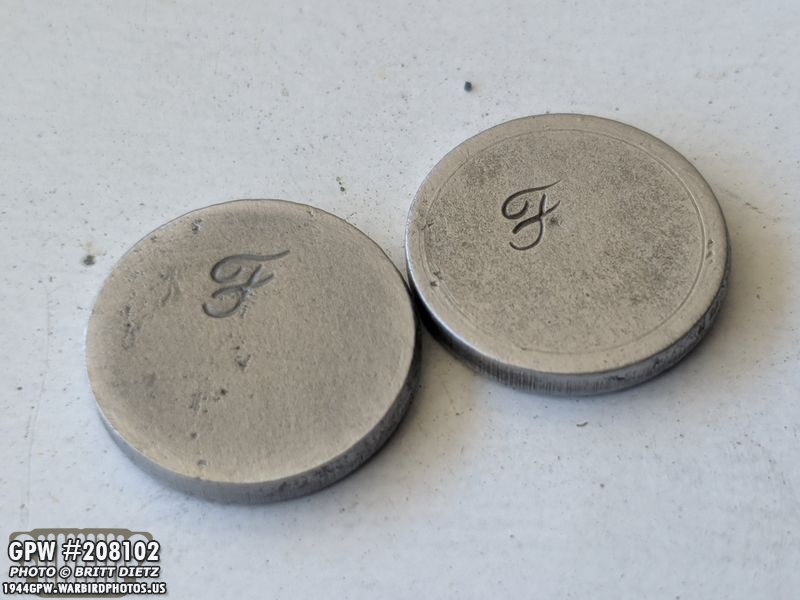
Found two more F stamps on these tiny little discs that were inside the clutch control tube. I’ll be able to reuse these original discs.
Here I’ve primed the clutch cable and the yoke.
And some 33070 OD Green on the yoke, ready to be reinstalled! I’ll be able to install everything once the new replacement items arrive this weekend!
Shifting gears (see what I did there), another item I’ve patiently waited to get arrived this week; the safety straps! These go across the doorways on the driver and passenger sides.
Here they are installed on the Jeep.
They connect on one side through a strap that is on the inside of the body tube. The oversized bolt does through the tub and through the front tow bow bracket in the bottom hole.
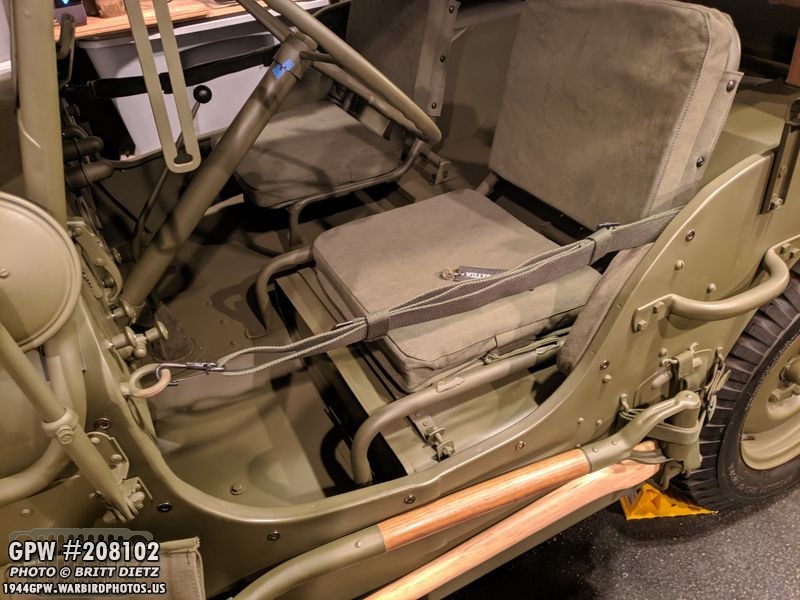
The clip side of the safety straps connect to the eye bolt on the dash. Ford GPW Jeeps had horizontal eye bolts, Willys MB jeeps had verticle. These straps are there to help you from falling out of the Jeep. It also helps to keep people out of the Jeep when out and about.
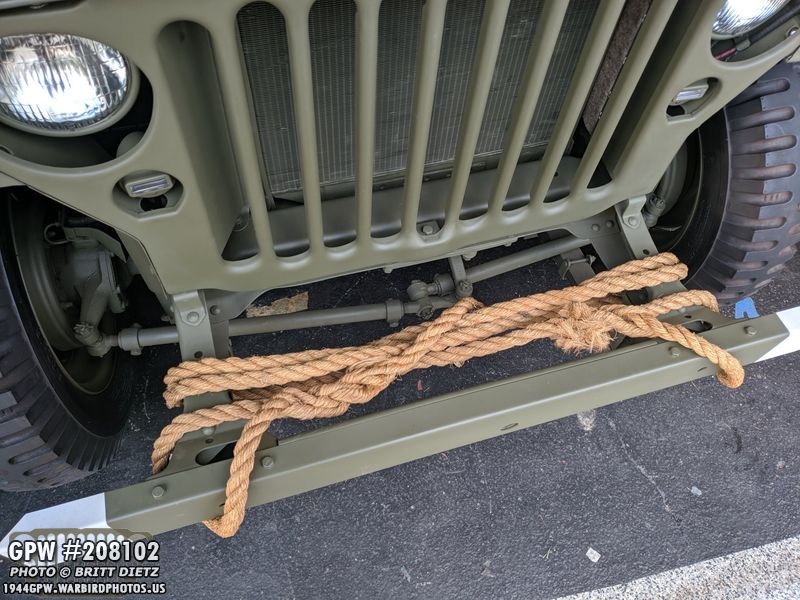
Finally, I went ahead and installed the rope line to the front of the Jeep. There’s been some debate on the correct way to put the rope on Jeeps. The most common way is to have it wrapped around the bumper, but I’ve read some threads that say it should go like this, wrapped around the frame horns. While this way will show more of the markings once I apply them to the bumper (USAAF bumper markings are quite long), I’m not sure if I like this way. I might try the other method and see if I like that better. If you look at the cover photo on this page, you’ll see the other way. That’s it for now, hopefully, next week with the clutch all figured out I can get to driving this Jeep! Till next time!

