 ax Bracket, new Pinup, and more Flea Market Finds
A small update on what’s been going on during this otherwise quiet month of November! I finished the ax bracket project I started in the last update, got a new flea market find, changed out my pinup artwork on the Jeep, took a look at my fender that needs some welding, and more!
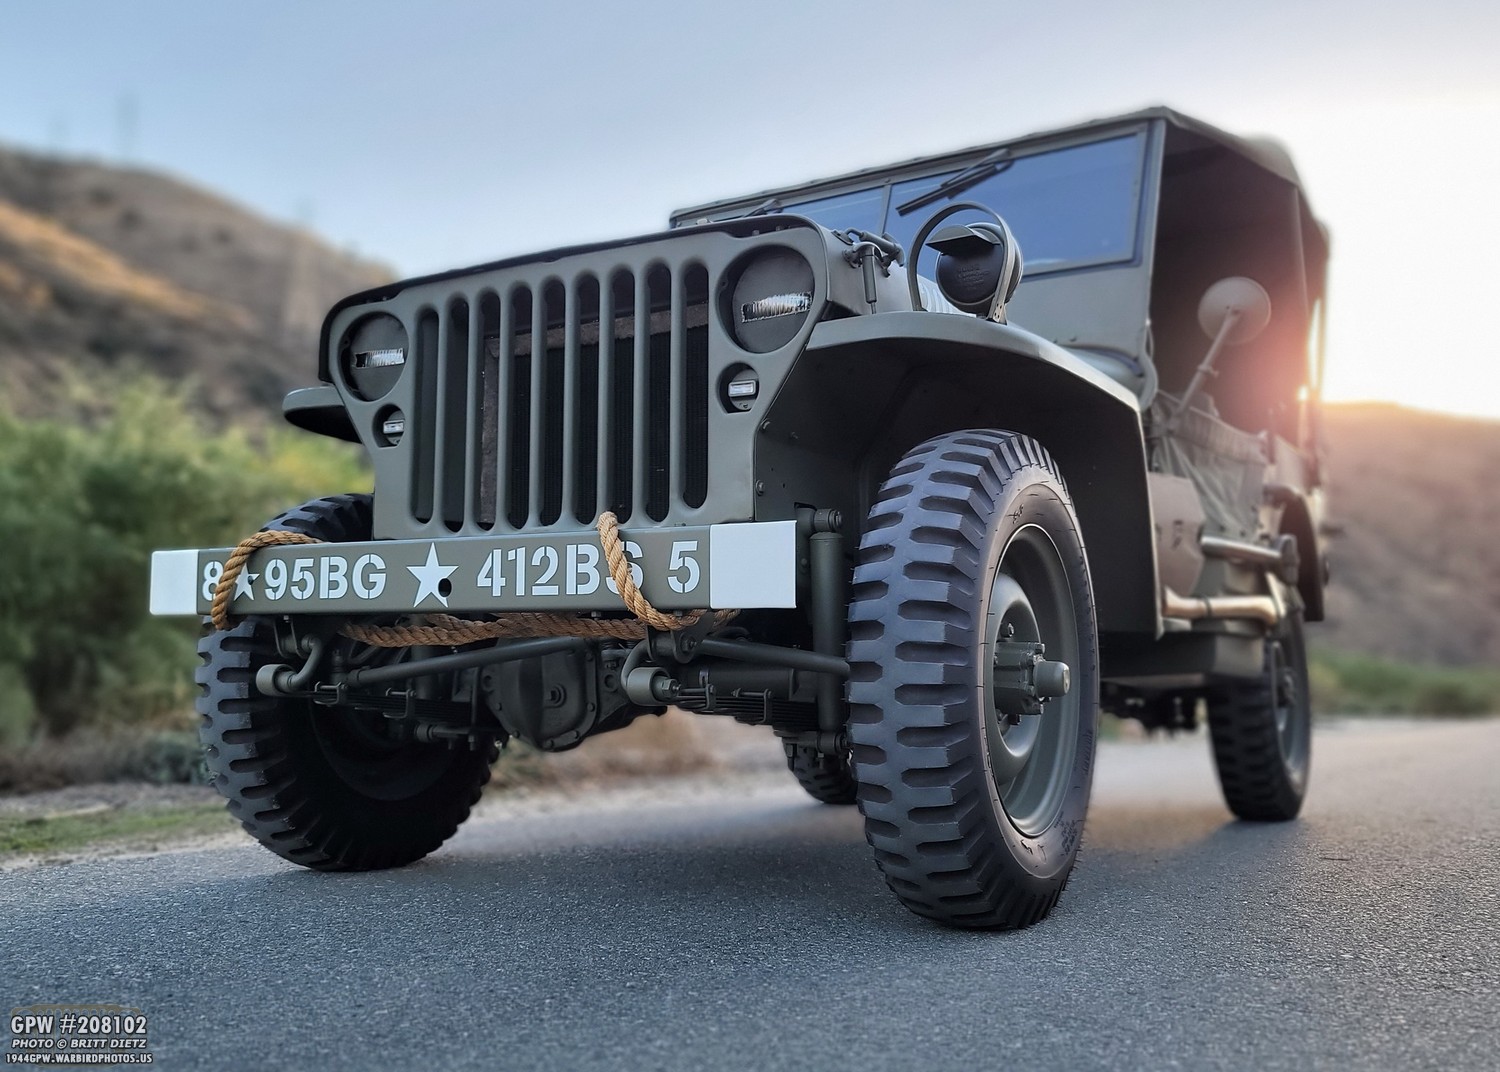
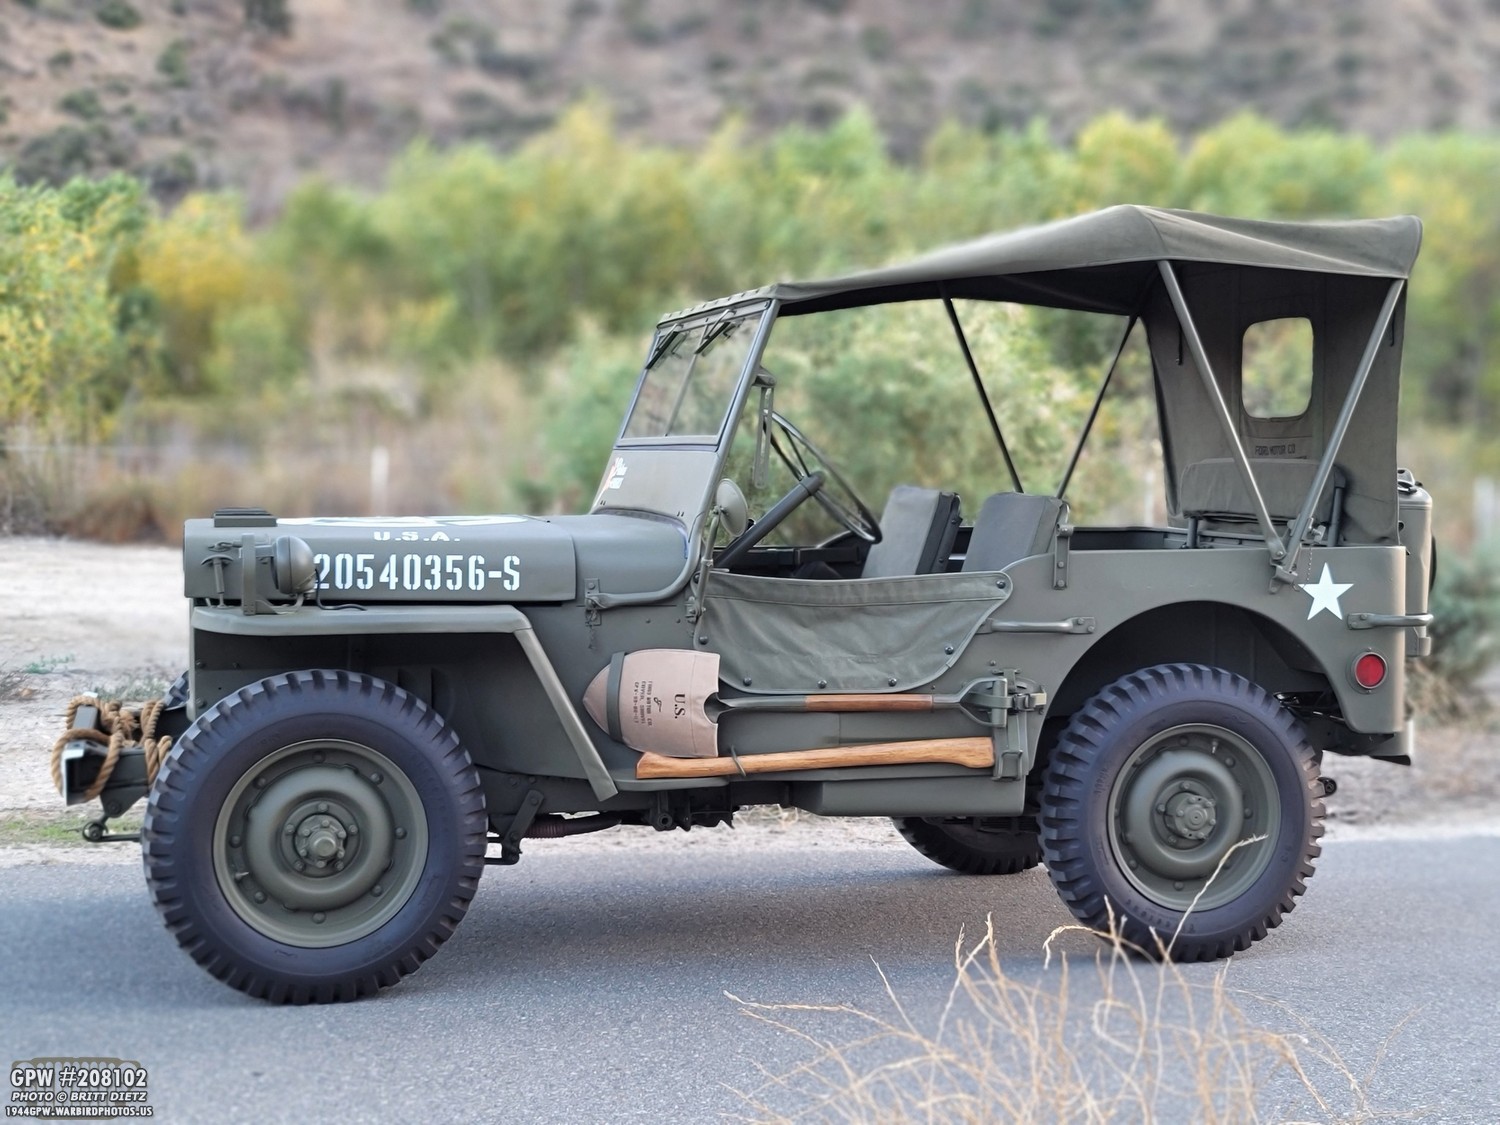
Even though it’s been quiet on this blog lately, I’ve been taking the Jeep out and keeping her active driving around the neighborhood and doing small errands every week to keep the fluids moving. Took her out to the nearby golf course to get some updated photos like this.

The last update, I talked about how I was replacing what I believed to be a post-war ax bracket with an F stamped one. This is the before.

I got ahold of an F stamped one from Ron Fitzpatrick Jeep Parts. After sanding it, priming it with Red Oxide, and then 33070 OD Green.
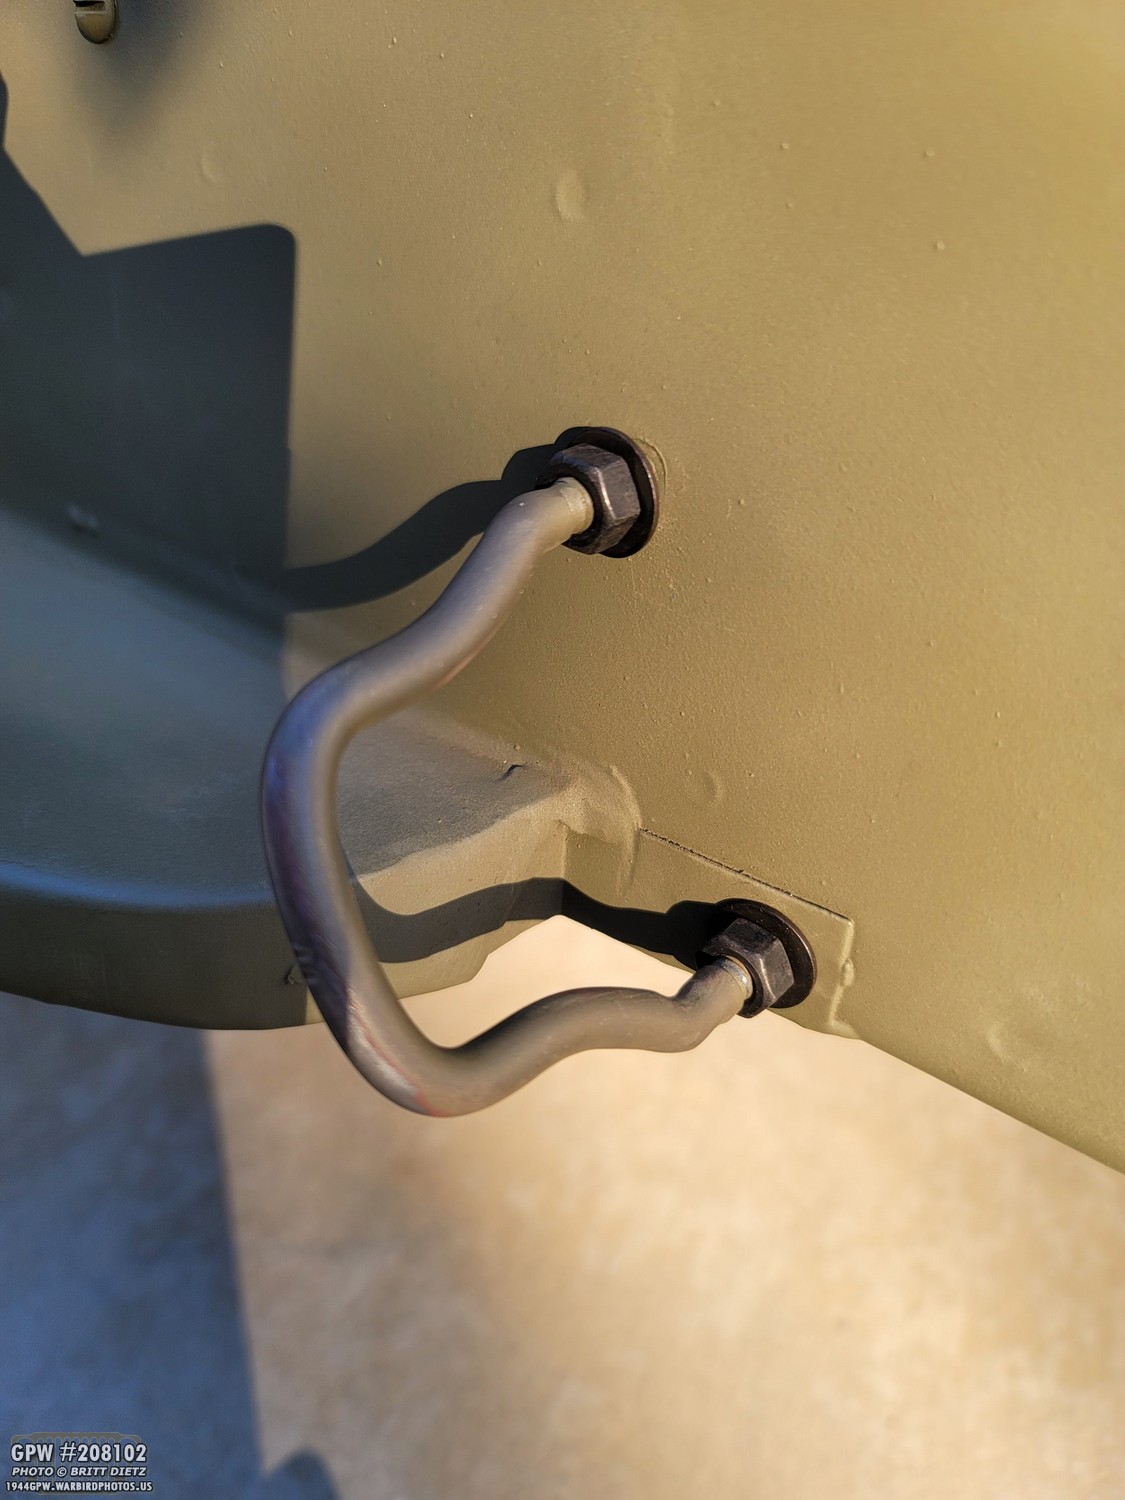
Testing fitting the bracket, it seems to be a perfect fit!

These brackets can be difficult once you put in the ax. It’s always good to test the ax before you paint everything… which I did NOT do.
I managed to get it to work, but it took a bit of bending of the bracket to work with the ax, and it’s still digging a bit into the ax more than I’d like. But it works, and now I have an F stamped one. So win I guess!

A few updates ago, I posted how I’d found a tin Schrader Valve Core kit with the cores and a mini remover that’s post-war. Well, at a recent flea market, I found a correct wartime one that, while missing the cores, had the correct style remover. The top is the post-war, the bottom is the wartime. Let’s compare them…

Here’s a look at the side of the box. The post-war containers are tin metal, the correct wartime ones for a Jeep are cardboard.
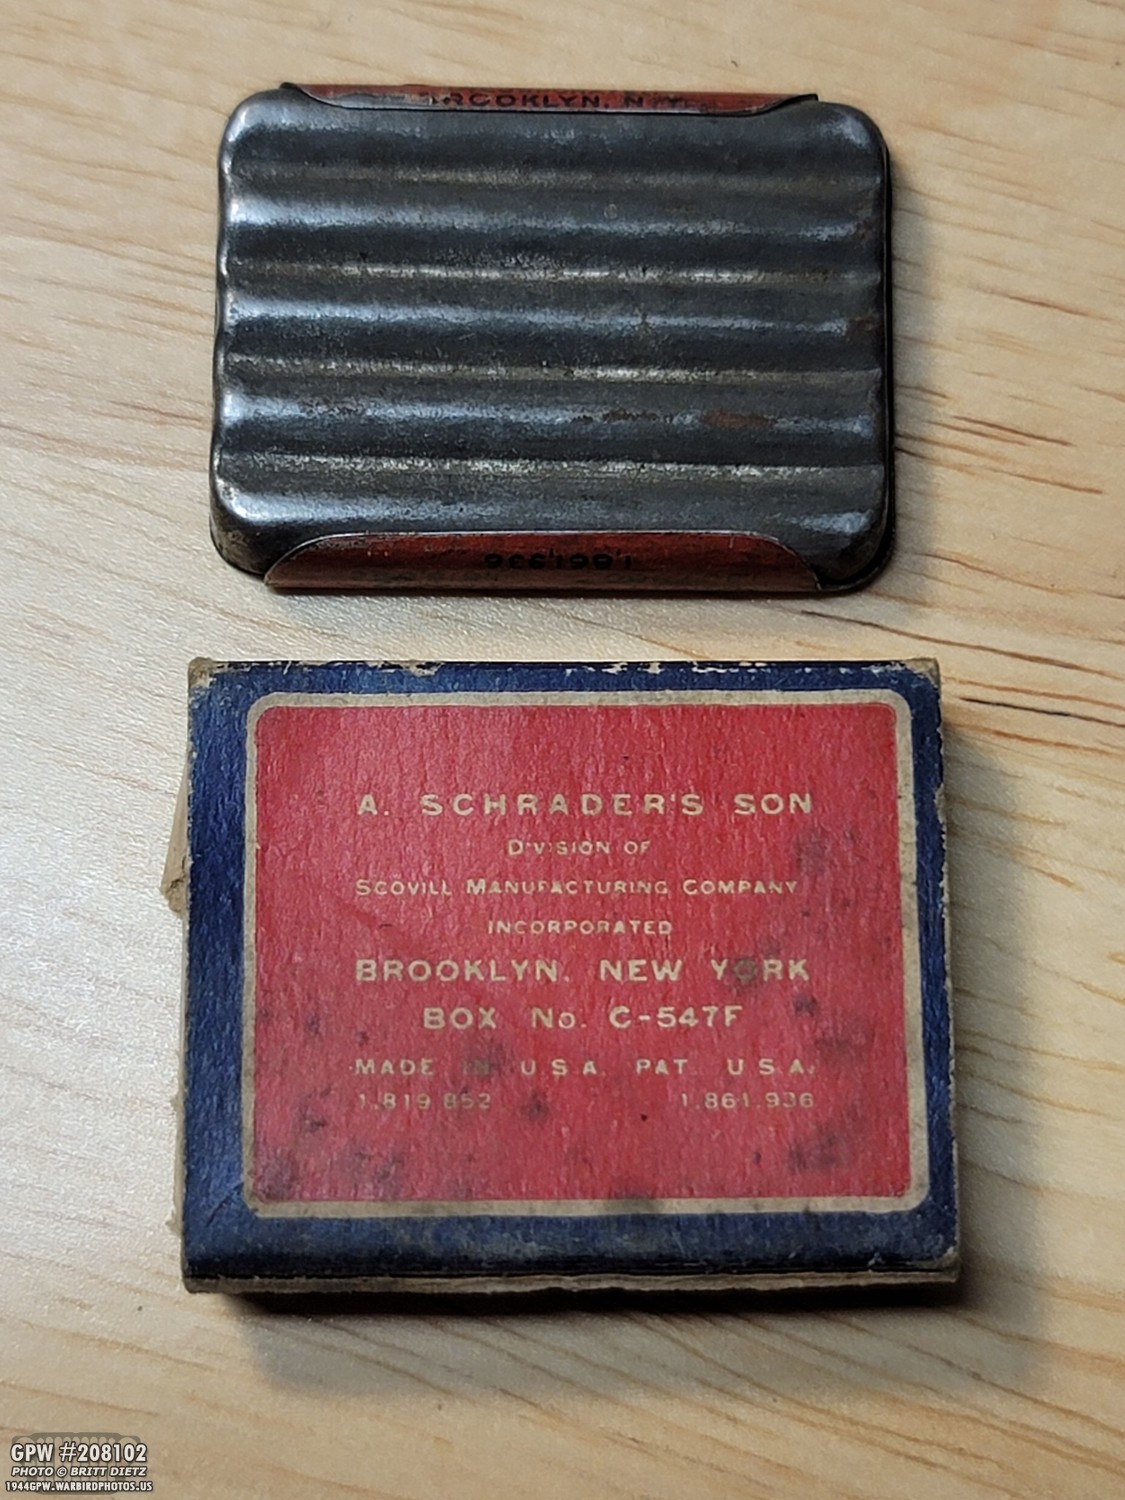
Here’s a comparison between the two on the back.

One quick way to tell post-war vs wartime is the mini remover. On the left is the post-war style, silver colored. The right is the wartime in the gold color.
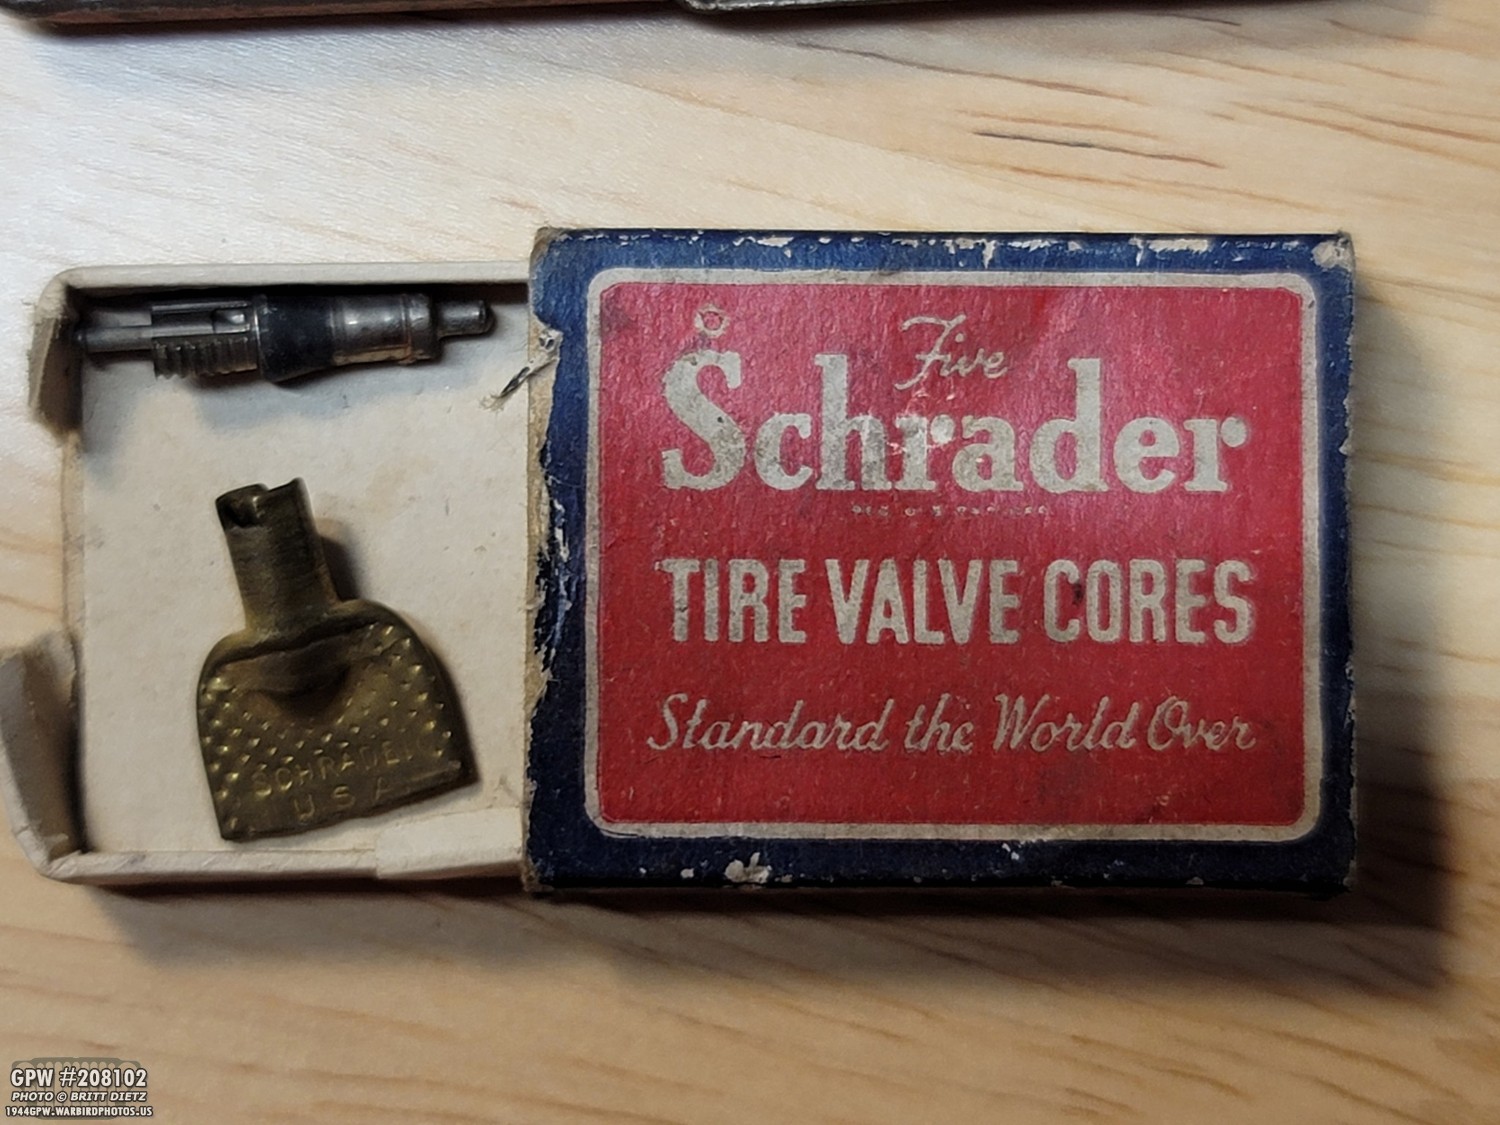
Here’s a close-up of the box cover. ‘Standard the World Over’ is another key clue to the correct style. I’m not too concerned about getting the cores inside, I mainly wanted the box and the remover. I’ll throw this in the spare parts bag in my Jeep. Another item checked off the list!

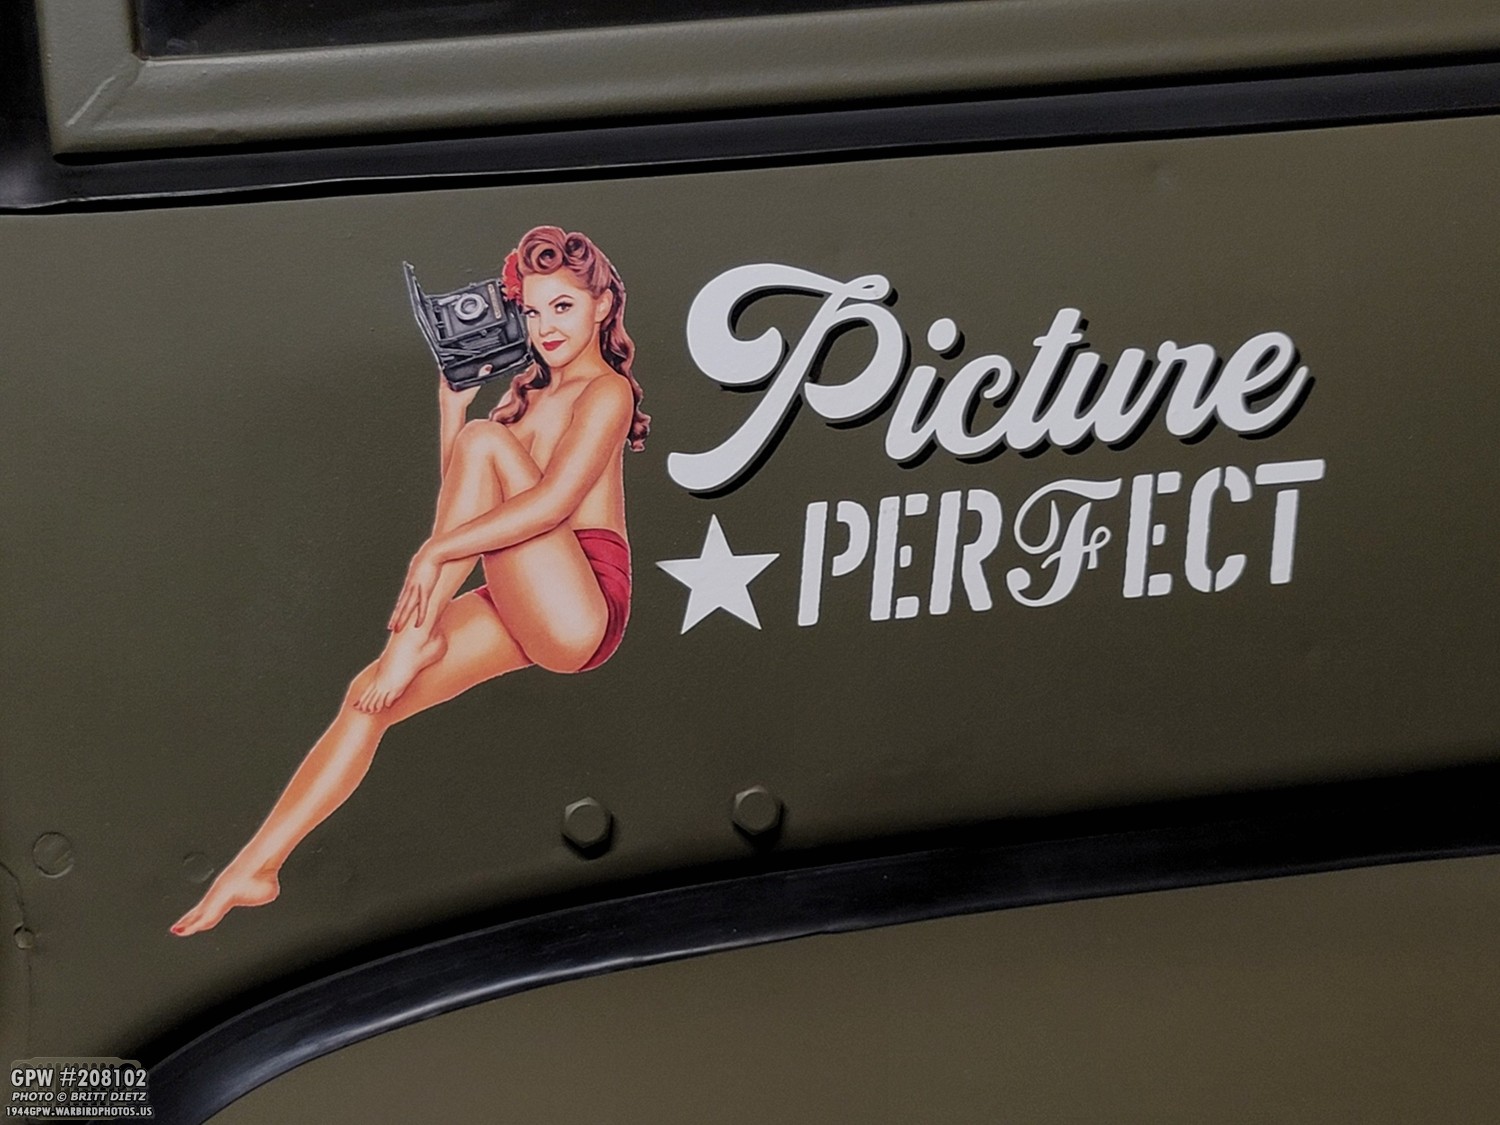
If you’ve followed along this page for a while, you’d known that I chose a pinup to have on the Jeep as ‘nose art’ since the Jeep is in Army Air Force markings. As a pinup photographer, I originally toyed with shooting a model and making a custom pinup, but I discovered this lovely pinup from J. George Janet done in early 1944 (which is time period correct for my 6/26/1944 Jeep) in a magazine called ‘Fun Frolic’ from winter 1944.
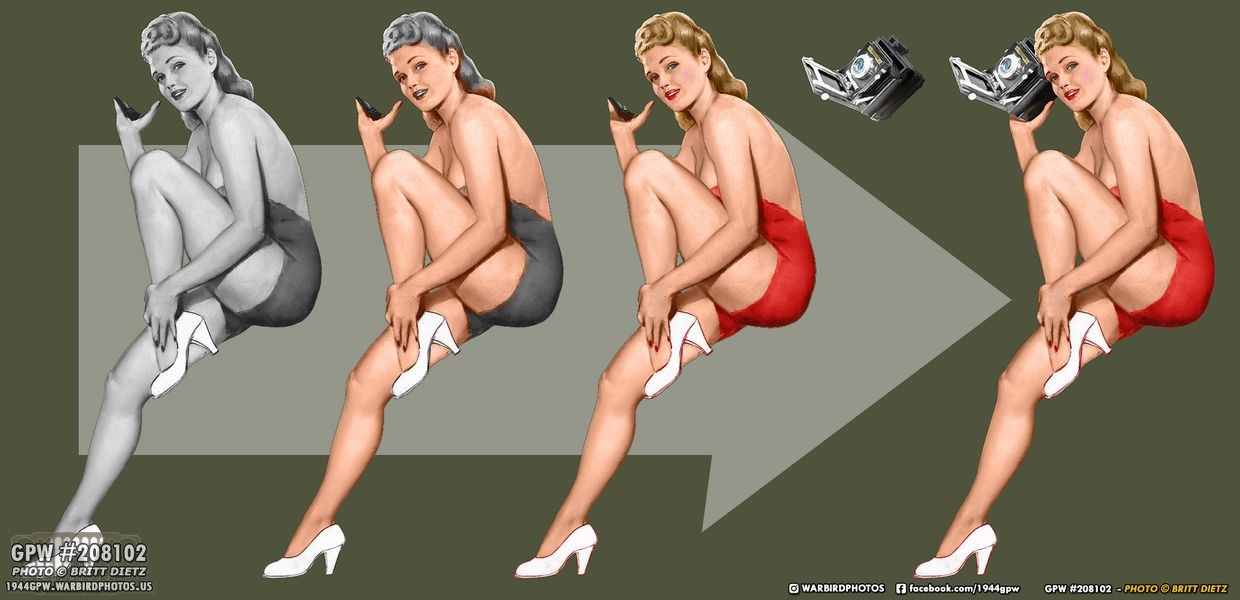
After colorizing the pinup, I traded the handheld radio for a Speed Graphic camera to make her more in line with the fact that I’m a photographer.

I then used my Cricut machine and vinyl sticker paper to make the pinup for the Jeep. I’ve had that on my windshield for about a year now!

Flash forward to a year and 5 days after I first put it on my Jeep, I had a pinup shoot with a wonderful model/friend of mine Kayla. I asked her if she’d be up for recreating the pinup in the studio and I’d be converting her to be the new pinup. Here’s the raw shot recreating it the best we could. I used my 1939 Speed Graphic and got Kayla to pose the same way.

Using my special conversion techniques to turn photos into 1940s looking artwork, I ended up with this. (Shameless promotion for my pinups at https://instagram.com/vintagepinups)

I then made a few different prints of the finished pinup to figure out the right size compared with the artwork pinup.
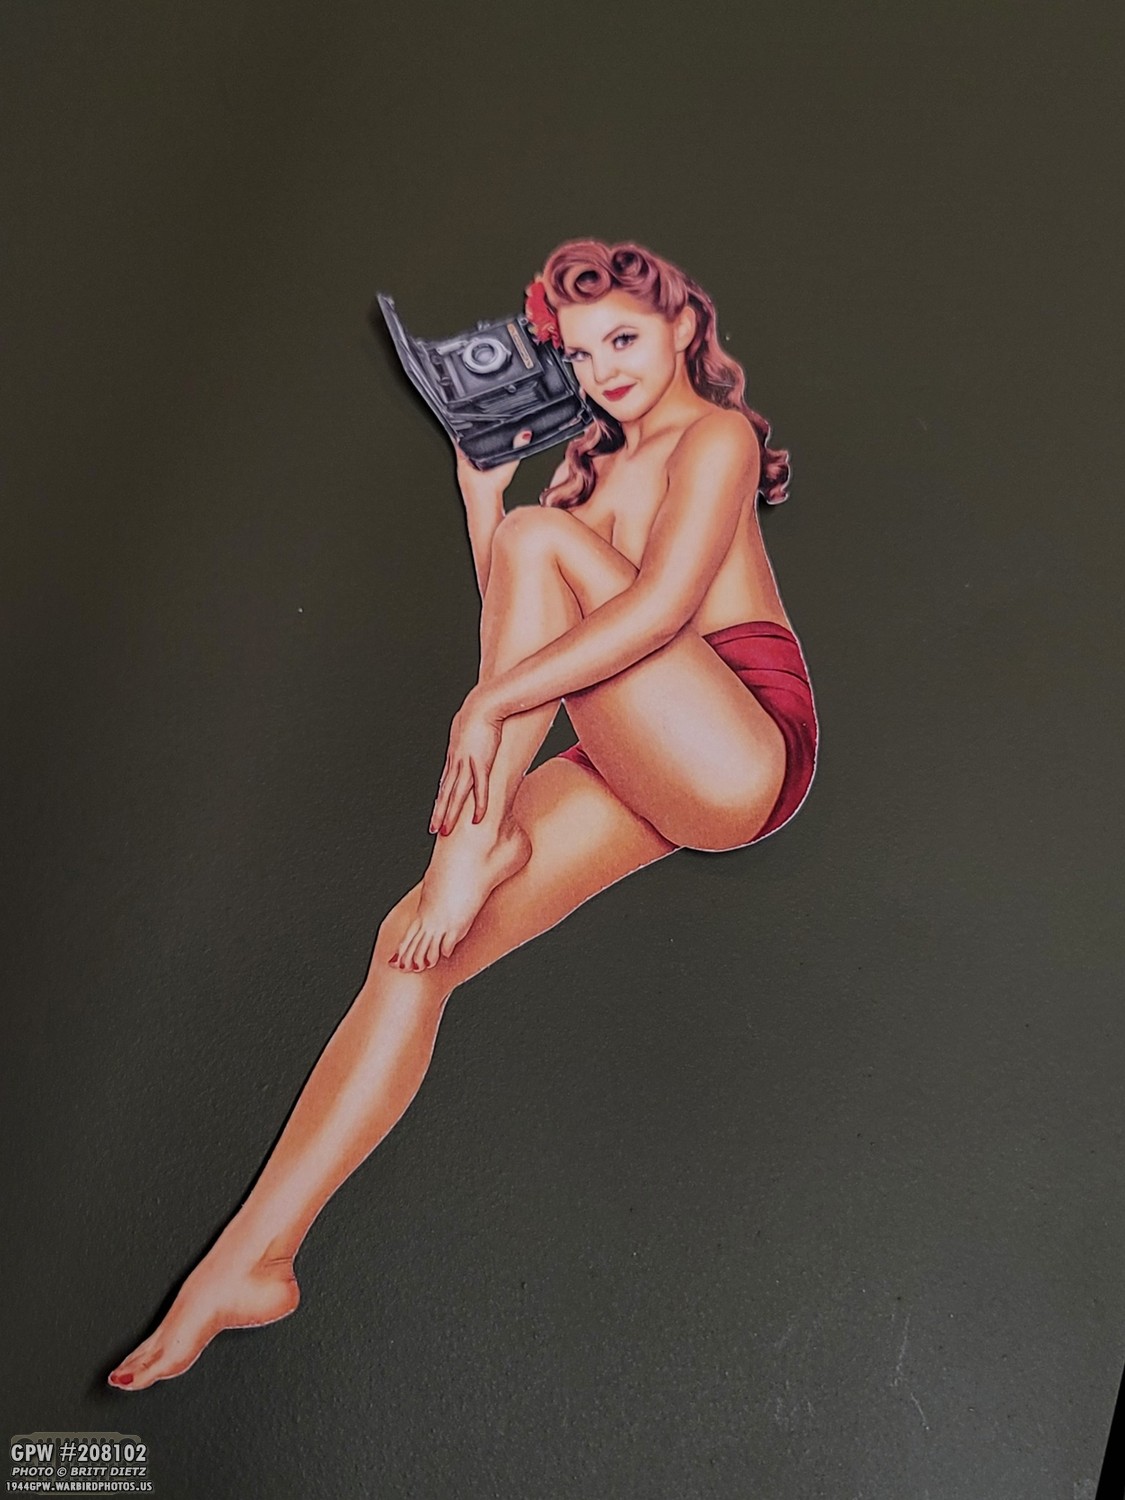
After getting the size correct, I made a final cut. Not sure I like how the Cricut cut it this time, so I might end up doing it again.

I carefully peeled off the first pinup (which I can reapply if I decide to go back)

And here’s how it turned out! While I loved the 1944 pinup artwork, I wanted something with my own imprint on it, so I’m happy to have a pinup I shot and edited now as my Jeep’s ‘nose art’, and Kayla is now officially a nose art pinup girl!

So with that, I then took the Jeep out to that golf course I mentioned, which is a short drive from the house, to get some newer photos.

It’s always funny to watch the golfers on the golf carts going by do a double-take when they see the Jeep on the small side road.

I’m really hoping that 2022 will bring more events to take the Jeep to. She’s been a bit lonely sitting in the garage and other than the weekly neighborhood trips and the occasional drive to Chino Airport, she doesn’t get out much.

Here’s a look at the new nose art. Works well on the windshield.
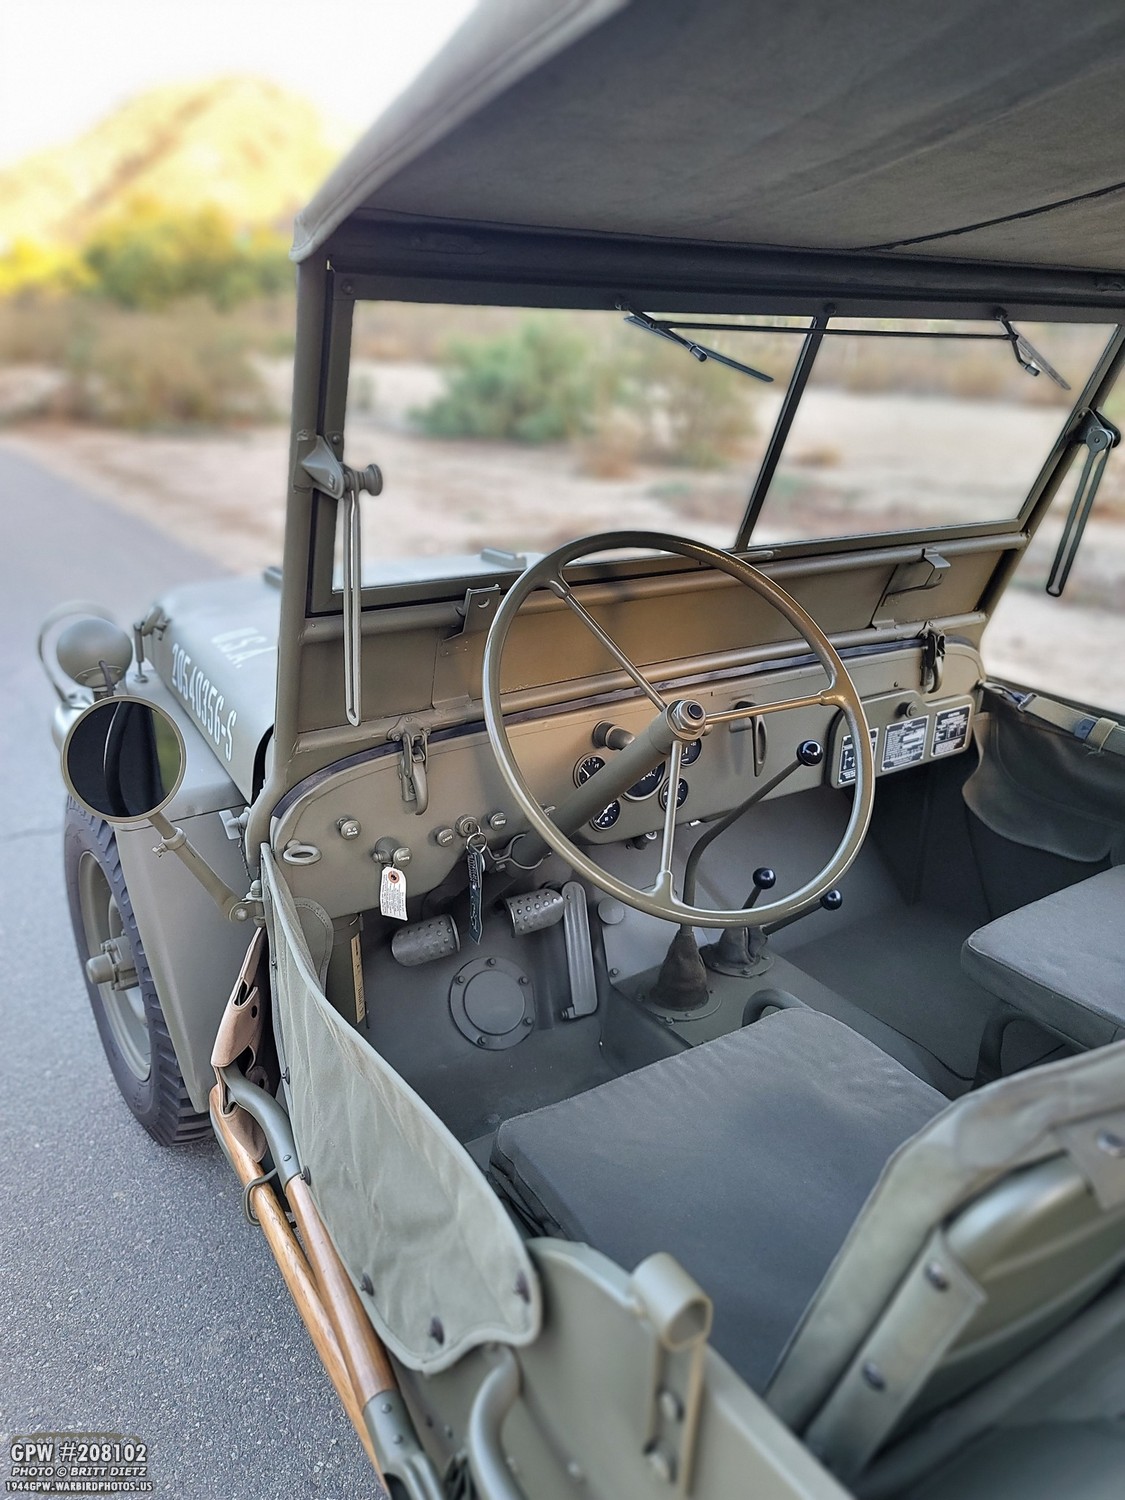
And a look inside the Jeep. I still keep everything clean. Everything has been working great on the dash, the only gauge still giving me some issues is the fuel sender (the most common gauge to have issues).
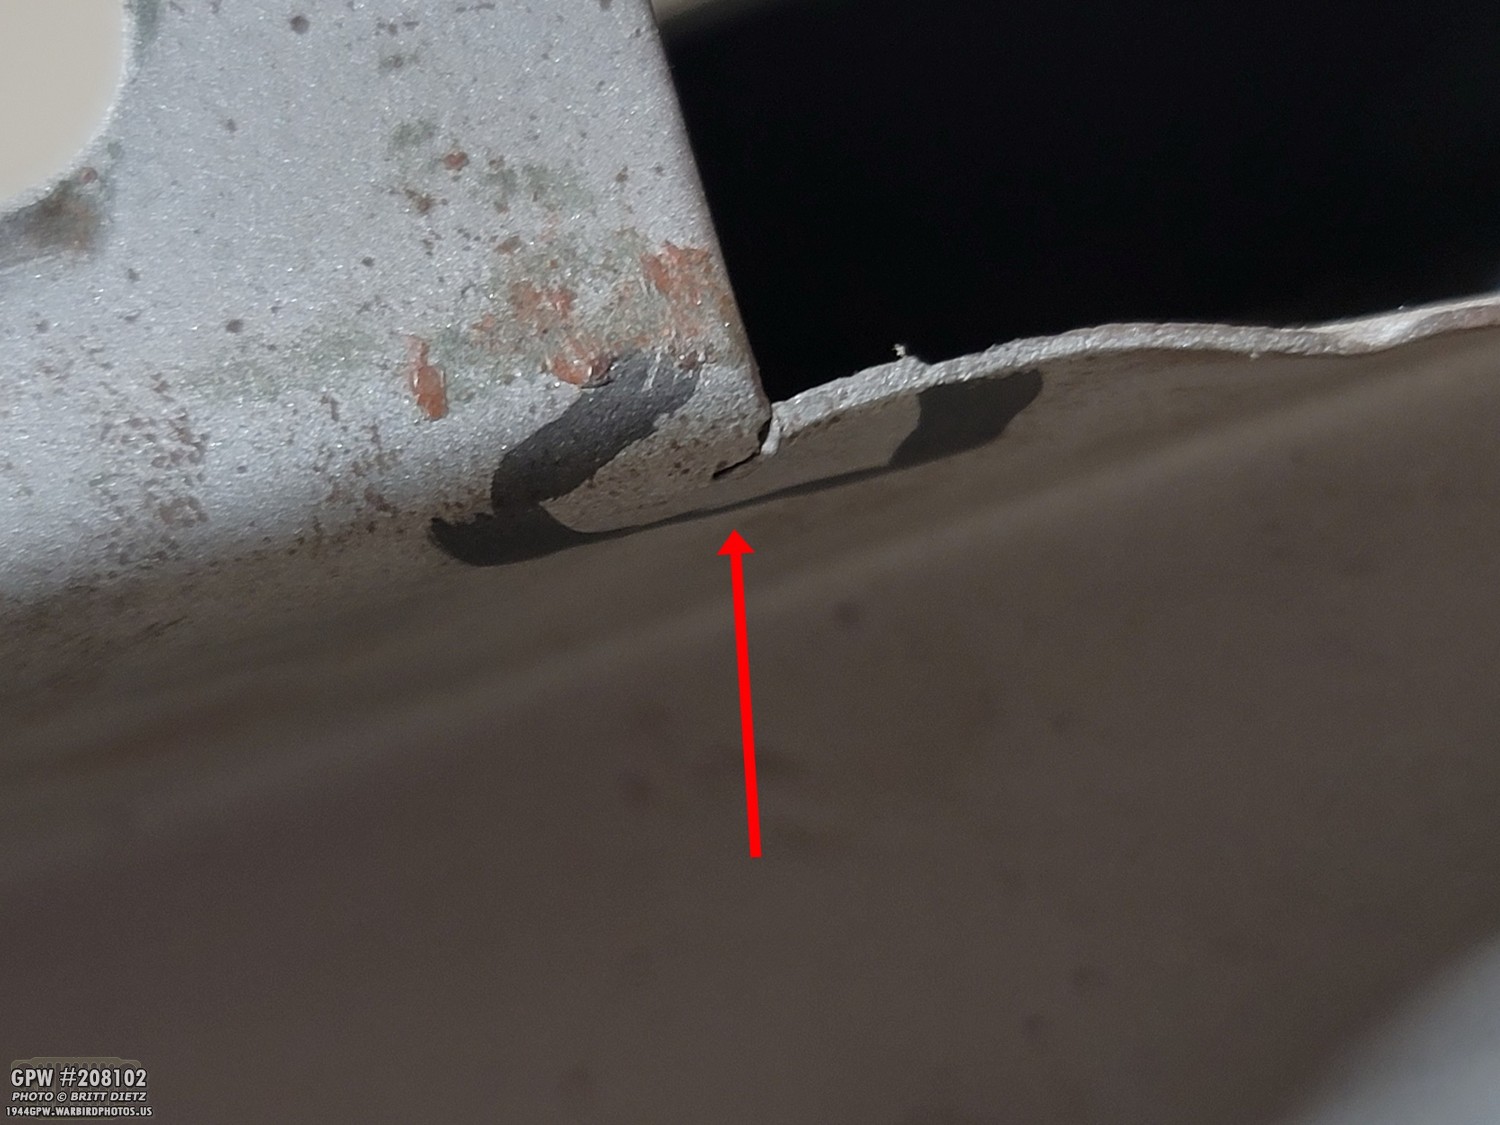
One project I’m looking to get started on is repairing my original right fender. I have a repro on the Jeep at the moment as the right fender needs a lot of welding work and cancerous rust removal. So I decided to take a look at the fender now that I’ve had more welding practice. So here’s a look at what all needs to be fixed. There’s a few small cracks like this. Easy fixes.

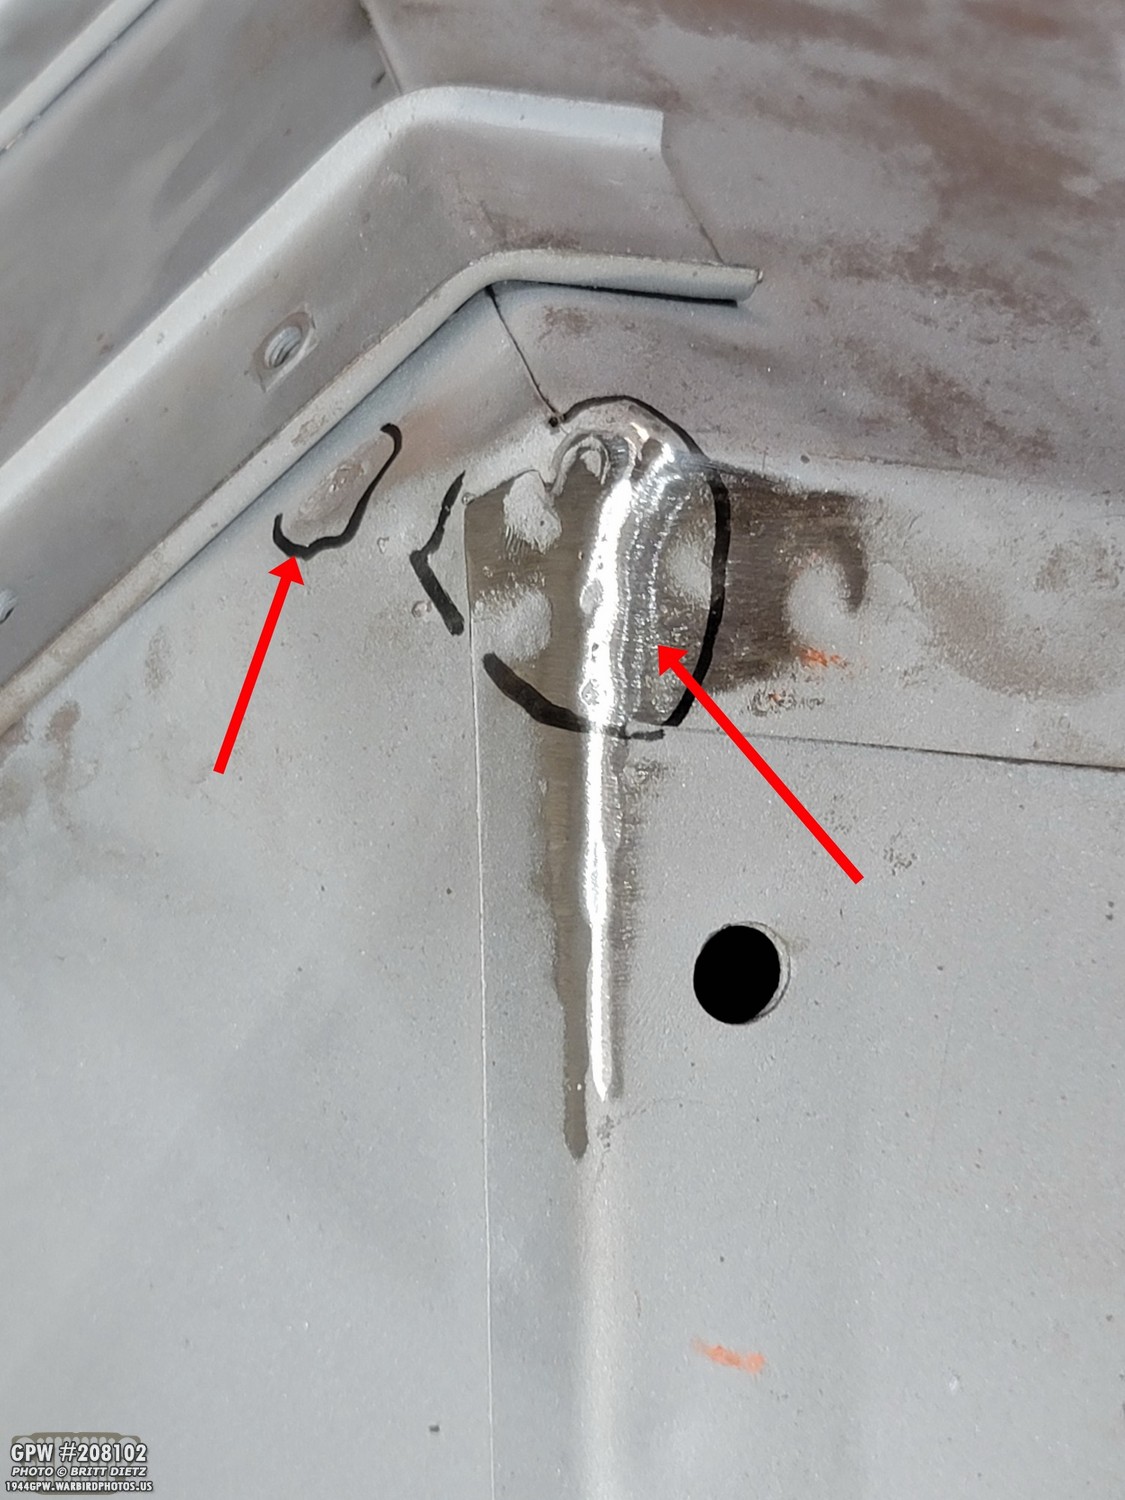
On the support brace, there’s some cracking. Should be a pretty easy fix as well. though I’m a little worried about the welder blowing out the metal here.
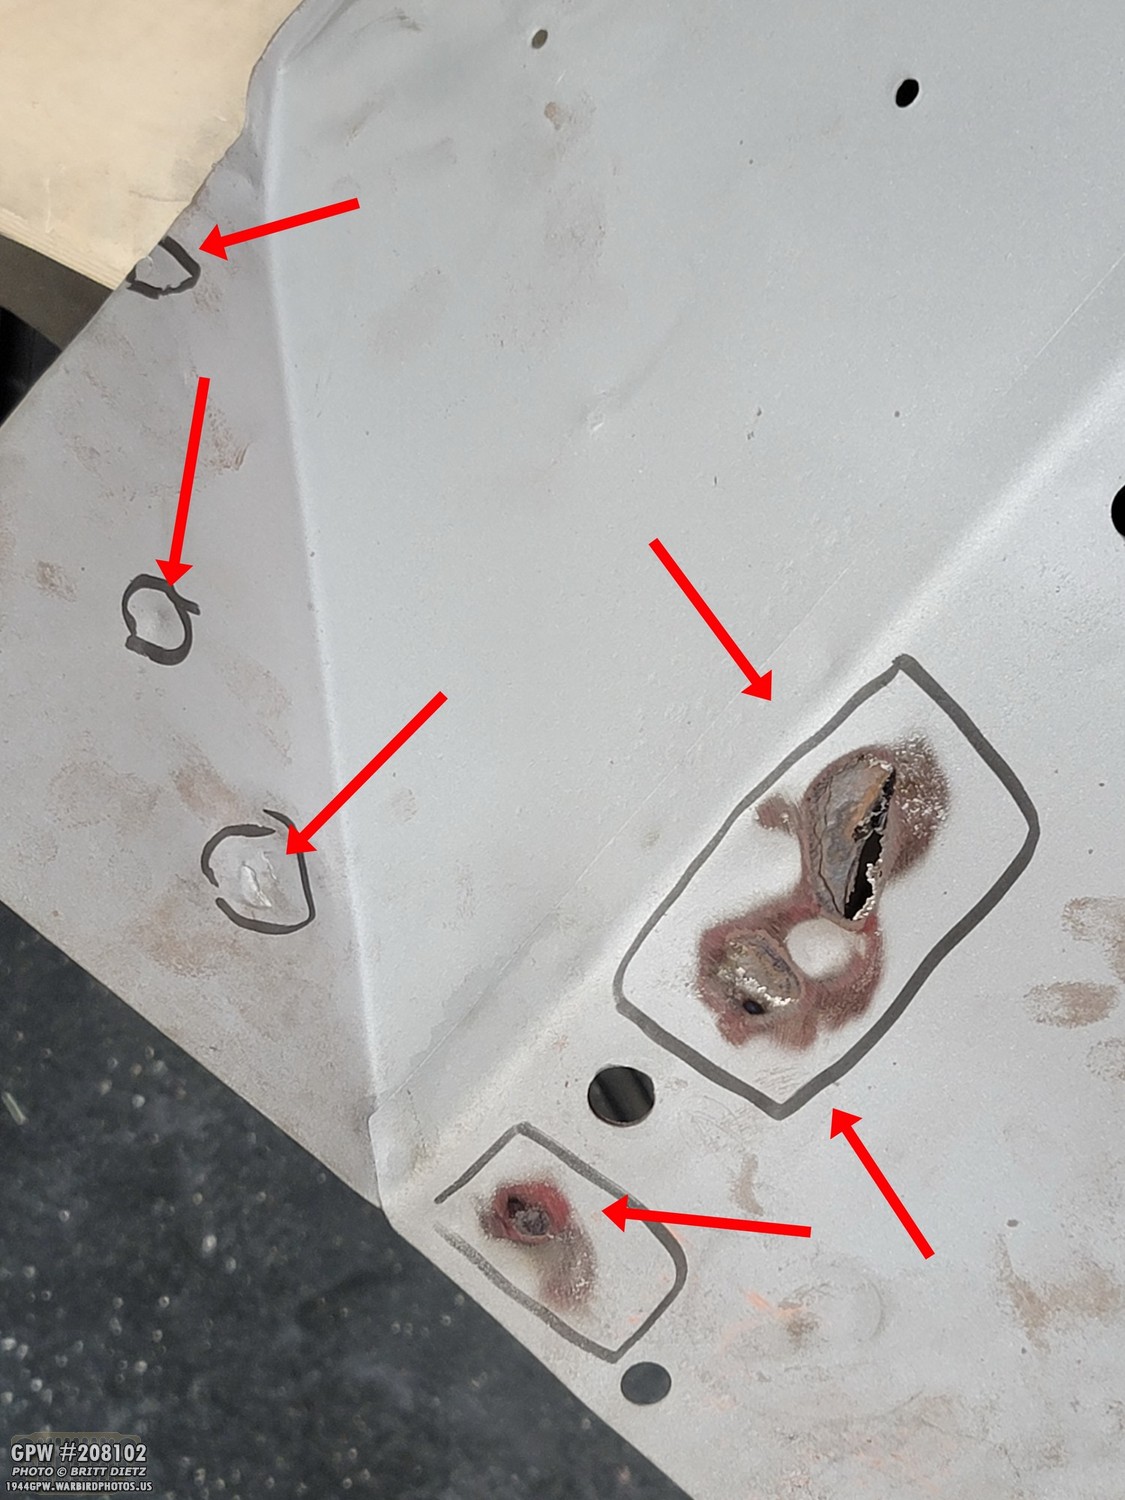
The corner of the fender has some issues, but most of these are either small pin holes or can be smoothed out with bondo.

Here’s where the bulk of the biggest issues are. As you can see on the left, there’s some serious cancerous rust where the body tub and the fender connect. I will have to cut the bulk of that out and reweld new pieces of metal back on with the holes redrilled. Between the overlapping pieces of metal is the cancerous rust that cannot be welded and must be removed. On the right, the battery hold down strap bolt will need to be welded on so the stud sticks up through that hole. The original bolt was broken, so I removed the welded head. Pretty simple weld. And on the bottom is the other side of that small crack.
Looking on the other side of the fender, There’s a mix of small cracks on the left and some imperfections that will just need some Bondo. But on the right, you can see the other side of the cancerous rust that has eaten through. I will have to remove a few sections of this metal as well and weld new metal back in. So that’s the plan for this. I hope to begin this process this month, and the goal is to have it ready for painting by New Years.

Other than that, the Jeep is running well. The mysterious ‘clackity’ noise is still there from the rear axle, but at the overwhelming advice of LOTS of Jeep friends/experts, I’m just driving the Jeep and ignoring it. Now that it’s slowly starting to cool down here in SoCal, the cooler weather means the Jeep isn’t overheating as it was during the 105 days just a few months ago. But I still do plan, sometime in 2022, to take the radiator to a specialty place and have them completely rebuild it.

One note I wanted to mention, I wrote my second article for the Military Vehicles Magazine! It’s a step-by-step process of how to install combat rims and tires. It should be out in the February issue. It’s fun writing these articles, and I plan on writing a lot more throughout next year for the magazine!

So that’s it for this week! Once I start to get into the down and dirty with the fender, I’ll be posting a bit more regularly as I go through the whole welding/painting/installing. It’ll be great to have that original fender back on. Then there will only be one last body item that’s still repro, which I hope to start work on next year as well.
That’s it for now, till the next update!