 Back on wheels again and the crate is here!
Some big updates since last week… the Jeep is back on wheels again! More painting was done during one day of dry (but windy) weather, and the biggest update… the reproduction body tub kit has arrived!
The repro body kit is here! More on that in a few photos…

After several long months, the windshield is 99% finished! Everything is put together… inner windshield installed, all weather seals added, windshield wipers installed, etc. Just a touch up or two of paint and I’ll get some nice finished photos of it!

Since I took off the steering box from the frame, I took this time with it gone to clean up the dirt and grime that was under where it mounted. I sanded what I could and hit it with red oxide primer since some metal was exposed after wire wheeling.
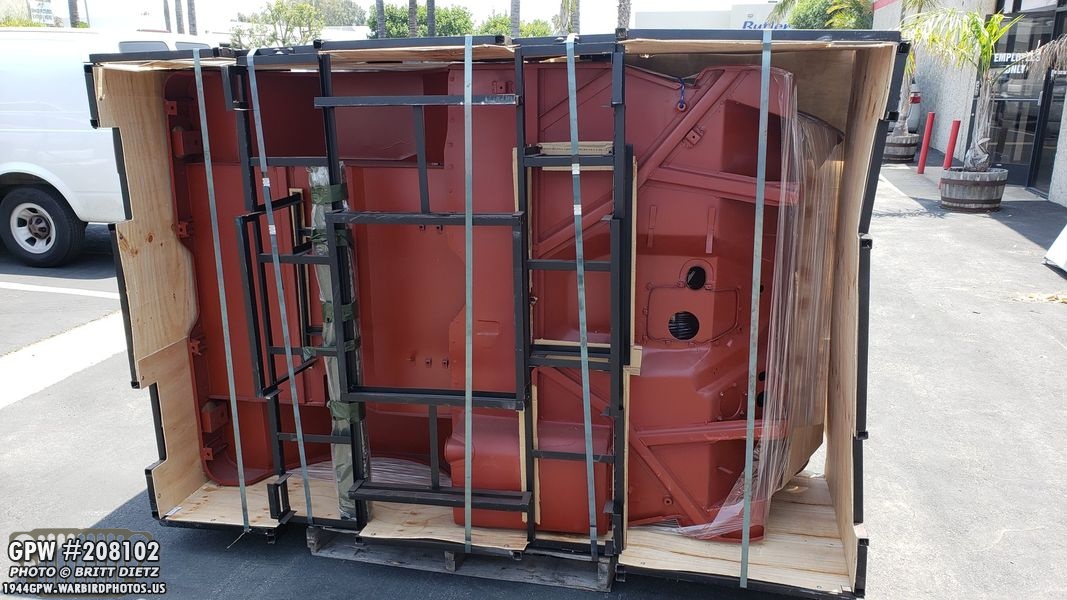
I finally found a cotter pin that worked great for the headlight hold down bolt on the driver’s fender. Here it is installed inside. Next photo shows this a little zoomed out after painting…

Here’s the entire bolt on the fender bracket. It was touched up with OD Green paint and all done!

Now for the big moment, on a sunny day I was able to pull out the frame and lift it up with the engine hoist to put the wheels back on!

Rear wheels installed! I will need to torque and repaint the inner rims and lug nuts because the tire iron will mess up the primer paint. This is why I didn’t paint the nuts OD Green beforehand.

Torqued and painted for the front tires!

Rear tire rims and nuts touched up with paint! You might be thinking: why does the inner hub look like it wasn’t wire wheeled? It wasn’t. Since I’ll eventually change the axles out for wartime ones, I did only minimal work to make them look nice with a new paint job.

All 4 tires installed! It was getting windy, so I had to construct the canopy again to block the wind. The masking tape is going to stay on the tires until I’m sure all the painting is done, then I’ll remove it and add armorall tire foam spray to the rubber.
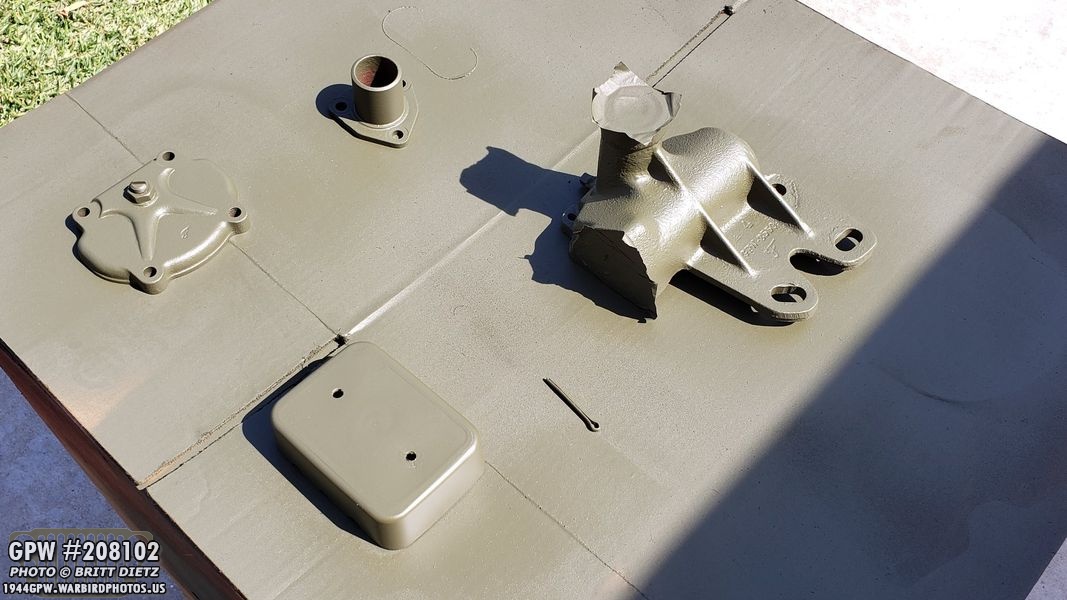
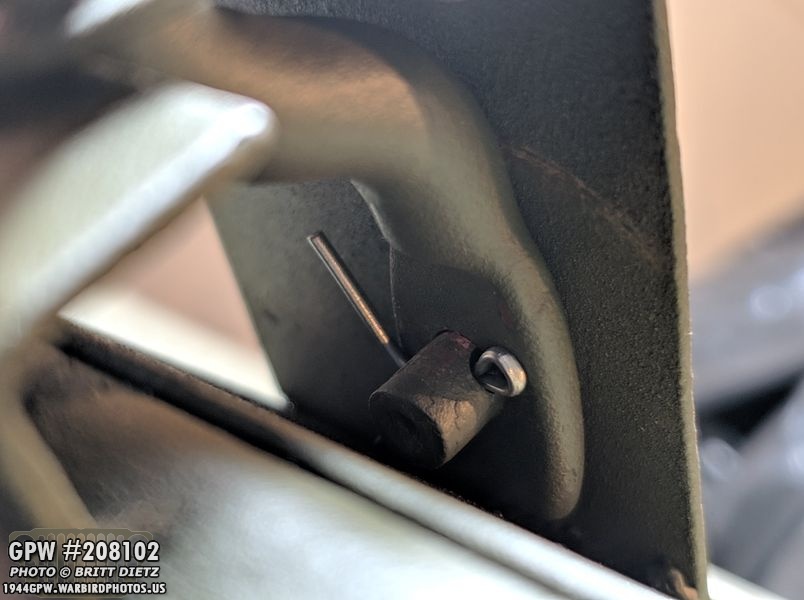
The sunny, but windy, weather allowed me to get some other things painted. Here’s parts from the steering box getting some OD Green paint, a cotter pin for the steering arm, and my home-made filterette (more on that later)
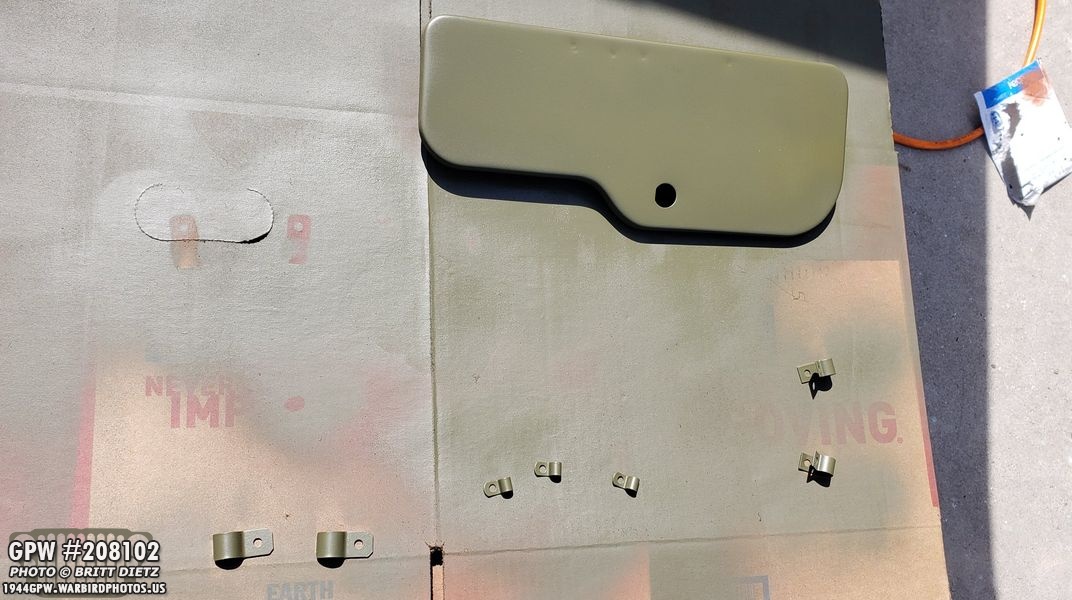
I also hit the new glove box door with one more coat of paint and painted all the grill wiring harness clips.

And after letting the red oxide primer dry for a few hours, I put some OD green on the frame where the steering box was.

More washers, bolts, nuts, ext getting some primer in prep for putting the steering box back together.

Knowing that the body kit was on it’s way to California, I realized I’d need to clean out the garage and make room for a second body tub, fenders, hood, grill, windshield, etc etc. So I removed everything out of the garage and repositioned it all to make a lot of room. While doing that, I decided to go ahead and hit the original body tub with some rust converting spray in the worst of the rust areas. Eventually, I’ll be restoring this, but for now I’m going to use it as a template to drill the 25+ holes on the new body tub. Then down the road in a year or two I’ll get this sandblasted and start the long process of replacing the rusted metal.

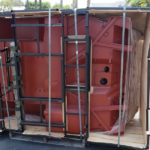
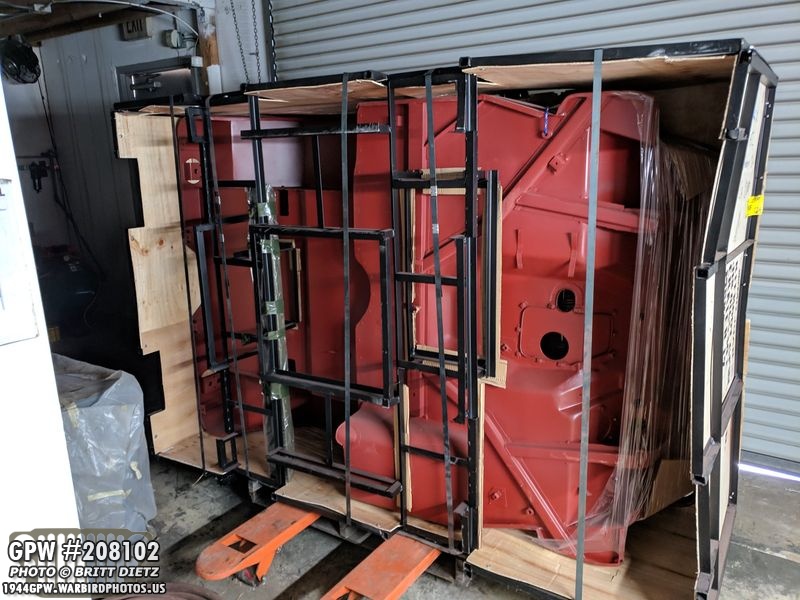
And speaking of Body tubs, it arrived on Tuesday (with very little warning!). I got the kit from @D&L Bensinger Military Vehicle Parts and if you saw last week’s update it was crate #17 as I thought!

I had it delivered to work to save quite a bit of money on shipping costs. From here I’ll have some help to get it home via trailer or truck. Here’s a look at the bottom of the tub. There’s a metal frame constructed around it to protect it. That thing taped with green tape is the GPW front bumper.

Here’s a close up look at the front bottom end of the tub… compare that to the same area on the original tub in the next shot…

The original tub front bottom area.

Overall, comparing the two (which I’ll do side by side comparison shots of all sides once I get it home and on dollies) it’s really really close. I like that MD Juan gives you extra options with things like wiring clips so you can choose which ones are correct for your jeep and just grind off those that are for other versions.

A look at the back passenger wheel well. Little dusty, but can’t wait to start working on the tub!
We moved it inside at work because of the coming rain storms. It’s primered already, but there’s some spots where the shipping process scratched it down to the metal, so just to be safe it was better stored indoors till I can get it home.

Aside from the body kit, more goodies arrived this week! A large order from Ron Fitzpatrick Jeep Parts arrived. Clockwise from the large item to the left… Gast Tank anti-squeak pad set, fender anti-squeak pad set, body mount pads, bolts for the front bumper, half door sockets and installer (it was $50 for that small bag!!!), top bow canvas strap kit, fuel tank hold down strap repair kit, new lug nuts to replace some bad ones. reflector hardware kit (and templates to help me drill the holes on the new tub), and in the middle is a new exhaust clamp/strap set since the jeep had incorrect U bolts instead of these type of clamps.

@D&L Bensinger Military Vehicle Parts also sent my 12 volt reproduction Sparton horn for the Jeep! I didn’t think it would arrive for a while, so I was surprised it beat the tub kit crate!

Next project, (this is not my photo), my Jeep was missing this item, a filterette. Jeeps had an issue with causing static and interference with radio signals, so they would try and filter the electrical components as much as they could to stop that. This filterette was attached under the dash on the passenger side. Modern day you don’t need these, but the wiring harnesses you get assume you have one. They cost around $150+ to get new old stock as no one makes reproduction ones since they are not needed (and actually can be bad for the Jeep). So I decided to make my own filterette… to a degree…

I knew that three wires go into the filterette and go back out after being filtered. So my idea I had a few months ago was the make a smaller version that would essentially just be a junction block here I’d continue the wires on. This was my schematic I came up with.

I found a small Tupperware container at the dollar store that I drimmeled smooth and flat. I removed all the raised writing and lips and added two holes at the top that would line up with the junction block.
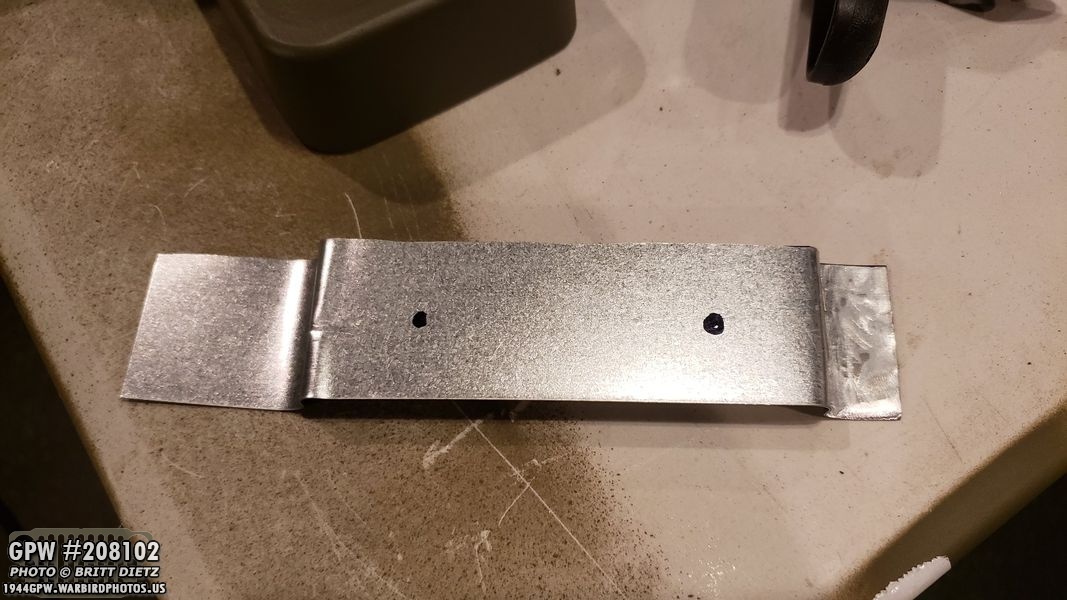
I cut out some thin metal, and bent it to fit inside the container which would be a cover. The junction block would be mounted on top of this (using the two screw holes). The larger tab on the left side would be where it is mounted (via a bolt) to one of the existing filterette captive screw holes on the body tub.

Here’s the 3-port junction block and how it’ll rest on top of the metal bracket. The tupperwear has been primered and painted (and I had a small crack when drilling, but that’ll mostly be hidden).

The junction block has been attached to metal bracket. The screw heads are under the metal bracket and a nut holds down the junction to the bracket.
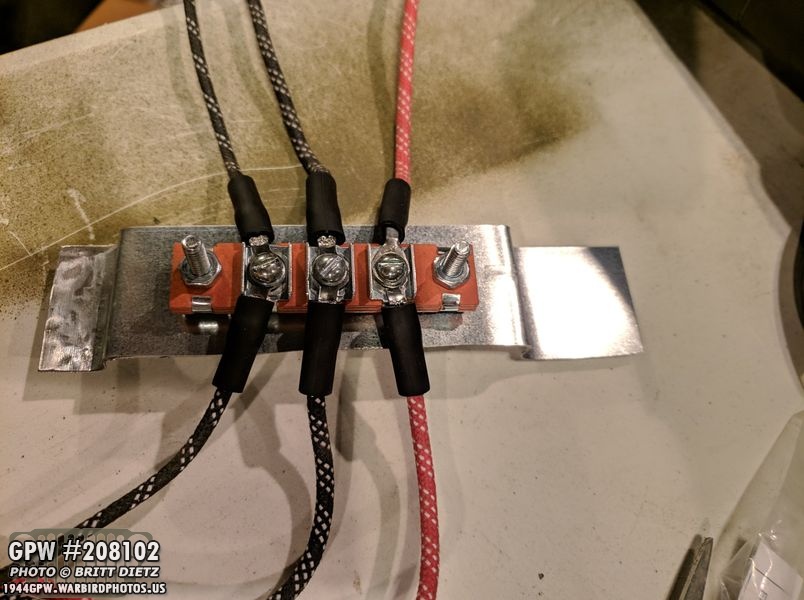
I attached the actual wires that will actually be there to the junction block.

And I added the cover, put two nuts on the top to hold it down, and all done! Looks like a mini version of the filterette! The wires fit perfectly coming out of the three little half circles I cut out on each side. This will make it also so if someone accidentally hits/kicks/etc this it won’t short out the electrical system because of exposed wires, and it looks a little more accurate. Ingenuity!

Moving along, I was able to remove (with a lot of work) and install a new bushing to the flywheel in prep for reinstall back on the engine.

In prep for tinning the grill ground locations, I’ve been testing the Oatey Instant Solder, and up till now I wasn’t impressed. But I try to really goop it on thicker on my test metal piece (after cleaning it really really good) and I got much better results. Perhaps one more test and I’ll be ready to do it for real on the grill.
I brought home the front fender early so I could start work on touching it up. It had some knicks here and there, so it needed some sanding and some primering where the metal came through. It’s in the wrong shade of OD Green, so I’m going to hit it with paint next sunny day I can. This is a reproduction GPW (Ford) front bumper with correct F stamp. More on the bumper in the next update!
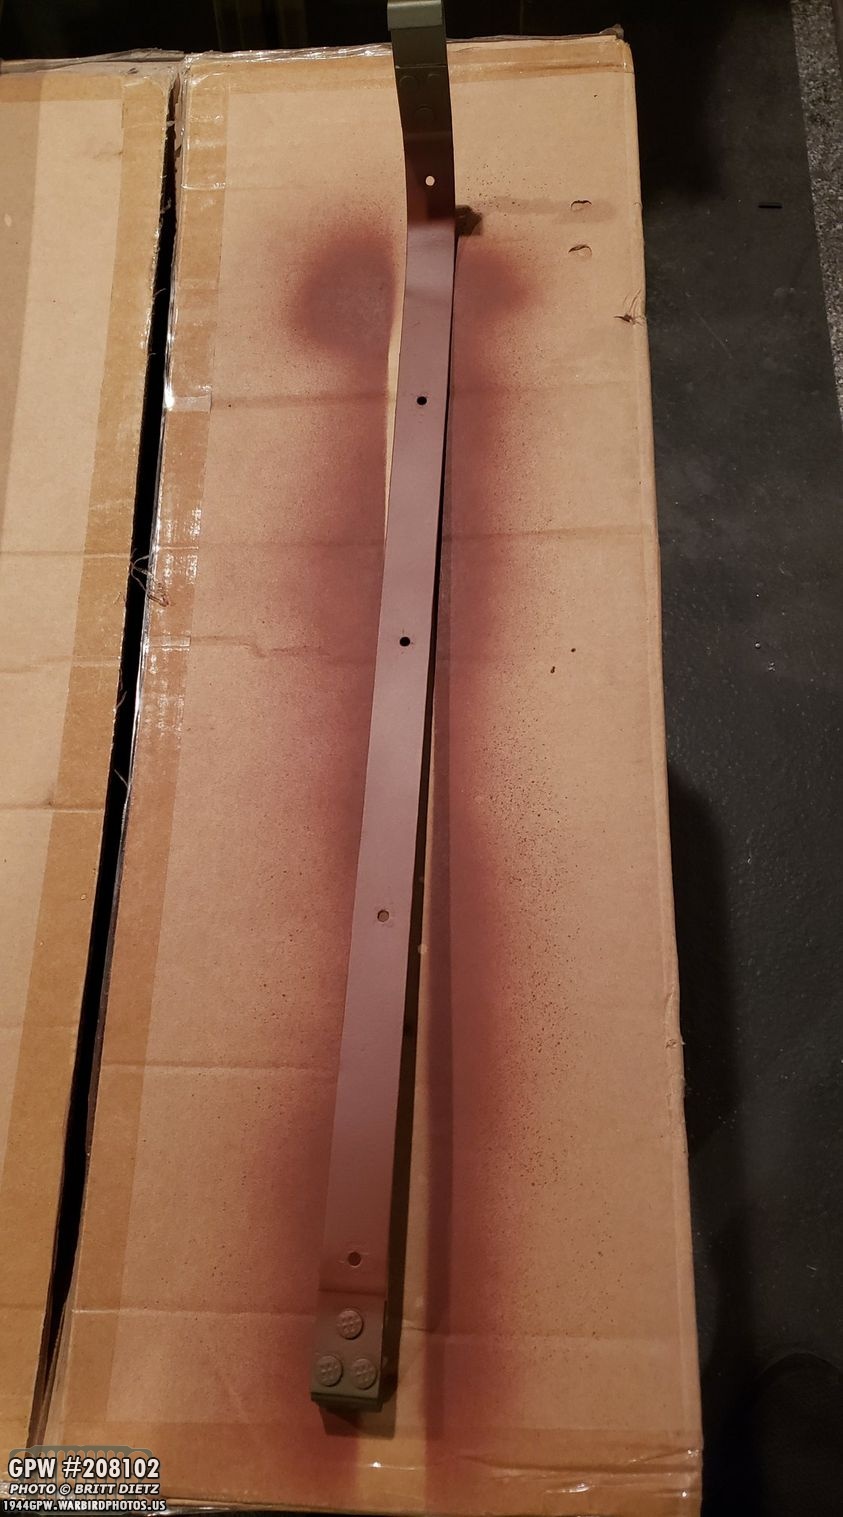
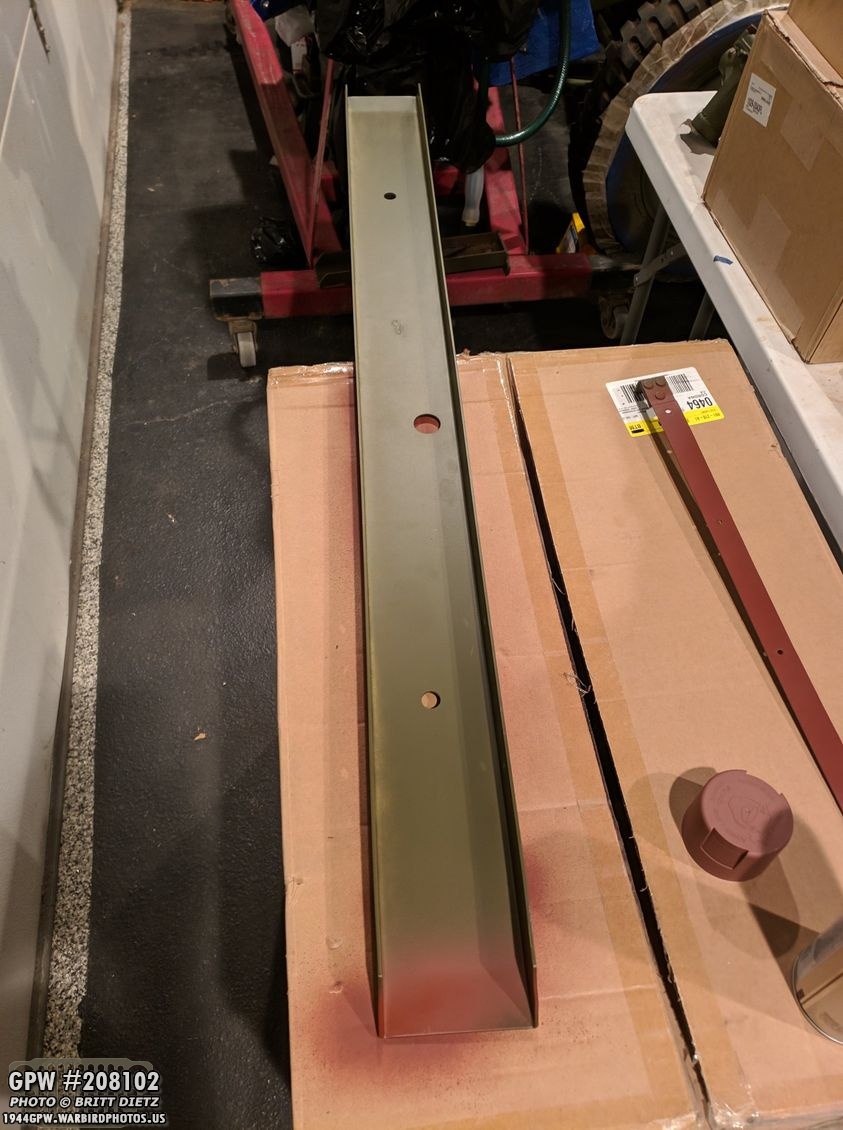
In prep for fixing up the gas tank hold down straps, I removed the little rivets that were in one of the straps (the other one had them removed sometime before I got the Jeep). This scratched up the paint pretty good (those little buggers were hard to remove, so I had to use my drimmel and a cut off wheel) so I sanded down the scratches and hit them again with red oxide primer. I’ll have to hit it with green before installing the rivets on this strap.
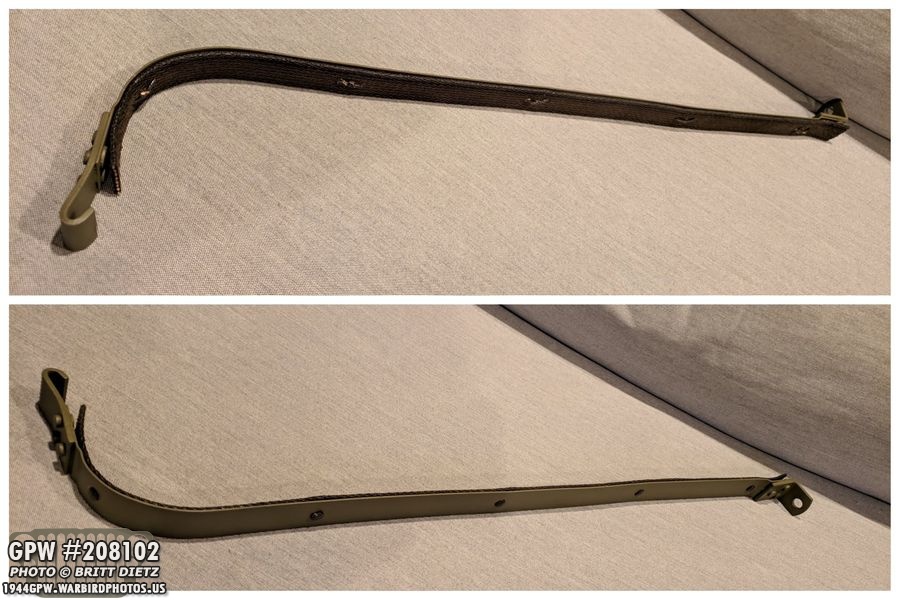
Lastly, the other strap already had the rivets removed, so I went about installing the new rivets with the anti-squeak padding. It was a PAIN to install these, and I’m not super happy with how they turned out. While it worked and I got it all riveted, the rivet heads are a little beat up. I’ll have to hit some OD green touch up to the rivet heads. There’s a lot of debate if the heads were on the bottom where the padding strip is or on the top. The idea being that if the heads were on top, then the sharp part of the rivets will be on the bottom and will scratch up the fuel tank. But the original rivets that were in the other strap show that the heads were on top, so I decided to install them that way. I’ll cheat a little and put some black duct tape on the rivet bottoms to help minimize the scratching. That’s it for now, hope next week is an action-packed update with the new reproduction tub!