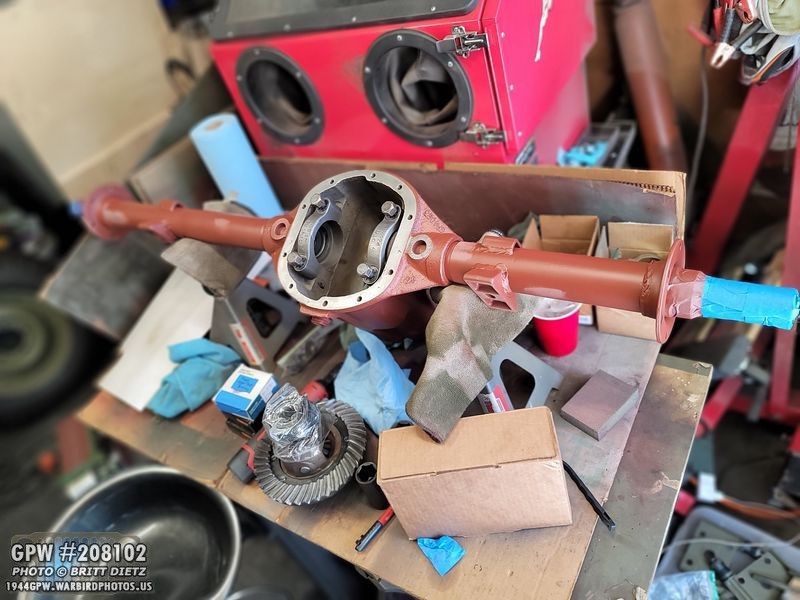
 Rear axle work, axle dating, alternator enhancements, & more!
After last week’s difficult task of setting the ring and pinion (which continued this week, but it’s finally ‘mostly’ set, so I’ll add more thoughts on the process) I took some time this week to figure out the rough timeframe of the axles after some research, getting the U bolts ready, an infuriating setback with the driveshaft, adding a final touch to the ‘generator’ alternator, and more!
Last week I covered the basics of how to set a ring and pinion using my new rear axle I’m restoring and almost finished with. A quick recap (these recaps get more condensed each time), I had post-war CJ axles on my Jeep… I got a pair of GPW axles that I restored and rebuilt and put on the Jeep in December… to find the rear axle had a strange clackity sound when driving, and there were metal shavings in the housing. So, I got a second GPW axle (these are all original wartime axles) that I’m now rebuilding to replace the rebuilt one!
It took me several days of back and forth with the pinion and carrier trying to shim things, but the axle wasn’t cooperating with me. Just when I had everything shimmed up nicely and I took off the bored-out test bearings with the brand new timkens, everything was messed up as the brand new timkens didn’t quite match the wartime timkens. UGH.
So yesterday (Thursday) I took the rear axle over to my friend Tom Read’s place as he’s the rear axle guru. What I hoped would be a quick little pull the bearings off, change the shims, and be on my way didn’t quite go as planned.
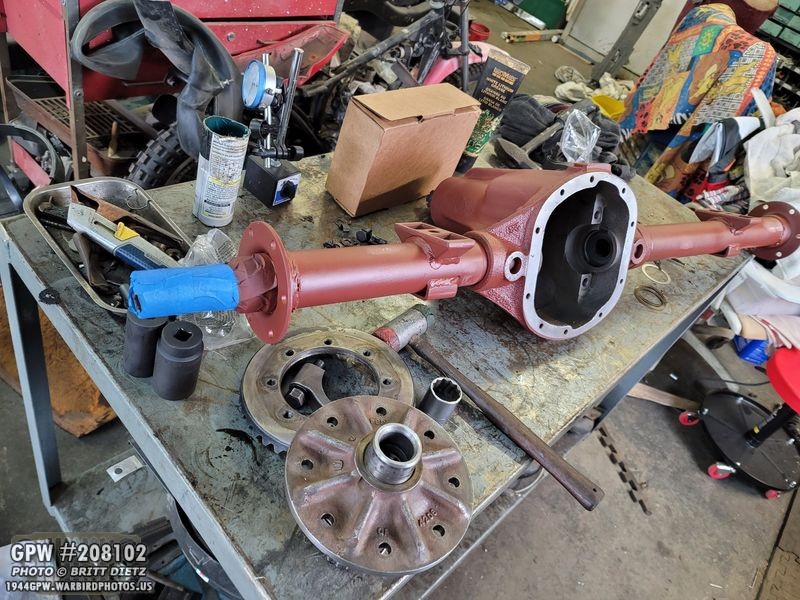
It took several HOURS of taking things apart and putting them back together, basically like starting from scratch. This is why I needed the help. He has all the cool tools to make things go easier and not damage bearings. But even with his help, the axle fought us the entire way. Every little thing that could cause a delay or go wrong was going wrong!
Almost 5 hours later, we finally had things looking like they were starting to align. As you can see from the crazy mess, it was a process.
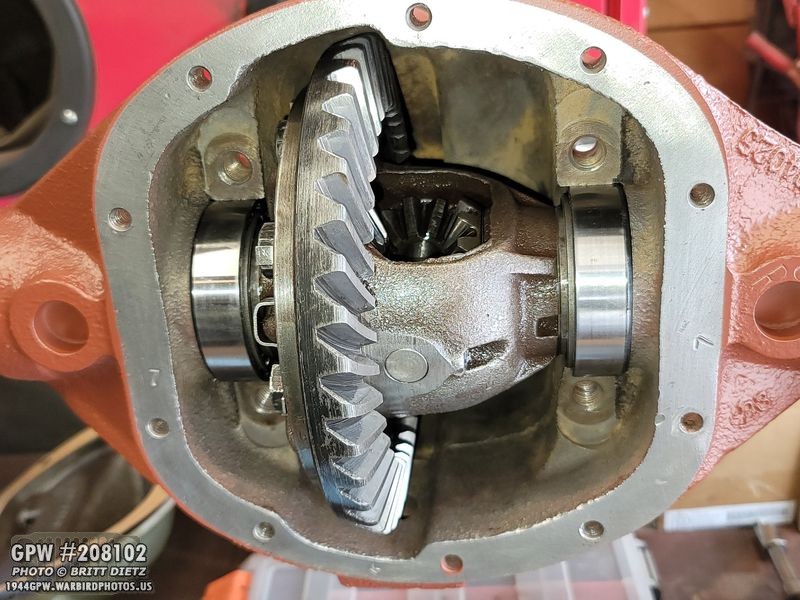
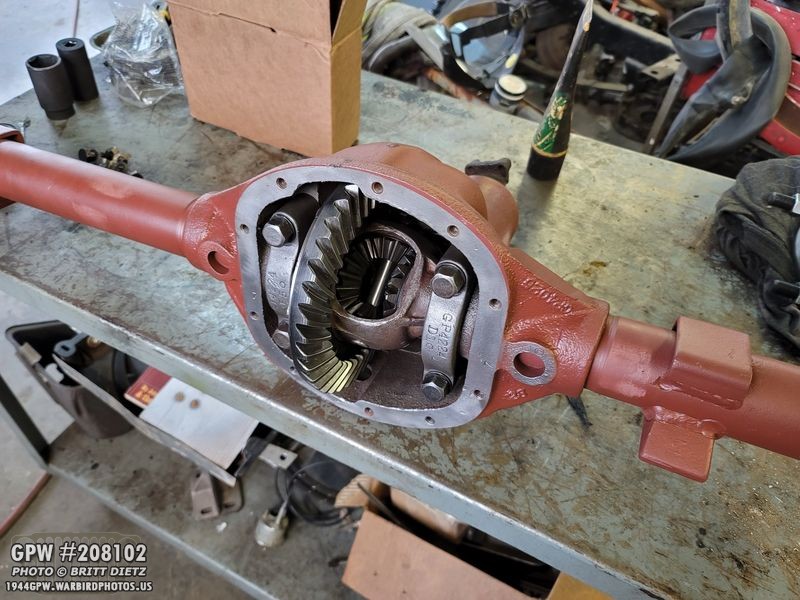
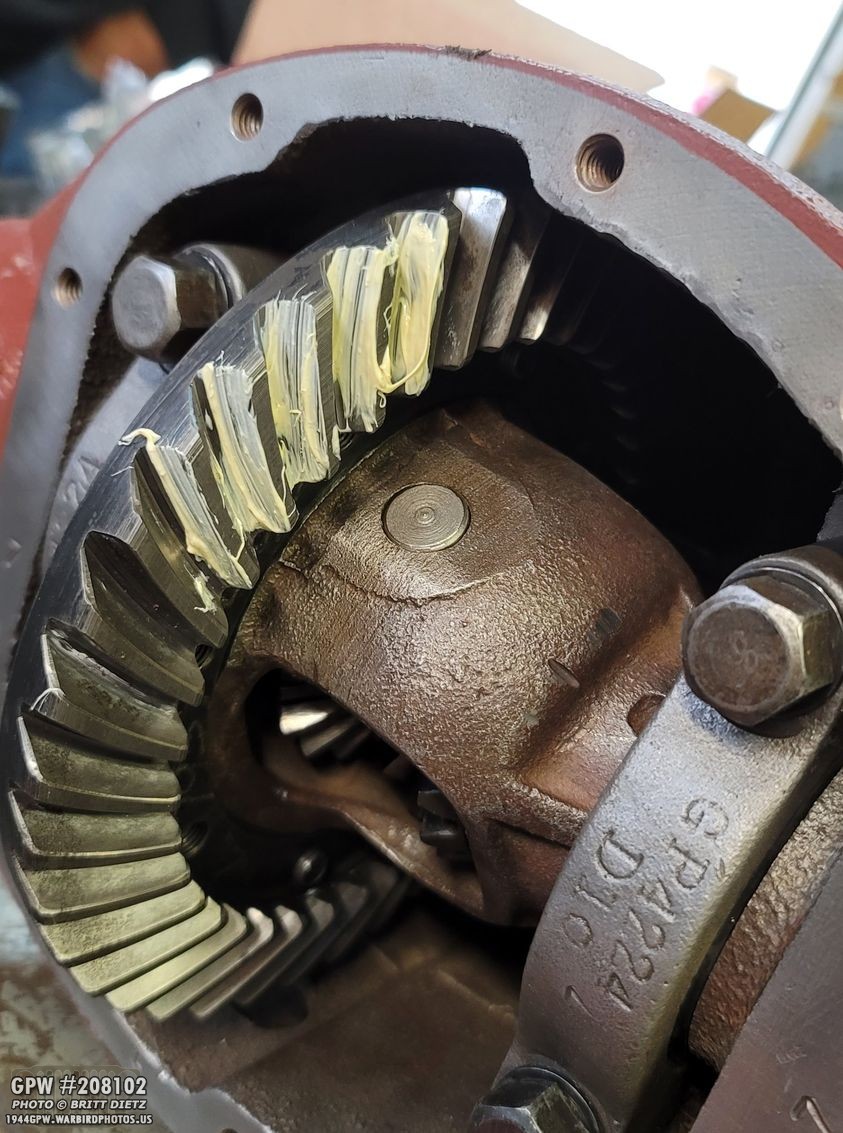
The final test, after we got the carrier and backlash where we wanted it, was the grease test… The first try we did it was off to one side (see last week’s update for more on what this test means). After taking it all apart again and changing the shims, here we’re applied the grease but we haven’t spun the yoke yet… so this is the BEFORE.
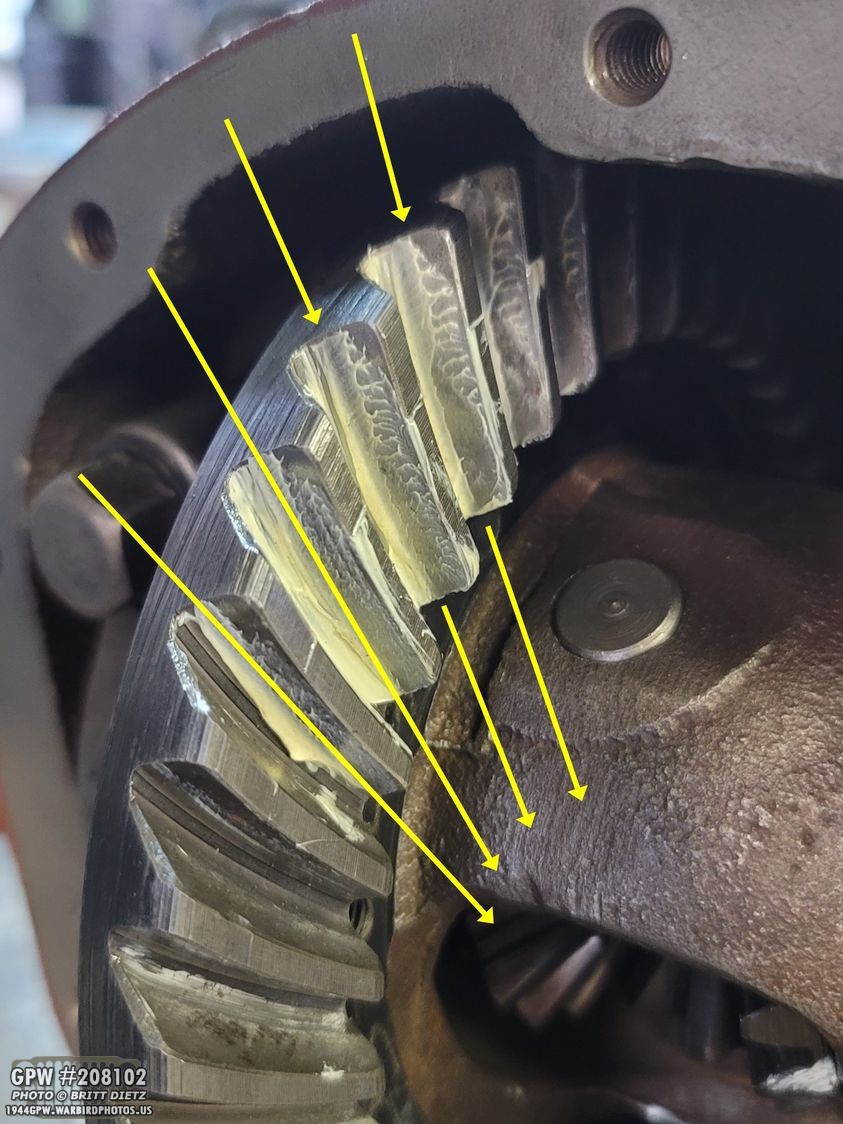
Success! As you can see here, it’s a nice even straight line across that the pinion was scraping off the grease. The lines show how the pinion scraped the grease off the ring gear. Again, see last week’s update for a full tutorial on how to set the ring and pinion along with doing the grease test.
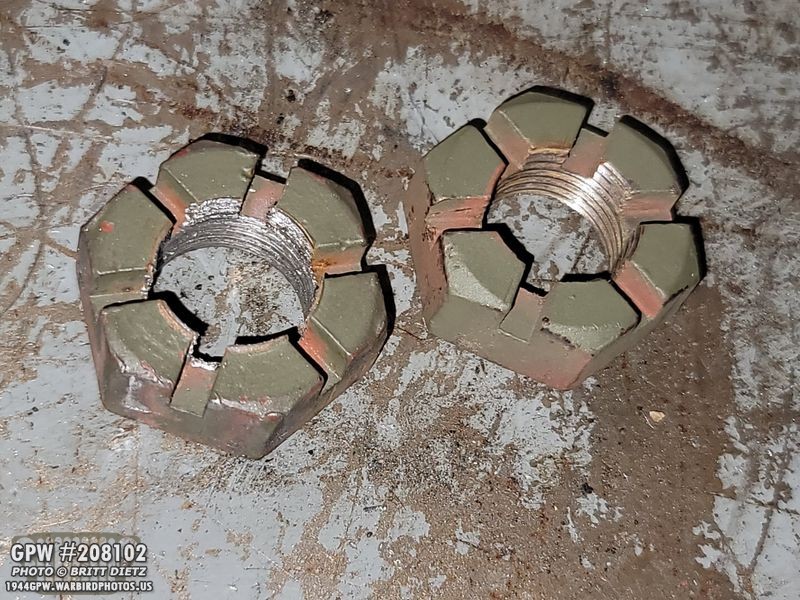
The biggest two issues we had was the new outer bearing on the pinion was WAY too tight on it, and it didn’t want to let go of the pinion. The hammering to get the pinion out caused issues with the threads on the end of the pinion, and in turn, that started to cross-thread and eat the threads on the castle nuts. We went through 4 castle nuts because the pinion threads are much harder than the softer castle nuts. UGH.
Thankfully, I have a 3/4 -16 fine thread die at home (which I didn’t think to bring with me), so I brought the axle back home (with the pinion depth set and the carrier set, now I just have to set the pinion bearing spacing tightness with the spacer shims and then just put it all together). The hard part is done! Hopefully by today or tomorrow I’ll have it all put together and read for the next steps.
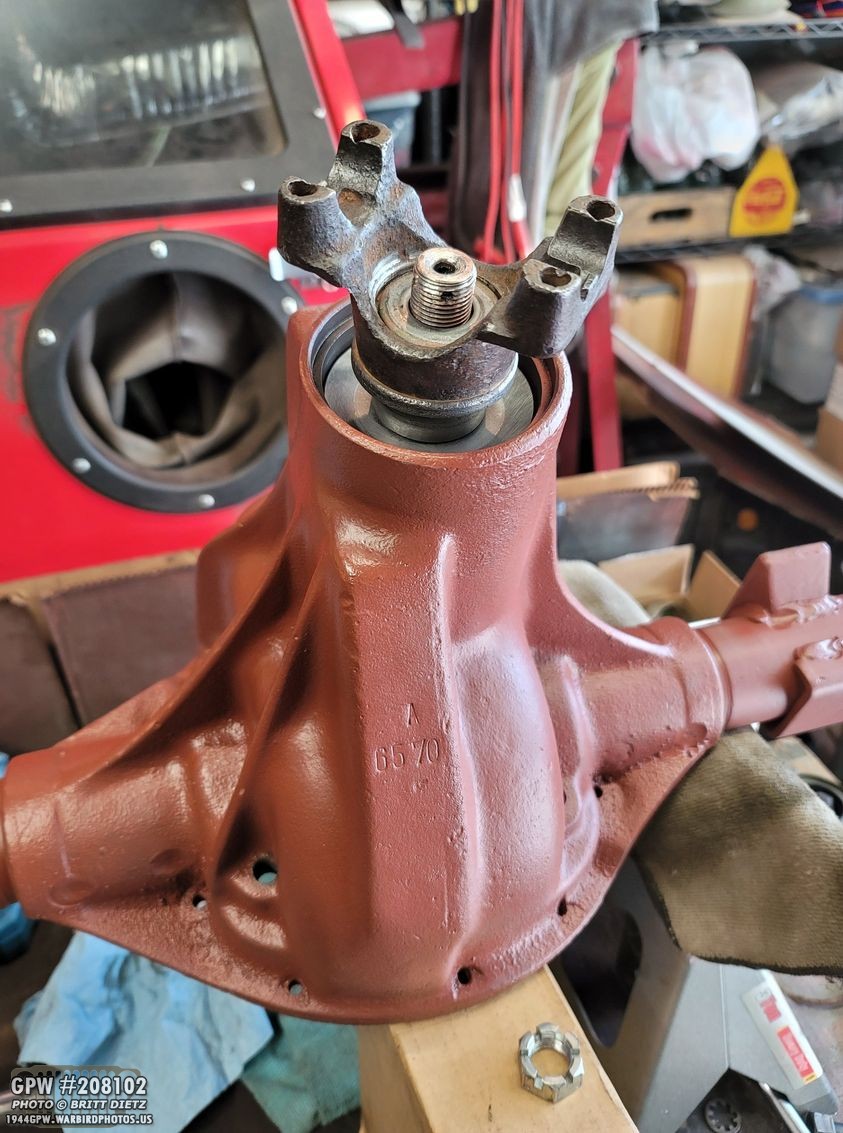
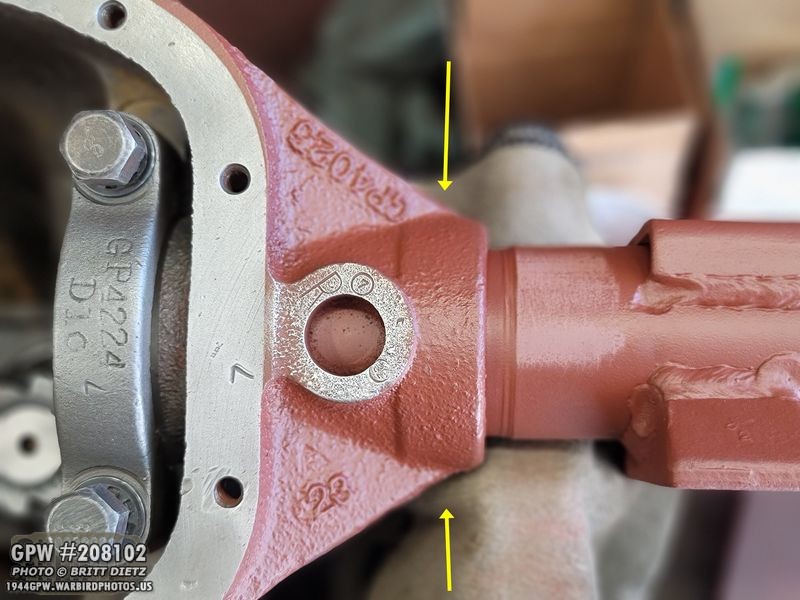
Earlier this week, I wanted to take some time to figure out the timeframe of the new rear axle. While there is stamping on the donut (the round circle area that the paint has been sanded off) which usually will tell you the exact date of the axle on some axles, the stamping on mine makes no sense. So, I went online to do some more research to see if there’s another way to tell. Turns out, there’s a super easy way to see if an axle is early war or late war. It has to do with the flange ring as pointed out with the arrows.
On the top is the new rear axle, on the bottom is the bad rear axle. Notice a difference between that flange pointed out in the previous photo? The top one is wide, while the bottom one is thin. That’s a change that was done (to what I can tell) sometime in 1943. So, the top thicker flange is later war, while the skinny flange ring on the bottom is early war. Super easy way to tell!
I checked the GPW front axle (which is totally fine after the restoration), and it’s a late war axle! So I guess that’s one good thing about all this with the new rear axle, they now match being later war versus before where the front was later war and the rear was early. Silver lining I guess?
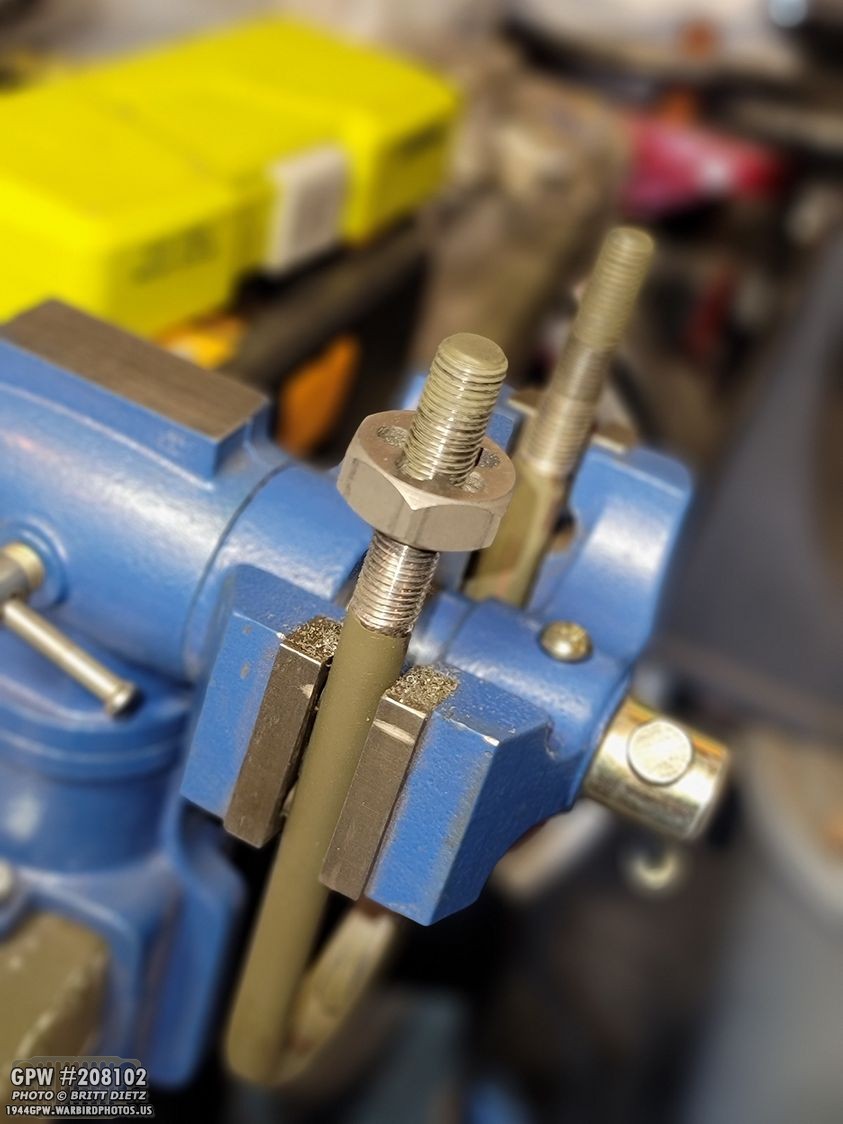
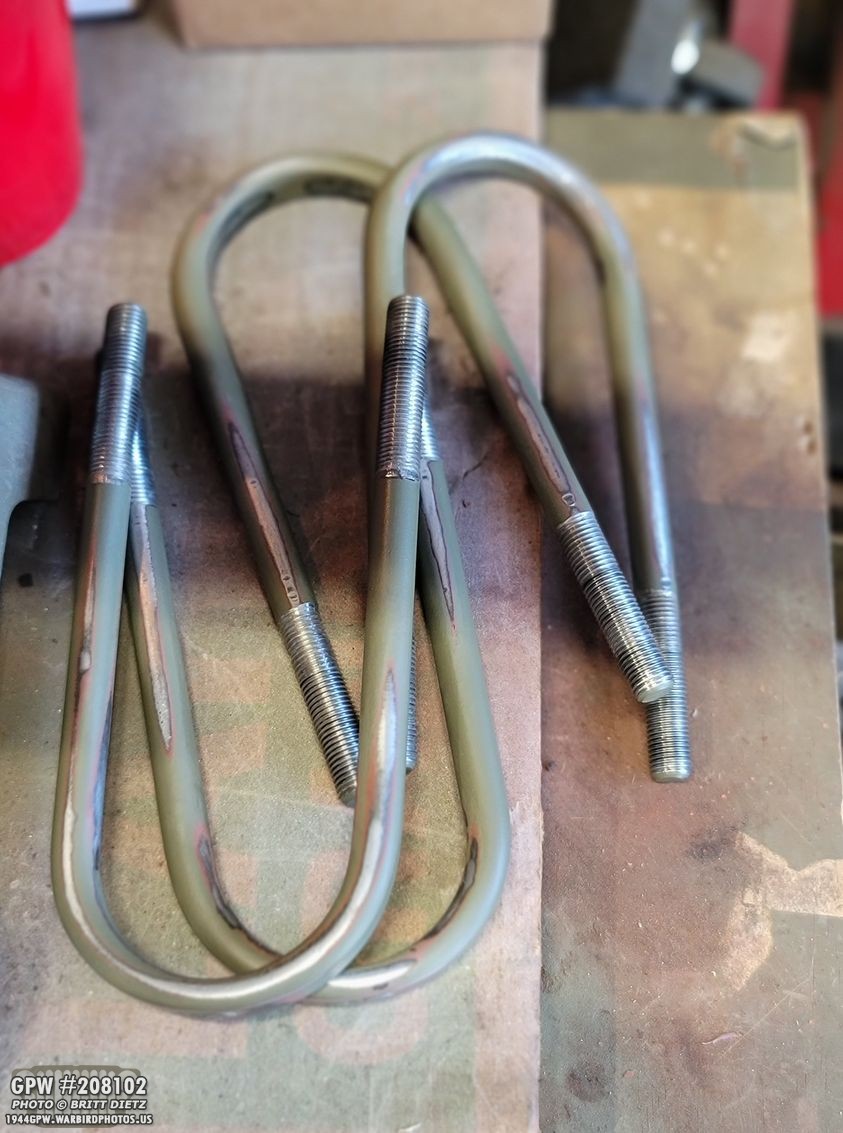
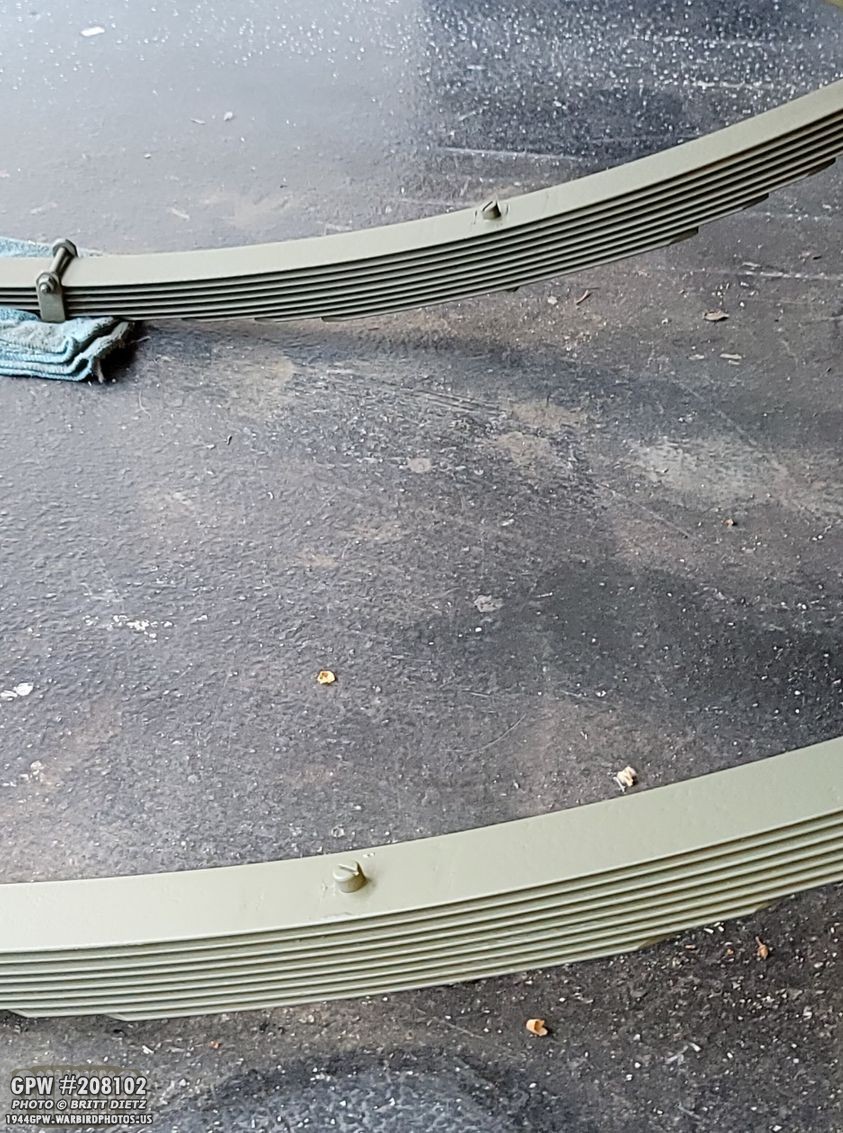
Moving on! As I was waiting for the chance to get the axle worked on this week, I had some other projects I worked on. The U bolts for the rear axle needed re-threading with the die (just in case) and I needed to make them a little straight as they had a slight curve in them still from the leaf plates that warped (see updates from December).
I also cleaned up and tapped the threads on the nuts for the u-bolts.
As straight as I can get them with nice pretty threads! Ready for touch up paint.
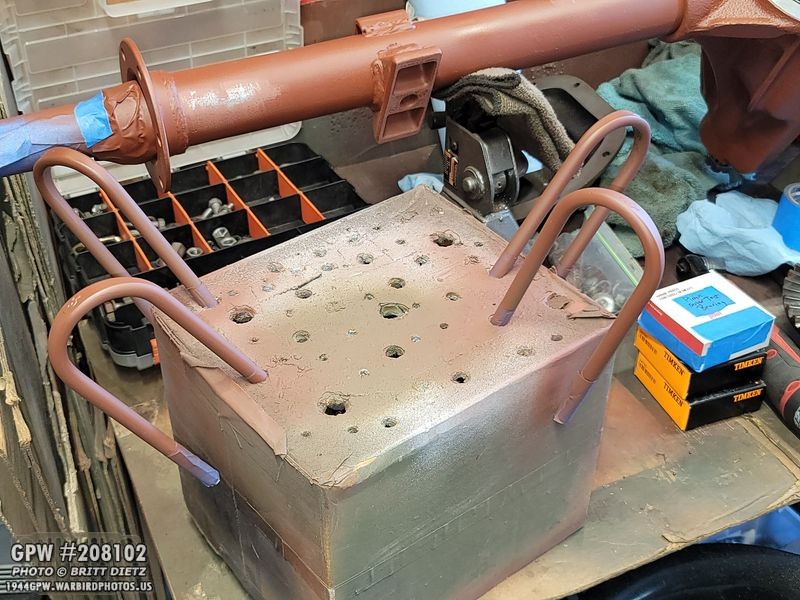
Primered…
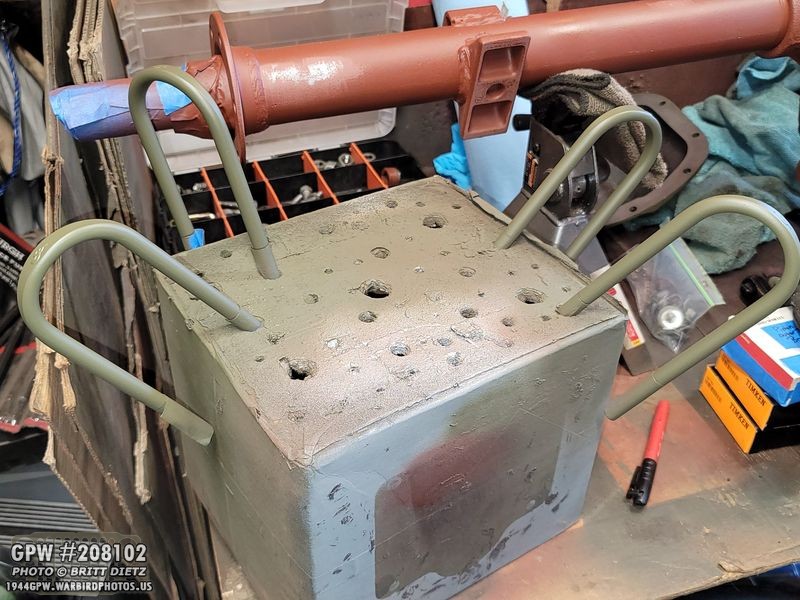
And then the next day painted with 33070 OD Green! Ready to go for reinstall.
I also touched up the paint on the top of the springs with OD Green where the axle sits (last week I sanded them quickly and primed them.
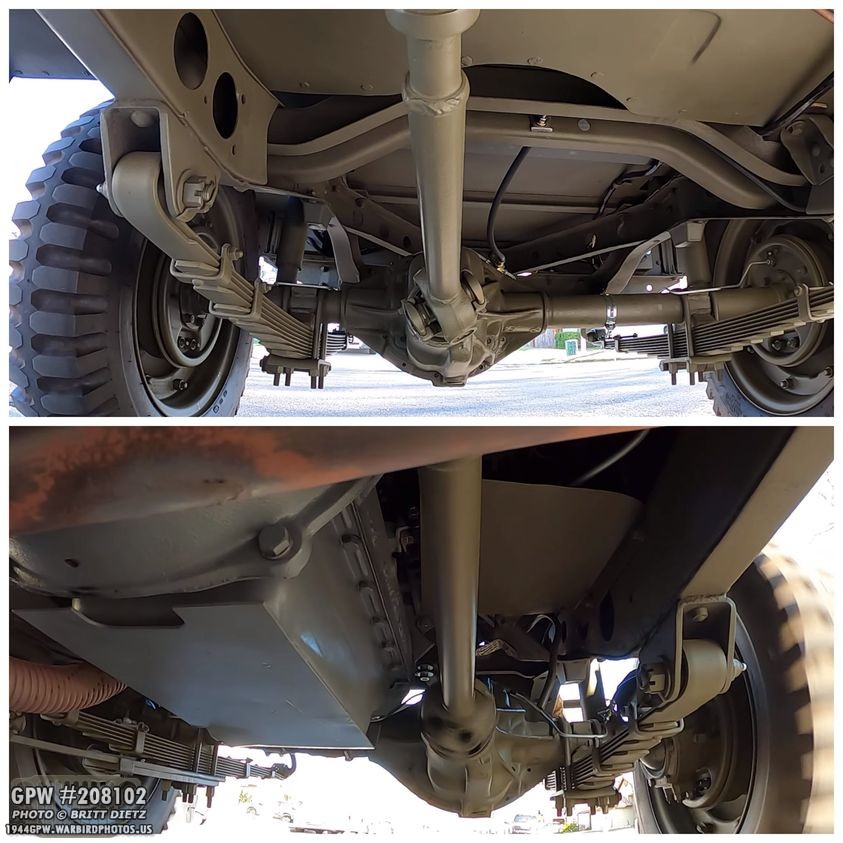
Two weeks ago, after mounting a GoPro under the Jeep during a test drive before I started working on the new axle, I discovered that the rear driveshaft had a pretty crazy wobble, the shaft was not straight (top screen grab from the GoPro video).
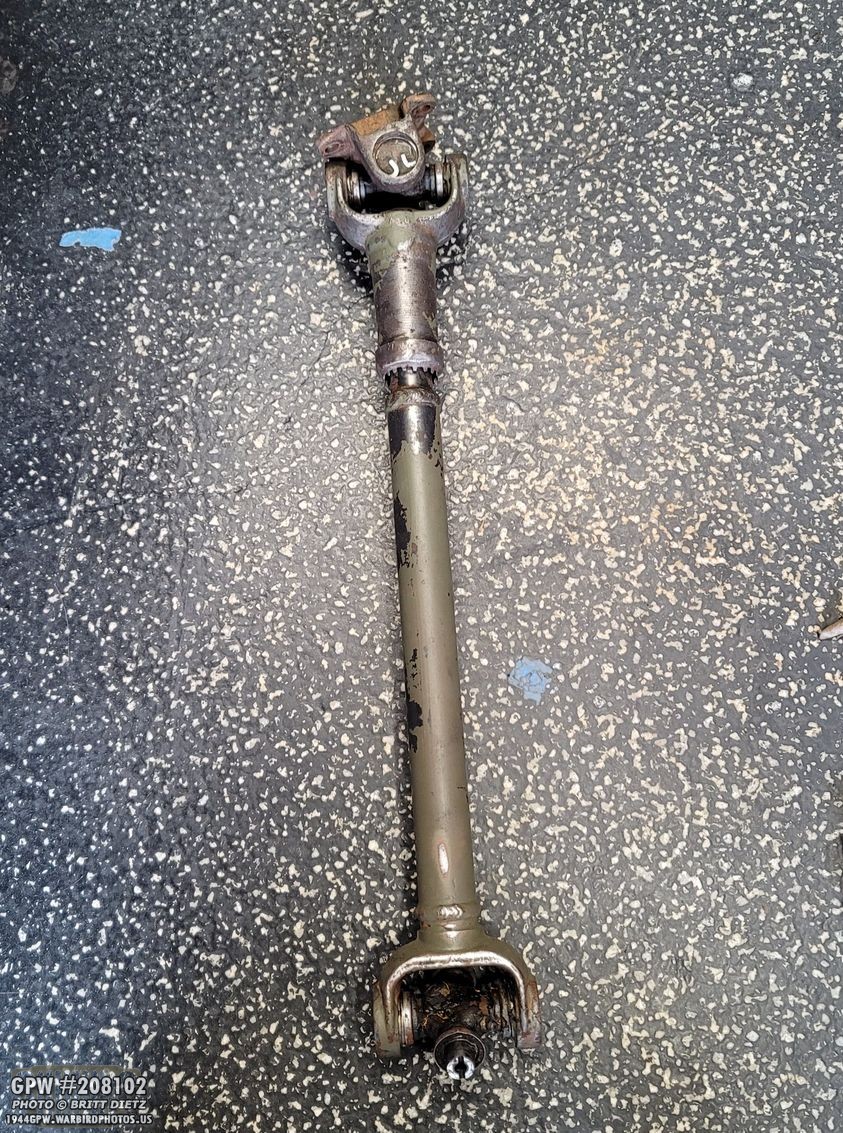
I borrowed a friend’s rear driveshaft to check and make sure that it was indeed my driveshaft that was bad, and sure enough, his driveshaft was straight as straight can be. So, I took my driveshaft into a local Driveshaft repair place here in Corona to have them straighten it. I told them it was from a WW2 Jeep, and explained the issue. About 5 days later I went to pick it up as it was finished…
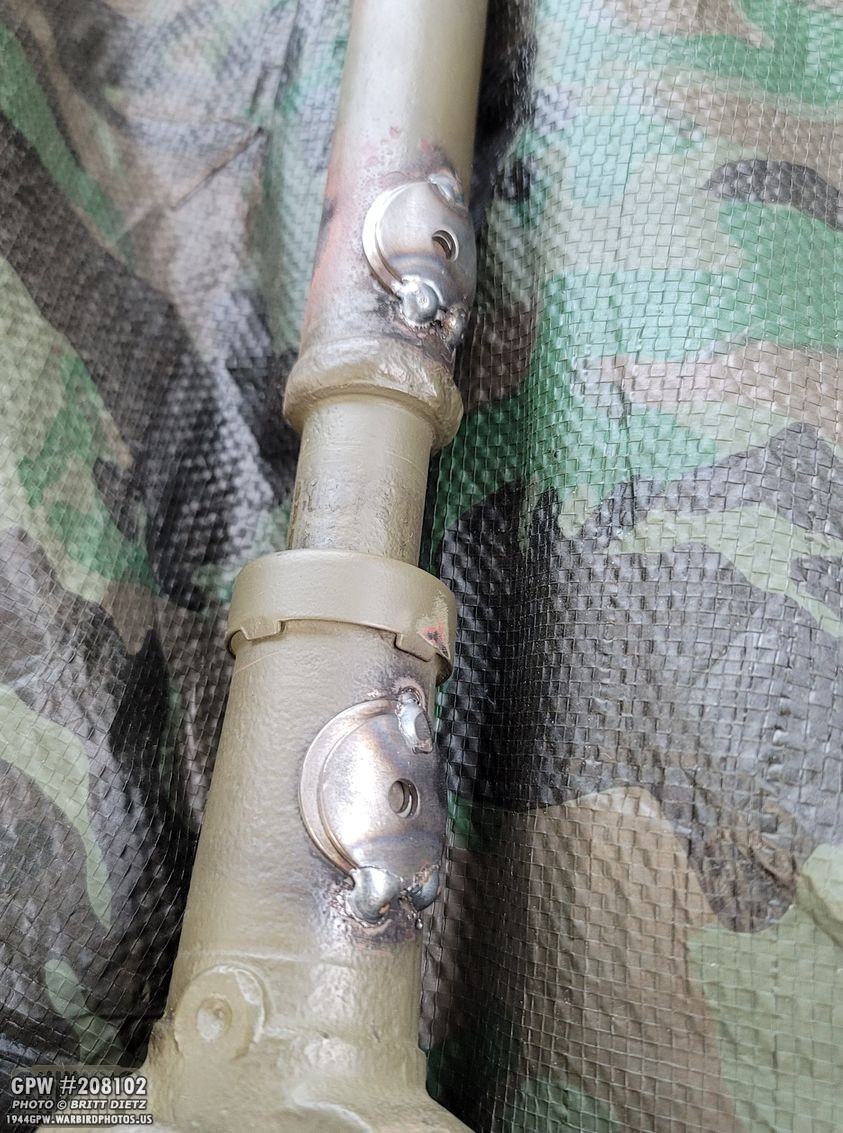
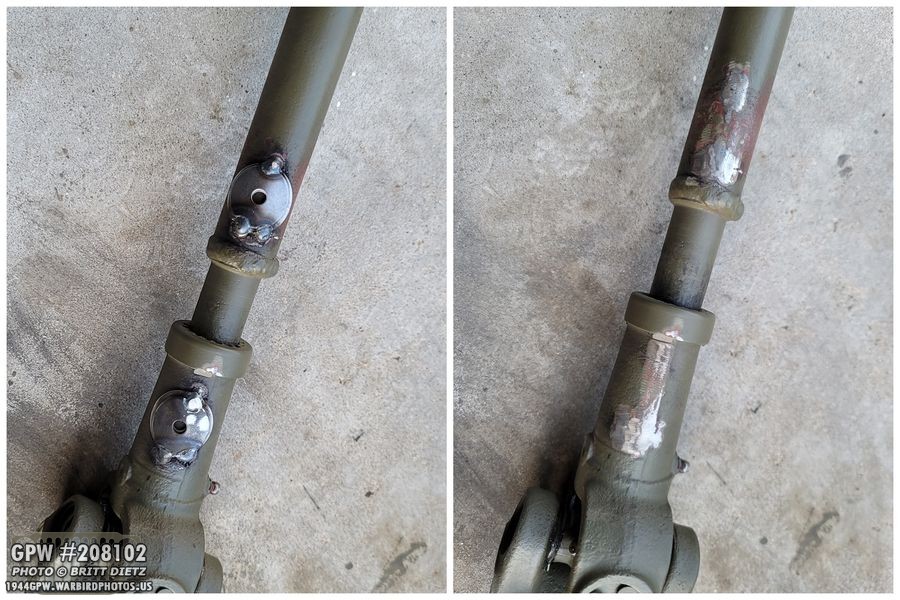
And found this. Apparently, they had ‘balanced’ the driveshaft (without alerting me) and welded on these weights (rather crudely). This is two of the three weights.
And here’s the other set of weights on the other side. They did straighten the tube, which is great, but I would have never had them balance the driveshaft and weld on these weights had I known. I was furious, I thought the guys understood it was a vintage item. UGH. But I also was mad at myself for not telling them I only wanted the tube straightened. I didn’t know they’d do this, however.
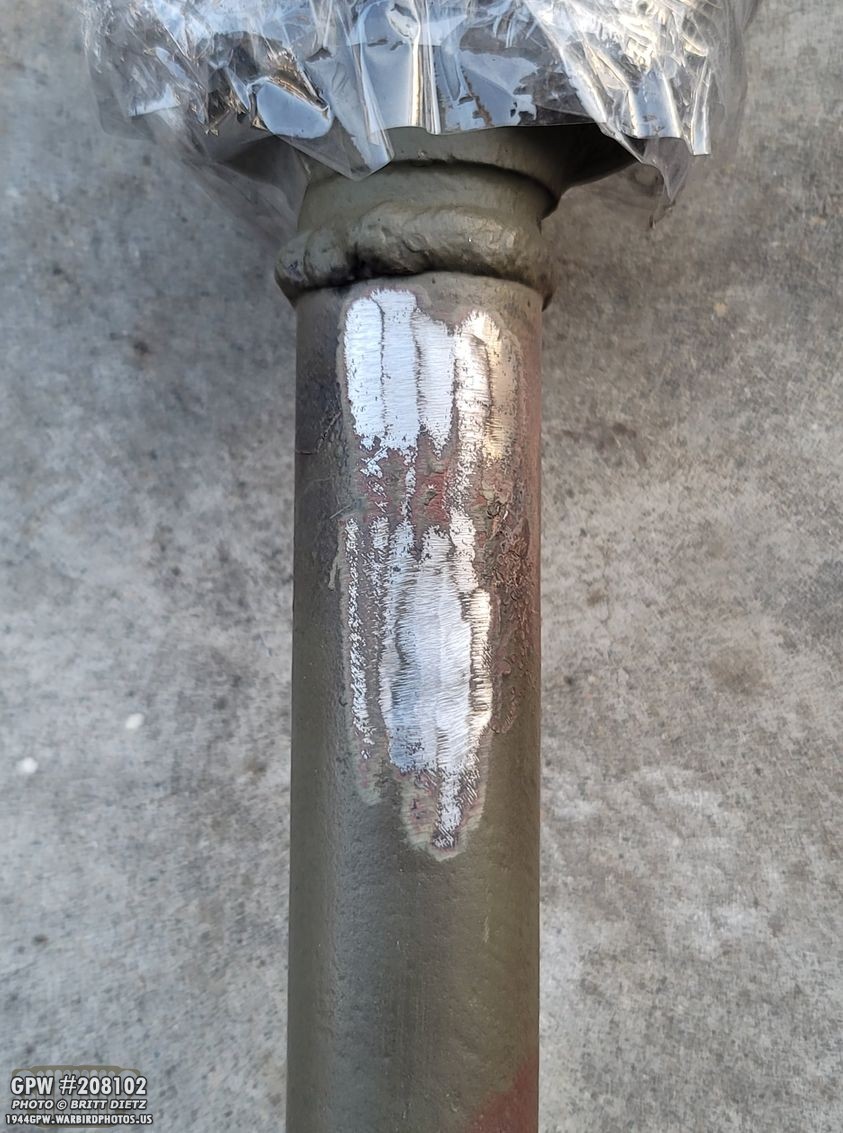
So, I went to work with the grinder to carefully remove the weights. Undoing their work. I was worried about how it would turn out, but they came off pretty easy and I was able to smooth it out pretty good I think.
Same with the other side. I need to sand the paint smooth still.
Here’s the before and after on this side.
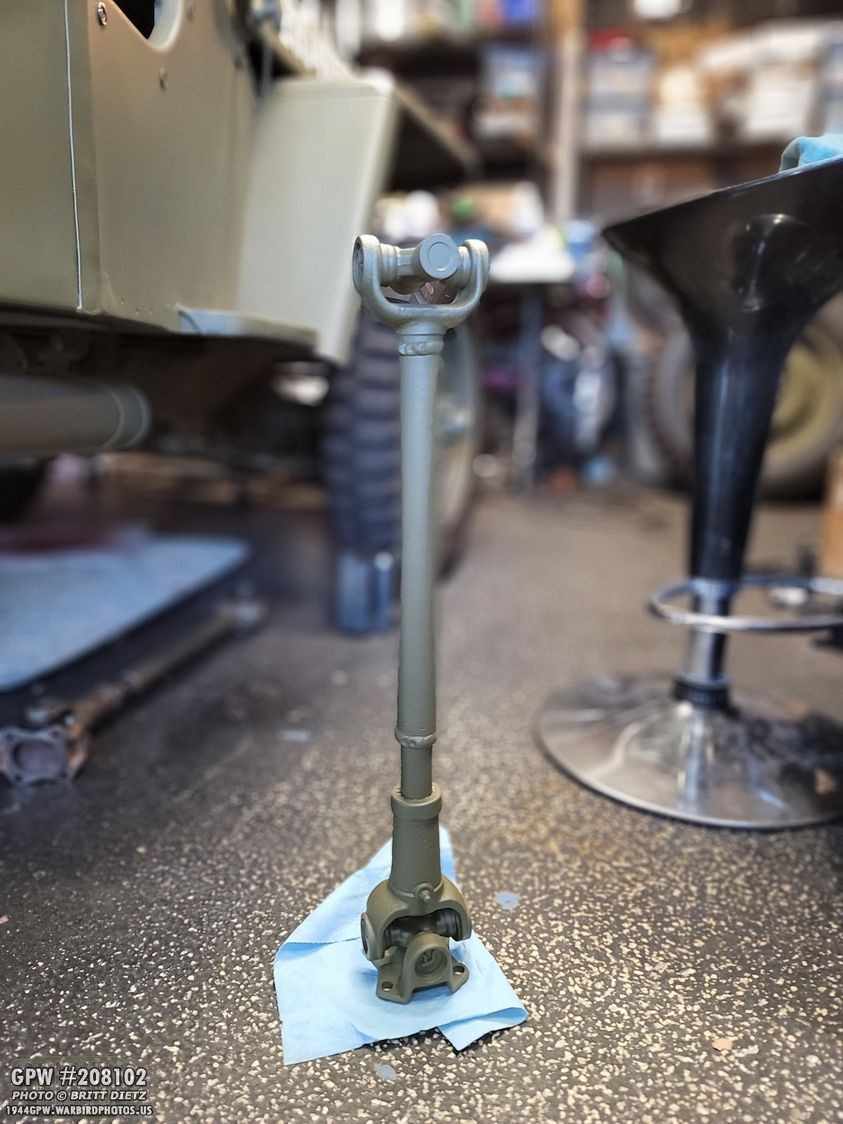
After sanding the paint, priming it again, and then painting two coats of 33070 OD Green, it was back to normal. WHEW. The real test will be when I install the new rear axle back on the Jeep and put the GoPro back under the Jeep and see if the tube is, indeed, now straight. If it’s not… I’m going to be really upset.
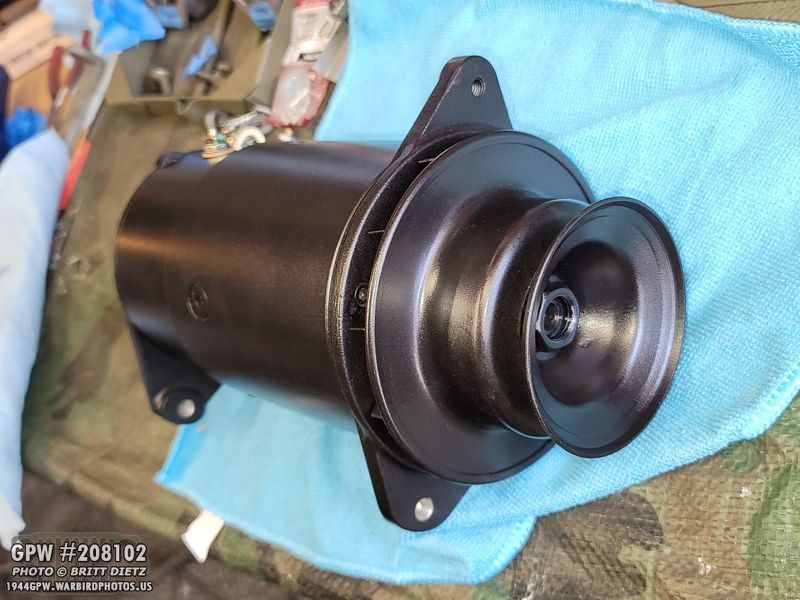
Two weeks ago, I documented taking a PowerMaster Power Gen 82051-2 alternator that looks like a generator and modifying it to fit in a Jeep.
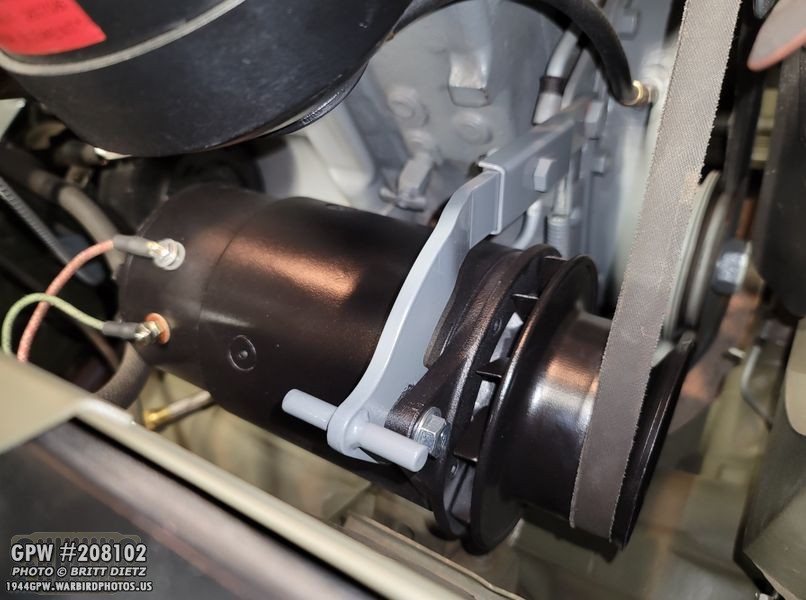
This was the result after I also added a WW2 pulley to the end. Pretty convincing!
But it still needed something. Something was missing to add that extra touch.
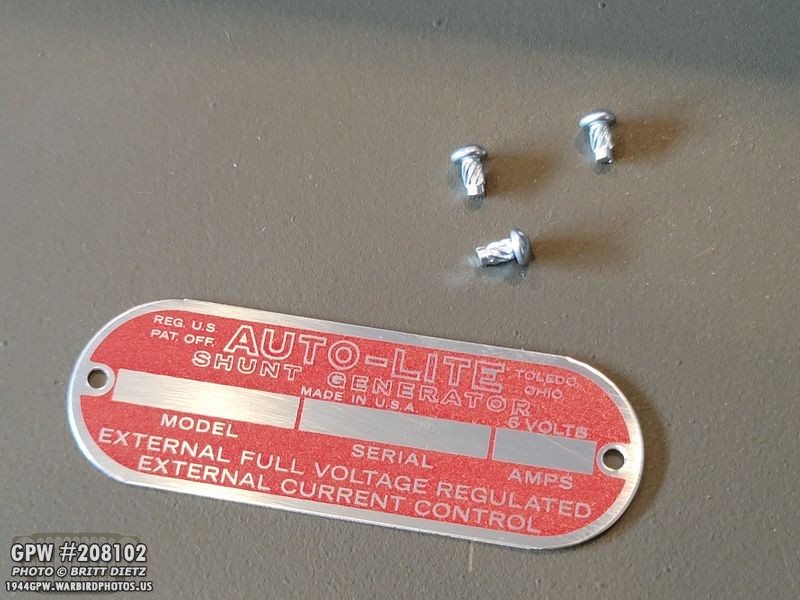
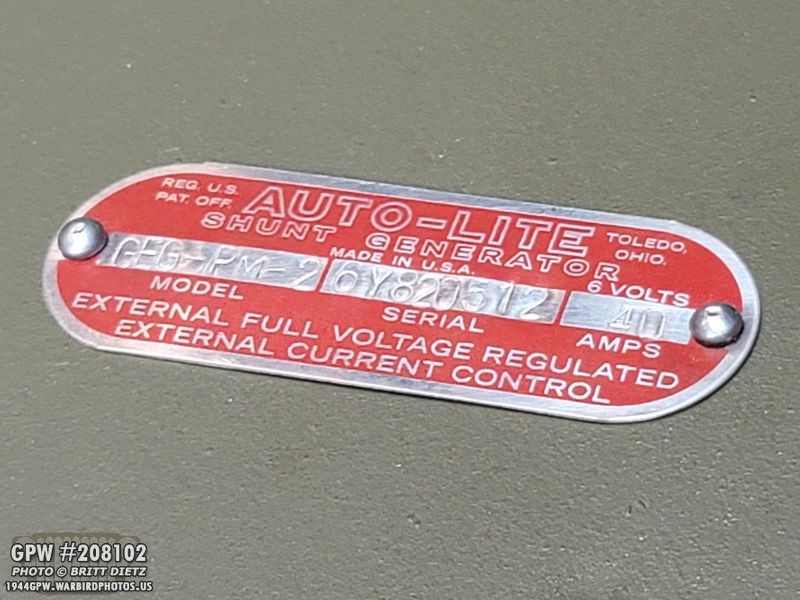
So, I had the idea to add a data tag to it to further give it that correct look! So I ordered a Auto-Lite repro tag from Ron Fitzpatrick Jeep Parts along with the data tag rivets.
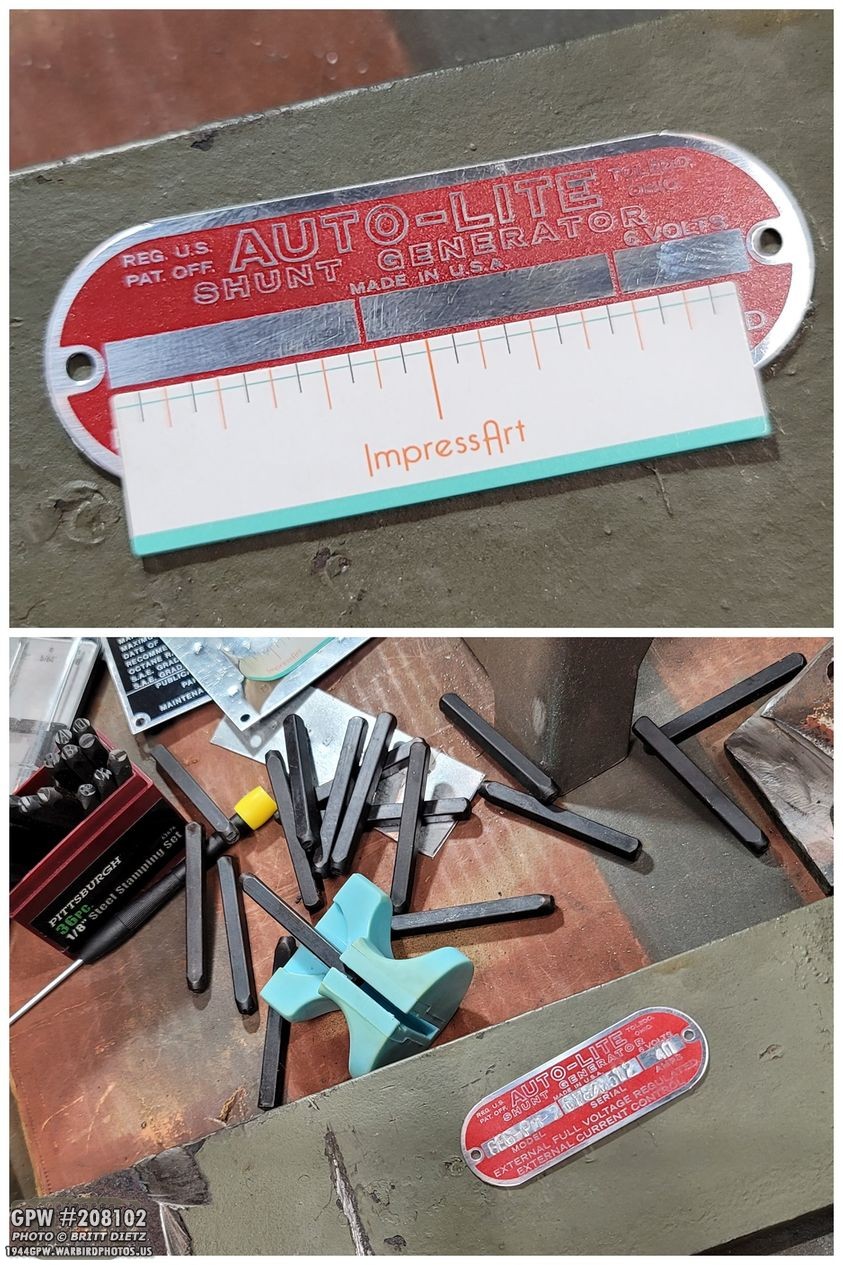
I decided to stamp it myself, using a custom code. I used Impress Art alignment tools and letter/number punches from Harbor Freight. The letter/number punches are a bit larger than they really should be, but it’s tough finding the perfect size.
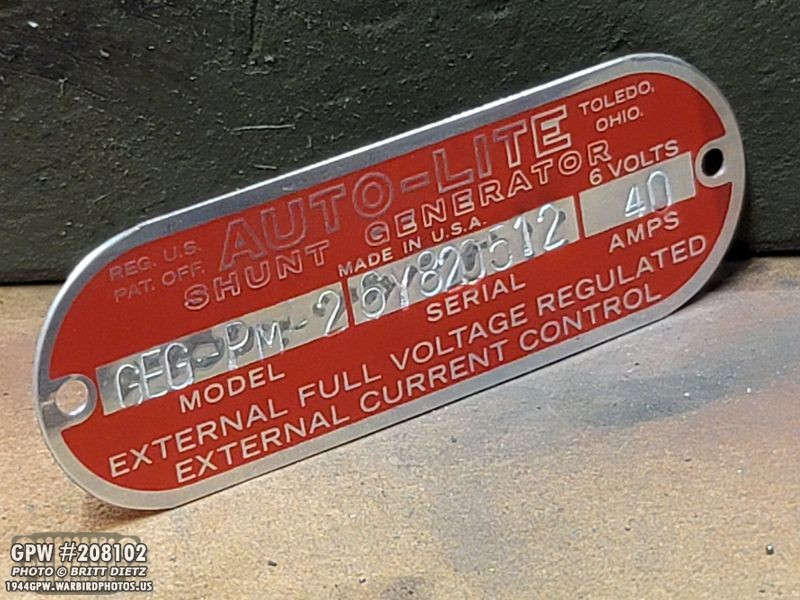
I didn’t want to make the numbers an exact match to an original GEG-5001 generator, so I made up a different code set.
For the model:
– GEG (To match the start of the real generator)
– PM: Powermaster (the company that makes the alternator)
– 2: (This alternator is the -2 version)
For the Serial:
– 6Y: Using the Auto-Lite date codes, this makes this a June 1944 date (to match my June 44 Jeep)
– 820512: Is the model number of the PowerMaster Alternator, 82051-2
For the Amps:
I used the same as the normal tag, 40.
With the tag punched, I then hammered in the rivets and used my belt sander to carefully make them flush with the back of the data tag.
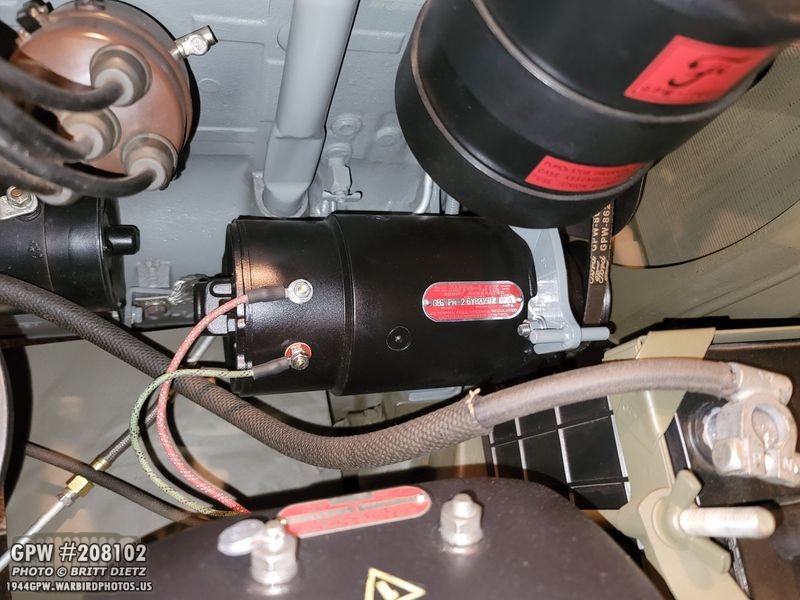
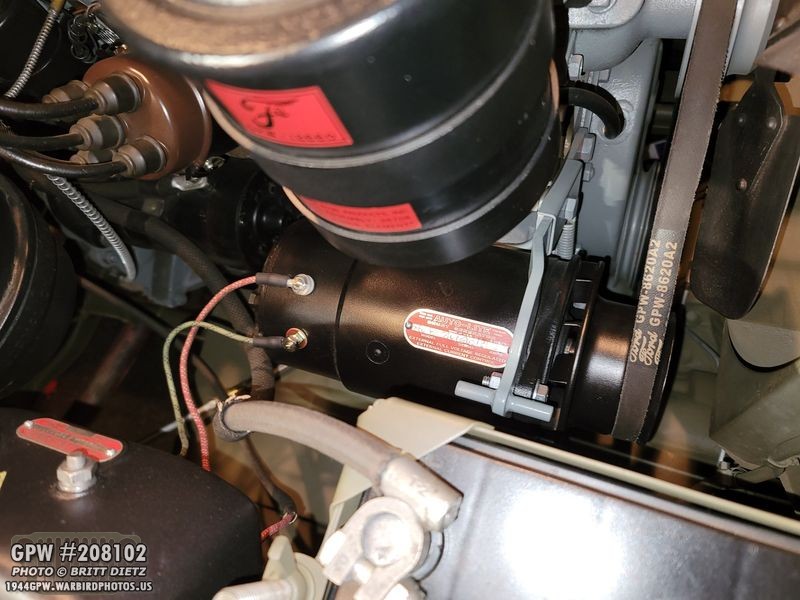
I then used some JB Weld epoxy glue to attach it onto the alternator. Looks great! I tried to get it roughly in the spot where it would be (it’s a little higher, but it worked out better there).
I think it’s a great addition to the alternator and gives it that further look.
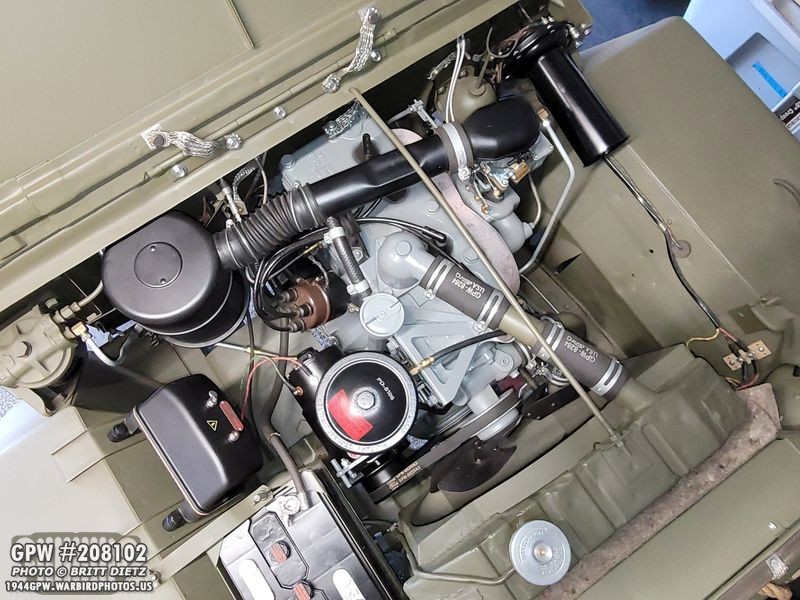
There’s really not much more I can do to this engine bay at this point. Eventually, I want to get one of the repro Willard 12v batteries from Antique Auto Battery one of these days, but they are expensive and have a long turnaround time. One of these days though!
An upcoming project I plan to showcase is taking this late 40s/early 50s intercom speaker and turning it into an ammo crate Bluetooth radio. This should be much louder than my 1941 Zenith radio I built, which is hard to hear outside. Look for that next month.
So, my hope is that in next week’s update I’ll have the rear axle all set up and painted! If all goes well this weekend, perhaps by the middle of next week I’ll be able to install it in the Jeep! That’s the hope at least…
And that’s it for this week. A shorter update, but another ‘calm before the storm’!
Till next week…
