 Driving the Jeep!
Work has slowed on the Jeep since it’s almost done! The next few updates will be small, since there’s only minimal things left to do on the Jeep. But the awesome news is that I’ve driven the Jeep a full mile and a half now!
Look out world, Jeep #208102 is out on the road!
As mentioned in the previous update, as I was trying to solve some shifting issues, I took the maintenance panel off the floor of the Jeep. It’s still off as I keep an eye on the clutch system to make sure everything is fine-tuned.
One of the things I wanted to replace was the bolt screws that hold down the rings that in turn hold down the leather boots to the shifter levers. The problem is that these bolt screws are incredibly hard to get in and get a nut on. It requires two people and a small hand to get the nut on. So I decided to do what I did for the steering column to body ring, which (and this is what you’re supposed to use) is to use a wood screw. Same style screw used for the seat cushions on the chairs. Sadly, the set I got last week are not large enough, so the bolts will need to be larger than #10 screws. So back to Ace Hardware sometime this week to try again!
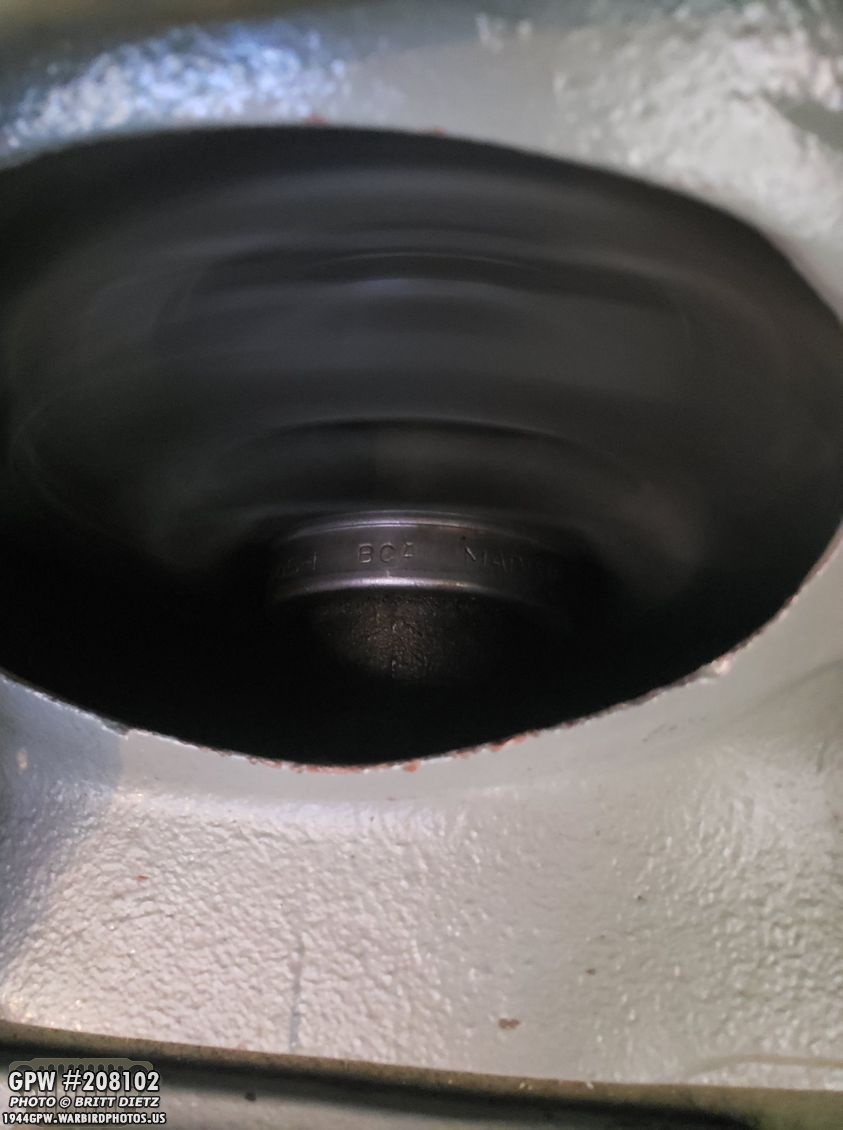
Speaking of that open panel, here’s a look inside the bell housing at the clutch system while the Jeep was running. That ring with the lettering is the throwout bearing that disengages the clutch.
I mentioned in the last update that I splurged and got F stamped bolts from Joes Motor Pool in the UK for my fender/hood latches to replace the sanded down ones I put in.
They arrived in the mail all the way from the UK!
But they needed painting… so I brought out my trusty bolt painting box and put the bolts in…
Two coats later, they are ready to install!
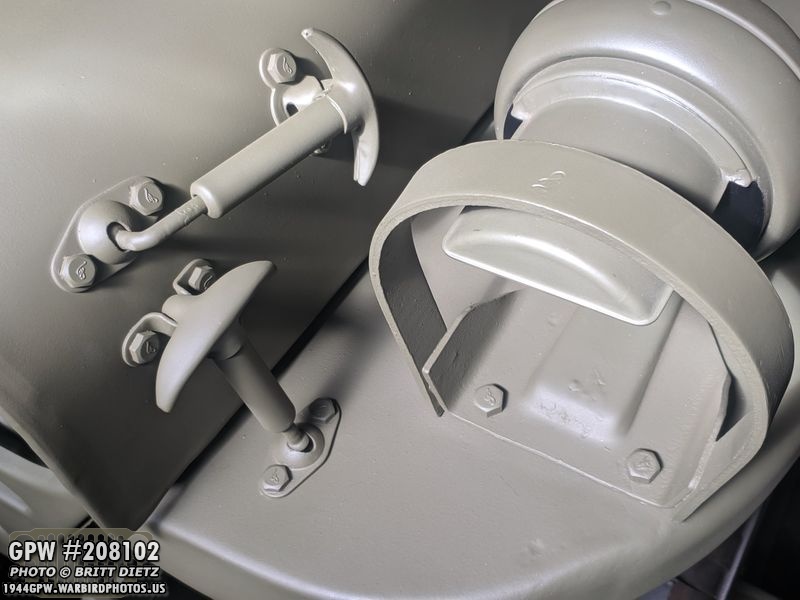
Here’s a look at the first ones I replaced, much better! I have to do a little fixing of the paint job on the right bolt on the top latch, but otherwise, it looks great.
The clips and the latch on the driver’s side required some sanding when I removed the bolts. I’ve since sanded them down and repainted them.
And the passenger side, after sanding and painting. Looks much better.
And here’s a look at the latches with the new F stamp bolts, and the blackout fender light that has two original F stamped bolts. I’m not going ‘F’ crazy with everything on my Jeep, but I’m happy to replace certain bolts and parts that are easily visible with F stamped ones.
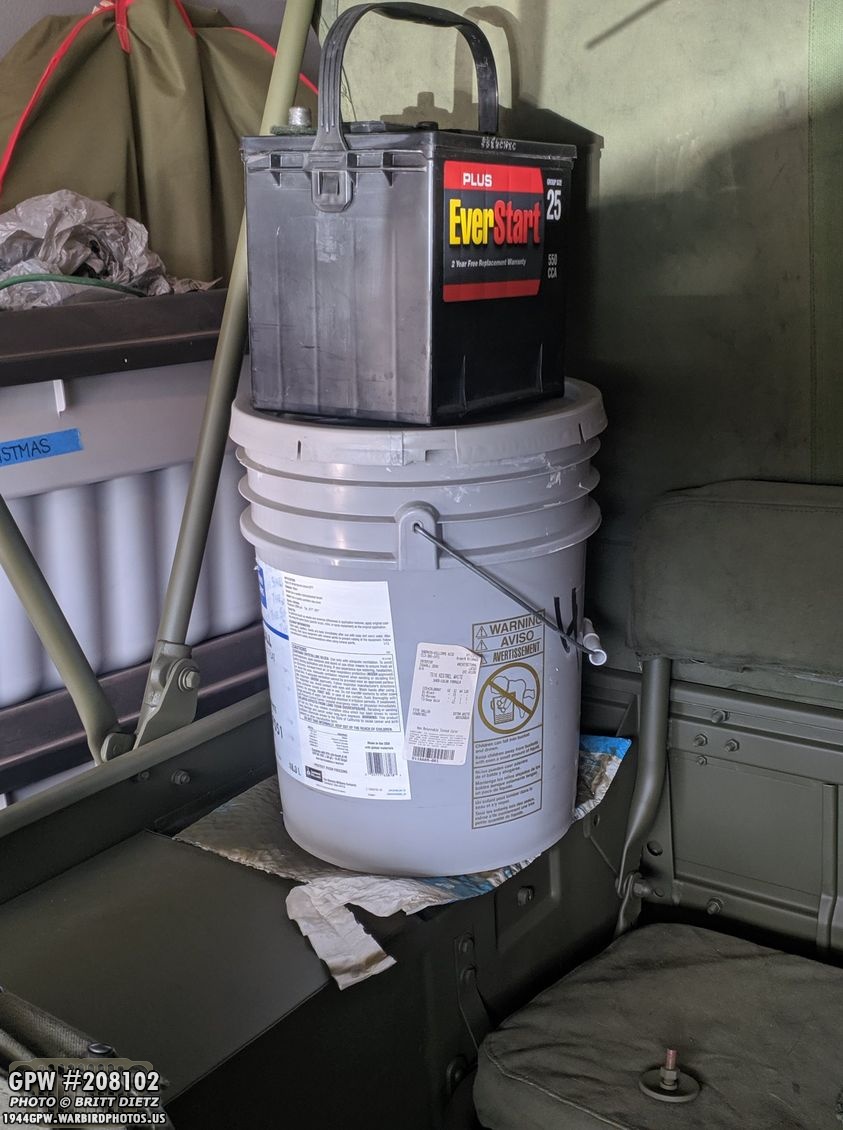
Back to the toolboxes, this battle is still ongoing. I’m having a heck of a time getting those lids to latch. The darn felt weather seals are just not compressing enough to get it to latch. It’s so close, maybe only 1/4 of an inch from latching. But even with all the weight on it for over a week… it still won’t latch.
Now that I’ve been driving the Jeep, I’ve been able to study the new gauges I have. So far, all of them work but the fuel gauge, which I’m still trying to figure out as it did work during testing. It’s got good ground, and the circuit breaker was replaced to one that is confirmed working. The AMP gauge is going into the negative a little bit, so I have to figure that one out as well.
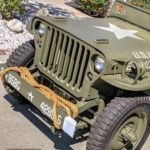
I decided to start really looking into how I’m going to mark my Jeep. Here’s a photoshop rendering showing the bumperettes for the 8th Air Force, 95th Bomb Group, 412th Bombardment Squadron, Jeep #5.
And here’s a rendering for the front of the Jeep with the same markings on the bumper, the start on the hood, the hood numbers U.S.A. 20240250 (using the hood number estimator), and my Jeep’s name which is either going to be ‘Dream Girl’ or ‘Dream Gal’ with my favorite George Petty pinup. I hope to order the markings in the next week or two!
Finally, here’s a quick photo from a 360 camera I mounted to the Jeep as I drove it around the neighborhood yesterday! I’ll post some video of the Jeep in action soon! That’s it for now, look for some video this coming week!


